Creating visually engaging light needn’t be expensive. In fact the modifier used to take this photo was less than £1!
I’ve always been drawn to interesting looking light. The simple, soft and flat light of softboxes and other standard modifiers rarely hold my attention and I’ve often felt like that softbox lighting doesn’t exist outside of the studio. It’s always looked a little to clinical for me.
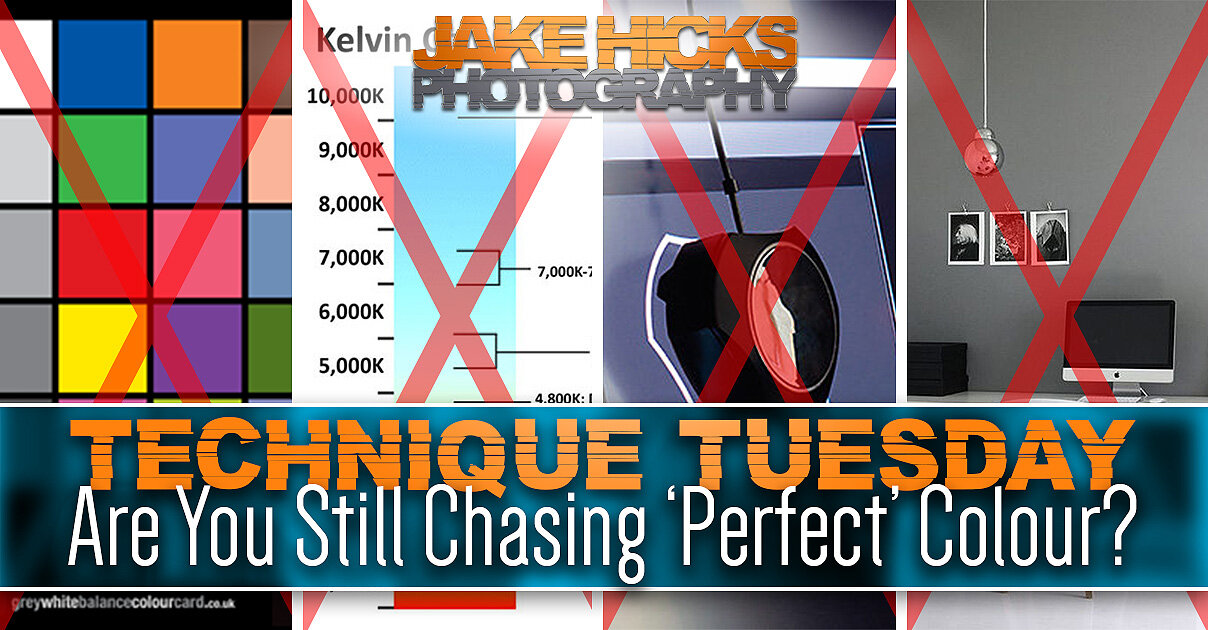
We’re shown interesting light all of the time when we’re observing daylight. Dappled light as it falls through leaves, dancing sparkles of light on water, rays of light through buildings and other structures, but we rarely try and bring that interesting looking light into the studio. In fact, many of us chase and covet this idea of ‘perfect’ light from a generic modifier and although there is certainly a time and a place for that, today I’d like to share a lighting technique that is a little more visually engaging.
I’m personally a huge fan of those aforementioned ‘textured lights’ like dappled light and water light. To that end, I’ve played around a lot in the studio by trying to bring some of that natural looking daylight indoors and I think I may have finally cracked a winning example of one such ‘indoor-daylight’ effect with this one.
What is dappled light?
If you’re not sure what ‘dappled light’ is, then imagine daylight pouring through branches and leaves and falling onto the ground. The result is a very speckled and textured light that has a lot of highlights and shadows.
I appreciate this look isn’t for everyone, but if you’re after a quick way to add a lot of visual interest and drama to your shot, this very simple setup is a great option.

I’ve actually experimented with this lighting look in the past, and previously I found that I could imitate this dappled light in the studio by firing strobes though those contemporary glass bricks.
If you missed the article, then it’s also worth a look.
So although I’ve experimented with bringing dappled light into the studio before, the glass wall technique does require you to buy a small wall of glass and erect it in your studio…. that’s not always very practical, quick or cheap!
Thankfully though, I found a similar looking light that is not only infinitely cheaper, but also a whole lot easier to setup.
I humbly introduce your new favourite £1 lighting modifier…

The £1 lighting modifier that your studio has been missing is finally here!!!
Yes, the incredibly astute and eagle-eyed among you may be thinking this is a simple space-blanket…. and that’s because it is.

If you have no clue what a space-blanket is, then they’re also known as emergency blankets. These silver foil blankets are carried by climbers or walkers when they are out in the mountains. If they are caught somewhere overnight, you use these blankets to keep yourself warm. The silver foil reflects up to 90% of your body heat back into you as you wait out the night, or await rescue. We used to carry these very lightweight and small blankets with us when we went climbing, and thankfully we never had to use them.
But regardless of what their intended usage is, we’re going to use one in the relative warmth and comfort of our studios to create some beautiful looking light. And we’re going to do all that for the low, low price a single £1!

Where to buy them
If you’d like to pick up a few of these space-blankets yourself, then just give them a quick Google and you’ll find plenty of them on sale in a variety of shops.
If you really can’t be bothered to do that though, there’s a direct link to the Bezos-Bank below….
Yes, I have an affiliate account on there with this link, but please, try to give your money to quite literally anybody else apart from Amazon if you can. That being said, you can get 2 blankets for less than £2 here!!!
Link: Space-Blankets on Amazon
If you’re looking to hunt around for some space-blankets yourself though, can I recommend that you look for ones that are silver. Some space-blankets are gold or have gold on one side. Try and get the silver ones if you can and if you’re about to ask what size to look for, then the ones I got were around 130cm x 210cm and that was plenty big enough. They often only come in one size though and if it’s big enough to make a human sized baked potato, then it’s big enough for your photoshoot.
The Setup
What you’ll need:
1 or 2 lights depending on how fancy you want to make it
A large reflector (but really any large board or simple frame will do)
A hard light modifier (more details on that below)
A large softbox
A couple of spare light stands or poles
And some clamps
Preparation

Scrunch it!
Get Scrunching!
First up, we need to take our pristine space-blanket out of its packet and come to terms with the fact that it will never, ever go back in there!
Once it’s out, I recommend scrunching the blanket up in a ball a few times. Doing this will result in us having far less uniform folds and lines in our blanket, and it’s this crazy pattern of creases that will ultimately give us that random pattern of light on our subject.

Frame it!
Frame your efforts!
So after you’ve scrunched your space-blanket up a few times, it’s now ready to be framed.
How you do this is up to you, but I personally just grabbed one of those large pop-up reflectors and used that. Alternatively, you could use any large board or even flatten out a large cardboard box. Essentially we want to support this space-blanket above our subject and we need to keep it relatively flat above them. Framing the blanket in this way makes all of that a lot easier to do.
I simply grabbed a couple of plastic clamps and attached my blanket to my reflector like you see here.

Suspend it!
You need support!
Lastly we need to suspend this blanket above our subject.
I simply used two spare light-stands and clamped the blanket to them using small crab-clamps that in turn screw atop your light stands.
For a change, having low ceilings is a huge plus here, as we can simply pin the blanket against the ceiling. Pinning it up there not only keeps it flat, but it also stops it from sagging or flopping around.
The Lighting
The Hard
One of the key things you’ll need for this setup to work, is a hard-light modifier. I personally used my Universal Spot Attachment, but of course, if you have an Optical-Snoot, that will be fine too. Alternatively, you could use a snoot, or even a gridded reflector head, and if you’re really struggling to find a hard light modifier, one of the hardest light sources out there is a simple speedlight, so you could just use that and it’ll work great too.

Hard light modifiers come in many forms, and although the optical snoots and universal spots are likely the best option, you can still try this setup with snoots, grids and even speedlights. The harder the light, the better.
The Soft
I personally opted to use a second light in this setup to take away some of the deep, dark shadows that was produced by the hard light. Although this second light is not a necessity, it can give us some flexibility in the final look that I will explain later.
The soft light I used was just a large softbox and mine here is around 120cmx 90cm. Any large softbox will do though and even if you don’t have a large one like I’ve mentioned, just bring it as close to the model as you can and it’ll still do a great job of filling in the shadows.
The placement
We’ve only got two lights to worry about so the setup itself is pretty simple. I had the model a couple of feet away from the wall, the reflector with space-blanket was pinned to the ceiling just in front and above her, and the two lights were actually fairly close.
One thing you’ll notice in the diagram below, is that the hard light is actually behind me and pointing up above my head. The light from this modifier hits the space blanket on the ceiling and then bounces back down onto our model. It’s this process that creates the slightly mottled and distorted shadows we see on the background thanks to the creases and folds we made in the space-blanket.
The big softbox is just to my left and that is flooding the scene in a very low light to fill in some of the harsh shadows. We’ll talk more about this softbox power below.
Click to enlarge
As you can see from the diagram above, this setup can even be achieved in very small spaces too. In fact the low ceiling of a home studio actually helps us here as we’re pinning the reflector and space-blanket against it.
What are you looking for?
Once you’ve set everything up, fire off a few shots of the wall to see if you’re getting the dappled light look. Take a look at my shots below and you can see the sort of effect I was getting. Also bear in mind that in the images below, I have not yet turned on my fill light so the shadow areas are still quite dark.
Click to enlarge
Although this is a simple setup, there are still a bunch of modifications you can make to get a variety of looks. Play with raising the height of the hard light, move it closer and further away from the space-blanket and potentially purchase a couple of extra blankets and experiment with different amounts of creases and wrinkles.
Just because this a relatively simple lighting setup, it doesn’t mean you can’t play with and add a lot variation with this base technique and there is a whole host of elements and colours you could add to this to make it unique.
The results
Take a look at the images below to see how the shots turned out from this setup.


Click on any of the images above to enlarge them.
Featured model: Bodil Hareid
Things to try…
As I mentioned above, the setup itself is fairly straightforward, but we still have some flexibility with how our final image will turn out by adjusting the powers of those two lights independently.
Take a look at the two shots below. On the left we have an image where we have the fill-light power (the softbox) turned way down low. As a result, the shadows in this shot are a lot darker and more pronounced. But, in the right-hand image, we have the softbox power turned up so that the darkness in the shadows is far more minimal.

The image on the right has a far brighter fill-light than the image on the left. Don’t be afraid to play with these two lights and their power levels.
The Raw is only the halfway point!
Because I know that many of my articles get shared beyond the confines of my own website, I know there are some people out there who don’t necessarily believe in the merits of post-production in photography. Those luddites are likely already hammering their keyboard keys through their treehouse desks in the comments section, but if you are about the post-production, below I will share the back-of-cam shots and even a screen grab from Lightroom so that you can see my process.

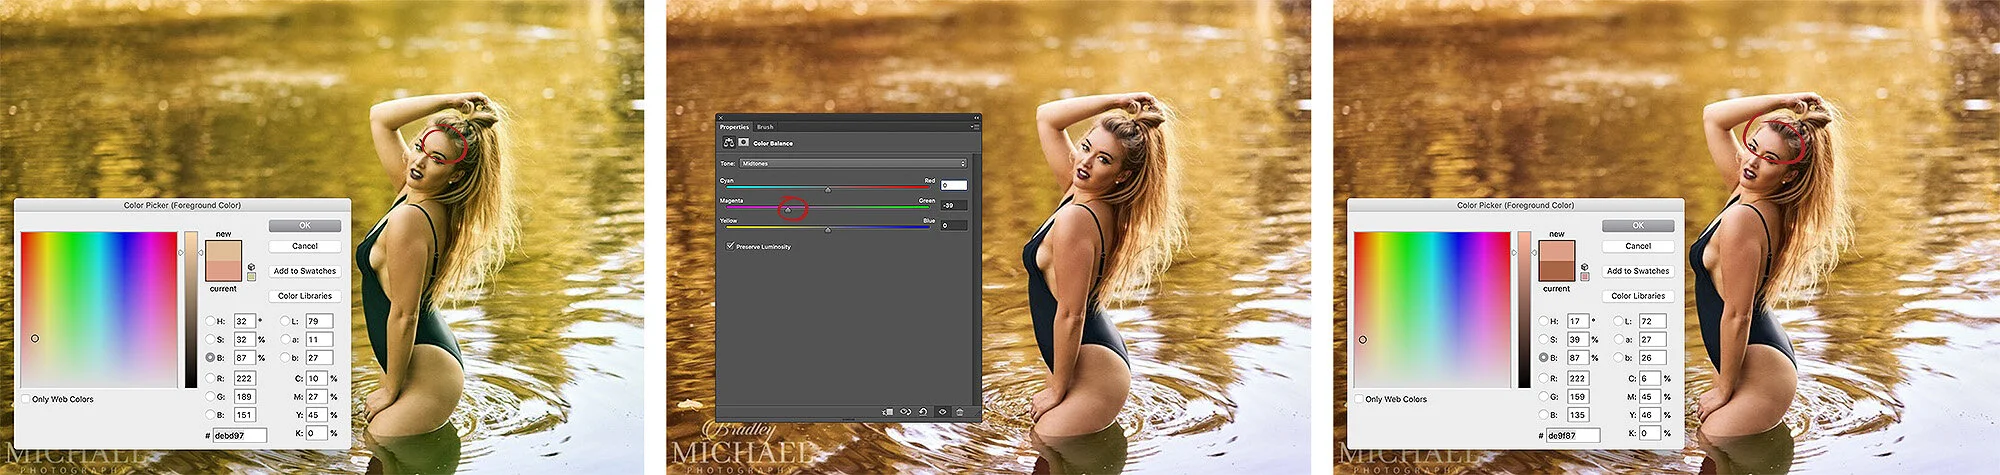
The un-pretty, the bad, and the good. My raw on the back of the camera, the Lightroom edit and then the final Photoshop edit.
Yes, I have heavily adjusted the white balance, contrast and saturation in post-pro to get the look I was after. I personally see the raw file as only the half way point in the creative process and because of that, I shoot with the final image in mind and not the raw.
What do I mean by that? Well it means that I often shoot quite flat (minimal contrast) in camera so that I have the maximum amount of data to play with in post-pro. As a result, I am able to push my raw files quite aggressively with very little, if any, breakup. If you’ve ever seen the rushes (raw footage) of movies, you’ll know that is exactly what they do as well.
Shooting with the end in mind will take time to get used to, but having an idea of how you want that final image to look is key. After all, you can’t shoot with the end in mind if you don’t know how you want the final shot to look.
Good Luck!
As always, good luck with your shoots and I hope you have fun playing with this setup. Hopefully you can develop and add to it in your own way, but if you’d like help or advice on some of your images, then by all means check out my Jake Hicks Facebook Page community where I do free image critiques of community images every Monday via my -Share-a-Shoot-.
See you there :)
Also, if you’re looking for more dynamic and visually engaging lighting setups for small spaces and home studios, feel free to check out my BIG Studio Lighting in small Spaces workshop.

P.S. I just know someone is gonna ask me if they can use tinfoil instead…. no you can’t ;) Get a space-blanket. It’s a quid!
Thank You
Thanks for checking out this article and spending a little bit of your day with me here. I hope you found it useful and that you left here with a little more knowledge than when you arrived. If you did, then this was worth it. As always, if you have any questions or comments about the lighting setup above, then by all means fire-away in the comments below and I’ll do my best to answer what I can. Thanks again and I’ll see you in the next one.
Don’t forget to sign up to my newsletter to be sent all of these photo tips and techniques articles every month in case you miss one.


Have you downloaded my FREE 50 page book yet?
I recently released a huge 50 page studio lighting book, absolutely free!
Book 1 - ‘Understanding Light’ is available now and it covers the fundamentals of reading the light in a studio. Follow the link below and download your copy now. This book is free to anybody who wants to check it out, but all donations to the project are certainly greatly appreciated.