When photographers use terms like ‘hard’ and ‘soft’ light, it’s actually incredibly vague. You would rarely describe your meal as simply a ‘meat’ dish, so when a photographer says they are using hard light in a portrait, it’s just as open to interpretation as your mystery-meat.
Hard light can be anything from strong sunlight, to snoots, grids or even simple barn doors in a studio. But even with all that, none come close to the true crisp, brilliantly contrasty light of ‘Optical Snoots’.
What is an Optical Snoot?
Optical Snoots are hard-light modifiers and they have seen a variety of iterations over the years, but they’re still primarily used in the world of theatre more than stills photography. Their main function is to create a very strong, directional light source and as a result, the light they produce is extremely contrasty and razor sharp shadows are a clear indication of when a modifier like this is being used.
Image from SecondWindStaging.com - Theatre lighting has used this very hard light for years, but we rarely see it in todays photography. In the shot above, you can see how crisp the edge of the lighting is.
Bowens made the ‘Universal Spot Attachment’ for themselves and the ‘Spot’ for Profoto - I’ll let you guess the price difference between these!!!
Until recently, photographers who use studio strobes to light their images have had very little choice when it comes to hard light modifiers like this.
I’ve personally had what is called a ‘Universal Spot Attachment’ for many years and that was made by the sadly now defunct Bowens. They also made the exact same modifier for Profoto but simply swopped out the S-fit lighting attachment on the base. But what all of these modifiers have in common, is their ability to very precisely control the light to exactly where you want it. Think of the light being produced by a softbox and how that spreads very soft light over a huge are, these spot-type modifiers are the polar opposite of that.
These spot modifiers have employed a variety of methods to precisely control the light in the past, but many of the newer spots will control this light via a lens at the front and that will allow the modifier to focus the light into a spot. It’s with this lens and the complete control of the light that this allows where the magic of this product really comes to life.
There are hard-light modifiers, and then there are HARD-LIGHT modifiers
If you ask most photographers to take a hard light portrait, they'll likely reach for the regular snoot, grid or simple open dish to modify their light. Although they are technically not wrong to do this, there are alternatives that will really make that light VERY hard indeed.
Take a look at the two shots below to see what I’m referring to. Remember you’re looking at the shadows.
Click to enlarge: The above shot taken with a bare 65 degree dish.
Click to enlarge: The above shot taken with a Universal Spot attachment.
Still not sure what I’m banging on about?!
Look again and this time compare the shadows and how they transition between light and dark.
Click to enlarge: Images above displaying some very different looking hard light shadows
These are both hard light portraits, but it should be clear to see just how much stronger the shadows are via the Universal Spot Attachment.
So what about the Optical Snoot?
Now that we’ve established what came before, we can now look at what’s available today. As I mentioned previously, Bowens closed its doors for the last time a couple of years ago and many of their beloved modifiers like the Universal Spot and the Profoto Spot went away with them. As a result, finding modifiers for your studio strobes to offer a similar look is tricky. In fact, I was doing some research on these old modifiers for this article and I found the internet to be littered with photographers searching for them as well as similar alternative modifiers to fill their place. Here is where the Optical Snoot comes in.
A few weeks ago I was sent an Optical Snoot by Essential Photo who distribute the PixaPro products here in the U.K. They asked if I’d like to take a look at their new Optical Snoot and share my thoughts, so here we are.
I was actually very glad to receive this Optical Snoot, and although I’m very happy with my current U.S.A. (Universal Spot attachment), I struggle to recommend alternatives to it now that Bowens is no longer around. I regularly use the U.S.A. in my shoots and workshops but the question always comes up “where can I buy one of those?” Sadly the answer has always been “nowhere”. I’m hoping that answer is about to change.
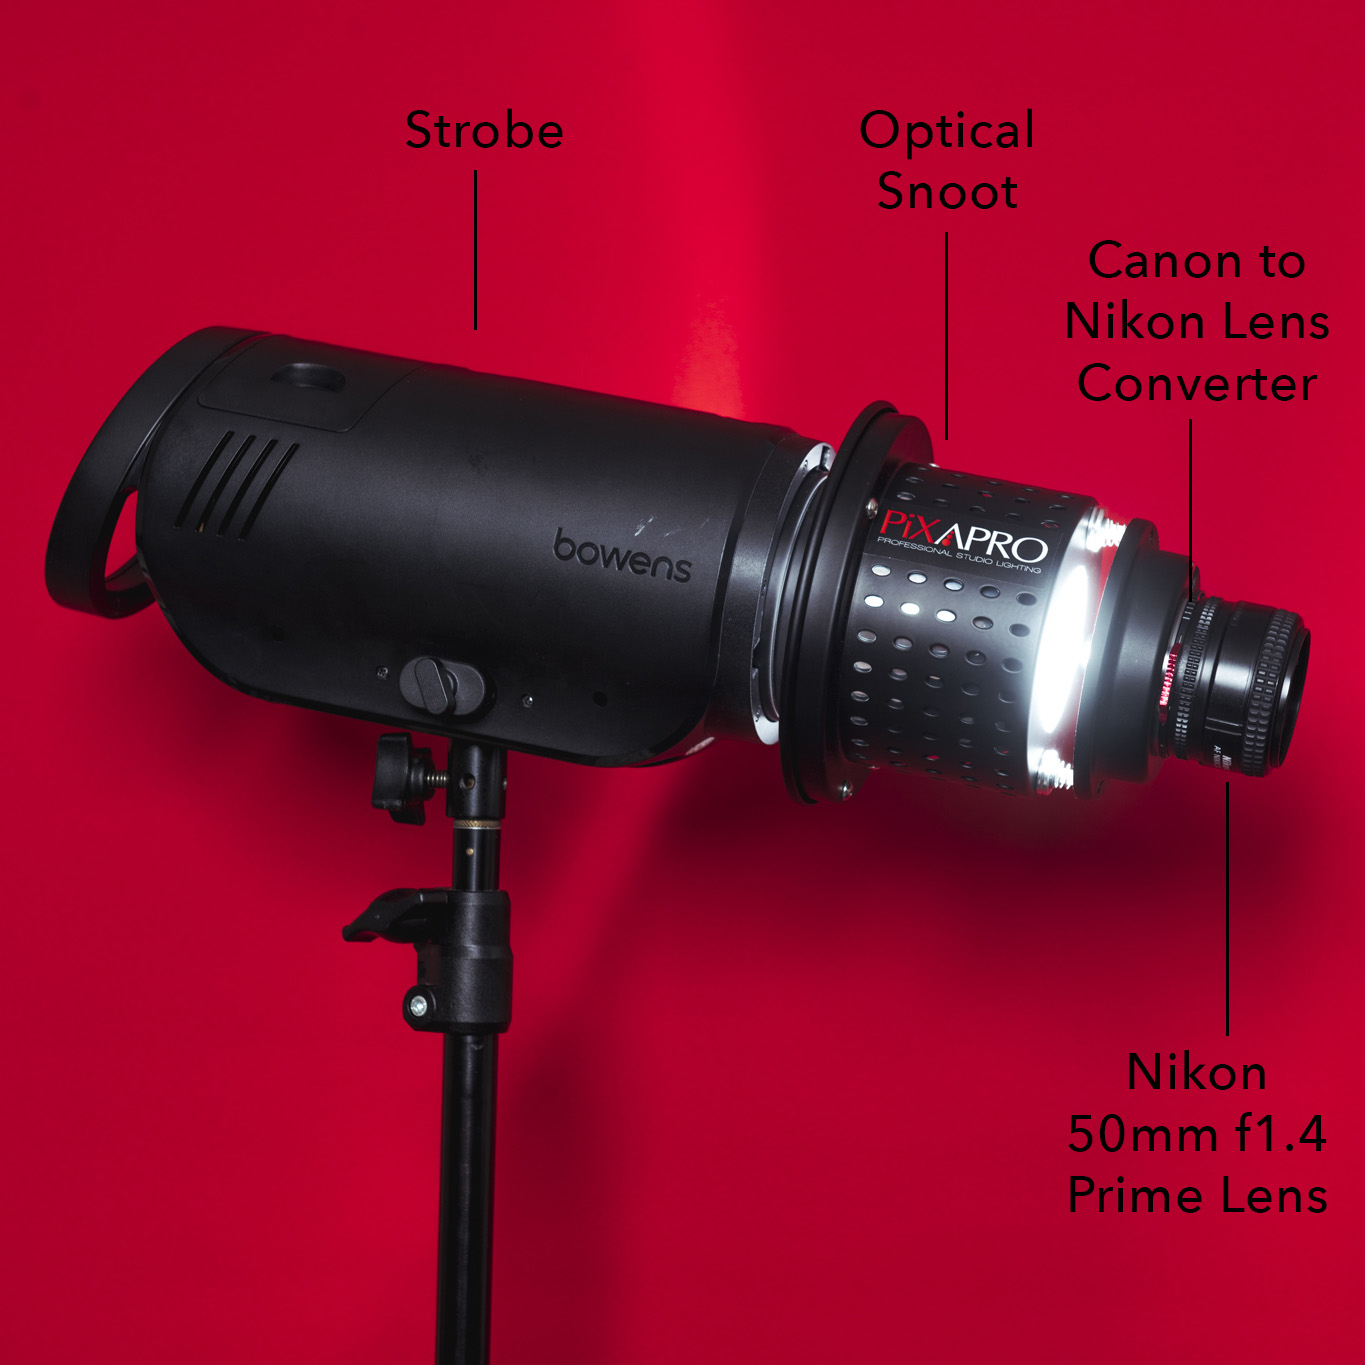
The Optical Snoot actually uses your own lens to make it work.
What makes the Optical Snoot different?
The previous hard light modifiers have all come with built in lenses. The Optical Snoot is different in that it requires you to provide the lens for it to work. You buy the modifier and then you use one of your current lenses to attach to the front of it. I’ll discuss this further a little later on, but for now, just know that you’ll need a ‘spare’ lens to use in conjunction with this.
Of course there are a few ramifications to you supplying your own lens. Firstly, you need to have a lens that will work ‘well’ with the Optical Snoot and a lens that works ‘well’ will be one that is around 50mm and has an aperture of around f2.8.
The reason for this is that you need a lens wide enough to spread light over a decent sized area. There is no point attaching a 105mm lens to this and then only being able to illuminate someones nose in shot (unless this is what you’re after of course). Next up, the aperture of f2.8 or wider, will allow for far brighter shots to be taken with it. The act of firing a strobe through a lens consumes a lot of power via your strobe, so the larger the hole it has to pass through, the more flexibility it will give you when it comes to shooting.
The Best Optical Snoot for You
The optical snoot comes in a couple of different packages, so let me explain what you get so you’ll better understand what’s best for you.
The Base Model
The base package is simply the optical snoot on its own. To make the most out of this you’ll already need to have a strobe, a spare lens and some items you want to use in conjunction with it. Items like gobos for example (more on those in a minute).
The base Optical Snoot currently (July 2019) sells for around £199.
Just checked again in October 2020 and it’s still £199! Here’s the link and yes it is an affiliate link so I’ll get a free beer is use it to purchase this modifier Optical Snoot at Essential Photo
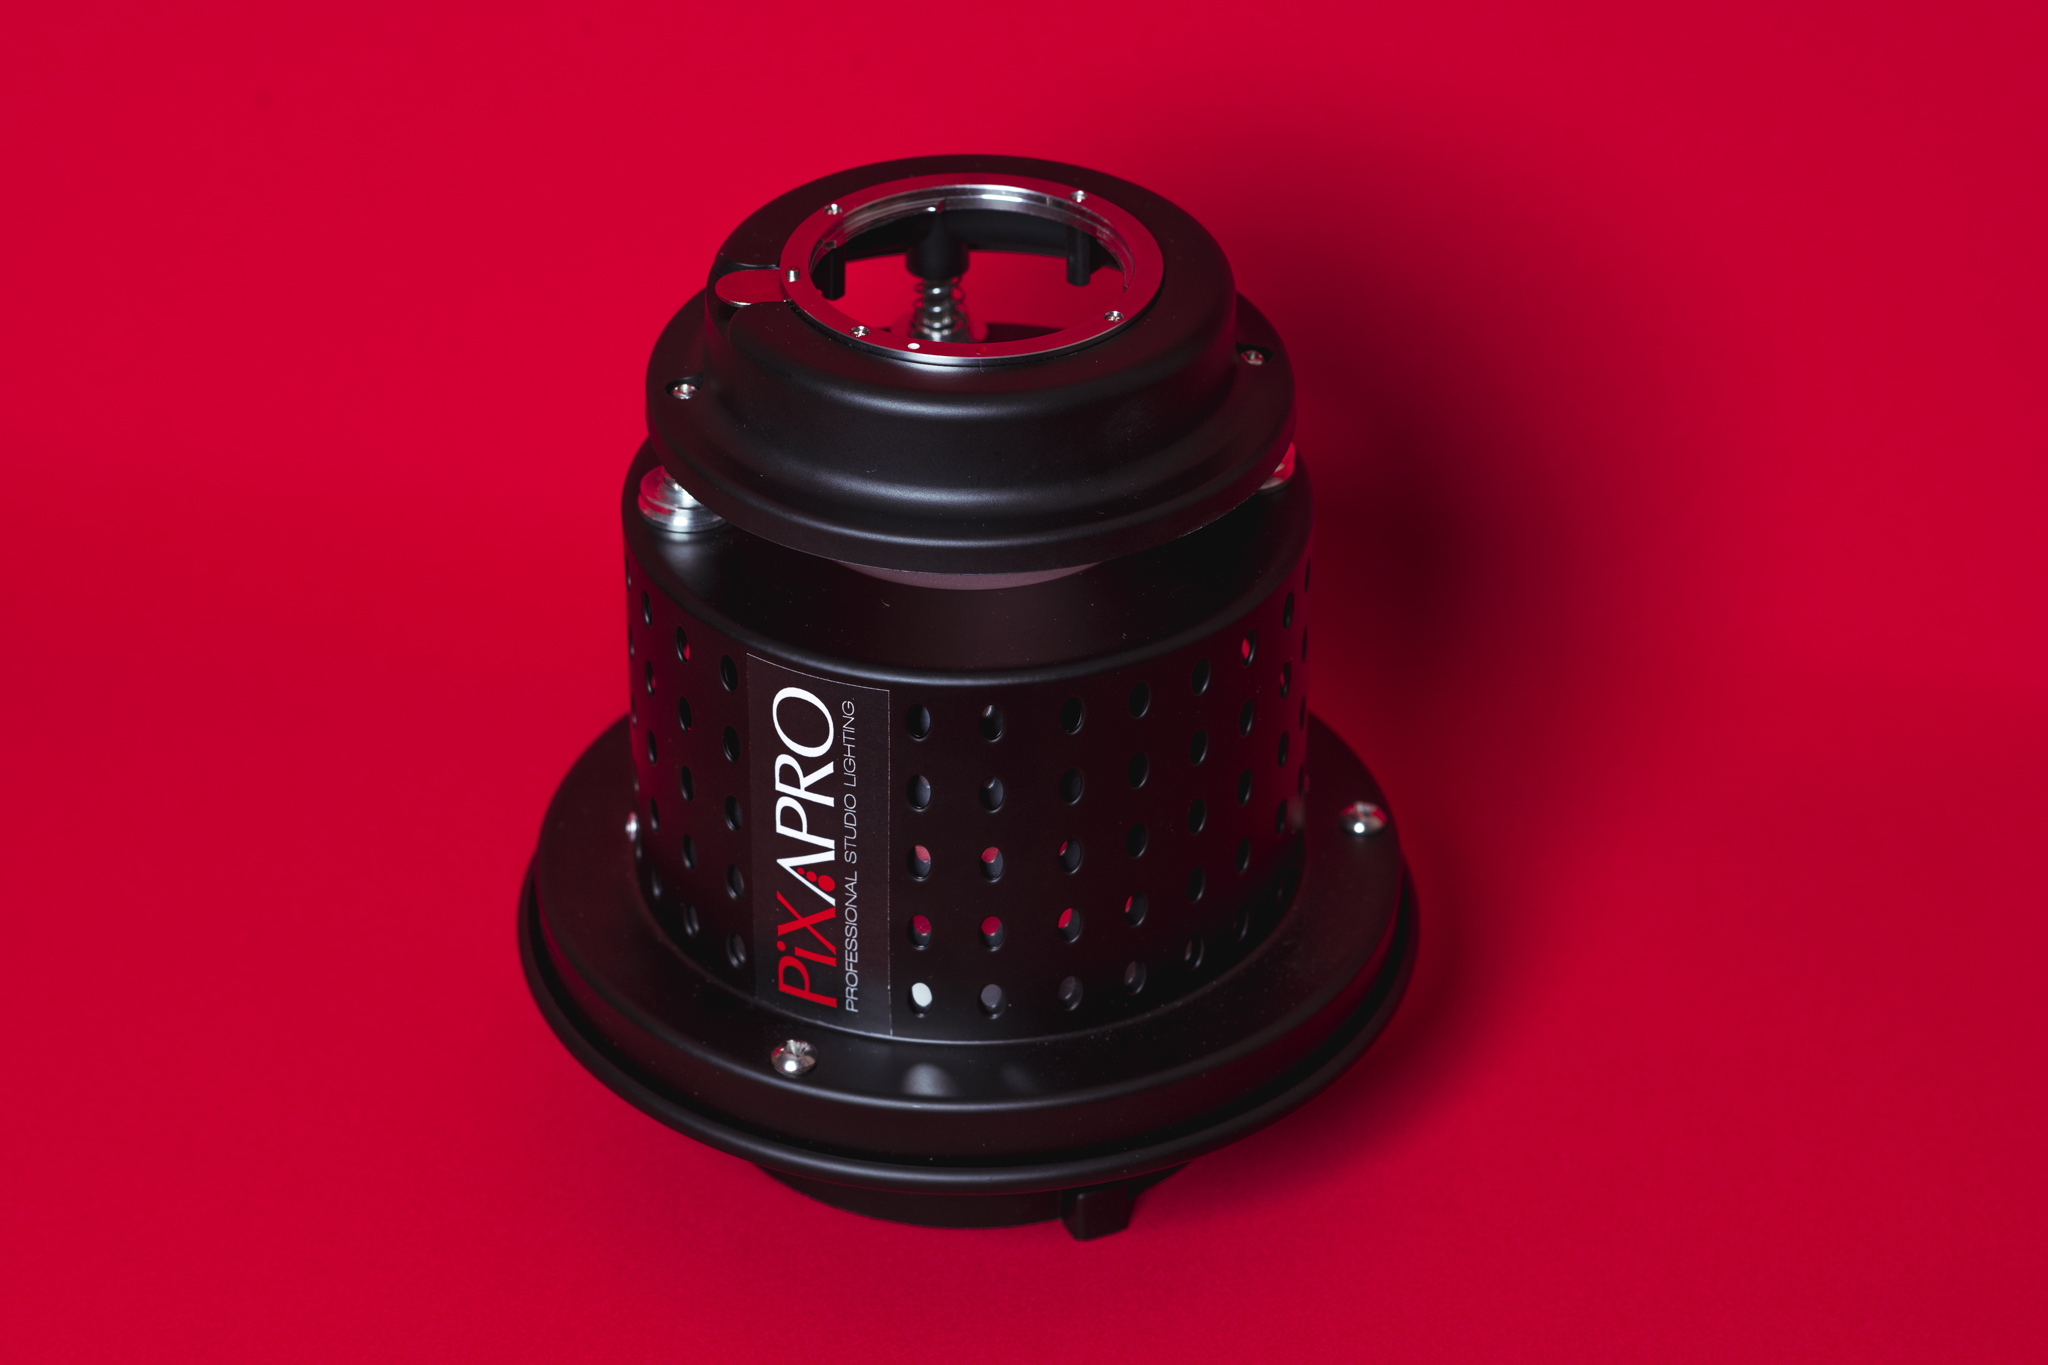
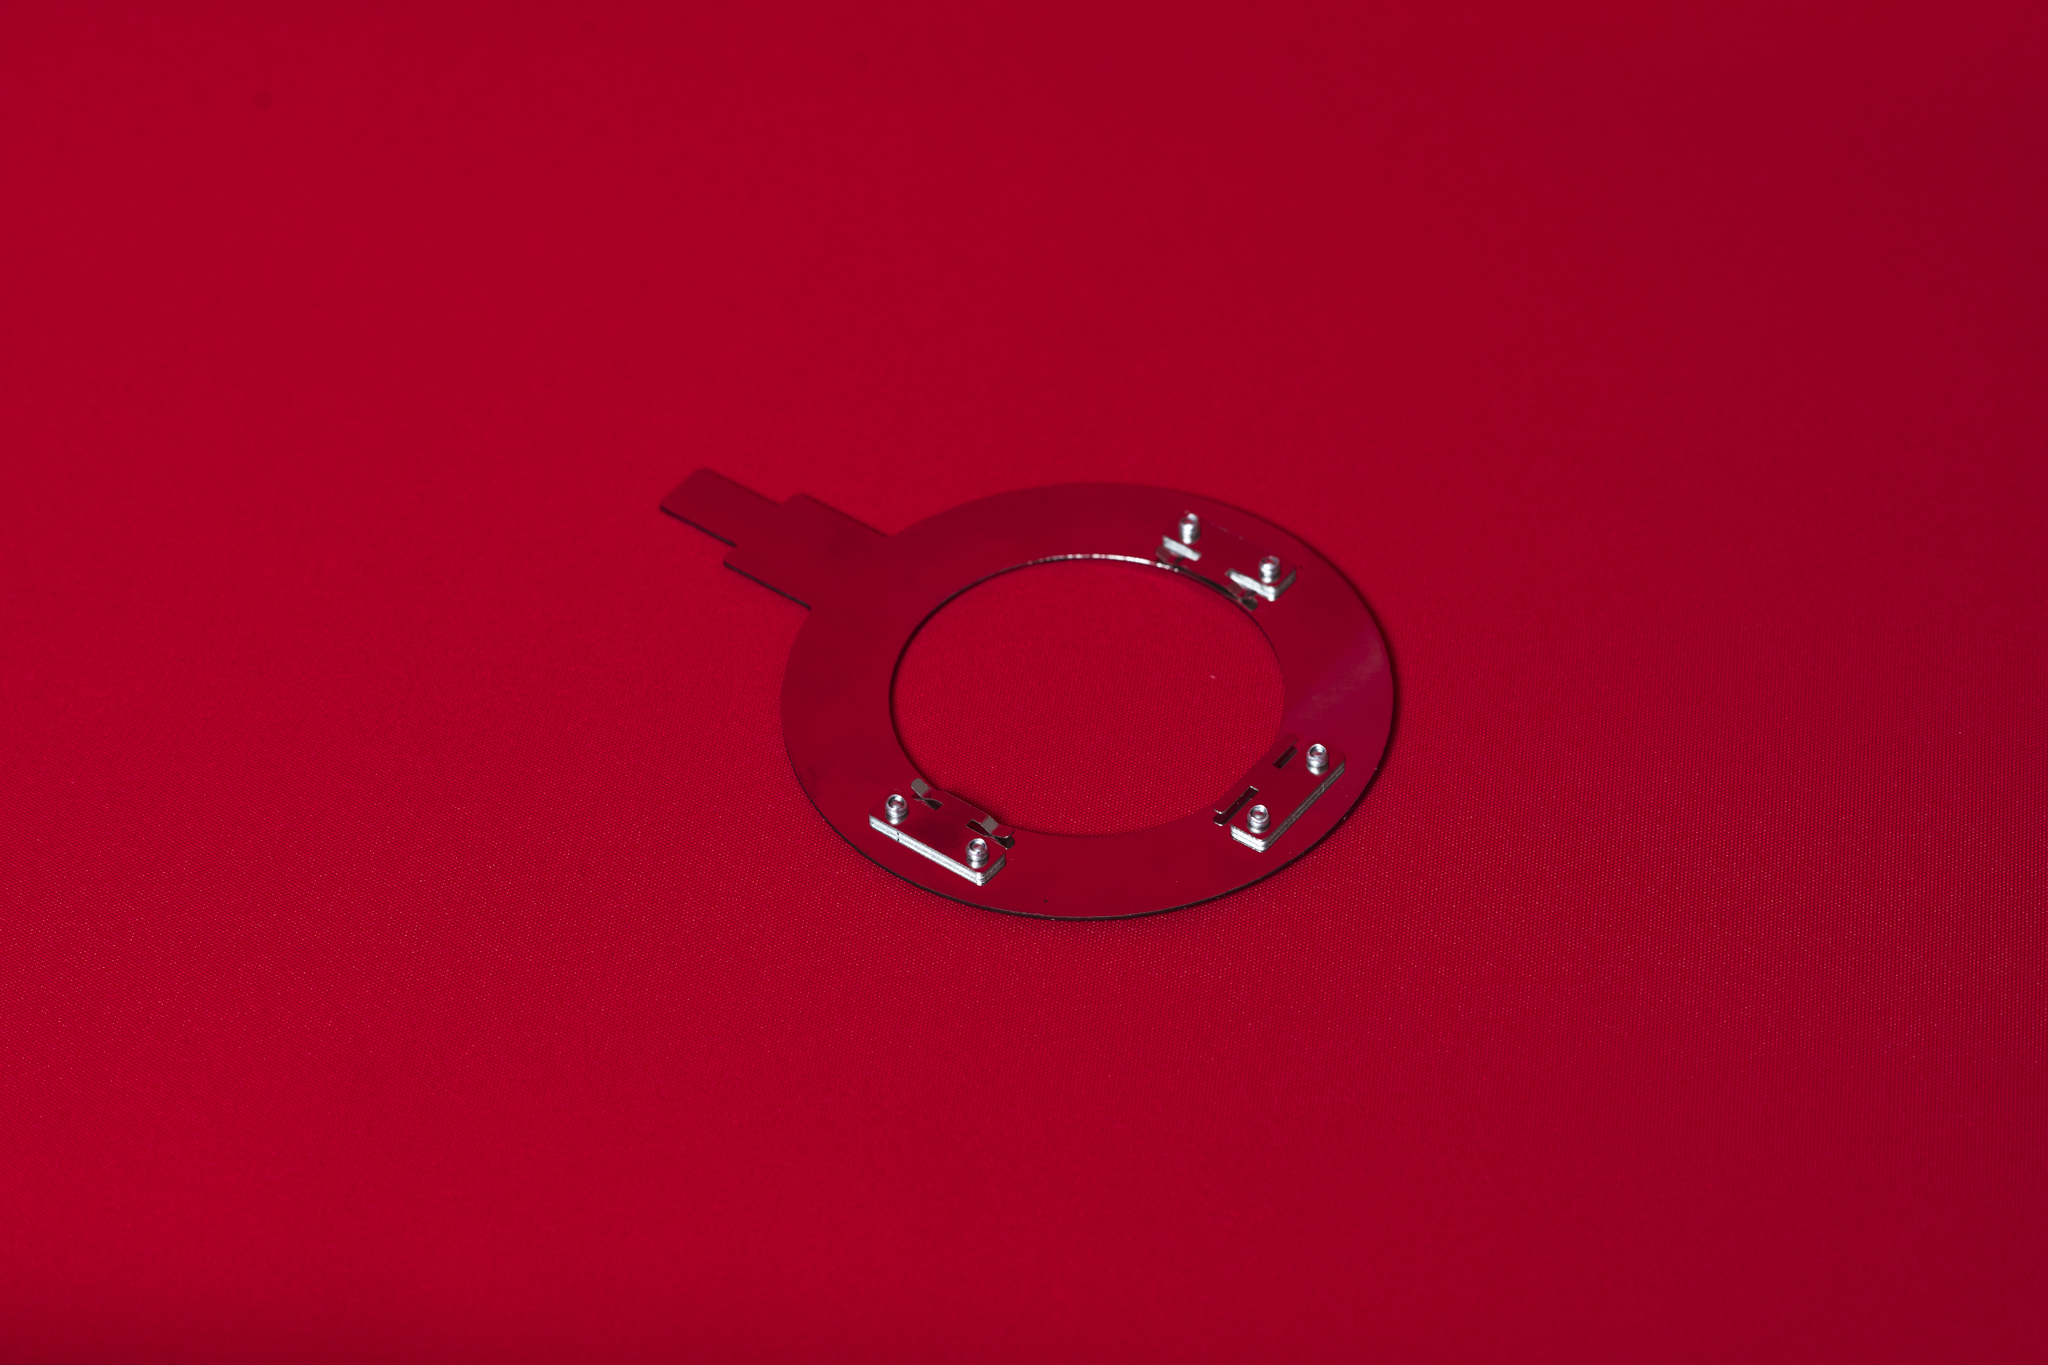
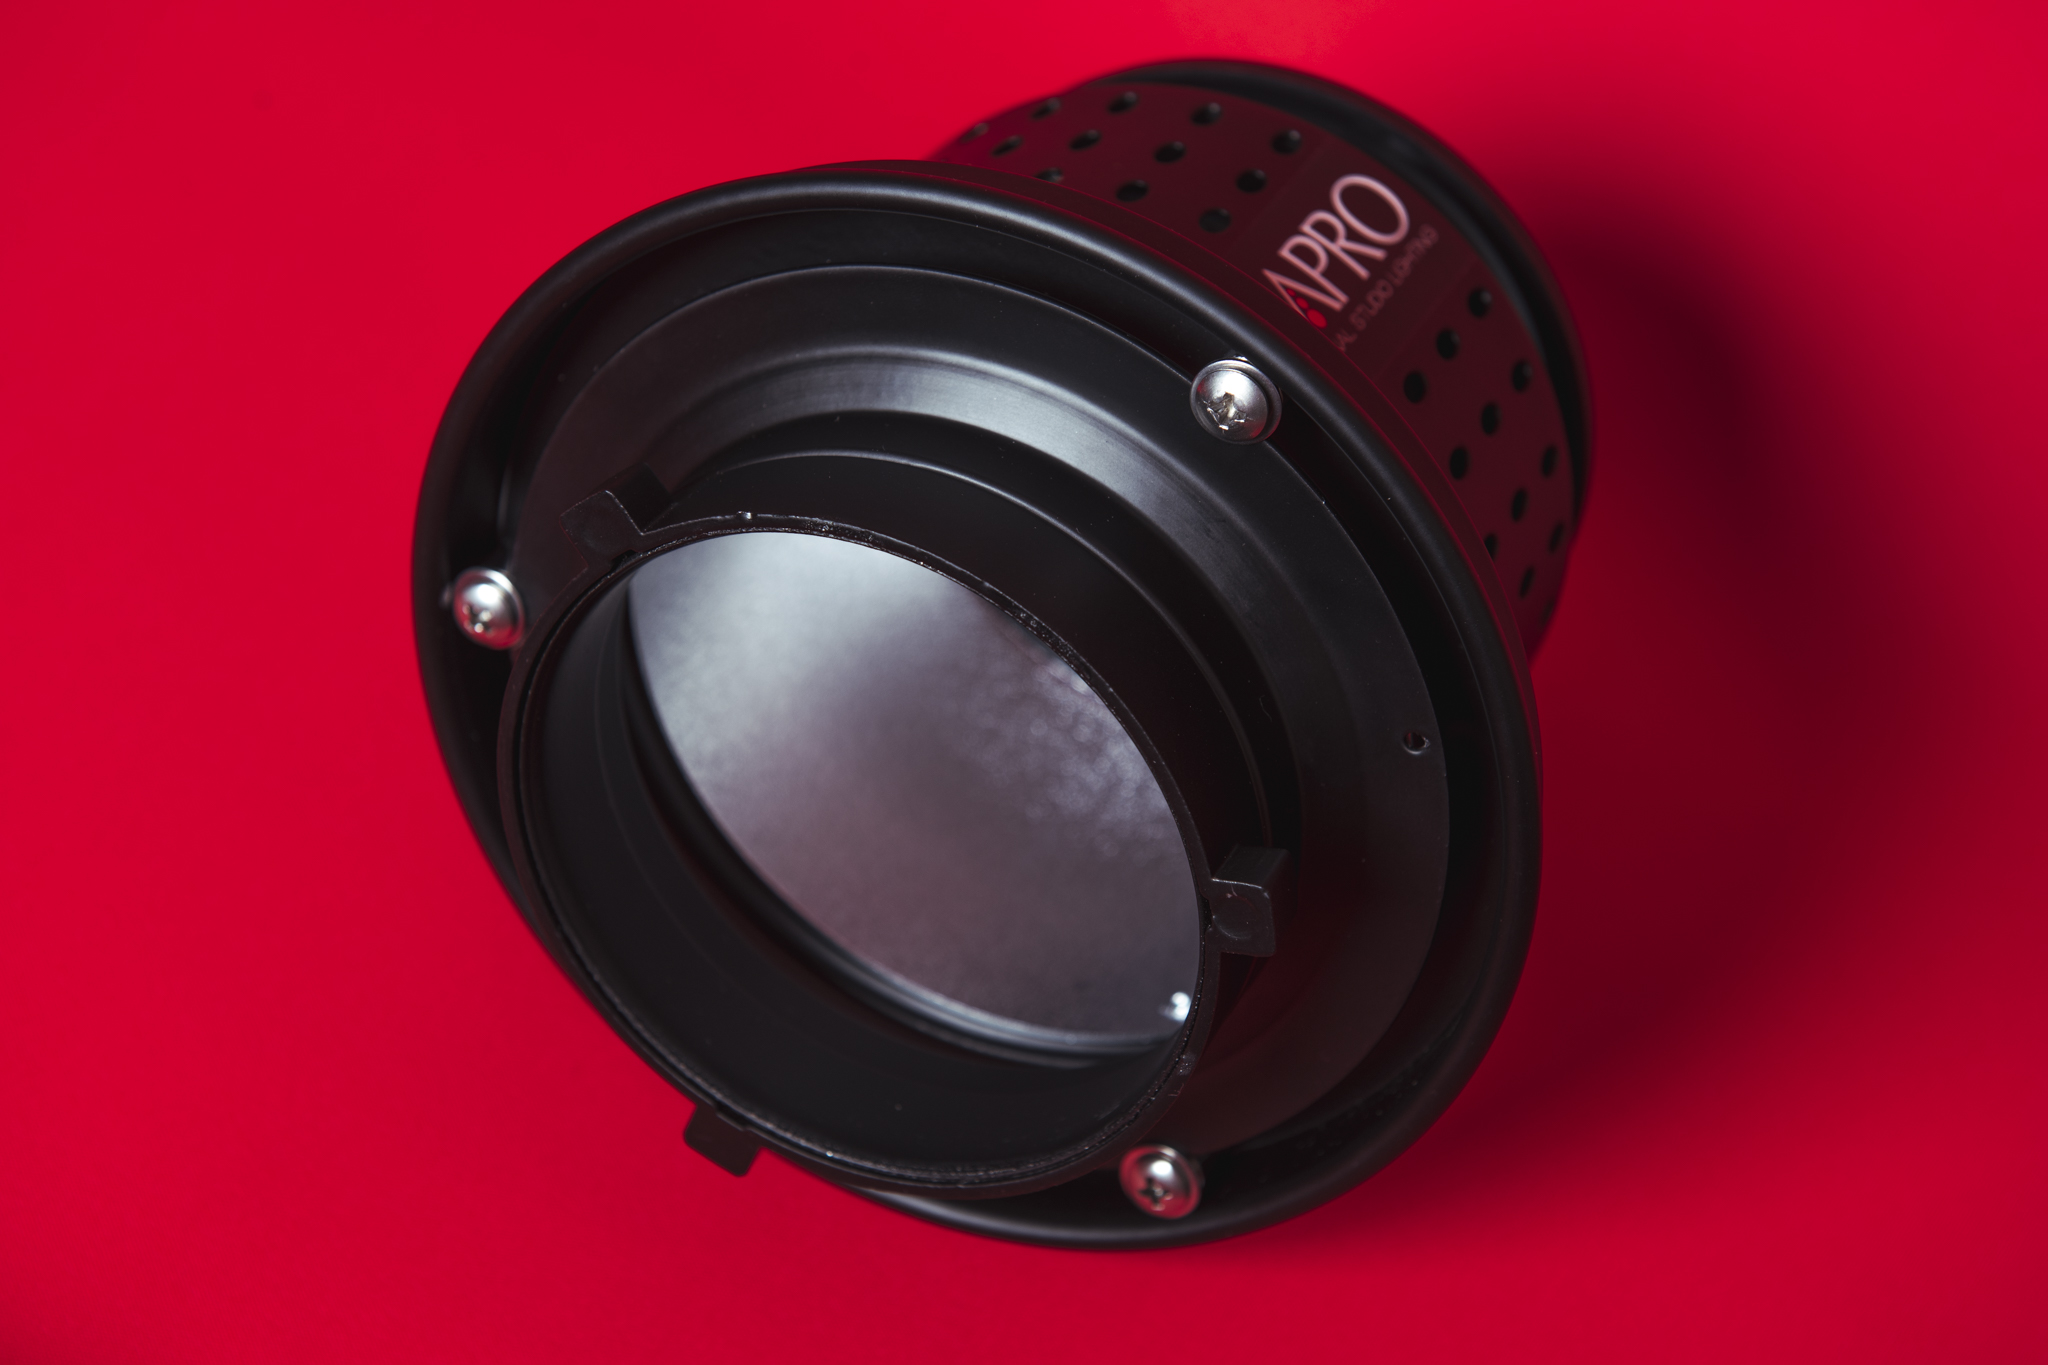
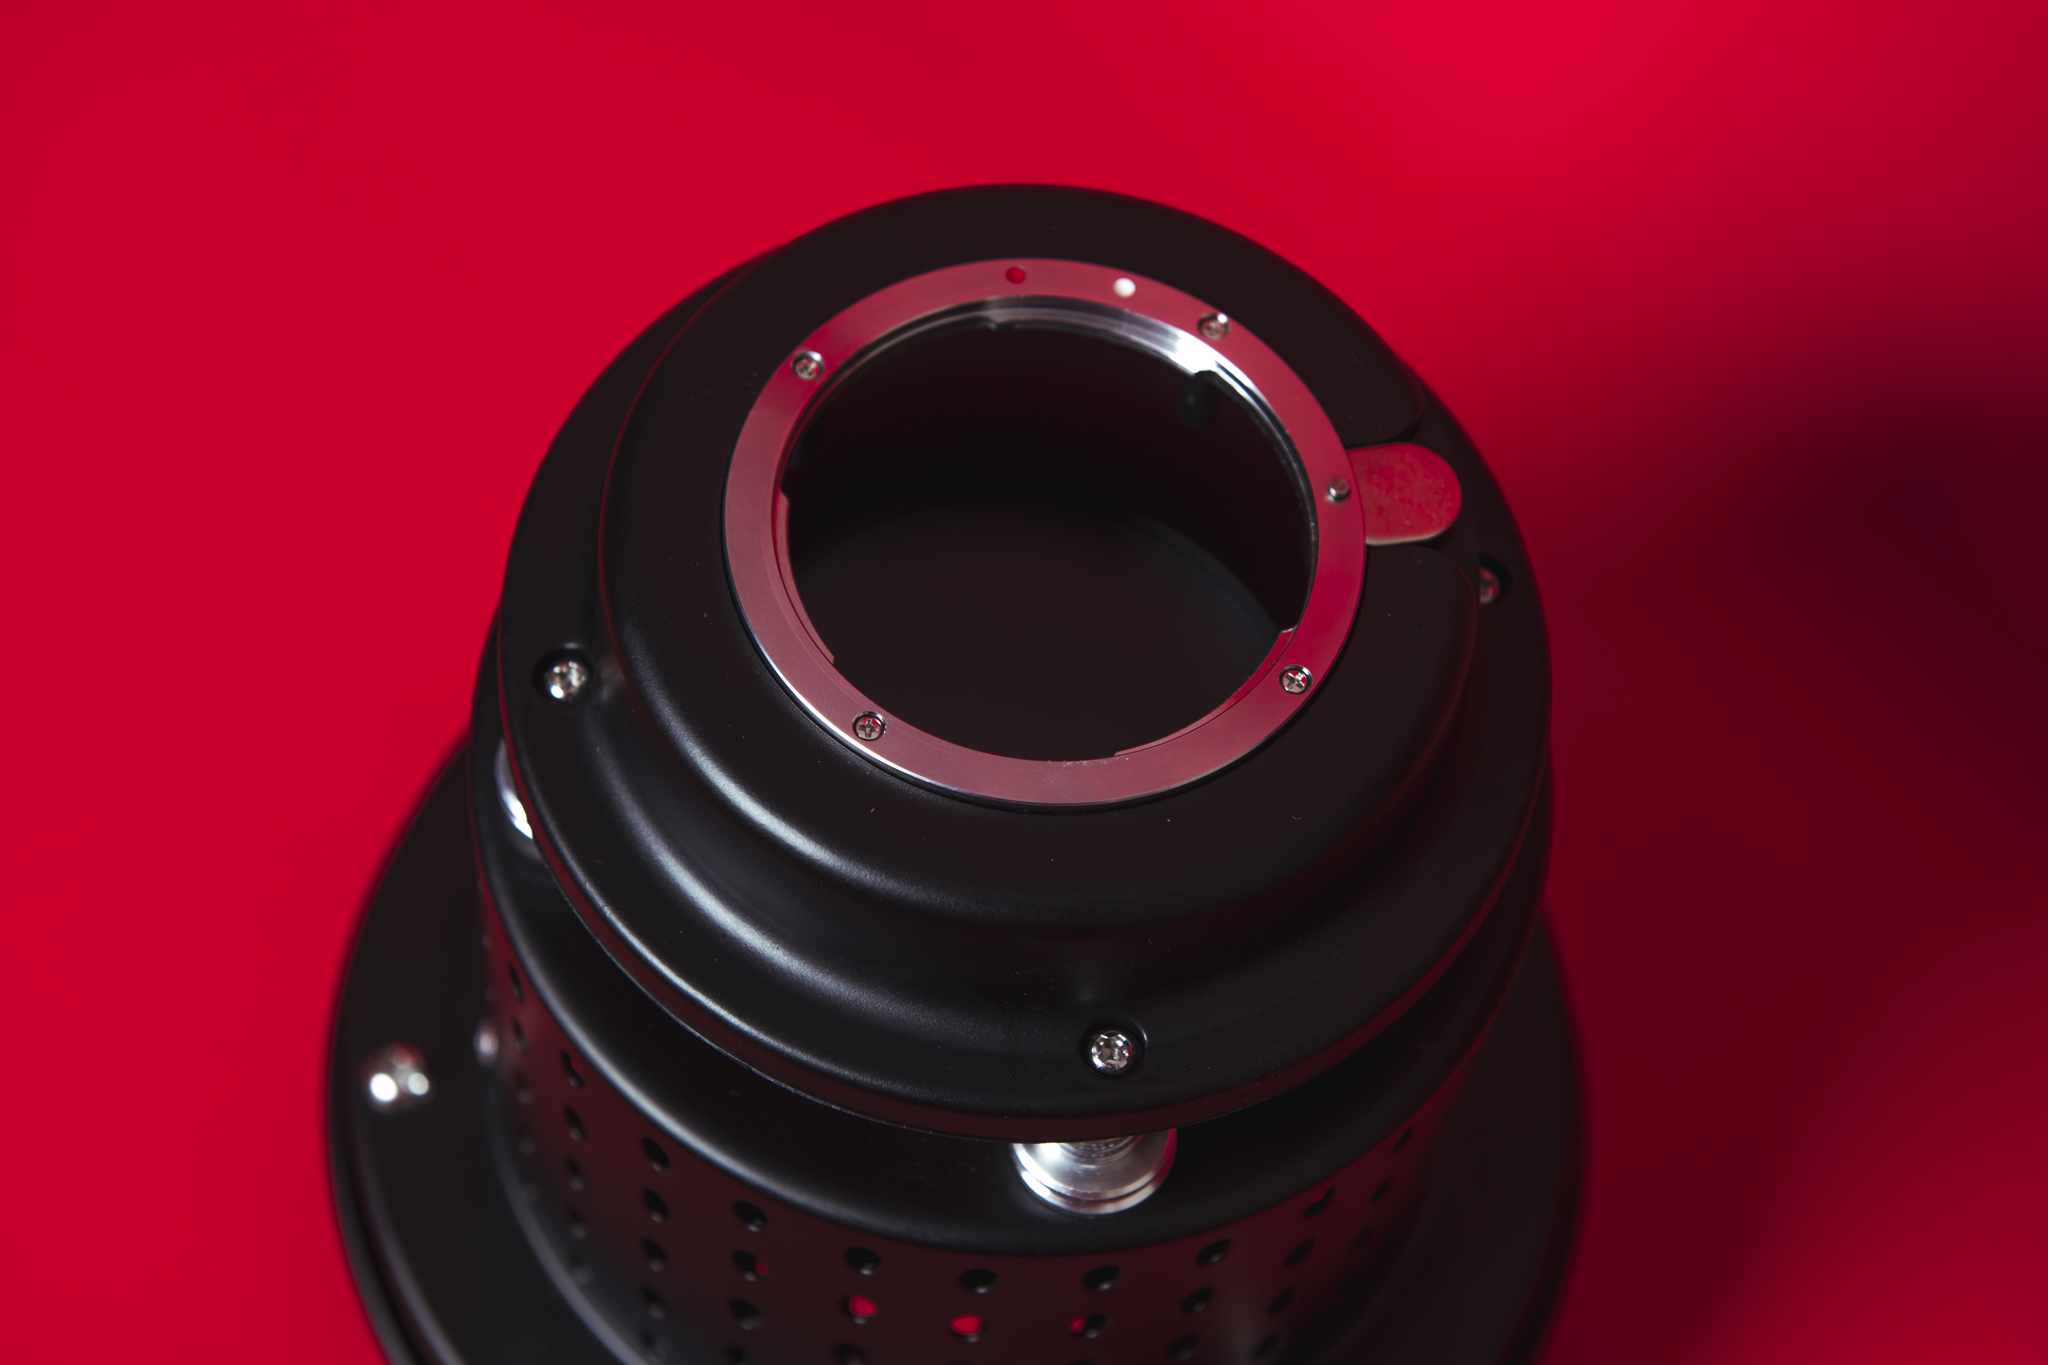
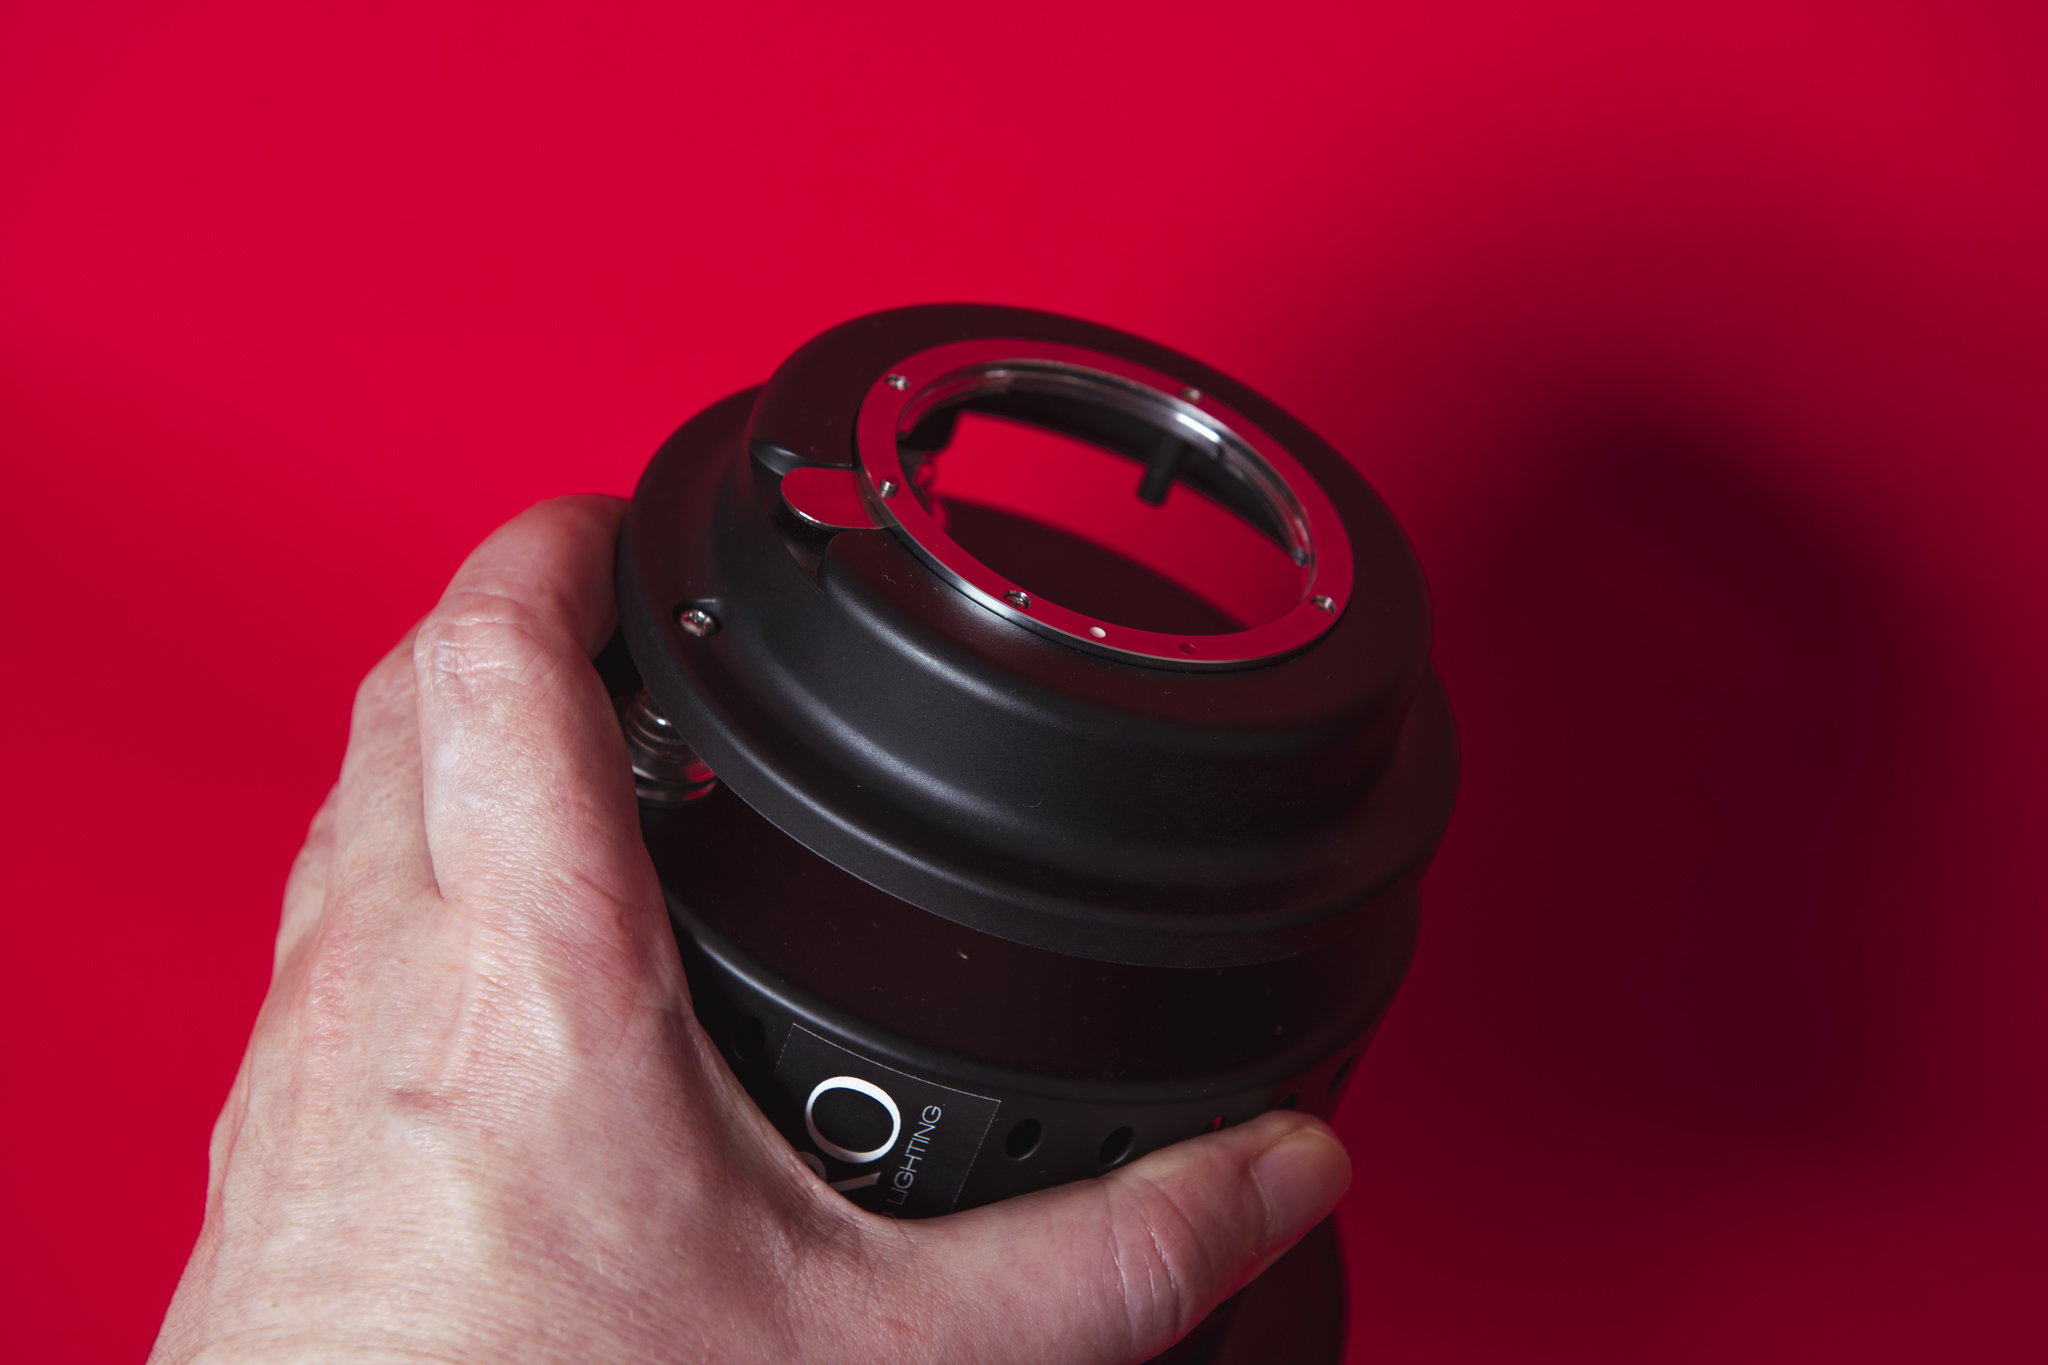
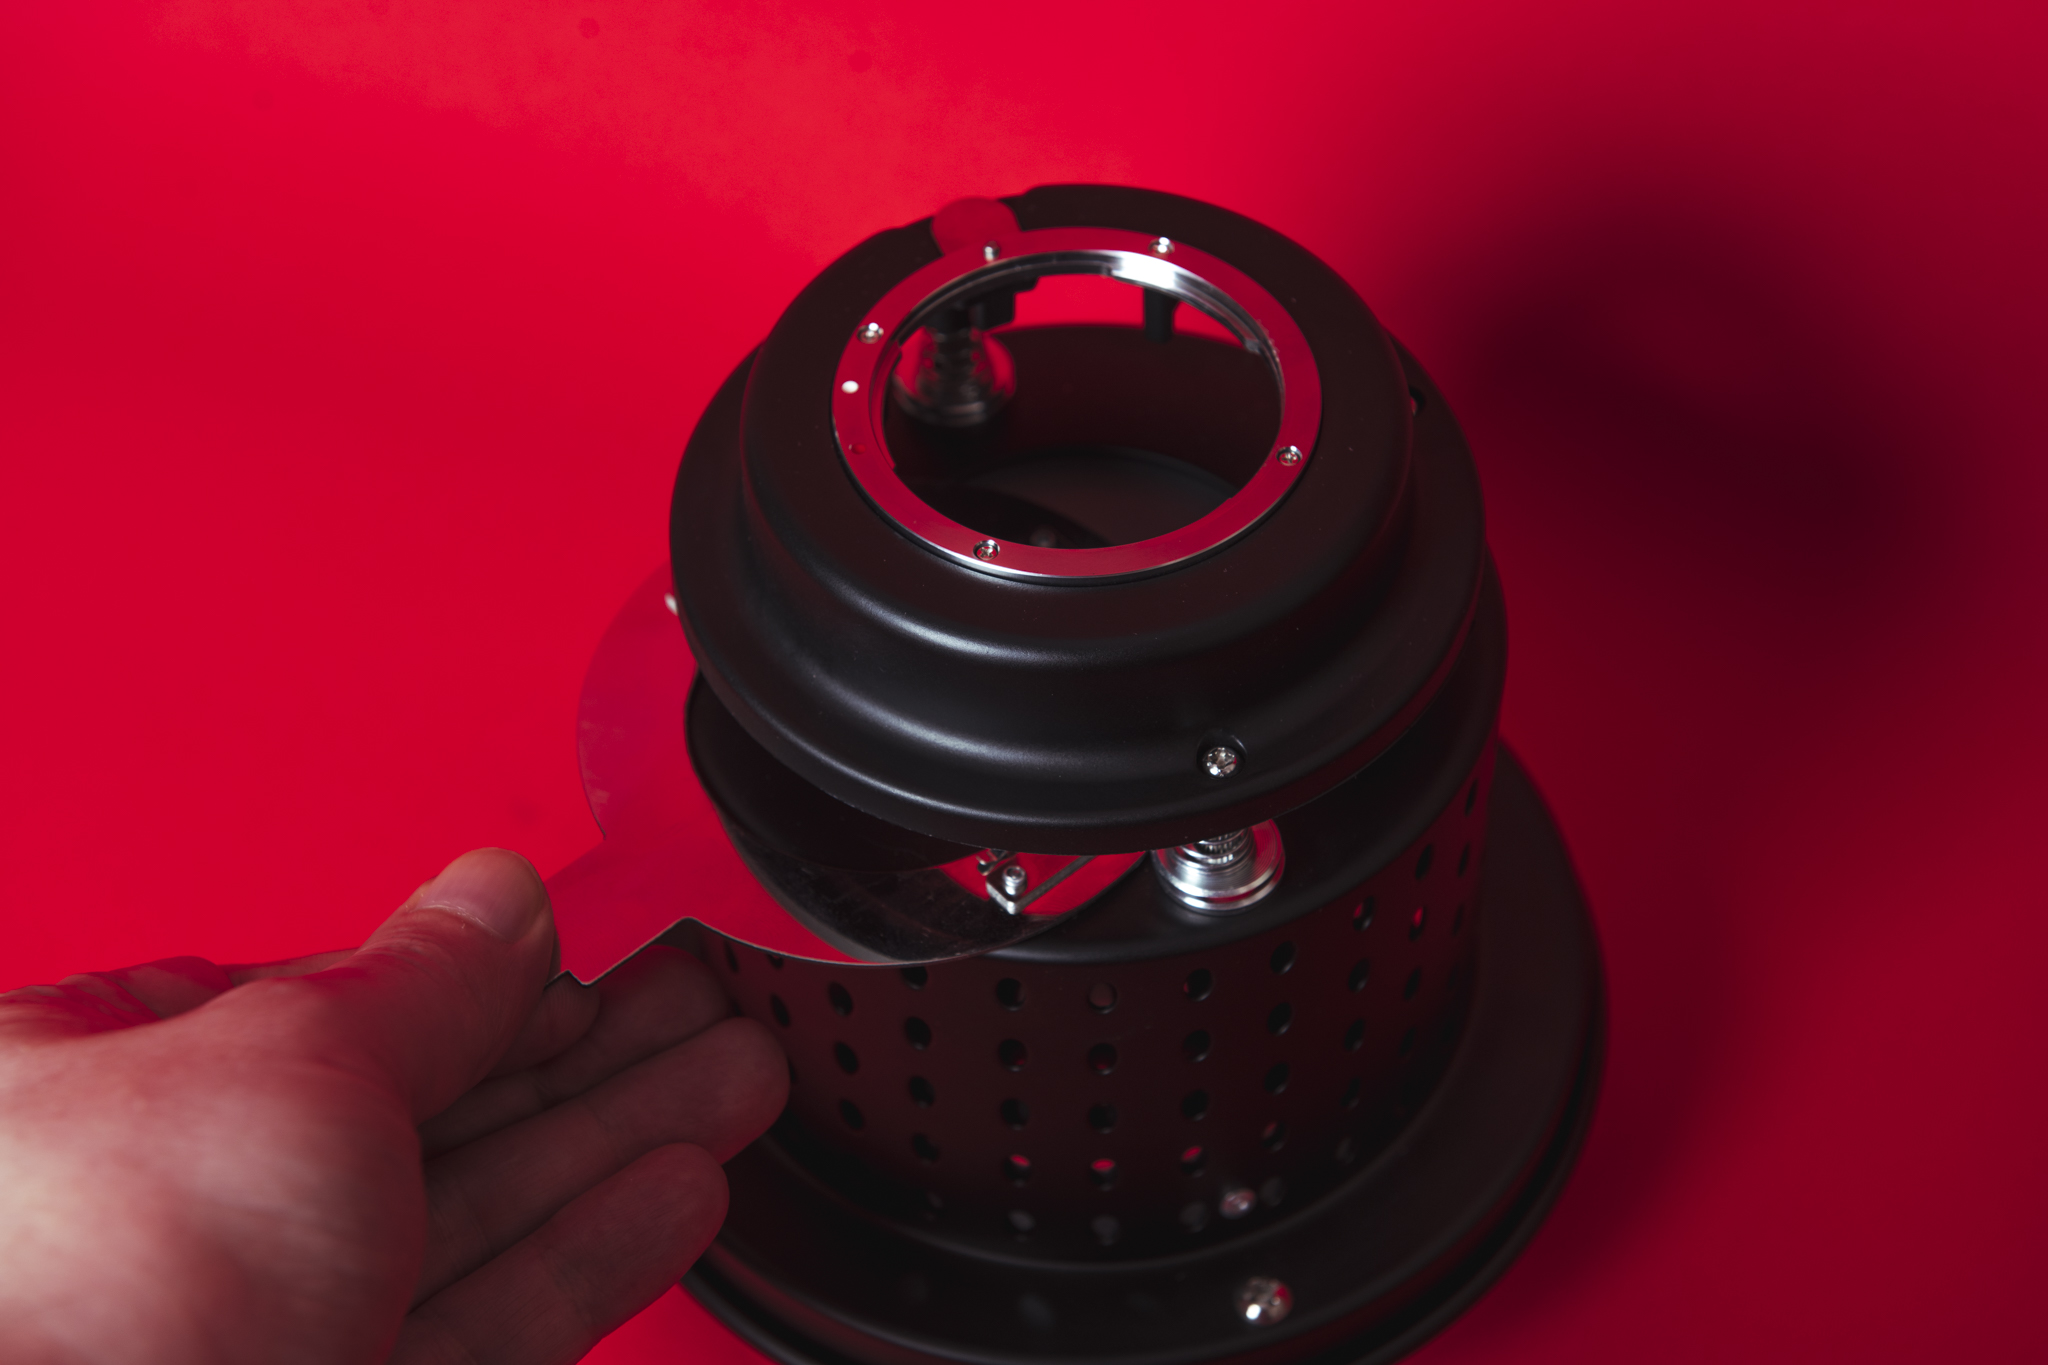
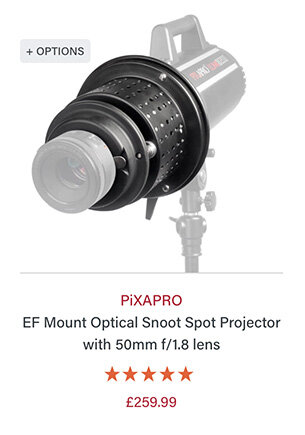
But wait! Before you go running off to purchase one, be sure to check you also choose the correct attachment for your specific strobe. At the moment, this Optical Strobe has versions for Bowens S-Type (Godox), Elinchrom / Interfit EX & EXD, Broncolor and Profoto.
But wait?! ….Again! You may also notice that this model states ‘EF Mount’. This means it will only take Canon lenses!!! Sadly that is the only model available, and if you’re a Canon shooter….great, but for the rest of us, we’ll have to think of a workaround. One solution would be to buy a cheap Canon lens for this purpose. This is actually far cheaper than you might think via sites like eBay and I saw a bunch of very fast second hand 50mm primes. For example the one pictured below was less than £30! Alternatively, we’ll need to buy a lens converter for one of your current lenses. Again, this is very cheap due to us not needing anything fancy and you can pick one up for less than a fiver.
To use the Optical Snoot as non-Canon shooter, you’ll either have to pick up a cheap lens, or a cheap lens converter. Ebay will be your best bet in my opinion.
-Update- October 2020
When I originally wrote this article in 2019, Essential Photo (the people who sell this Optical Snoot) didn’t have this option, but now you can actually buy a complete package that includes the Optical Snoot AND the lens together.
This is actually brilliant news for non-Canon shooters who may not have a spare Canon lens lying around. This new package that Essential Photo has includes a 50mm f1.8 lens which is about as perfect as it gets for this modifier. The wide 50mm gives you a good spread of light and the excellent f1.8 is going to be super-bright and let a lot of light through the modifier. If you don’t already have a Canon lens ready to go, this new product is an excellent option.
Here is a link to the product on the Essential Photo website and yes, it is an affiliate link so I will see some reward if you use this link to purchase this product. Optical Snoot PLUS 50mm f1.8 lens by Essential Photo
The Optical Snoot and Gobos Kit
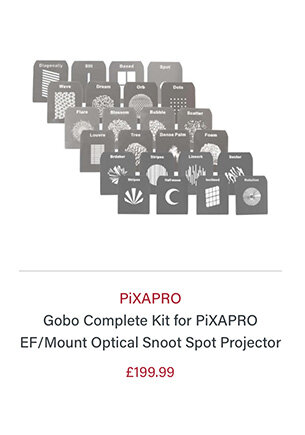
The slightly more expensive package and the one that I received, comes with everything the base package comes with, but this time it also has a huge selection (16) of Gobos too.
Note: This gobo package also comes with some tiny gels that fit inside, as well as some stock imagery printed onto transparency film. But in all honesty, these are not really worth mentioning as they are very generic and are not worth using. These also may well come with the base package too.
UPDATE OCTOBER 2020: This version is currently on sale for £275! (down from £339 when this article was originally written in 2019)
Here’s an updated link and yes it’s an affiliate link so I will see some small form of tangible reward for you clicking and purchasing via the following link Optical Snoot & Gobo Kit from Essential Photo
Click to enlarge: The Gobo package comes with 16 laser cut metal gobos.
I have to say that I’m impressed with the selection of gobos included. Most of them are actually very usable and not cheesy or ridiculous looking like I’ve seen in the past from other packages. But is it worth the extra £140? You’ll have to decide that for yourself, but let me just add that individual laser cut metal gobos are often around £40 each, so if you see a handful here that are interesting to you, this might be worth the extra money. Separate packs of these gobos are also available and I’ll list their links down below as well.
If you’re looking to buy alternate gobos, then a company I’ve used in the past for custom ones as well as a huge selection of stock designs is GoboPlus.
But is it any good?
Setting it up
Okay so finally we get to the part of the review the millennials have already skipped down to. Is it this modifier any good?
As always that is highly subjective and although some of you will love it, some of you will also invariably hate it too. So let’s look at what it exactly does and explore how it can be used.
First up; as a Nikon shooter I had to attach a Nikon to Canon lens converter to the Optical Snoot, then attach my spare lens to that to complete the unit.
Note: I was using an old Nikon f1.4 50mm lens with mine for the entirety of this review.
Once all that is in place, it’s now time to attach it to my strobe and then start to insert the desired gobo via the holder.
The gobo you choose is entirely up to you and regardless of what you decide upon, it can simply and easily be switched out at any time via the slot on the side of the Optical Snoot.
Click to enlarge
The Shoot
Once everything is set up and in place, getting the Optical Snoot working is dead easy and you simply point it in the direction you want… and fire.
The results below are of a single light with the ‘Boxed’ gobo in place in the Optical Snoot and it looks like this…
Click to enlarge: Image of the Optical Snoot and ‘Boxed’ gobo only.
Click to enlarge
As you can see from the image above, the lighting is VERY harsh with the highlights being very bright and shadows being very dark. This is the very contrasty and very hard light I was referring to earlier.
The resulting light is clearly very contrasty, but some of you may love this effect. In fact I heard the other day that there are even some people out there that still shoot in black and white ;) , this look would likely be great for that monochromatic style. But for me, this lighting is a little tricky to work with, especially where portraits are involved. So now let’s add another light and brighten up some of those very dark shadows.
Click to enlarge: Image of the Optical Snoot and ‘Boxed’ gobo plus an additional soft light to fill the shadows.
Click to enlarge
I think we can all agree that the above images are very different to the originals I took, but all we’ve done here is to add a large softbox to the set just so we can fill in some of those hard shadows with additional light. What is very important to remember here is that this is still hard light, all we have done is add light to the shadows, but this doesn’t affect the hardness of the light in any way and the transition from light to dark is still very acute.
Now let’s switch up the gobo and try another few shots with the exact same lighting.
These images were all shot with the ‘Louvre’ gobo in place.
Click to enlarge
Click to enlarge
Click to enlarge
The above shots were exactly the same setup, but this time I used the ‘Louvre’ gobo instead.
Adding some colour
Of course no good photoshoot is complete unless you add some colour to it. So how can we make this setup a little more creative?
This time around I decided to test out one of the foliage gobos to break up that geometric pattern a little. For the next test I tried the ‘Dense Palm’ gobo in the Optical Snoot.
Next up I tried the ‘Dense Palm’ gobo.
Click to enlarge: This shot was with the ‘Dense Palm’ gobo light only.
To begin with I turned off the big softbox fill light and just took a shot with the ‘Dense Palm’ gobo light only. That shot can be seen above and we can immediately see that the very dark shadows are now back.
Next up though, I added a pink coloured gel to my big softbox and turned it back on to take some more shots.
Click to enlarge: Image with the ‘Dense Palm’ gobo in place as well as colour gelled fill.
Click to enlarge
Click to enlarge: This setup is the same as the previous one accept this time we’ve added a coloured gel to the softbox fill light.
Click to enlarge
Conclusions
As usual, I think the images will do the talking for you. I’ve provided a bunch of shots here and I played with a few different ideas whilst using the same Optical Snoot modifier to show you some of its possibilities. As a result, I think you’ll either love the effect or you wont.
Personally though; I love this modifier.
I wont use it on every shoot, but when I do use it, this Optical Snoot will be taking centre stage over the final product. This is not a ‘comfort-blanket’ modifier that will be your ‘go-to’ lighting attachment when you’re tired or on auto pilot. This is not an Octa 90 or beauty dish modifier that is easy enough for your mum to use either. The Optical Snoot provides a VERY specific look and that look is incredibly unforgiving. If you choose to get one, you will be frustrated at first and that’s okay. The shadows it casts are impossibly hard and a constant watch on your subjects position and pose is crucial as the gap between ‘incredibly captivating’ and ‘utterly useless’ shots is minuscule.
If the softbox is the studio photographers training wheels, consider the Optical Snoot as the monocycle.
But if you do decide to persevere with this lighting attachment then I believe you will love the very unique results it can provide you.
Closing Comments
Some points to bear in mind before you go.
You need to provide your own lens - This Optical Snoot only supports Canon EF mount lenses so you’ll need a workaround in the form of either a cheap secondhand Canon lens or a cheap lens converter for your own lenses.
One benefit of using your own lens is the ability to throw light over a wider area with wider angle lenses. The longest lens I’d recommend using with this Optical Snoot is 50mm. Ideally though a 28mm or 35mm would give you more versatility.
The aperture of your lens on the Optical Snoot is crucial. The wider the aperture of your lens, the more light the Optical Snoot will let through. This means you wont have to use higher ISOs so I’d recommend a lens that is at least f2.8.
If you decide not to purchase the Gobo Kit Optical Snoot package, then just remember that you’ll need your own gobos to shine these patterns across your scene.
If the strobe you use has a tungsten modelling bulb, please bear in mind that this metal and glass modifier will get VERY hot. It’s this reason why most gobos are metal, so be wary of what you place in the Optical Snoot to cast shadows.
Big thanks to our model on the day Tanja Borissova
3D Studio design software used - Set.a.Light 3D V.2
Links
All of the links to the relevant optical snoots and gobos are listed below and they will take you to the Essential Photo website.
Please note that as an affiliate, I will receive a small commission on any purchase you make via these links so please consider using them.
Not a strobe shooter? Only have a Speedlight?
There are options available to you as well. The product is called a Light Blaster and it’s a similar system in that it involves you to provide your own lens as well.
Coloured Gels
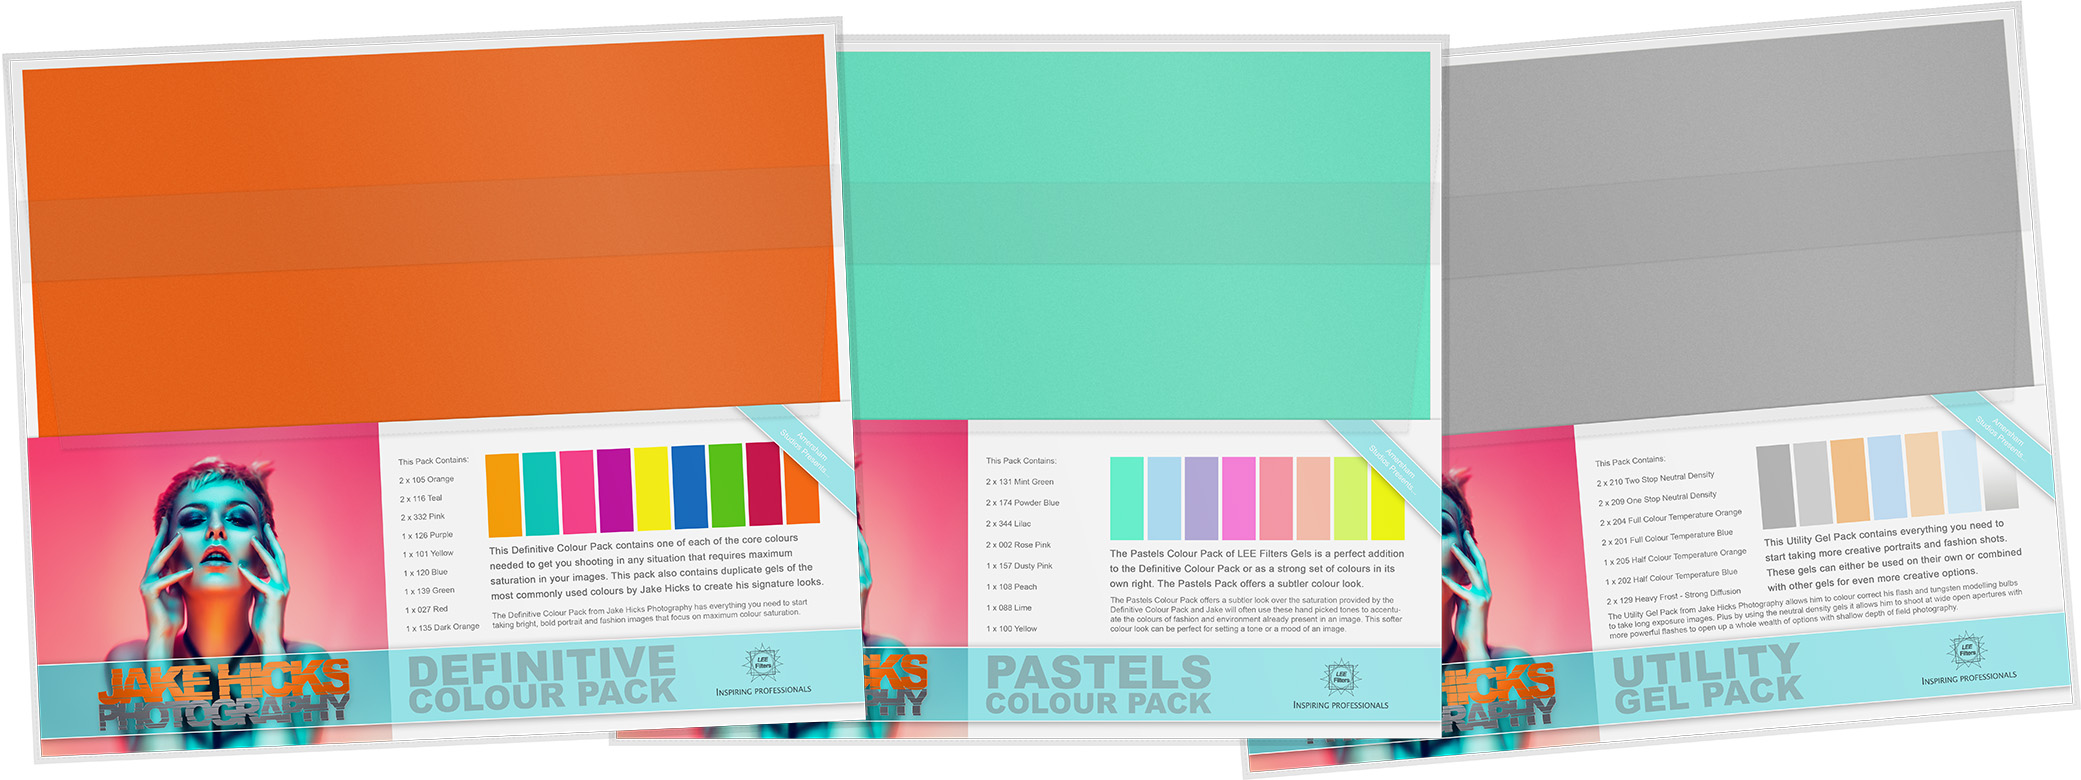
It should be no surprise to you by now, but the coloured gels used in this shoot were from my own gel packs. You can find more info on them here:
THANK YOU
Thanks as always for checking out my article and spending a little bit of your day with me here. I know this one was another monster article and I tried to cover everything, but if you have any questions about the setup or the items used, feel free to let me know in the comments below. And if you give this Optical Snoot a go, definitely let me know as I’d love to see your shots.
More Free Tips & Techniques
If you’re after more tips and tricks on studio lighting then don’t forget to check out my monthly newsletter and my free 10 page pdf on studio lighting techniques. If you’re interested then follow the link below and download it immediately.
Did you receive my FREE 10 page PDF on Studio Lighting Tips yet?
Sign up to my monthly newsletter and receive my free 10 page pdf of my all time ‘Top 10 Photography Tips & Techniques’.
Once a month I’ll send you a newsletter of at least four photo related tips and tricks (one for each week I post them on here if you miss them) plus I’ll also keep you apprised of my new workshop dates as well.


