Sometimes the hardest lighting setups to achieve are actually the ones that look the easiest. For years I’ve wanted to emulate that dappled lighting you see through leaves on a sunny day, or that rippled light you see at the bottom of a swimming pool when the wind catches the water. Like I said, this should be relatively easy to recreate in a studio in theory, as every natural light setup is only ever one light. How hard could that be? (<- photo-nerd pun)
Dappled light is that spotted looking light that appears when we are under trees. We see it a lot in nature but this type of lighting is actually pretty tricky to recreate in the studio.
Trying to Emulate Natural Light in the Studio
Well as it turns out, the sun has a few tricks up its sleeve, but more importantly the suns modifiers are pretty unique. Short of dragging an oak tree into the studio or shooting at the bottom of a swimming pool, I had to get a little creative when it came to emulating some of these more unique looking lighting setups.
The basic principle of trying to emulate any natural light setup is to remember a couple of crucially important things. One, natural light is always the sun and that is always only ever one light. Two, the sun is an incredibly powerful and very hard light source. If you’re not familiar with what I mean by a ‘hard’ light source, then take a look at the diagram below to see it compared to ‘soft’ light.
Essentially hard light produces very strong, dark shadows and they appear to have a very quick transition from light to dark compared to soft light which instead produces very soft edged shadows.
The key point to take away here is that the sun by default always starts off as a single, very hard light and its the other items that get in the way of its light before it reaches us that will determine whether it’s actually hard or soft light. For example, the hard light from the sun is made soft if it’s a very cloudy day and in some instances where mist or fog is in the air, the sun wont appear to be casting any shadows at all.
In the above shots we can clearly see the difference between hard light and soft, especially if we look at the shadow areas.
Hard Light Modifiers
Now that we’ve established we need a hard light to start off with, what are some of our options? As a general guide, a hard light is typically small in size in relation the subject. The sun is very big, but in relation to us it’s tiny in the sky so we need to keep that in mind. Modifiers that will produce hard light for us are snoots, honeycomb/grids, barn doors and more specialist modifiers like projection spots. These projection spots have a lens on the end of them so they can focus the light onto our subject and these will always produce the hardest light when compared to other alternatives.
Hard light modifiers include snoots, barn doors, grids/honeycombs and optical spots.
If you just simply shine some hard light through some leaves, the resulting shadow effect with be too strong.
Creating Shadows
So now we’ve established that we’re going to use one light and that light will have a hard light modifier on it, we now need to look at creating those dappled shadows.
One way to create this look is simple, just to being in a big bunch of tree branches and leaves and shine your hard light through them onto the subject. Don’t get me wrong, this is a totally viable method and you can still produce some cool shots in this way, but it does have a couple of issues. The biggest problem with this combo of hard light and tree branch is that the shadow areas are very dark in the shot. The shadows being produced are very strong and like we saw in the hard light vs. soft light comparisons earlier, the shadows will always be extremely dark. So although, I’ve tried this method in the past, I was far from happy with it and the hunt continued to try and recreate that natural dappled light I loved so much in the studio.
So how do we get that happy medium between creating cool looking dappled shadows on the subject whilst still being able to see some of the details underneath?
As usual, the idea came to me as I was observing light at work out in the real world. A while ago we were in a cafe in downtown L.A. and it had a small section of its exterior wall made up of those thick glass blocks. The sunlight was pouring in on this couple sat enjoying their coffee and they were bathed in this exact same looking dappled lighting that I’d been trying to recreate for so long.
Glass blocks - You can get as many of these as you need but individually they’re 19x19cm in size and surprisingly heavy.
Glass Blocks and…..Gaffer Tape!
For those of you unaware of what glass blocks are, they’re simply architectural bricks made of glass that were developed in the 1990’s. At the time they were often seen in factories and industrial spaces to bring a lot of natural light indoors whist maintaining the privacy of its interior thanks to its mottled design that distorted light that passed through them.
Now we see them being used everywhere and for a while they were very trendy with a whole host of crazy design and colours making it to market. For this particular setup I was playing with the bog-standard classic glass blocks often referred to as having a ‘cloud’ pattern in them. They come in a 19cm by 19cm square and are 8cm thick. I purchased 6 blocks as I wanted enough to cover at least a 3/4 length shot and I’d probably recommend you get a similar amount too if you want some options further down the road. For 6 of these blocks it cost me just under £30 ($40) so not too much, especially when you consider what any other normal lighting modifier costs you.
Like I said, I only ordered 6 of these so I wasn’t planning on building an entire wall of them, but I still needed some way to construct a temporary mini wall at least. In the end, I wanted something that I could take down and put away very quickly if I needed so I thought, ‘why not use the old industry favourite; gaffer tape?!’
I knew these bricks were glass and I didn’t want to hinder light passing them through them in any way with heavy black tape, so I opted to purchase some white gaffer tape instead. The roll I ended up getting was about 50mm wide so I knew I could happily tape the blacks together with that.
The Setup
First things first, I needed to get my glass blocks ready to shoot through. All I did was tape two blocks together and then I taped the three sets of two blocks into one big set of six.
Using white gaffer tape to tape two blocks together and then I can stack these pairs as I want.
This ‘mini-wall’ now weights a ton when combined so I wouldn’t want to make it any bigger and then have to move it around. If you’re not happy with the weight of the six blocks, keep them as pairs and simply stack them up as and when you need them. Just be mindful that they’ll be a little unsteady.
I supported my mini-glass wall on a tripod and laptop plate attachment.
Once you have your blocks ready to use, you’ll need somewhere to put them. Ideally you want the blocks up a little higher than the subjects head height so that you can have your light above head height too. I actually made this a little more achievable by getting the model to sit on a stool thereby making her lower in relation to the wall.
You can use whatever you want to support your blocks but I personally used a tripod with a laptop plate attachment on top instead of the regular tripod head. This gave me a relatively stable support that I could put up fairly high too. WARNING: The blocks are heavy, so be sure to check how much weight your tripod can handle before using this method yourself.
Position your hard light up above the models head height, then position your mini glass wall between them. The thing you'll want to experiment with is these two variables;
The distance of the light to the subject
The distance of the glass wall to the subject and light.
Bringing your glass wall further away from the subject will allow the light effect to be spread over a larger area. Be careful not to bring it too far away though, as the shadow detail will begin to lose its effect.
Bringing the light further away from the glass wall will make it smaller in relation to it.
As we learnt earlier; smaller light sources make harder light sources and harder light sources produce stronger shadows.
This all translates to a stronger shadow effect as you move the light further away. Like I said, playing with distances of both the glass wall and the light will be crucial to getting the look you’re after.
Experimenting with the distances of the light to the glass wall will vary the effect, so be sure to try some options to see what works best for you.
The setup is very simple once the glass wall is made and positioned.
The Shoot
Once everything is setup, it’s time to start shooting. At its simplest, the setup is ready to go because you only need one light to make this work. From here you can add whatever you want to make it more visually interesting or engaging. Try adding different backgrounds or try shooting through a variety of items to add foreground interest.
Click to enlarge: Even at its simplest, a single light and white wall will still produce some cool results.
Click to enlarge: Even without changing the setup, you can get different looks quite easily by playing with some ‘art’ or vintage lenses.
Click to enlarge: Try adding a background. A very simple addition, but it will add more visual interest to the light dappling effect.
Click to enlarge: Keep building and adding elements and you’ll end with something a little more unique. Here I’ve added a backdrop, I’m shooting with an ‘art’ lens and I’m also shooting through a wine glass.
Art Lens
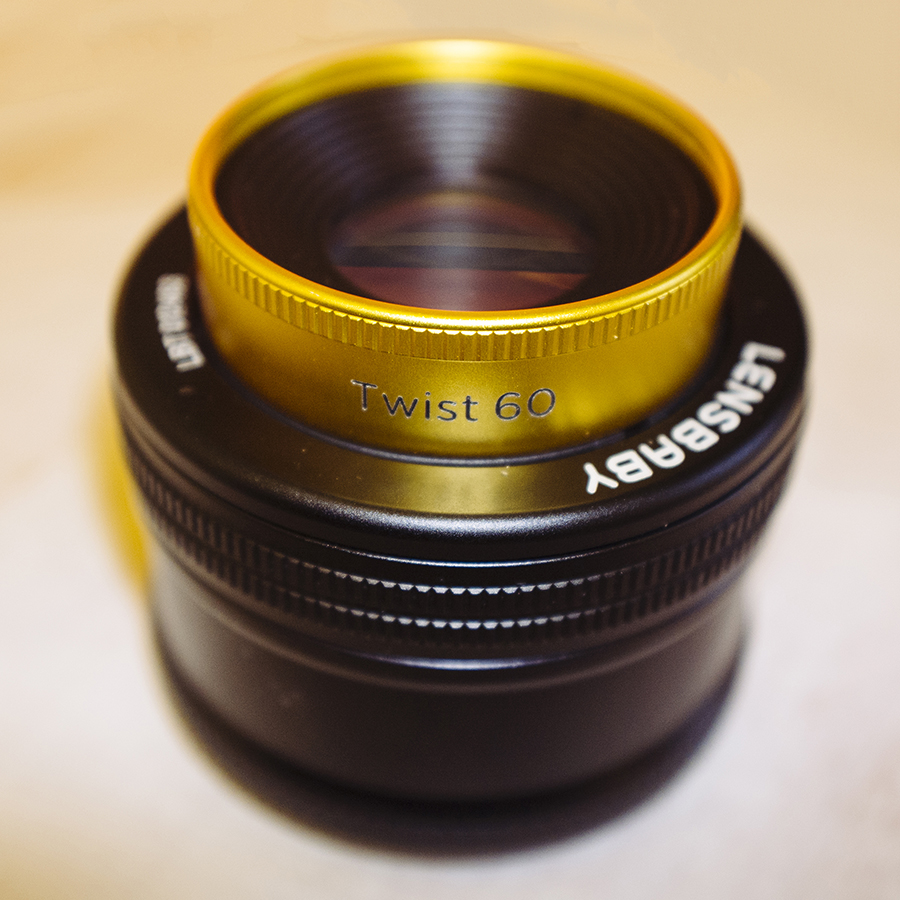
I know I’ll get questions asking what lens I used in these shots, so here’s the details. The lens was a Lensbaby ‘Twist’ 60. This lens creates that swirly bokeh style of look in the background behind the subject. This lens works particularly well on backgrounds with some interest to them and whether that be outside or inside the studio with a mottled background like the one I’m using here.
I reviewed the lens a while ago, so if you want some more info on it then you can check it out here First Look at the Lensbaby Twist 60
This is not a sponsored article, but if you did want to pick one of these lenses up, you can do so here at WEX Photographic - Twist 60 - Nikon
This is the Nikon version but they make them for nearly all camera models now. Like I said, this isn’t a sponsored article, but if you decide to get one, feel free to use my discount code JAKEHICKS10 and if you do use it, I’ll get a beer out of it!
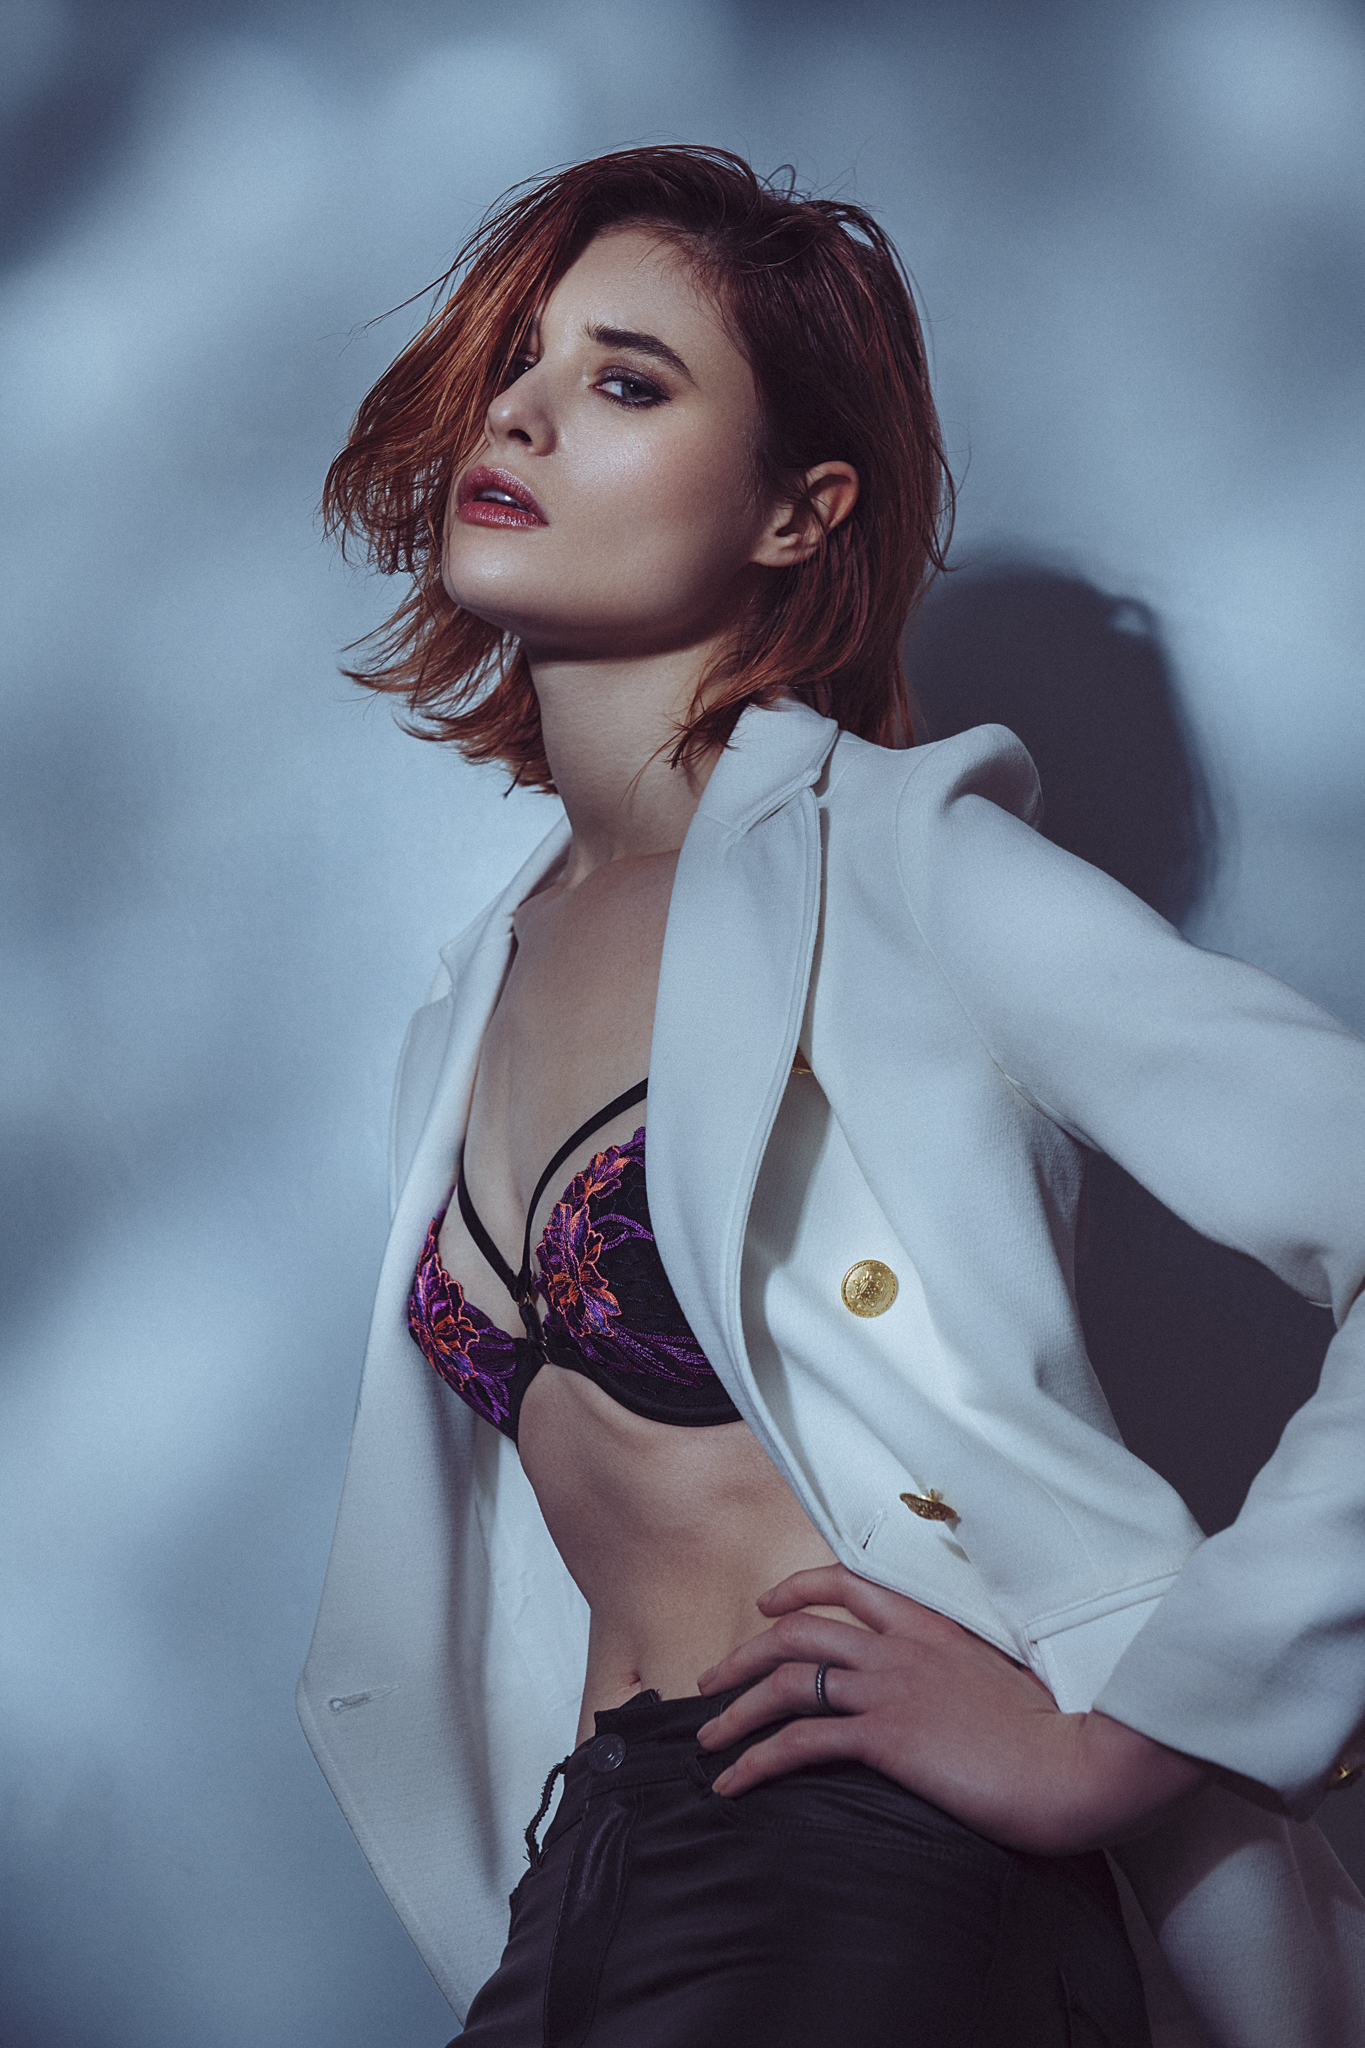
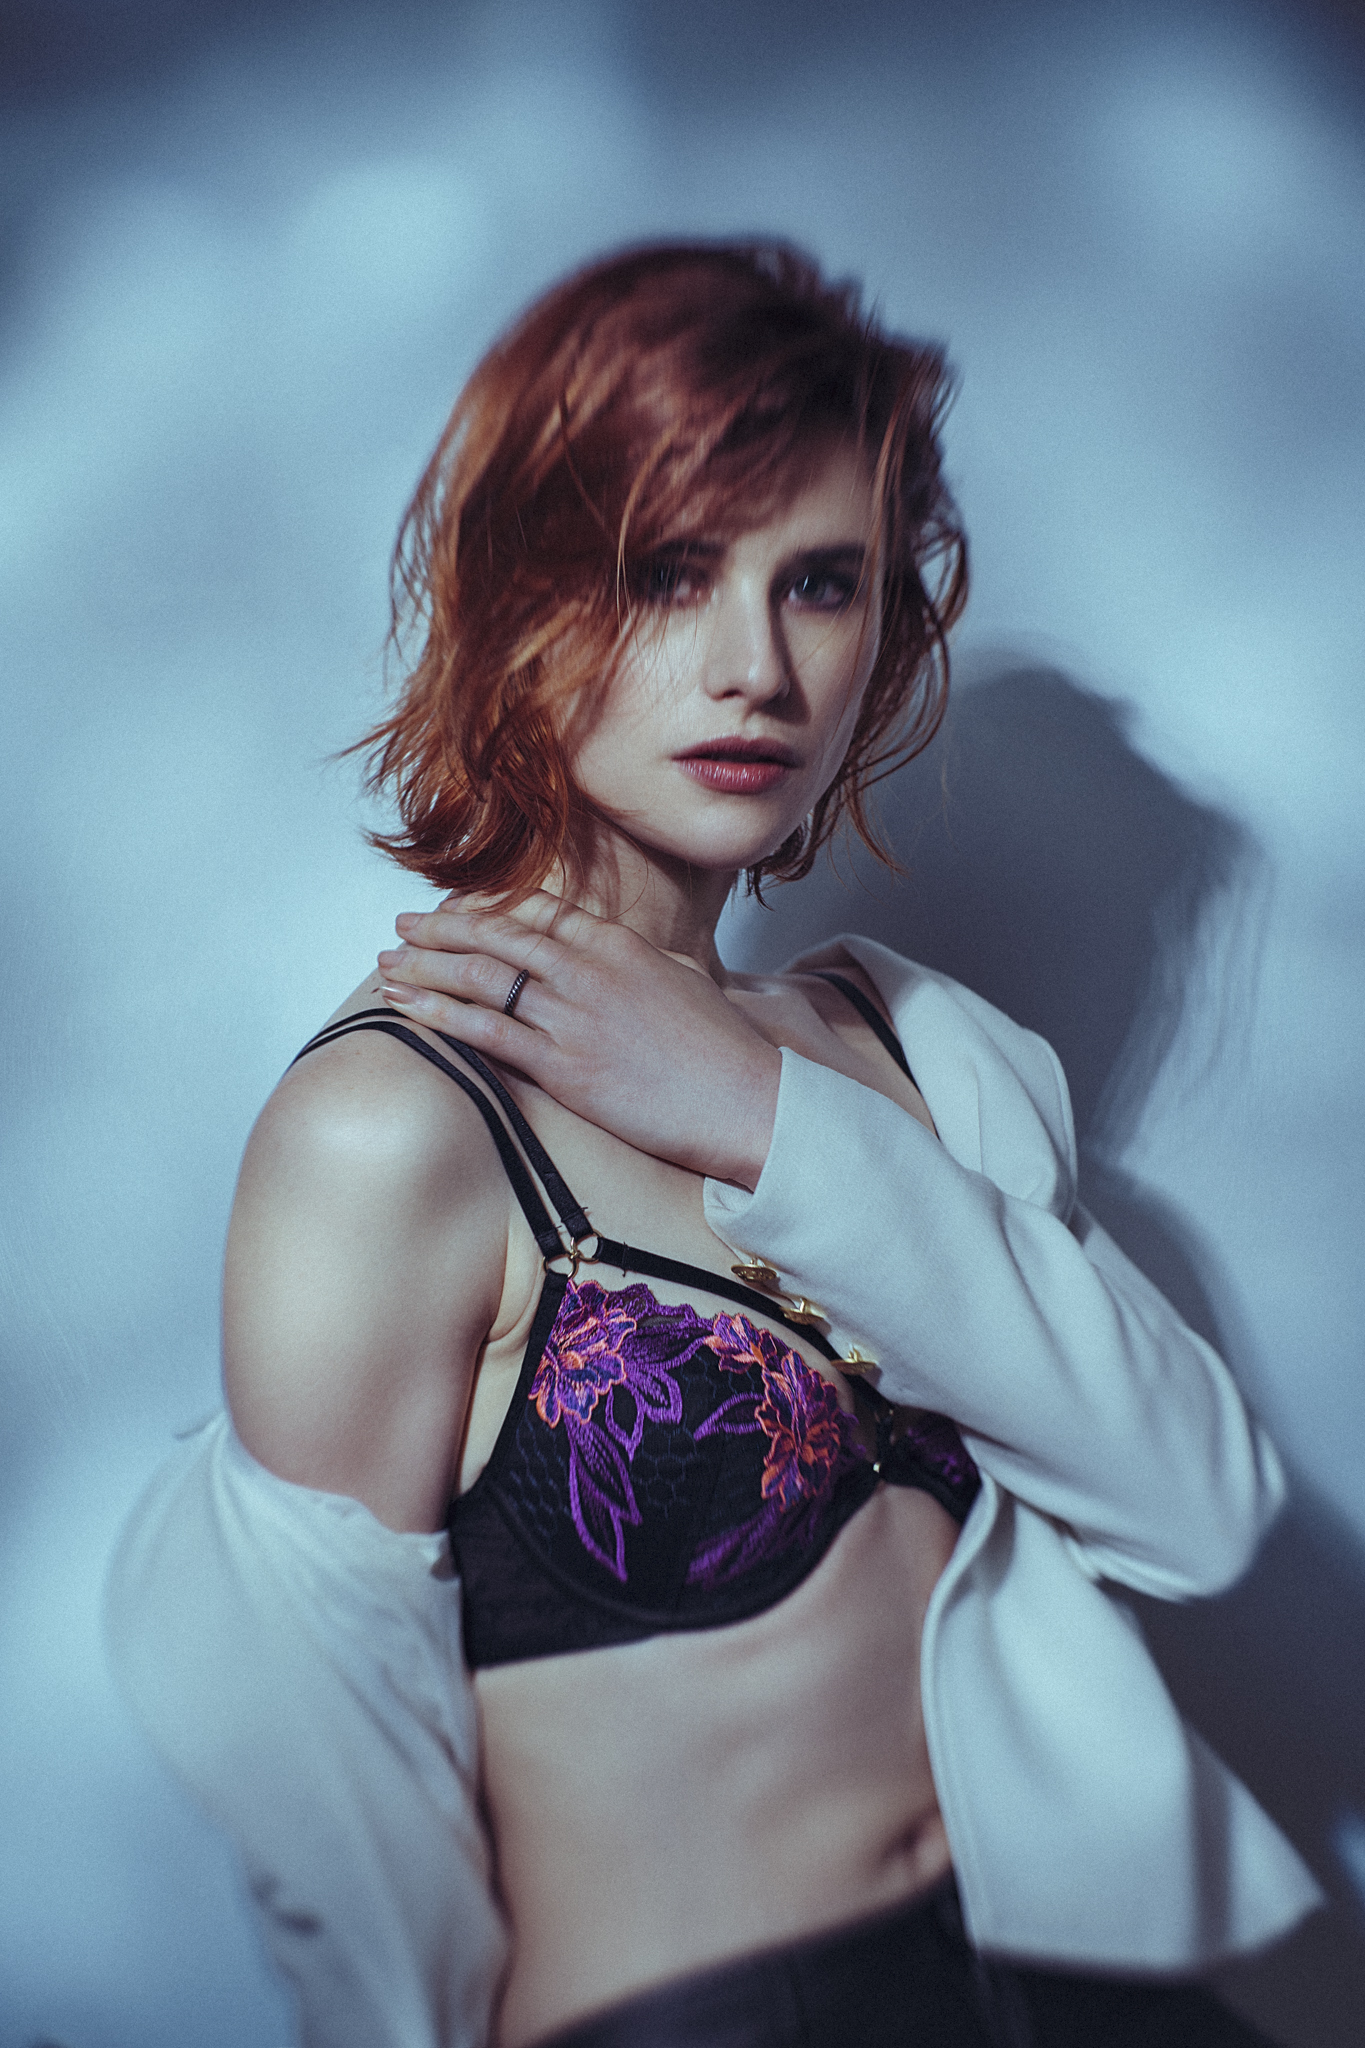
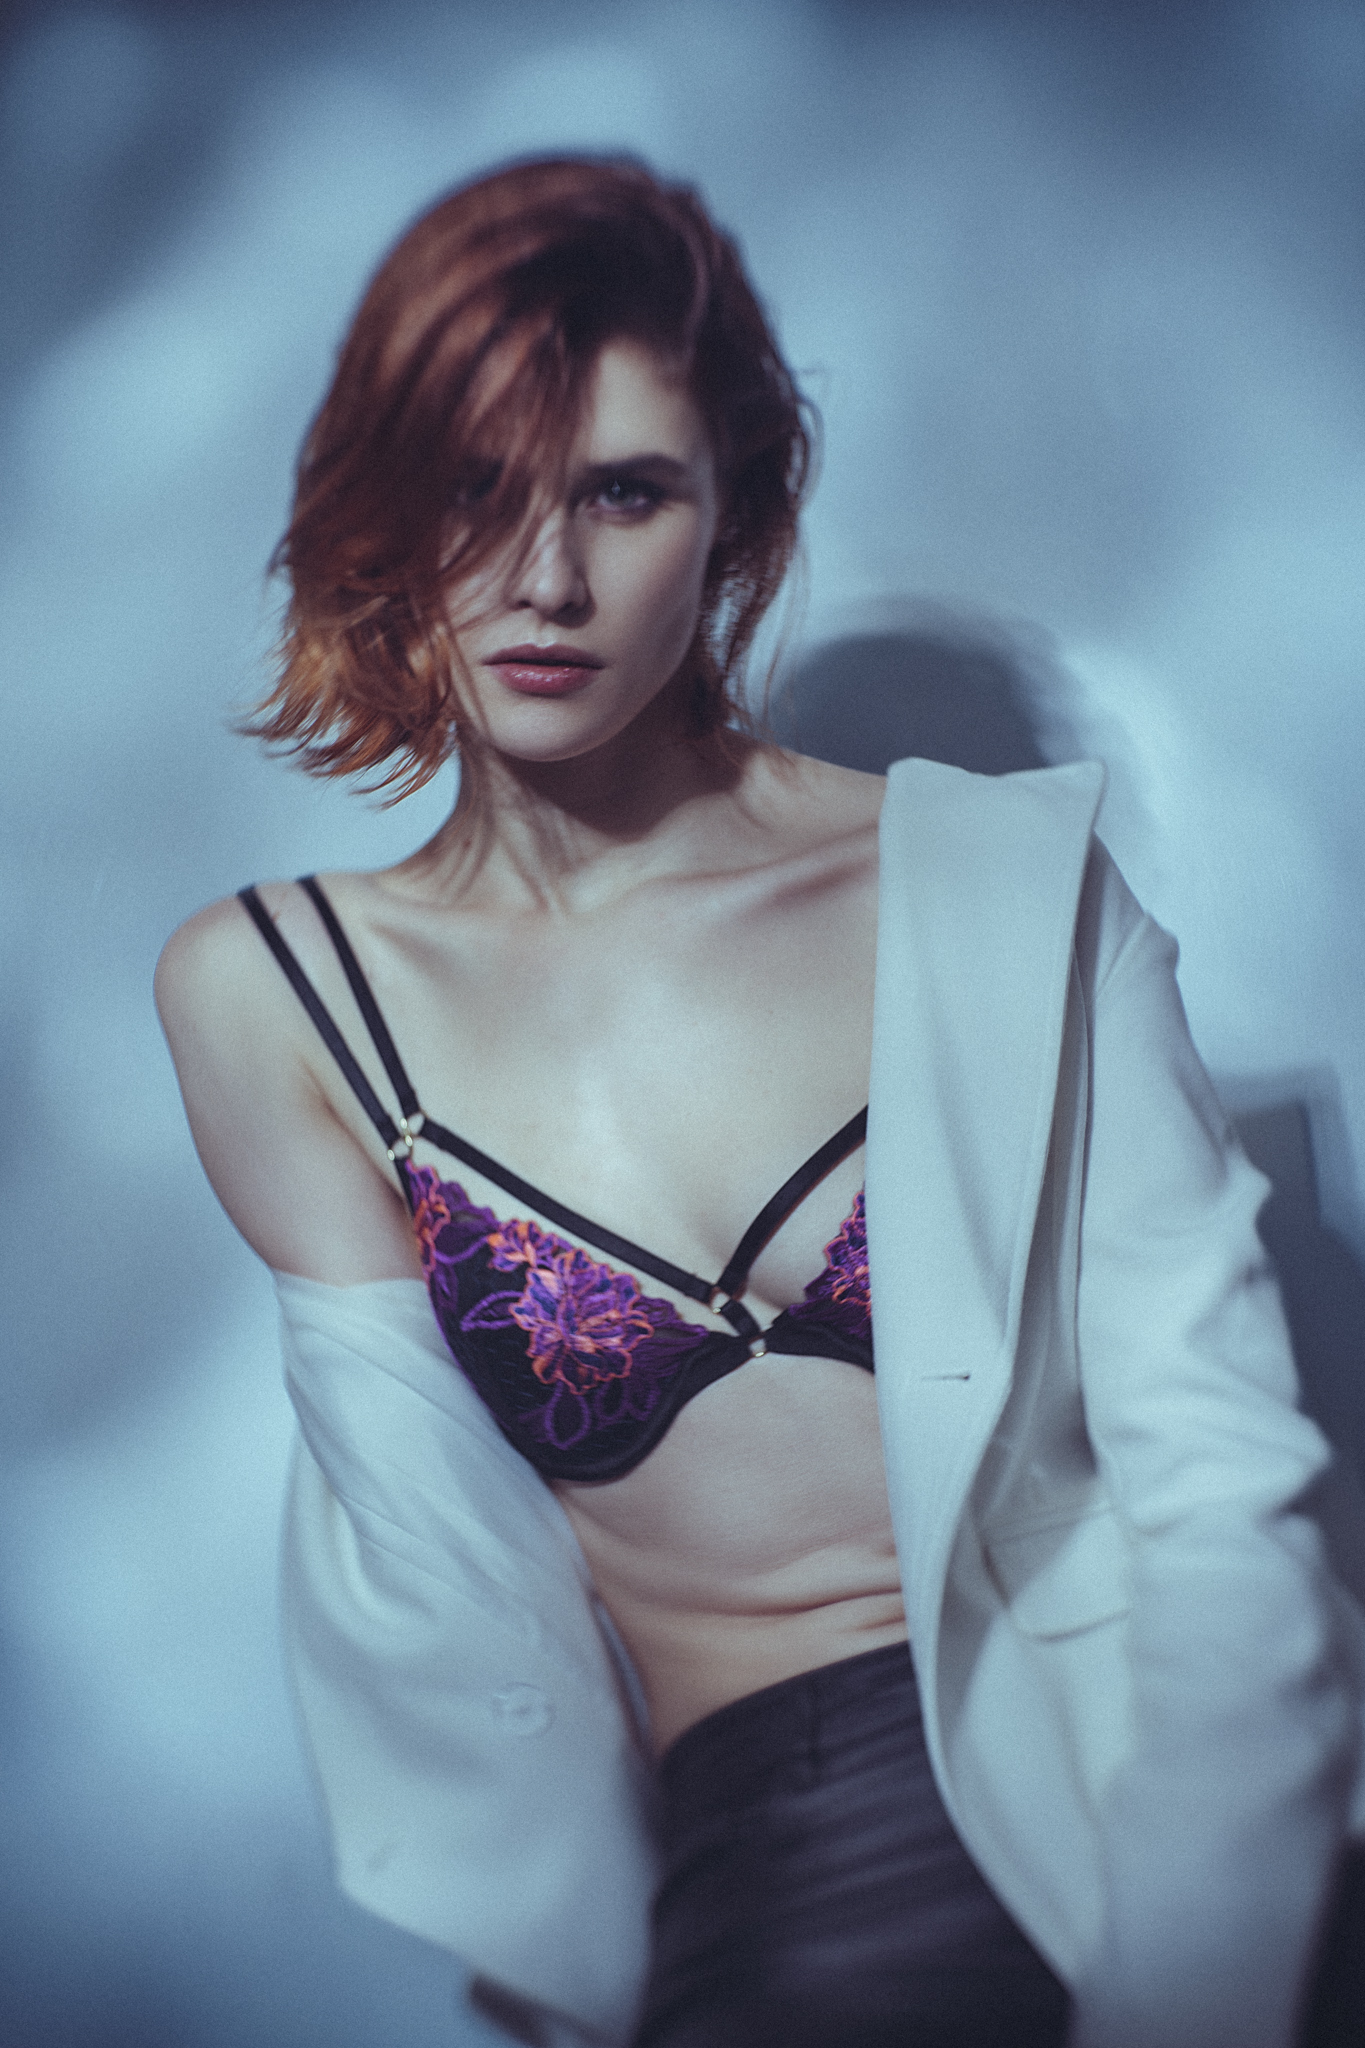
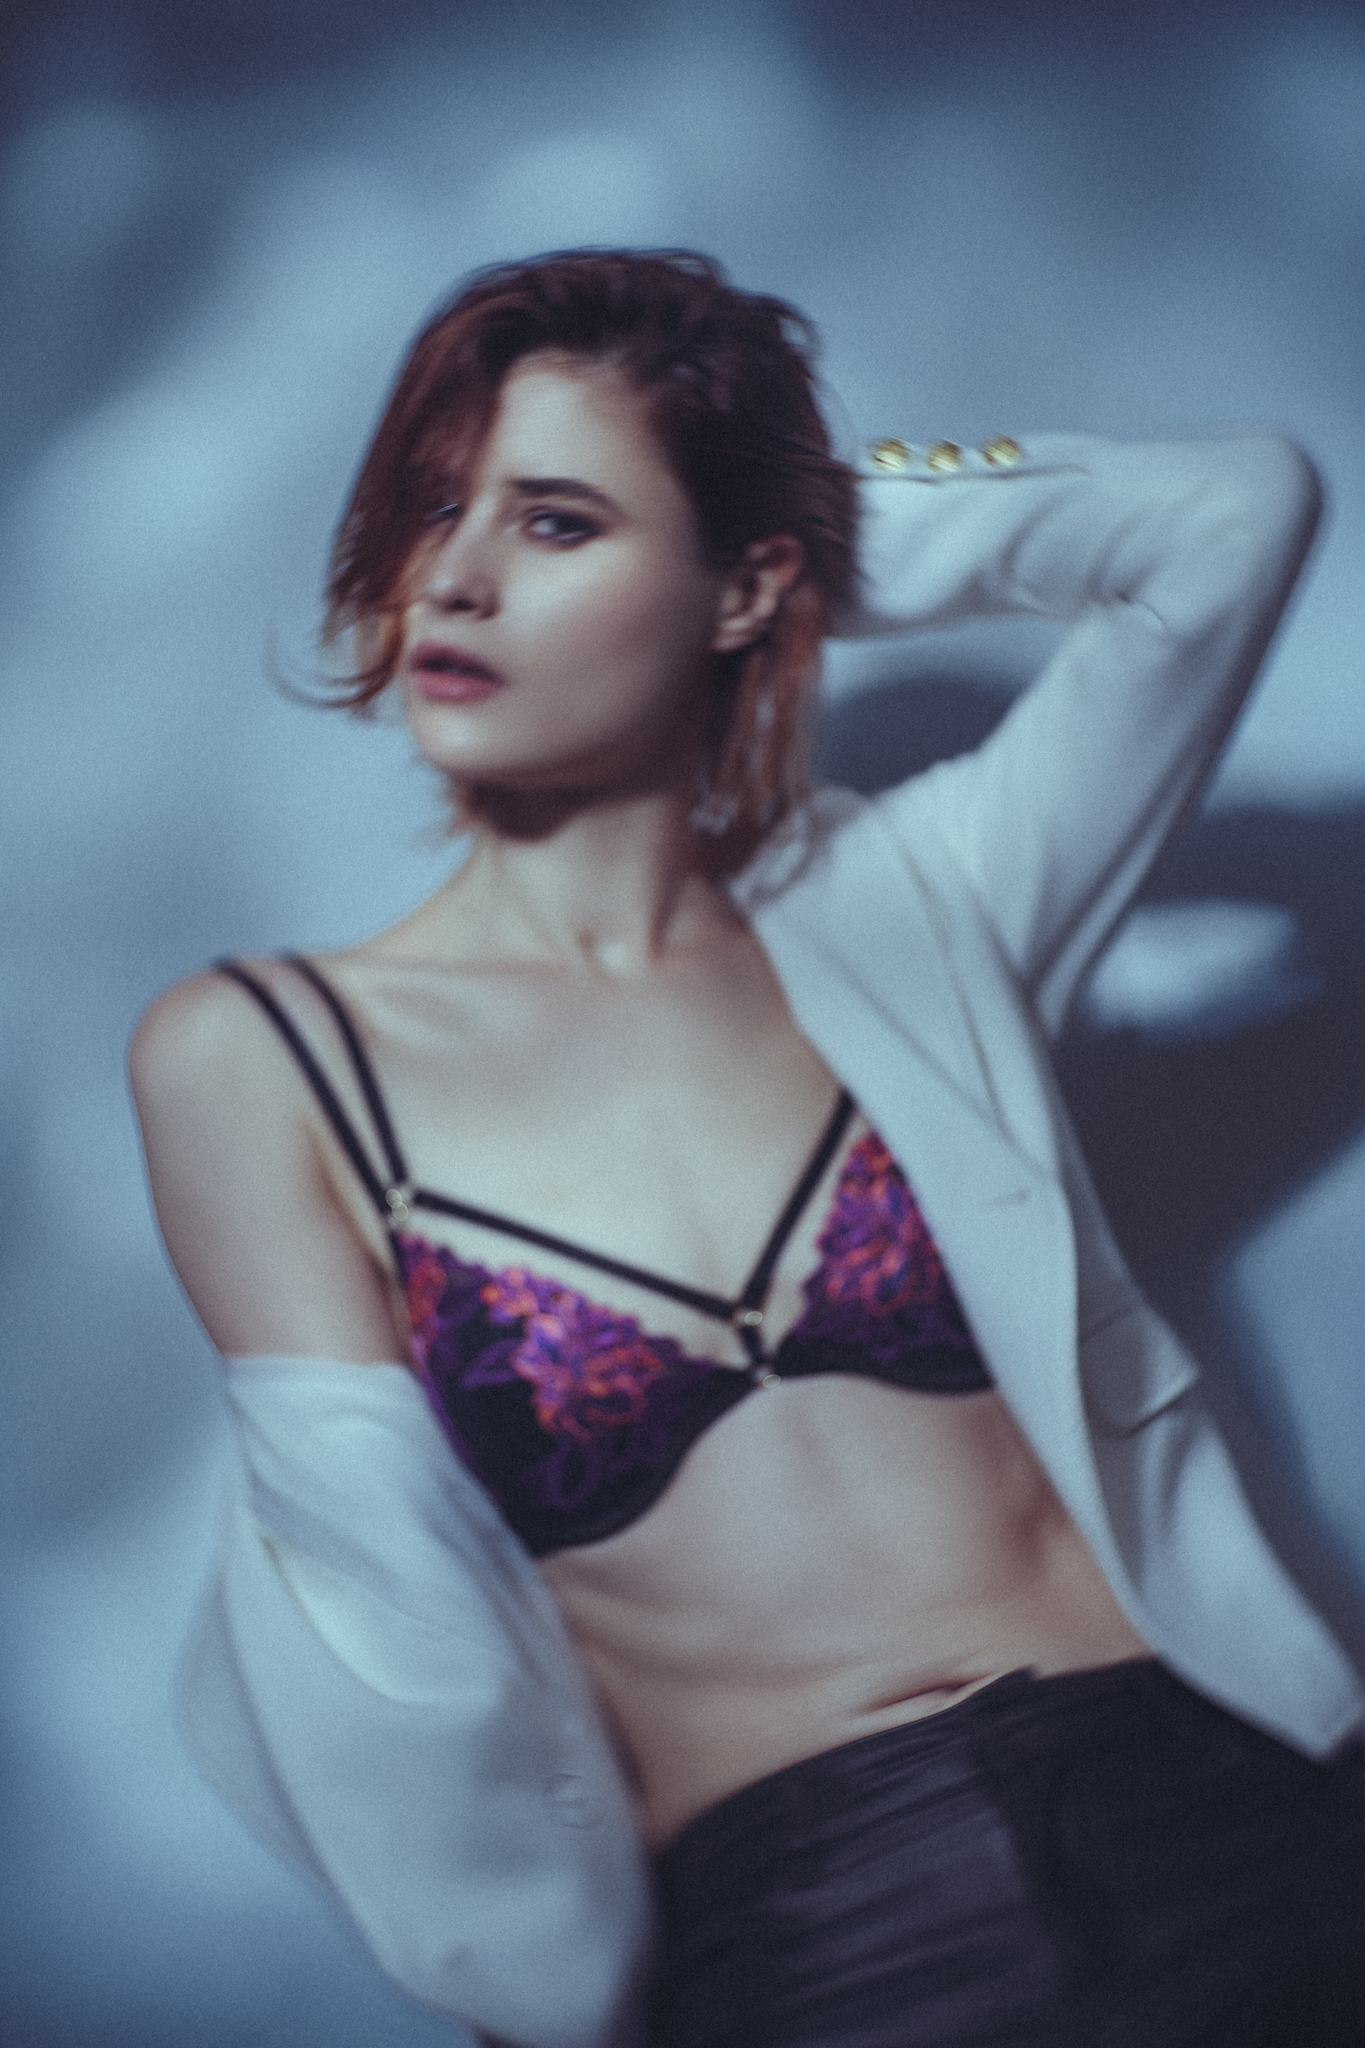
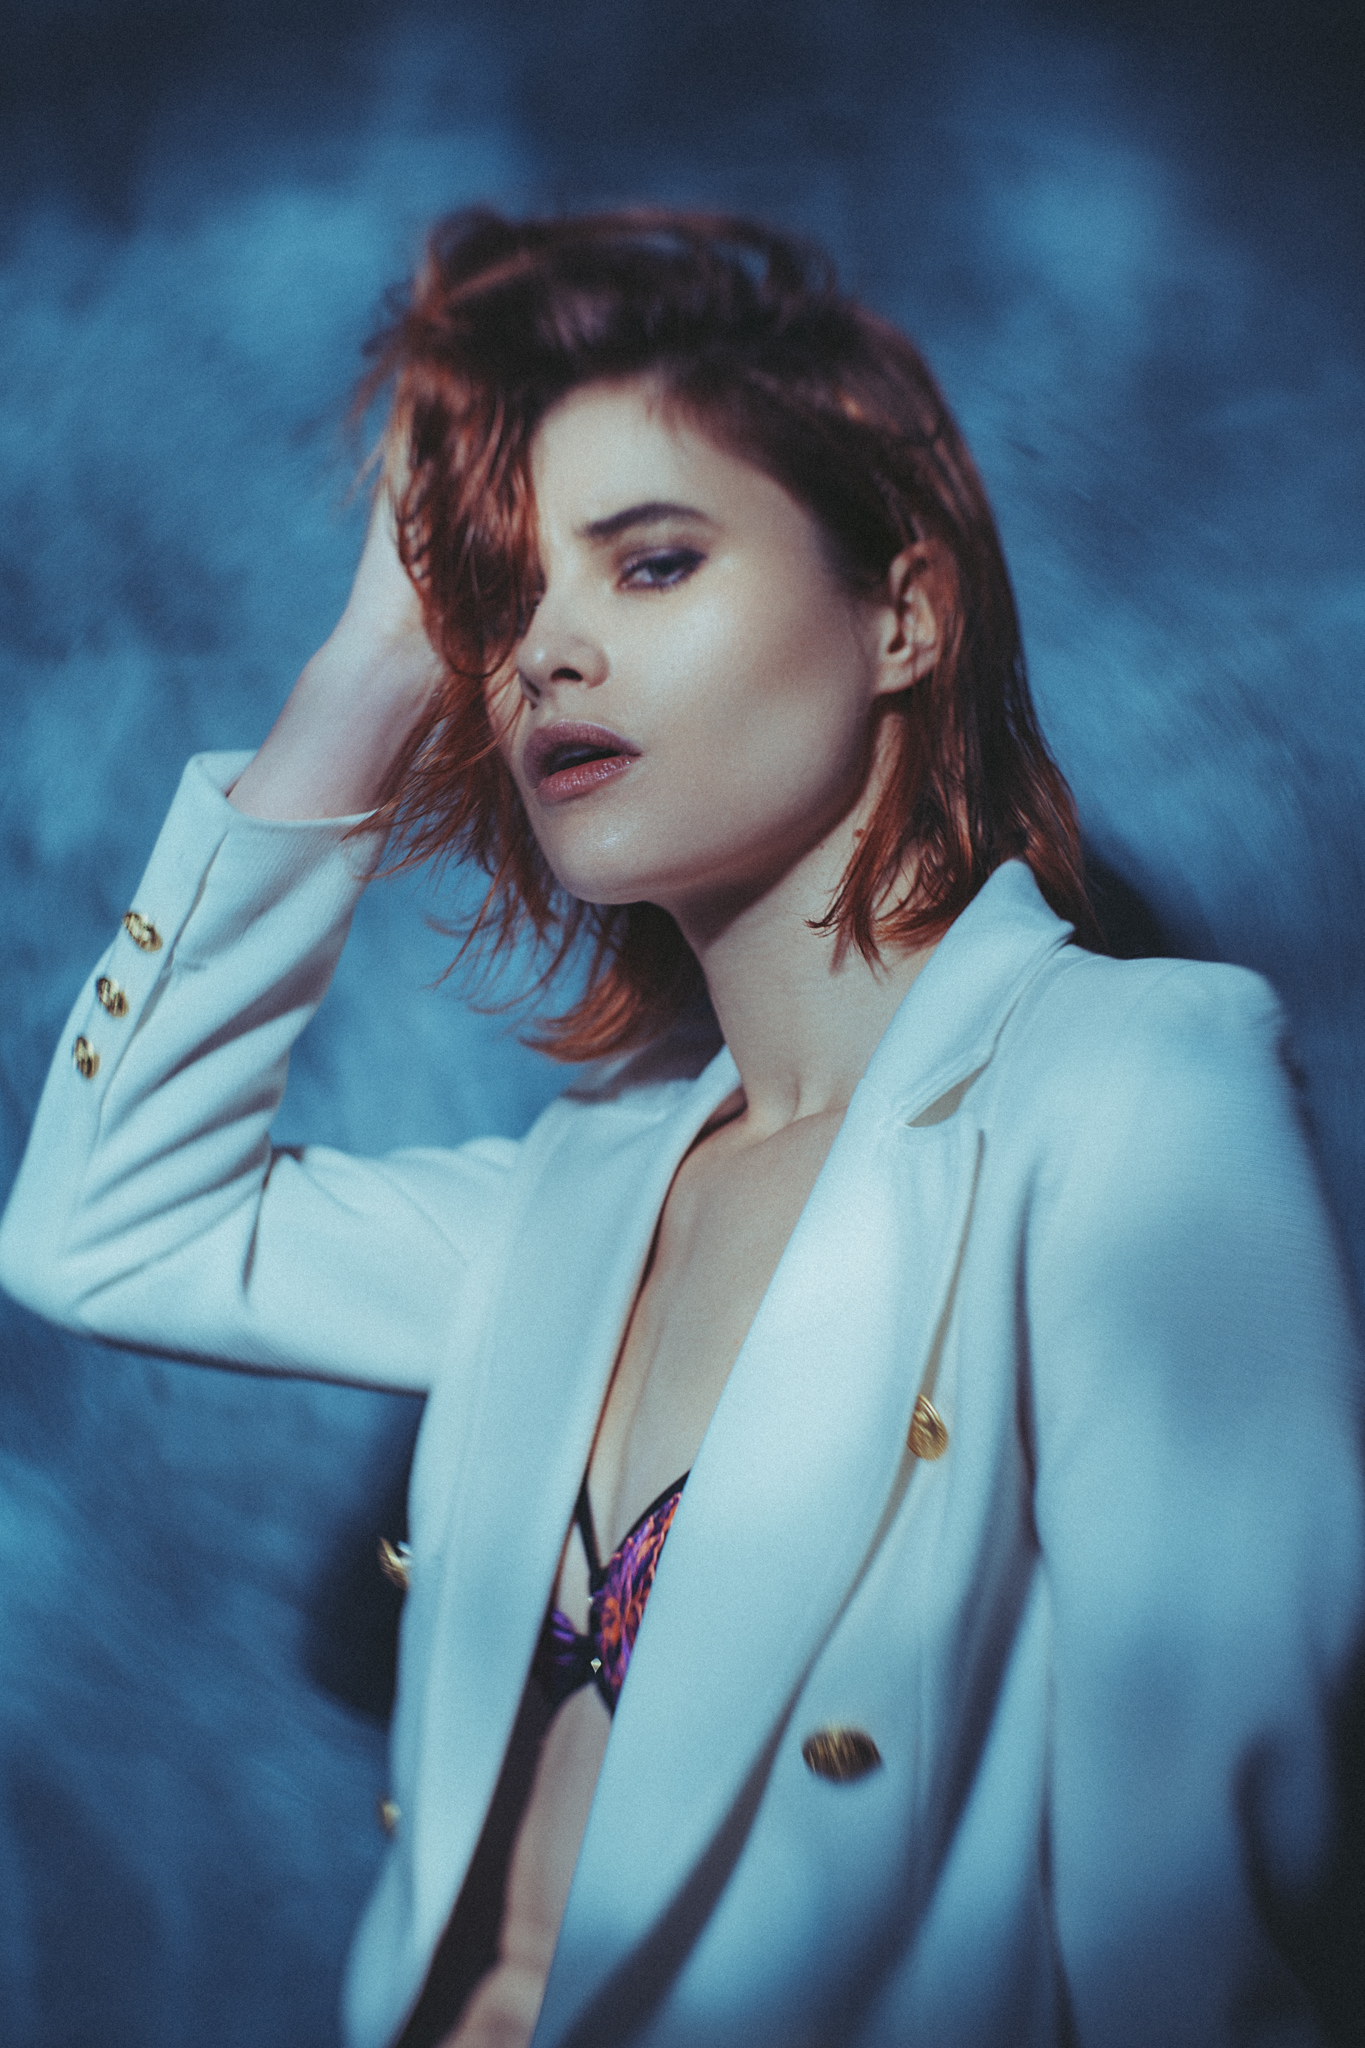
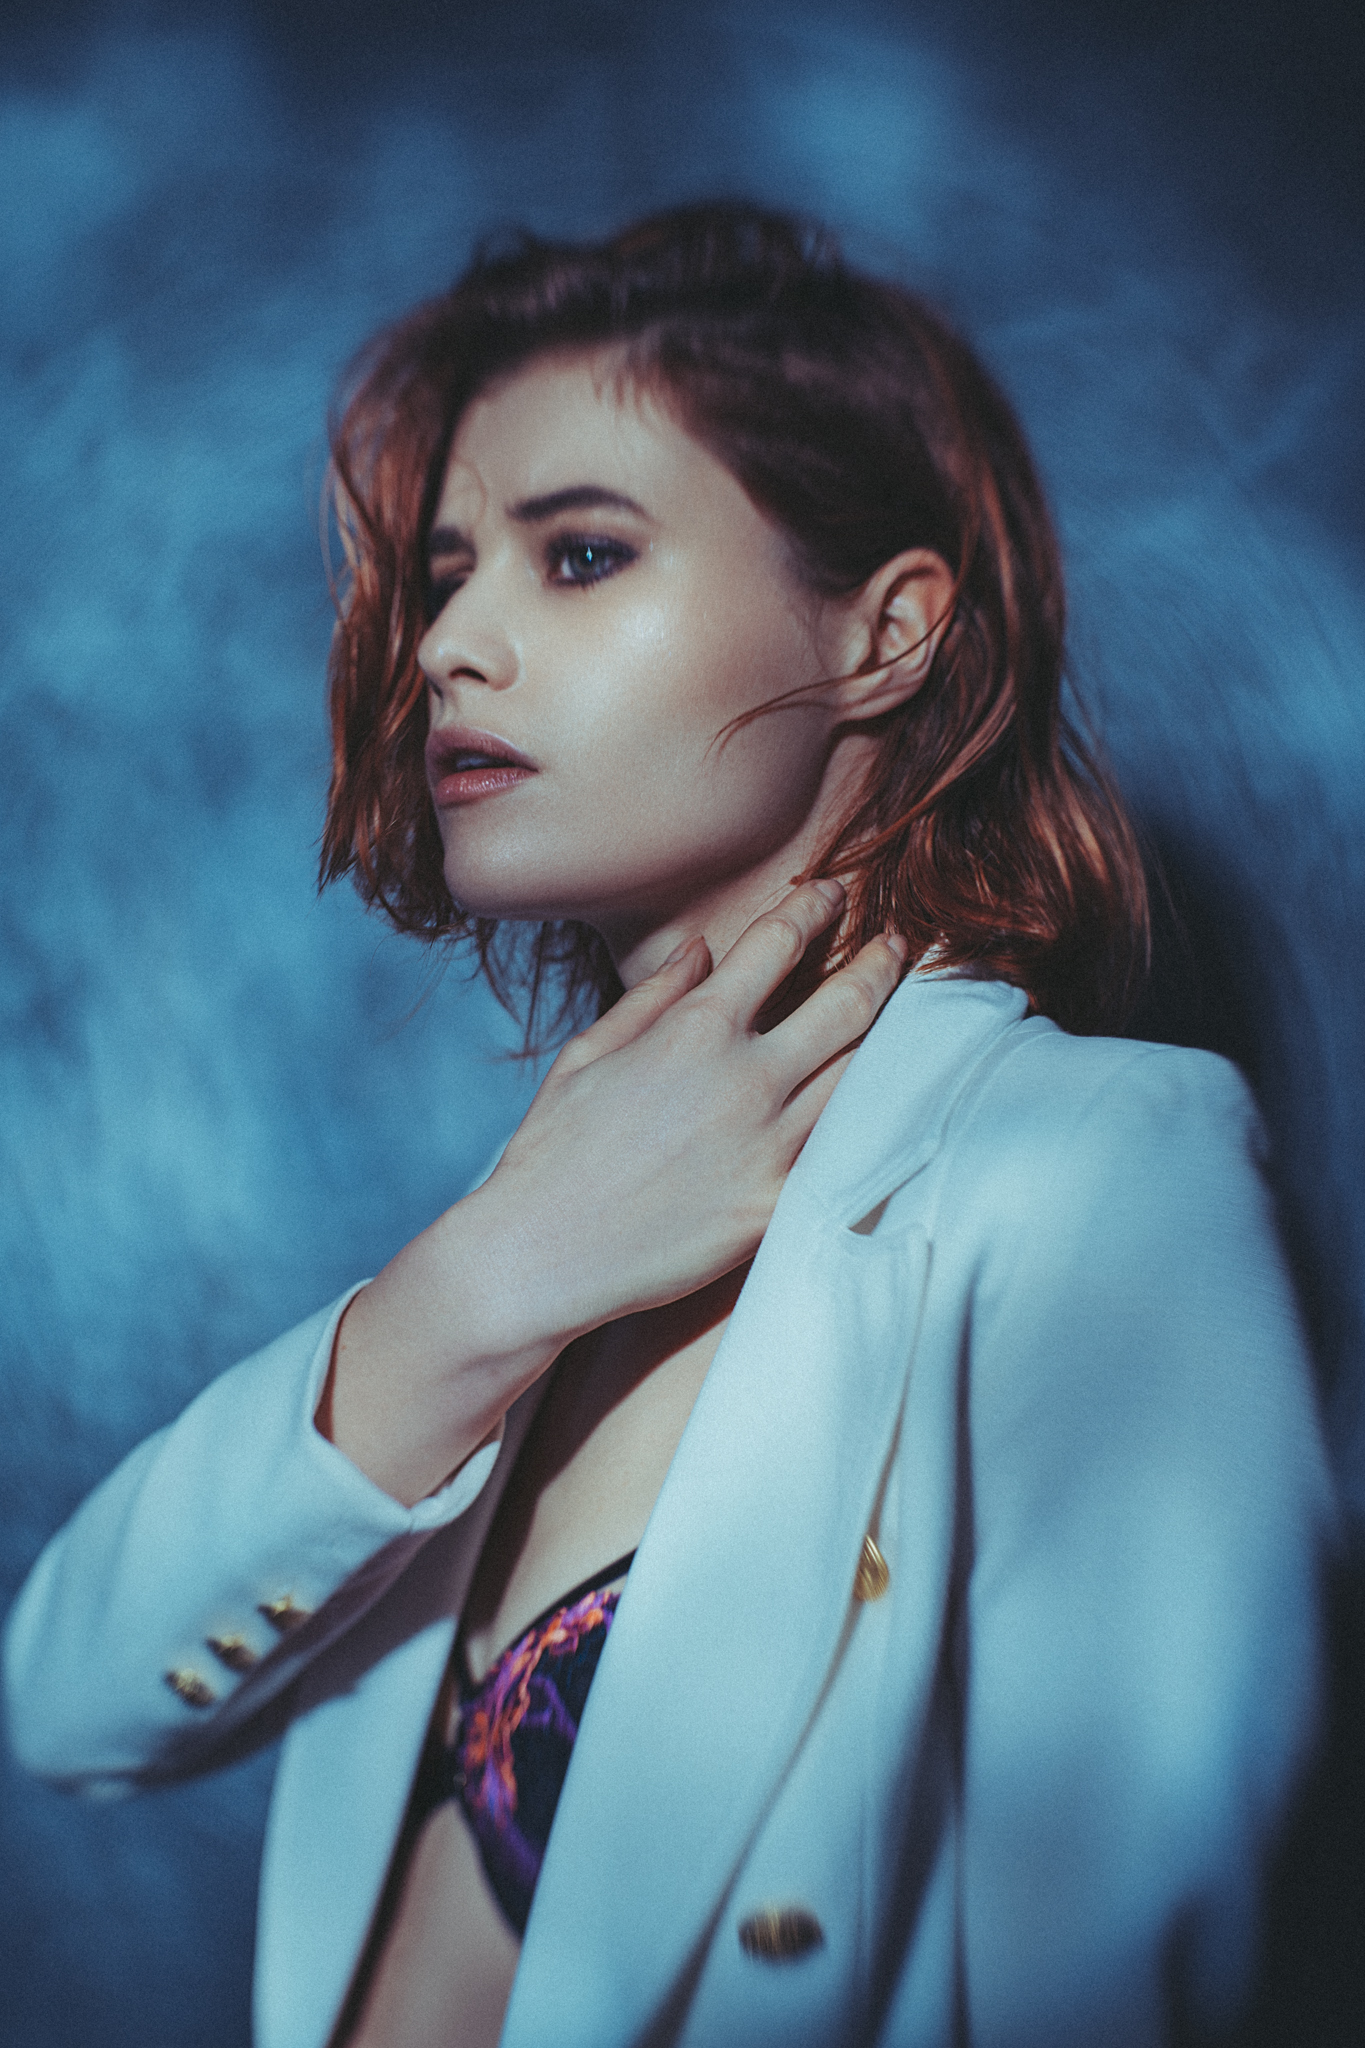
Final Shots
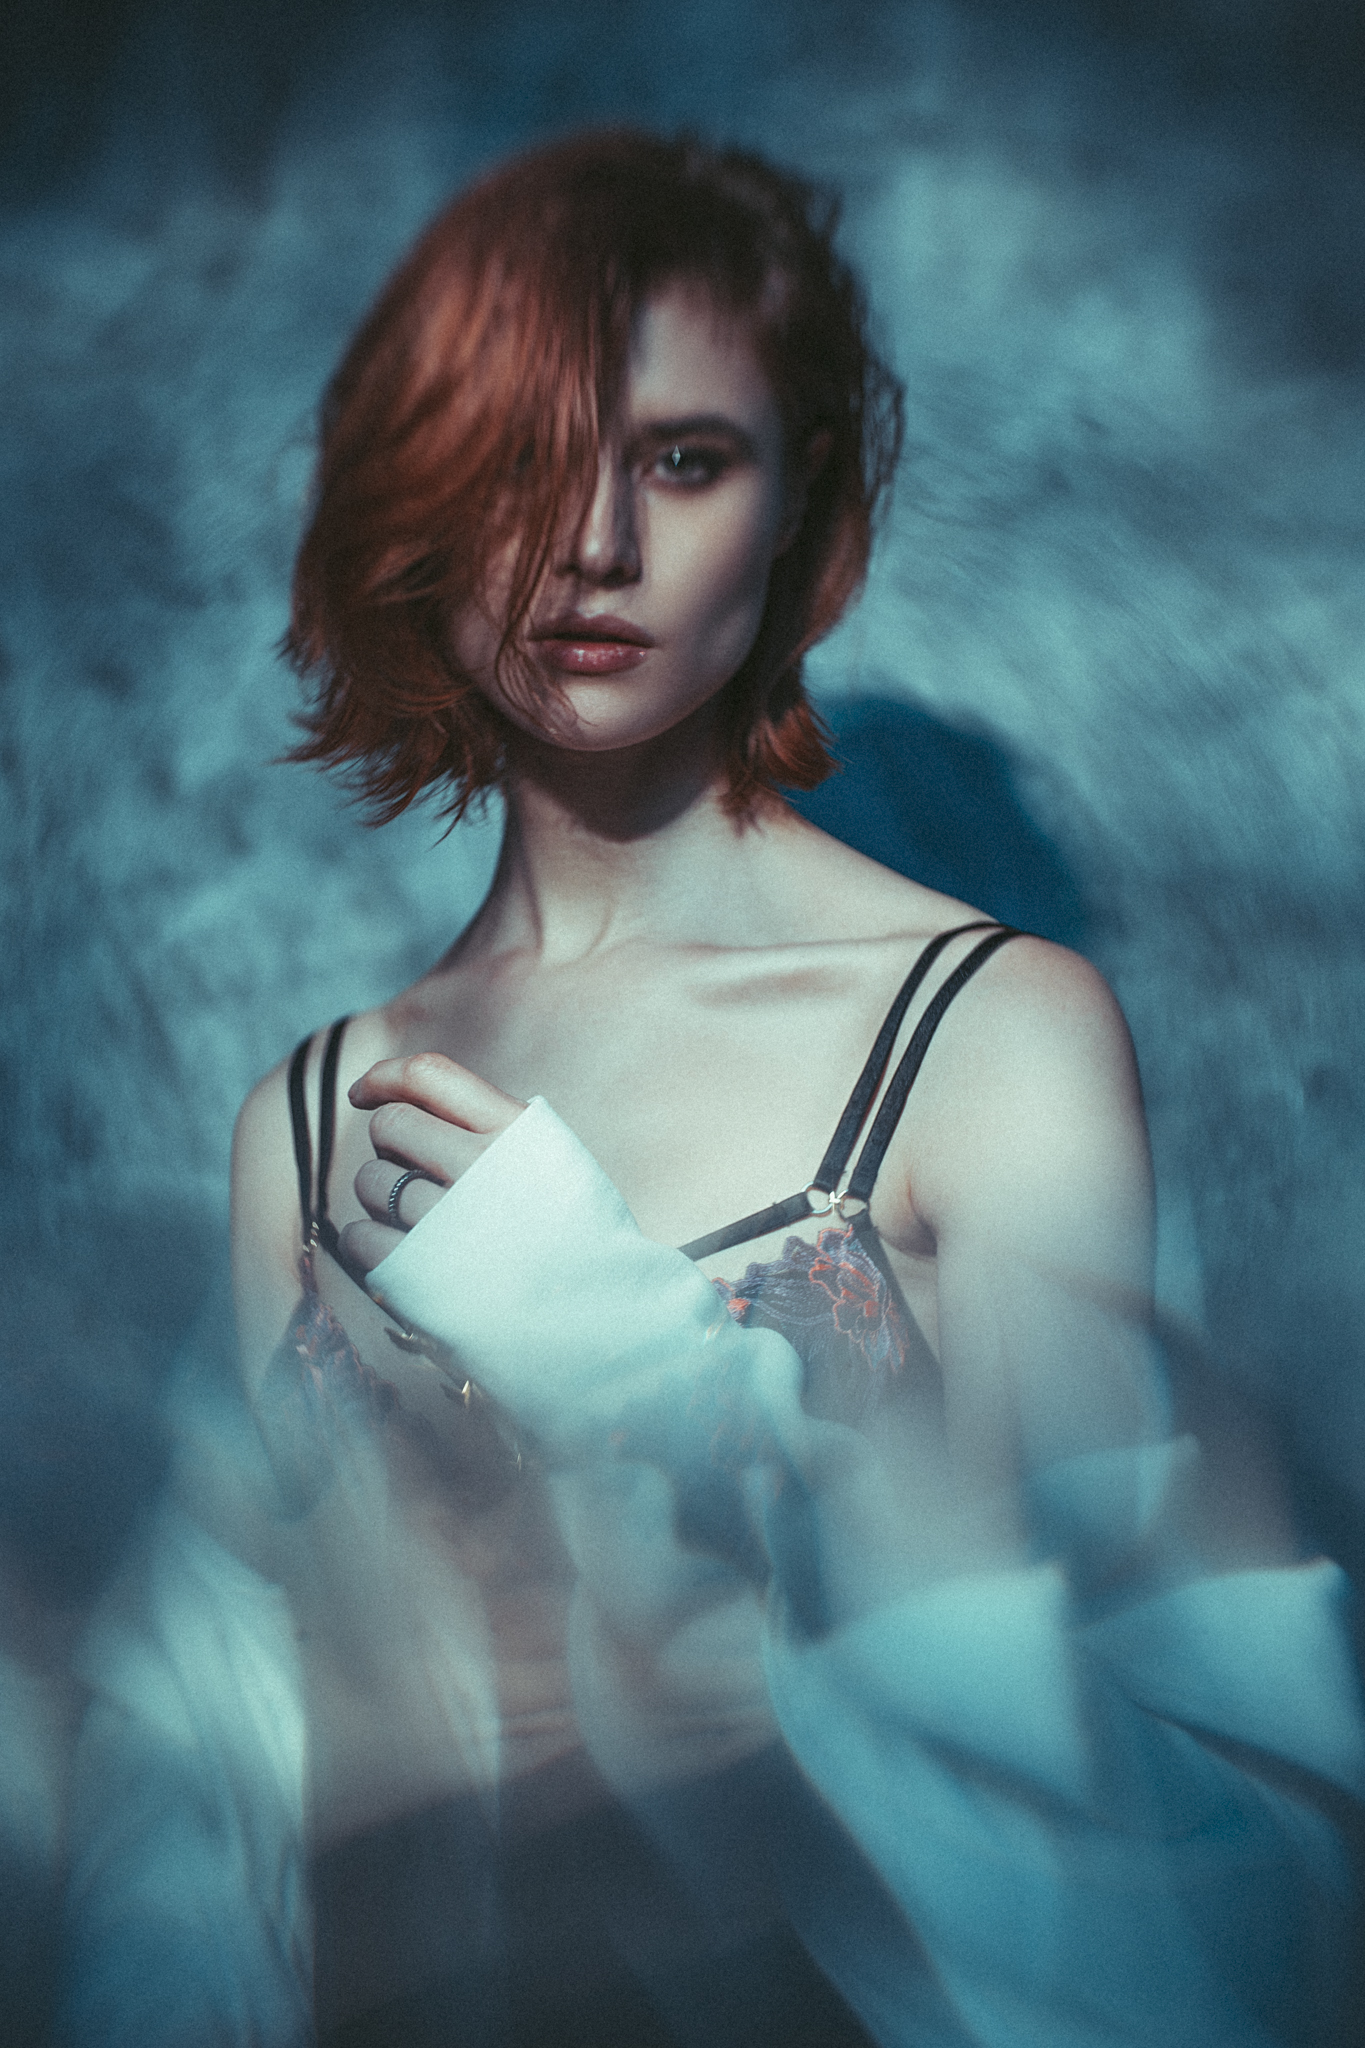
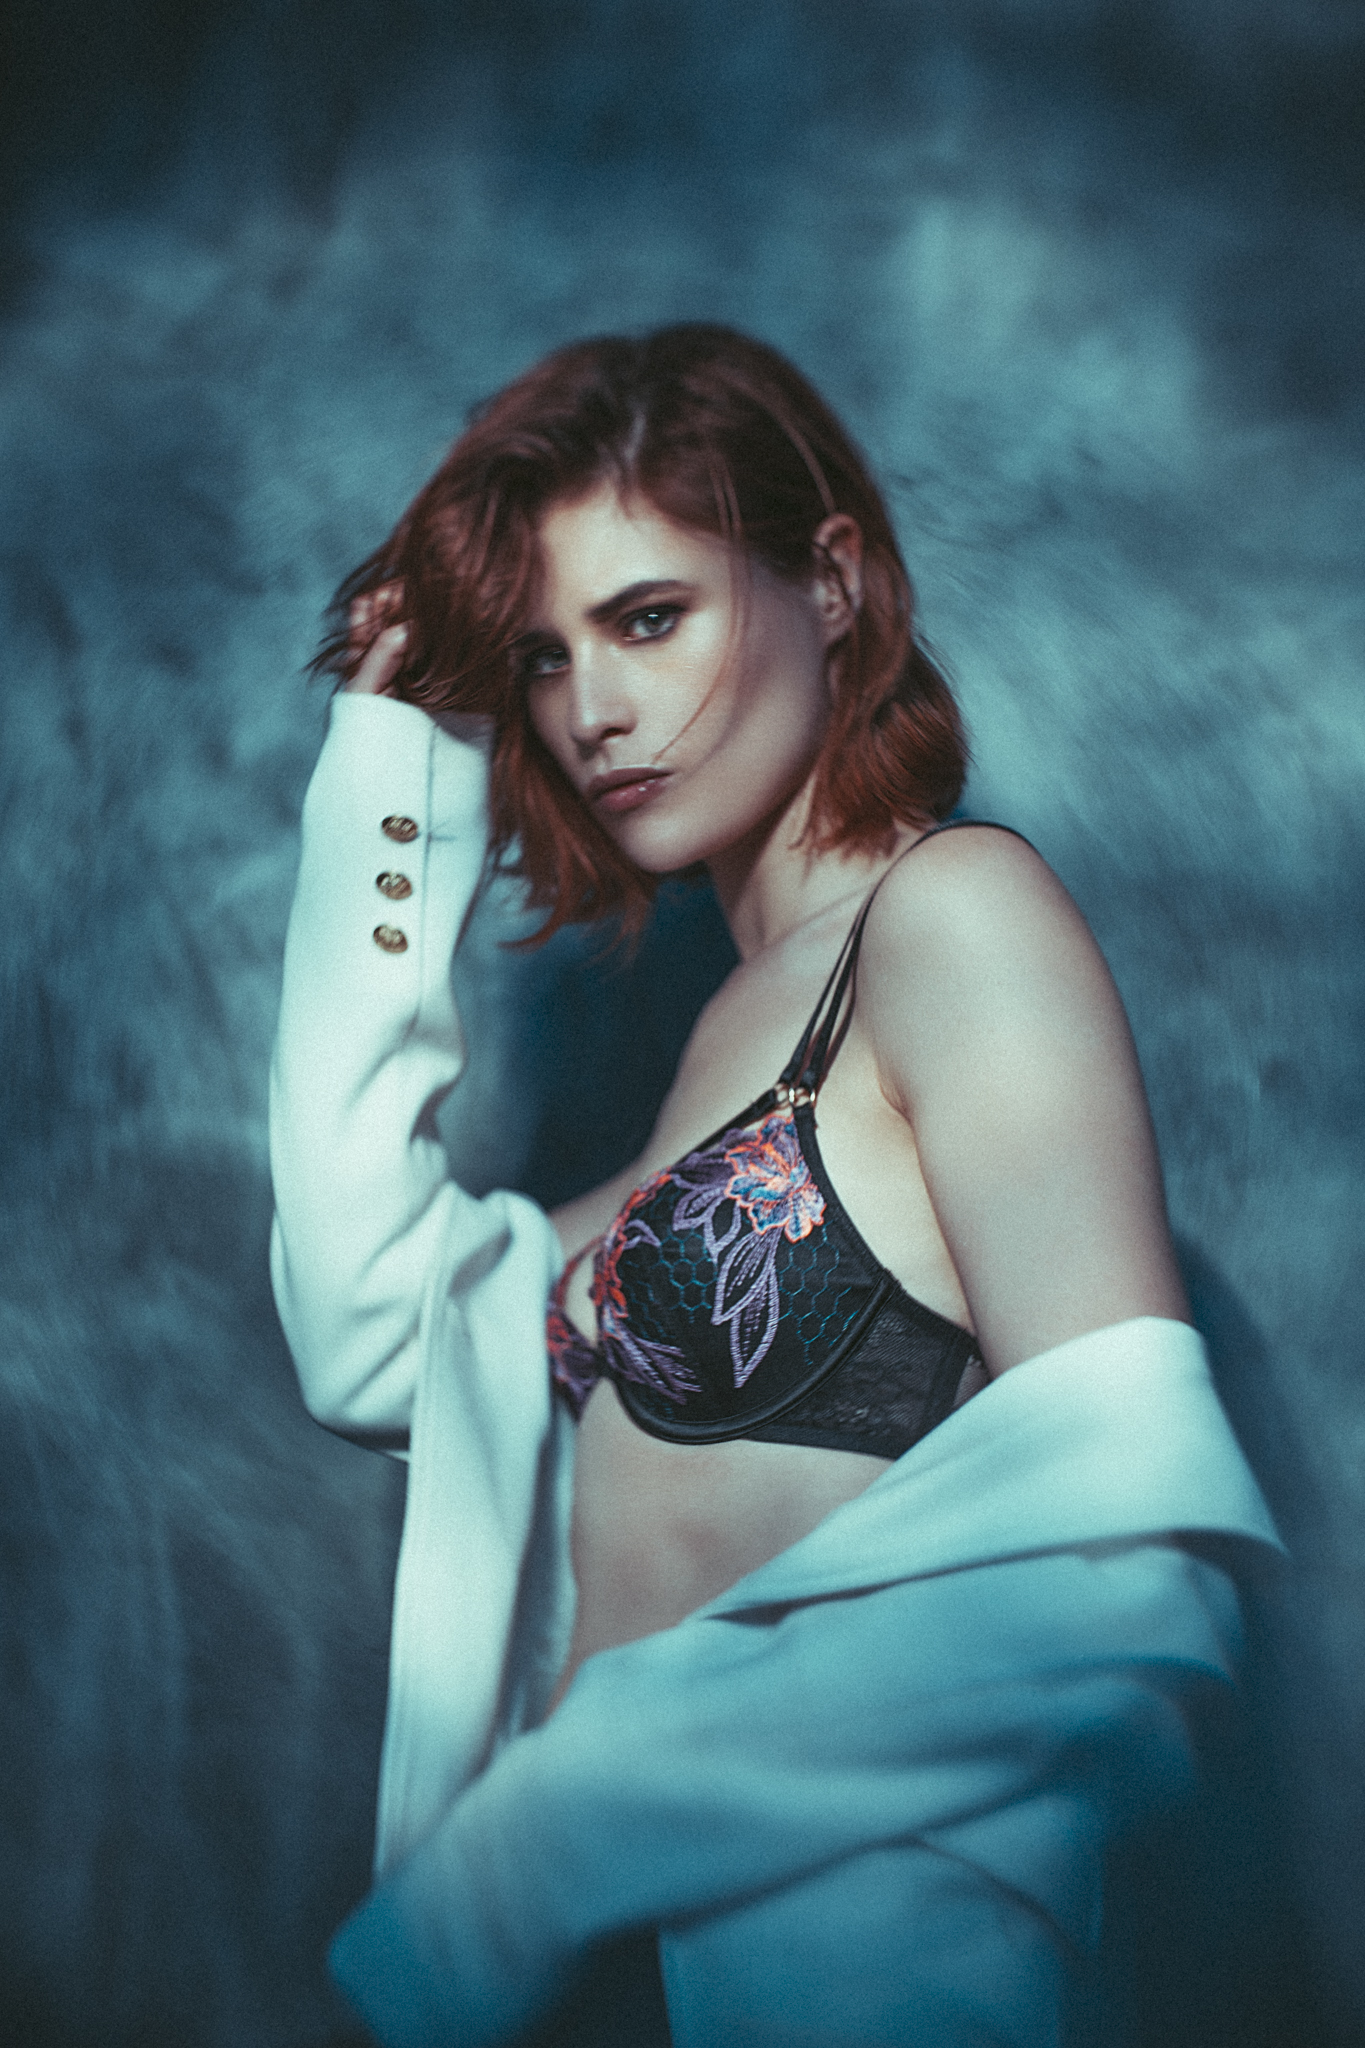
Closing Comments
So all you need is:
6 glass blocks
White gaffer tape
1 hard light source
Optional items include:
Mottled backgrounds
Art lens
Glassware to shoot through
Like I said, this setup and look is actually very easy to achieve once you have those magic ingredients. If something doesn’t make sense or you have any questions, feel free to fire away in the comments below and I’ll do my best to answer as soon as I can. Good Luck :)
Featured Model: Marleen Mathews with DMM - Dawn Model Management
More Free Tips & Techniques
Thanks as always for checking out my articles. I know your time is precious and there’s almost an infinite amount of other things you could have done with the last 15 minutes of your life, so I really do appreciate you checking this out :)
If you’re after more tips and tricks on studio lighting then don’t forget to check out my monthly newsletter and my free 10 page pdf on studio lighting techniques. If you’re interested then follow the link below and download it immediately.
Did you receive my FREE 10 page PDF on Studio Lighting Tips yet?
Sign up to my monthly newsletter and receive my free 10 page pdf of my all time ‘Top 10 Photography Tips & Techniques’.
Once a month I’ll send you a newsletter of at least four photo related tips and tricks (one for each week I post them on here if you miss them) plus I’ll also keep you apprised of my new workshop dates as well.


