
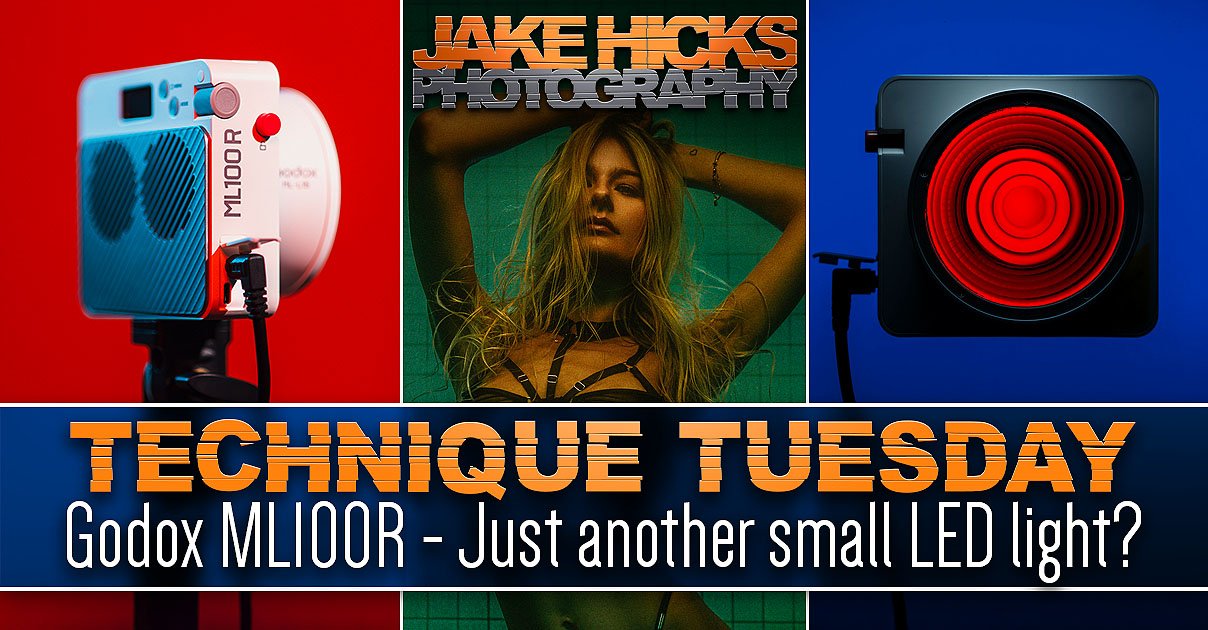
I've always wanted my photography education on here to be free, so although there is no paywall to any of my -Technique Tuesdays-, any and all support is greatly appreciated. ❤️
PLUS: Donate any amount and I’ll send you a link to the hi-res print version of my studio lighting book.
||
PLUS: Donate any amount and I’ll send you a link to the hi-res print version of my studio lighting book. ||
Let’s be real: the market is currently flooded with these small, lightweight RGB lights rated at 100W or less. So, is the latest little palm-sized lamp from Godox any different? Is there anything that makes this ML100R stand out? Hear me out on this, but yes, I actually think this light is worth getting, but maybe not for the reasons you’d think.
Disclaimer: Godox sent me this product for review. They are not paying me for this review, and all my opinions are my own.
The Godox ML100R. What makes it special?
What is the ML100R
So what is the ML100R? It’s a small, full-RGB LED light from Godox, and it comes in at under $200. In fact, at the time of writing, it's £179 here in the U.K. via Essential Photo.
Features
Let’s also quickly go over the key features of the light, as although most of these lamps are much the same at this point, it’s worth highlighting them so you can see who this is aimed at.
Full RGB
Input Power: 110W
Kelvin Range: 1800K - 10,000K
CRI: 95
TLCI: 95
Brightness: 0%-100% (adjustable in whole % increments)
Godox Mount (not Bowens S-fit)
Things to be aware of
So all pretty standard stuff, but I will highlight a couple of points here. As with many of these more affordable Godox lights, they utilise many of the RGB chips to round out their seemingly large Kelvin range. For example, the Bi-Colour version of this same light (ML100Bi) has a far smaller Kelvin range of 2800K-6500K. So if you were after more accurate Kelvin colours, I’d stick between that range on the full colour ML100R as well. But truth be told, most of us won't notice a difference, especially once you've colour graded your final shot.
The CRI and TLCI is a little lower than you may be used to seeing, as many more expensive lights are around the 97 to 98 range these days. Again, this is only really apparent for those pixel-peepers who need that ultimate consistent colour. For most folks, you simply won't notice anything, and again, it’s even less apparent once you've colour graded your final image etc.
The brightness only being adjustable in whole percentages is a shame, as I do love the fine control of 1/10 of a percentage on other lights, and this is especially apparent at the bottom end of power, where even small adjustments have a larger impact on output. Oddly, this light is surprisingly bright, even at 1%, its lowest adjustable power. Again, only a very minor gripe and not an issue at all in the grand scheme of things.
Lastly, we have the light mount itself. On this little unit, Godox have gone for its own proprietary mount, the Godox Mount. Many of you may be very used to using the now classic Bowens or S-fit attachment, but Godox has opted for its own version in this instance. There is actually a lot to unpack with this, and I’ll get into it in more detail below.
Not your typical light
Okay, so we’ve seen the breakdown; we’ve looked at some of the choices and compromises Godox has made with this little light, so let’s look at why those choices may have been made and let’s try to see how they fit with our work.
I’m going to go out on a limb here and say that if you're reading this article from me, my guess is that you're somewhat experienced. You quite likely own a decent, high-end camera, and you've quite likely amassed several lights over the years. How can I possibly assume all this? Firstly, I’ve been doing this for a very long time, and many of you have been following my work from the beginning, AKA you’ve been doing this a long time too, and secondly, you're not watching a light review on TikTok!
No shade to those who do, but a younger generation is not reading articles like they used to. Why do I bring this up? Because many of you here are used to far more powerful lights and with a lot more features, and you’re also far more comfortable paying for those extra features and that extra power. So again, I urge you to stick with me as I explain this little light.
You may have noticed that I came across as a little harsh in my observations on the light so far, regarding the Kelvin range, the CRI and TLCI ‘only’ being 95, and nitpicking that I can only control the power in whole percentages.
It may seem a little harsh to some of you, but I also understand that my readers are accustomed to a certain quality and output from their lights. Granted, we have to pay for that privilege, but that’s what we’ve come to expect.
A New Generation of Lights
I opened this article by saying that the market is being flooded by this new wave of tiny RGB LED lights, and I mean it. Look at any of the core lighting brands, big and small, and you’ll see they’re all bringing out new lines of these baby LEDs. So what makes them stand apart? The specs are all pretty similar at this point, and LEDs are in a great spot, with decent lights available at a very affordable price compared to even a few short years ago.
And let me elaborate on that price-point aspect. Yes, this little light, like many of its competitors, is not winning any quality-and-power-output contests, but its crazy-low price reflects that. Today, we can get a full RGB 100W light for less than $200. No, it’s not with the highest light quality available, and no, it's not going to overpower the sun, but for most people, this is more than enough light to get the job done.
Today we have a new generation of creators who are live-streaming, vlogging, and shooting ‘reels’ on a regular basis. They and their audiences aren't too concerned about losing a couple of pips of CRI, or about the Green chip coming on by 2% when the Kelvin dips below 2500K. A new generation is shooting ‘content’, and they are fortunate to have tons of affordable lighting options to help capture it.
So, Why Review the ML100R?
So if I’m not overly blown away by the features compared to what I’m typically used to, why review the light? After all, I’ve simply listed the features anyone can read on the website; I knew what I was getting before it arrived.
If I knew that this light wasn’t for me, why would I agree to review it?
The simple answer is, the modifiers.
The Modifiers
Here is where Godox starts to easily pull ahead of its competitors, and I’ll be blunt: it isn’t even close.
A while back, Godox reached out to me and asked if I’d like to review the ML100R. Trust me, in recent months, I've had scores of requests to review these baby LED lights from many brands, but I typically turn them down for all the reasons I've listed above. So when Godox asked, I said I'd only review the light if I could also get my hands on a couple of their new and more unique modifiers to go with it.
They agreed, and here we are.
The modifiers in question were specifically the new LED Projection unit (ML-SP) and the new Air Soft Tube (ML-S1A).
I’ve actually already released a targeted review on the Projection Unit. It wasn't my intention, but I was so blown away by the remarkable performance that I chose to share my thoughts on it. If you're interested, you can check that review out here:
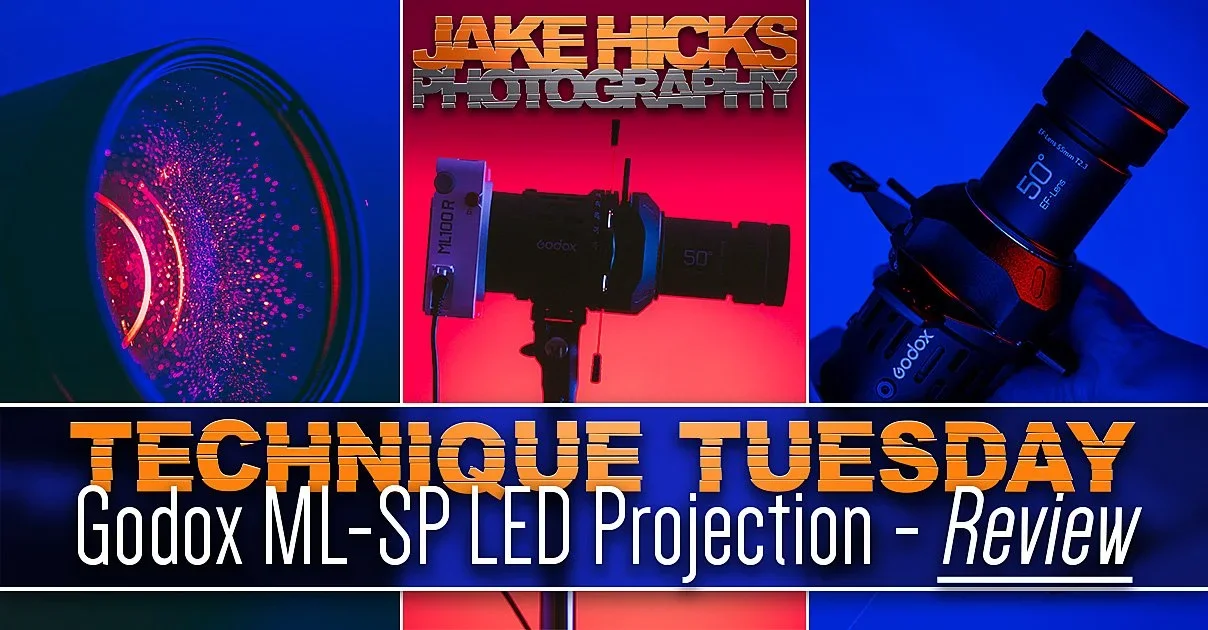
In fact, in my closing thoughts on this spotlight, I actually stated,
…”I honestly think this spotlight warrants the additional purchase of a light just to use it.”
And I stand by that. The ML-SP was such a good projection unit that I honestly believe it warrants purchasing this ML100R light just to use it.
The Godox Mount
The Godox Mount refers to the attachment method for lighting modifiers to the light itself. For many years, Godox has simply used the Bowens mount or S-Fit, but with the introduction of these much smaller lights, It has been utilising its own mount much more.
The sceptical may just think they're doing this so you have to buy their own modifiers, and although I'm sure there’s some truth to that, the reality is that with these small lights, a far larger attachment point becomes a little unwieldy. In fact, I've seen other brands stick to the S-Fit, and the mounting point is so large relative to the light that the attachment point hangs over the edge of the light itself.
And to be clear, Godox has converters that make it very easy to use your S-Fit modifiers on their Godox Mount lights, and they’re not at all expensive if you really want to use something specific on the little light. But with the Godox Mount, Godox has been able to tailor several excellent modifiers for their lights. Of course, there is the aforementioned Projection Unit that I thought was outstanding, but their inflatable Air Soft Tube is also quite remarkable, and again, offers a very unique look.
I’ll share some shots below where I used the Air Soft Tube as a key-light to show you what I mean.
The purple light on the face above is cast from the ML100R with the Air Soft Tube attached.
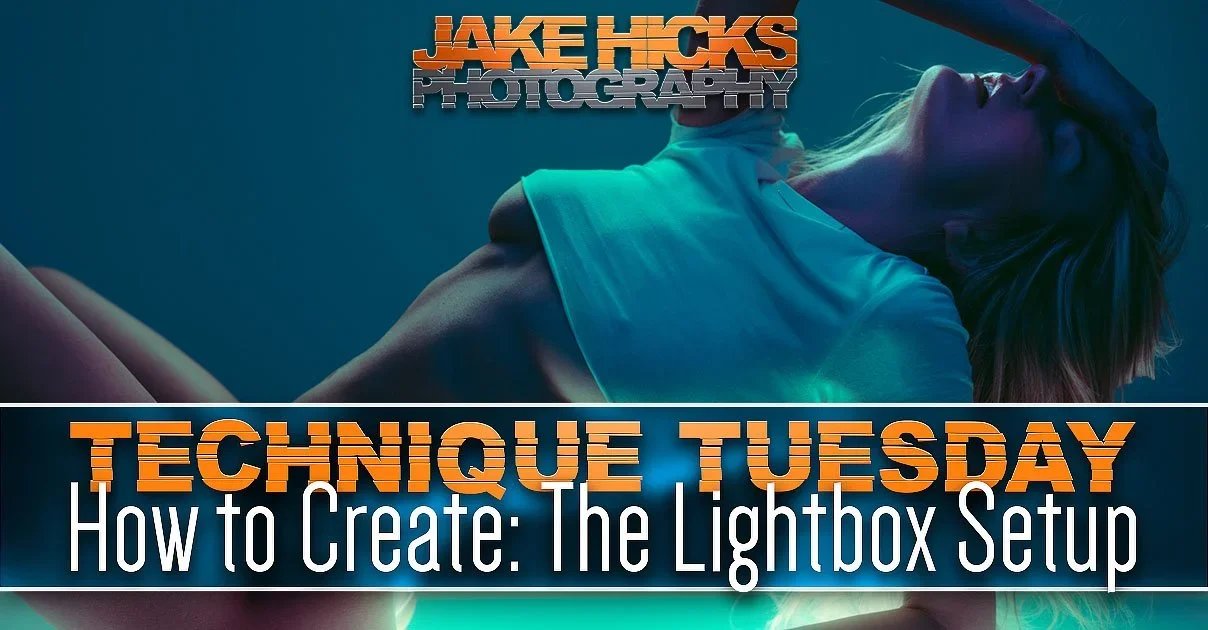
In the BTS above, you can clearly see the effect the tube is having on the model's face with that dusty purple colour, and that’s a fairly unique quality of light.
If you’re interested in seeing the entire breakdown of that LightBox Shoot, you can read the full article here:
In the images below, the warmer, yellow light on the models face is cast from the Air Soft Tube.
Below are some BTS shots from that shoot, and again, you can see that the Air Soft Tube is attached to the ML100R light. Note that this light is being powered via the Godox BG02 95W5 Battery Grip.
The Air Soft Tube
I mentioned that I was very impressed by this tube, and I even went so far as to say that I think it offers a unique-looking light. There are a couple of reasons for this, but mainly it's the size and spread of light for portraits. The human face is mostly the same size, so there are many modifiers suited to lighting it effectively. This tube, for example, is unique among the other LED tubes I own in that it is much thicker and therefore produces a much softer, more even light when held just above the subject. If you compare this to a regular tube, you’ll find a much harder light thanks to its thinner width.
Of course, you could just use a regular softbox instead, right? Well, not exactly. The reason this light excels over regular softboxes is again due to that width. It’s not as tall as a regular softbox, thereby allowing you to bring it very close to the model without it showing up in-shot.
Why does it need to be so close? This won't be for everyone's work, but I like my key lights close to my subject to ensure a very quick drop-off of light down the body, thereby creating that very dramatic shape and contouring on the face and body.
This Air Soft Tube achieves this perfectly, and again, I think it does such a good job in doing so that the ML100R is worth the purchase alone just to have access to this Air Soft Tube.
If you’re curious, the Air Soft Tube utilises a drawstring to actually attach it to the ML100R and its included Lens Reflector. The Air Soft Tube comes with a one-way hand pump that lets you inflate the tube in about 30 seconds. I’m sure you could blow it up much faster with a few human puffs, but I'd personally avoid introducing moisture and bacteria from your mouth into the tube.
This relatively inexpensive Air Soft Tube provides a surprisingly impressive light quality and is very quick to set up.
What about the Light?
I’ve gushed over the Godox Mount modifiers enough; what about the actual ML100R light?
All of the ML100R light kits I’ve seen come with everything you need to get started. The light, power brick, lightstand attachment, and the lens reflector.
Modes
I mentioned the core features above, but the ML100R also has a couple of other modes worth highlighting here. For example, it has the standard CCT (Kelvin) mode, as well as HSI (Hue Saturation Intensity), RGBW, and FX modes. That FX mode is the one with 14 unique lighting effects, such as cop car, candle flicker, TV flicker, etc.
In CCT mode, you also get access to the Green/Magenta shift option.
The ML100R also has a settings mode where you can adjust a variety of settings, including Bluetooth, Fan speed, Display brightness, Languages, Quick Boot, Factory Reset, and Fixture Info.
It’s also worth noting that this is a full-colour screen. This is a great addition, but sadly they barely use its ‘full-colour’ aspect. The settings menu displays coloured symbols for Bluetooth and Fan, etc., but, oddly, the HSI and RGBW menus are completely devoid of any colour.
The ML100R has a full colour screen, but sadly it isn’t used when in the colour modes in any way.
Ergonomics
All menus are navigated via a large, easily operable dial on the side. This wheel is also used to confirm your choices by pressing it inwards from the side. I will note that this may seem minor, but the change is a welcome addition, as previous Godox lights had a very sensitive wheel, and you could accidentally confirm something in the menu by simply scrolling a little too quickly. This new confirmation method is a welcome change.
The new adjustable wheel and selection input is a welcome addition.
Other than that, you have two buttons on the back to access power, menus and modes.
The ML100R is very simple. Two buttons, a dial, and a screen.
Lastly, you have a very generously sized, big red button to detach the modifiers. Large enough that it is even possible to easily remove the standard lens with one hand.
A very obvious red button to remove modifiers. Easy enough to even operate with one hand, but not so sensitive that you’ll knock it accidentally.
Attachment Point
Lastly, you also have a well-designed attachment point on the base of the light. This is your typical quarter-inch screw thread, but it also comes with two well-placed notches that, again, ensure that the light sits very snugly without the need to over-tighten any thumbscrews.
The lighting kits also come with a specific lightstand bracket with the same notches, which makes them very solid when attached. The battery pack I have also has these notches on its receiver, and even the projection unit I have for this light has them. This is a well-thought-out system, and it all works very well together, especially given that many of these small lights rely solely on friction to keep them in place. This is noticeably more secure in every aspect.
A very robust and simple attachment point design. You don’t need to rely on over-tightening anything when using this system.
Power
This light comes with a cable and a power brick, which are included in all the packs I’ve seen available. It can, of course, be battery-powered, but you would need to purchase the power brick separately.
The light has its own 20V DC port, but it's also very nice to see a USB-C port on this light. This means that it becomes very easy to use any number of USB-C power packs to run this light.
You can plug your included 20V DC power supply into the ML100R, but it also allows for other USB-C power banks to be used too.
Lens Reflector
Lastly, I will add that all the ML100R packs I've seen online also include the very excellent ML-L15 Lens Reflector. Again, this is a custom-made modifier for the Godox Mount, specifically the ML line of Godox lights. So even straight out of the box, you already have a very usable light and modifier to get started with.
The included ML-L15 reflector lens gives a decent spread of light straight out of the box.
The Verdict
So look, I get it; this has been a very odd light review in that I’ve really only spoken about the modifiers and how amazing they are. The reality is, a lot of these min-LEDs are all fairly similar now, but for me, Godox is putting their lights head and shoulders above their competitors thanks to their very unique and truly excellent Godox Mount modifiers.
Sadly, these mini-LEDs can’t really utilise the bigger S-Fit mount effectively, and even if you do use a converter, remember that the little COB light is swamped by the big S-Fit modifier surrounding it. Godox has decided to make specific modifiers tailored to the far smaller COB lights, and they have done so very effectively, so much so that I stand by the fact that the ML100R is simply worth the purchase to get access to those modifiers alone.
Godox has a ML-GB S-Fit converter if you really want to use some of your own S-Fit modifiers on the ML100R.
If you’re in the market for excellent, truly unique lighting modifiers that offer you a variety of lighting looks, I’d seriously consider this ML100R light as a byproduct of that purchase. Plus, you can never have enough lights, and my money is on you using this light with its unique modifiers more often than you think. No, the 100W isn’t a ton of power, and that is still the biggest downside and caveat to all of this, but, and I can only speak on personal experience, I think these modifiers are so good in fact, that I've opted to raise my ISO up to 400 and even ISO 800 in the studio just so I could make use of them!
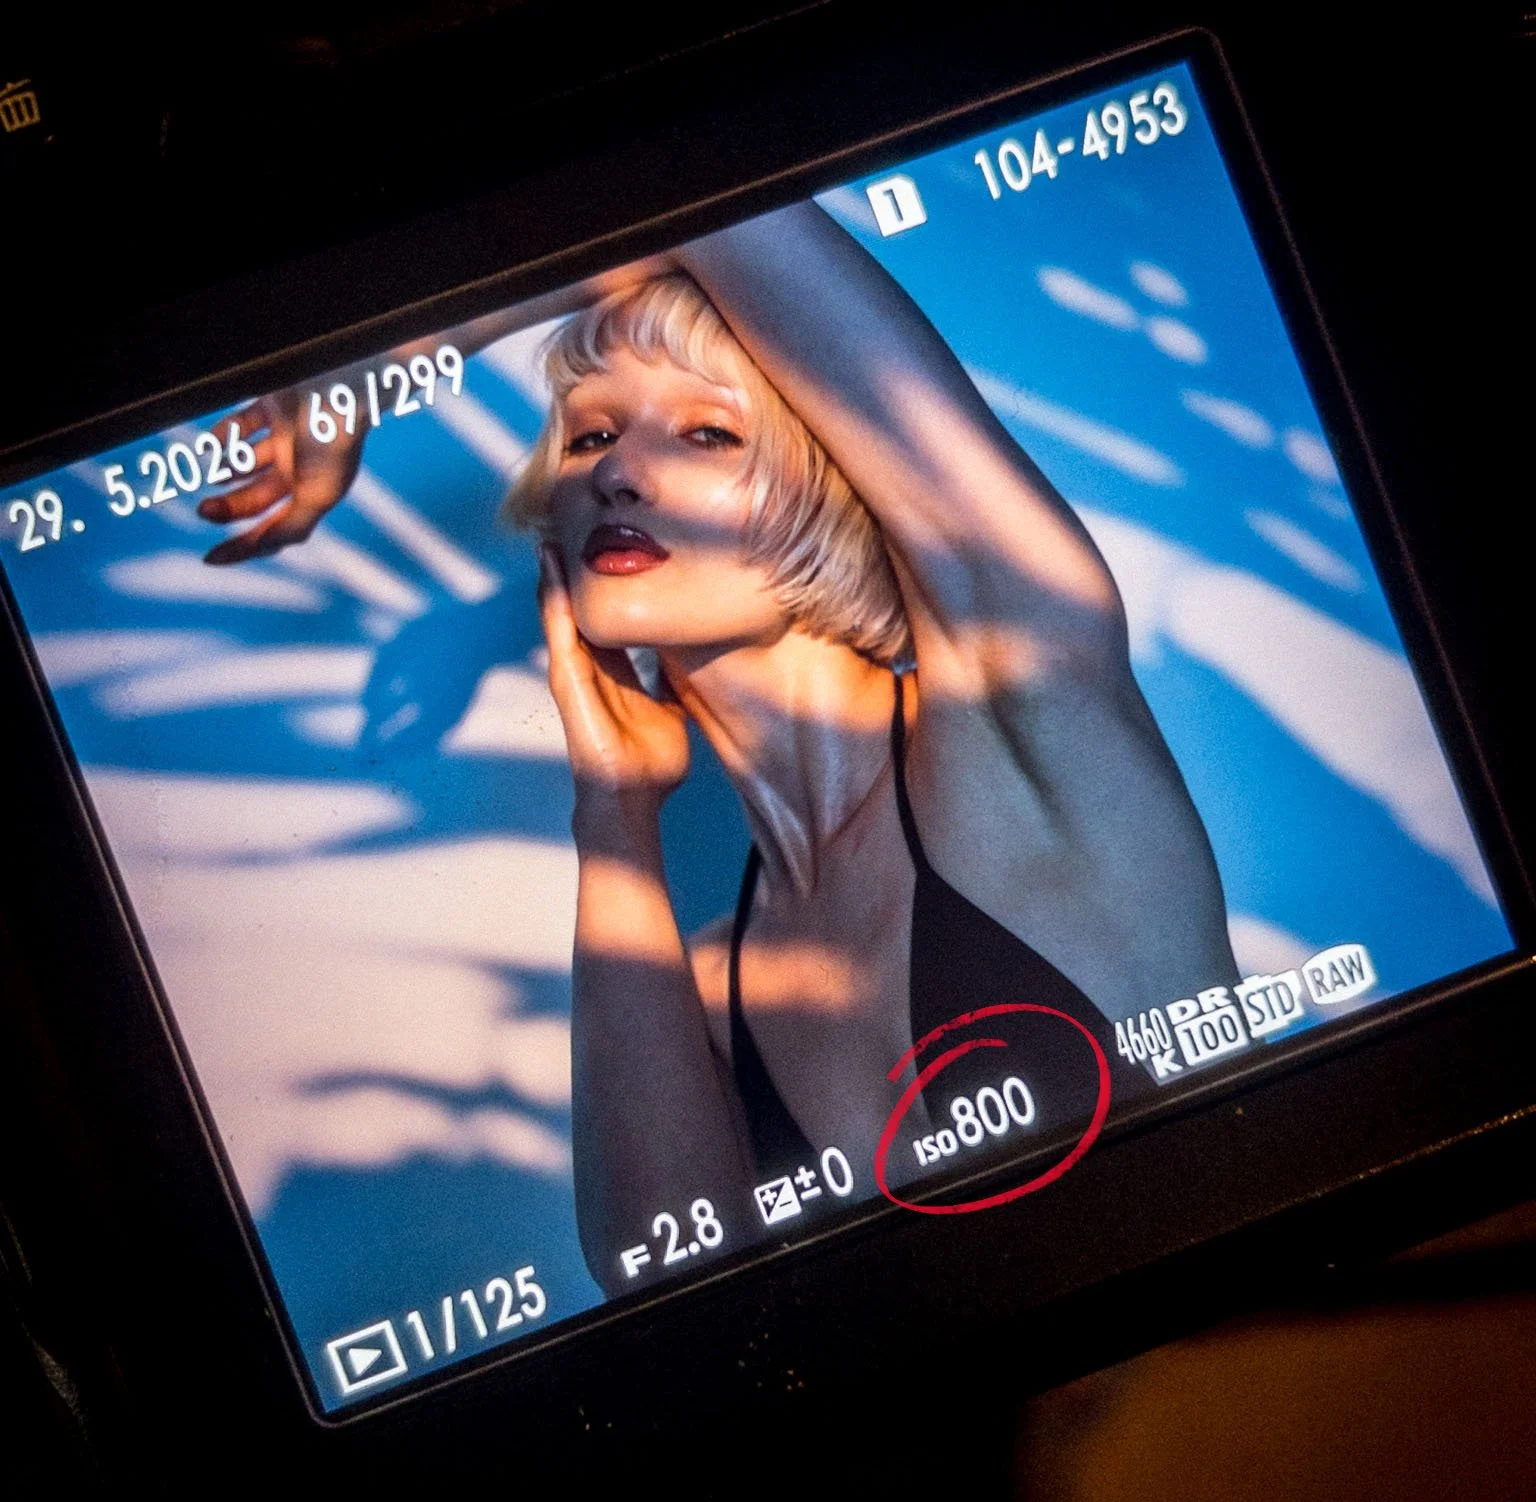
Even though the ML100R is only 100W, I still find myself using it, just to gain access to some of its outstanding modifiers!
Take what you will from that, but I’m as shocked as you are!
Products Used
For transparency, as I mentioned at the top, this is not a sponsored post, nor am I being paid. Godox sent me the items to test and leave my feedback, and as such, none of the links below are affiliate links, and I do not make any money on clicks. The links will take you to Essential Photo here in the UK. They’re good guys, and I’ve worked with them in the past. By all means, source the best store in your own region.
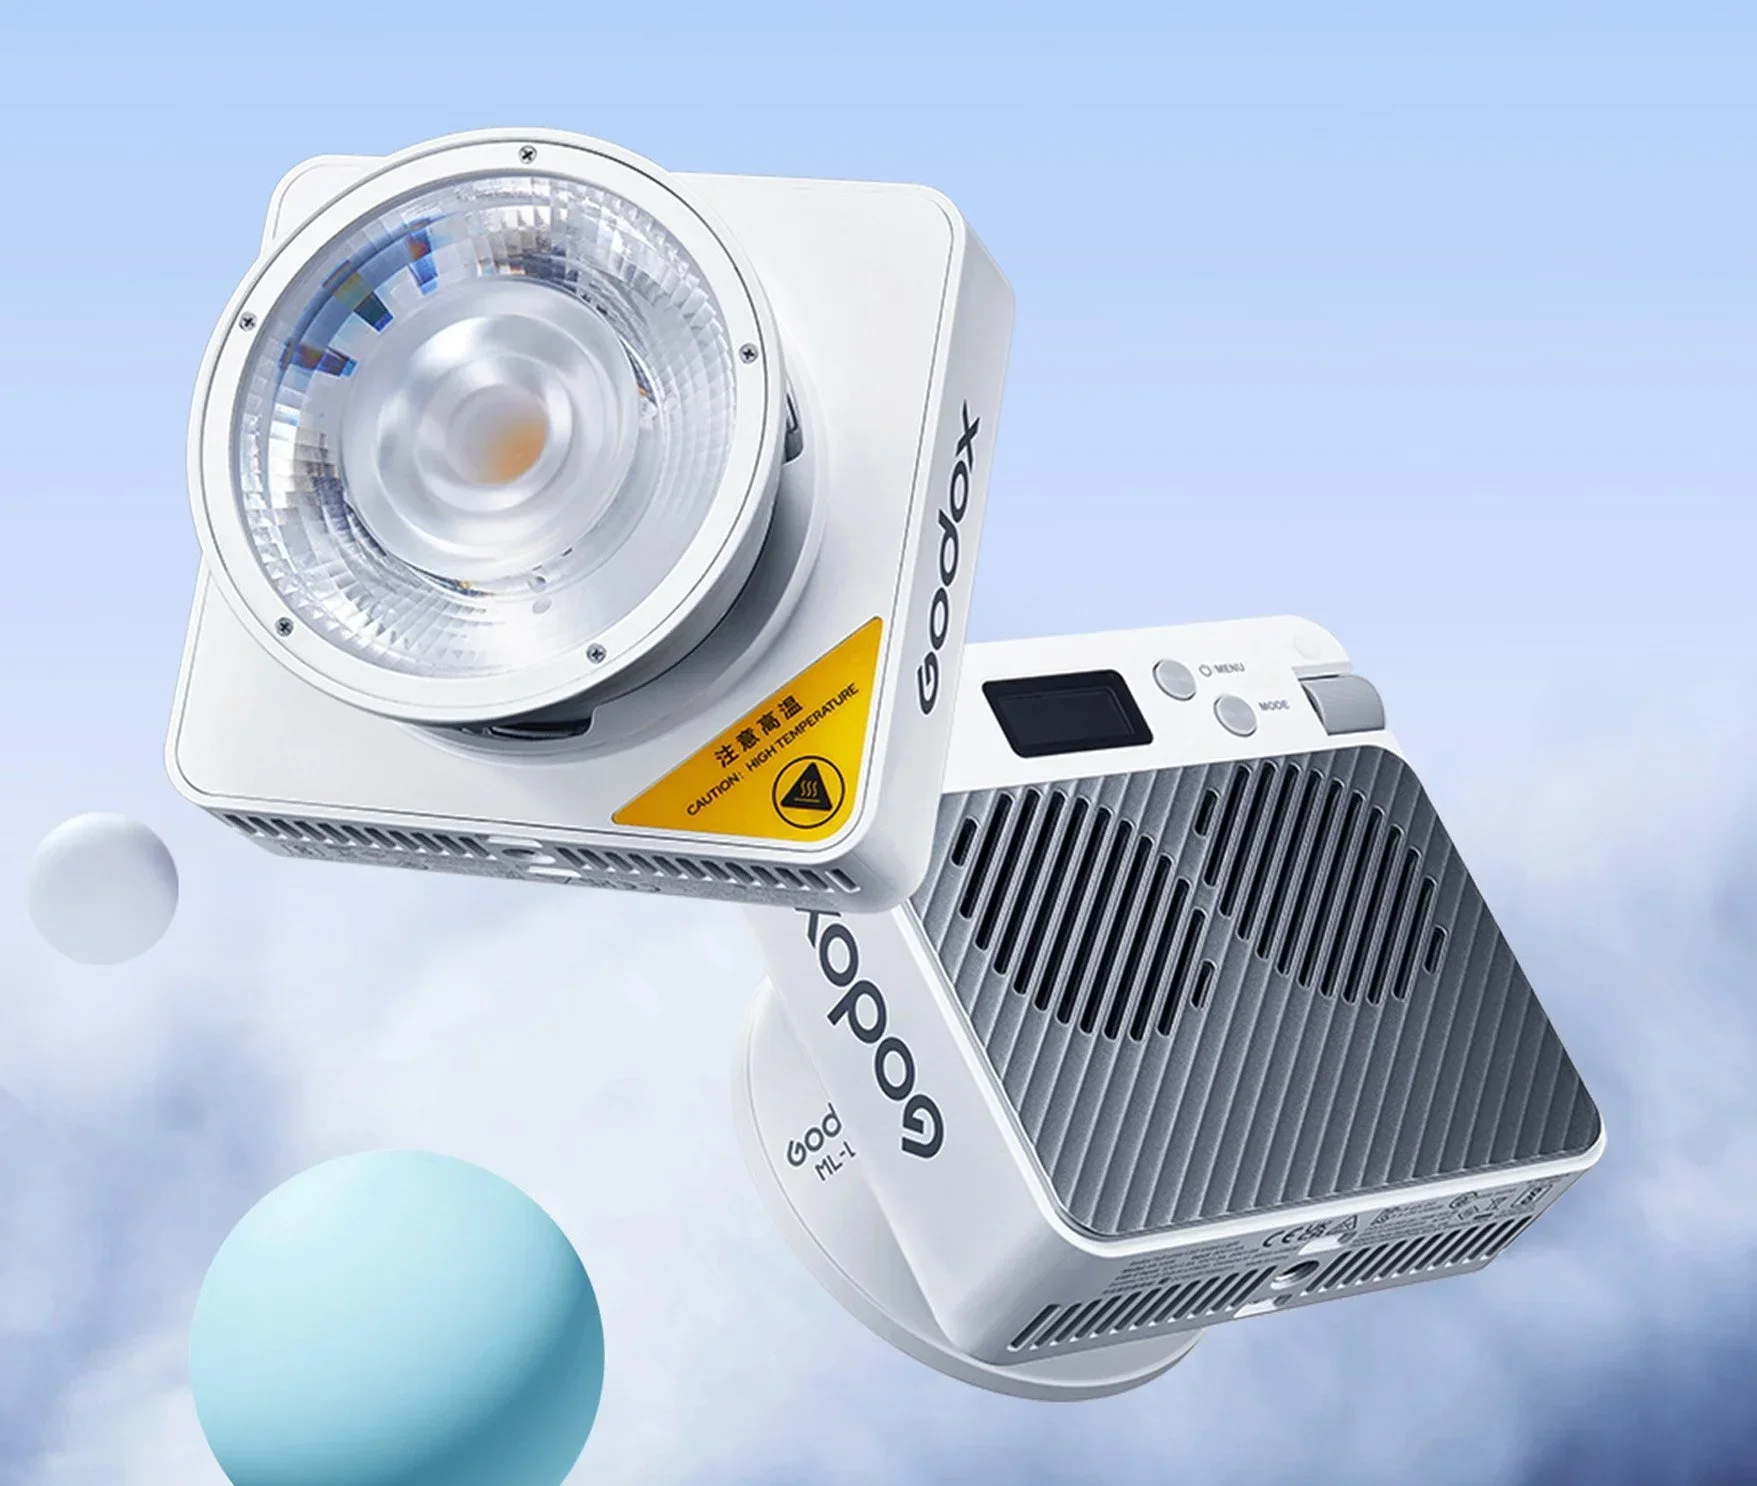
ML100R Compact Portable RGB LED Video Light With ML-L15 Lens Reflector
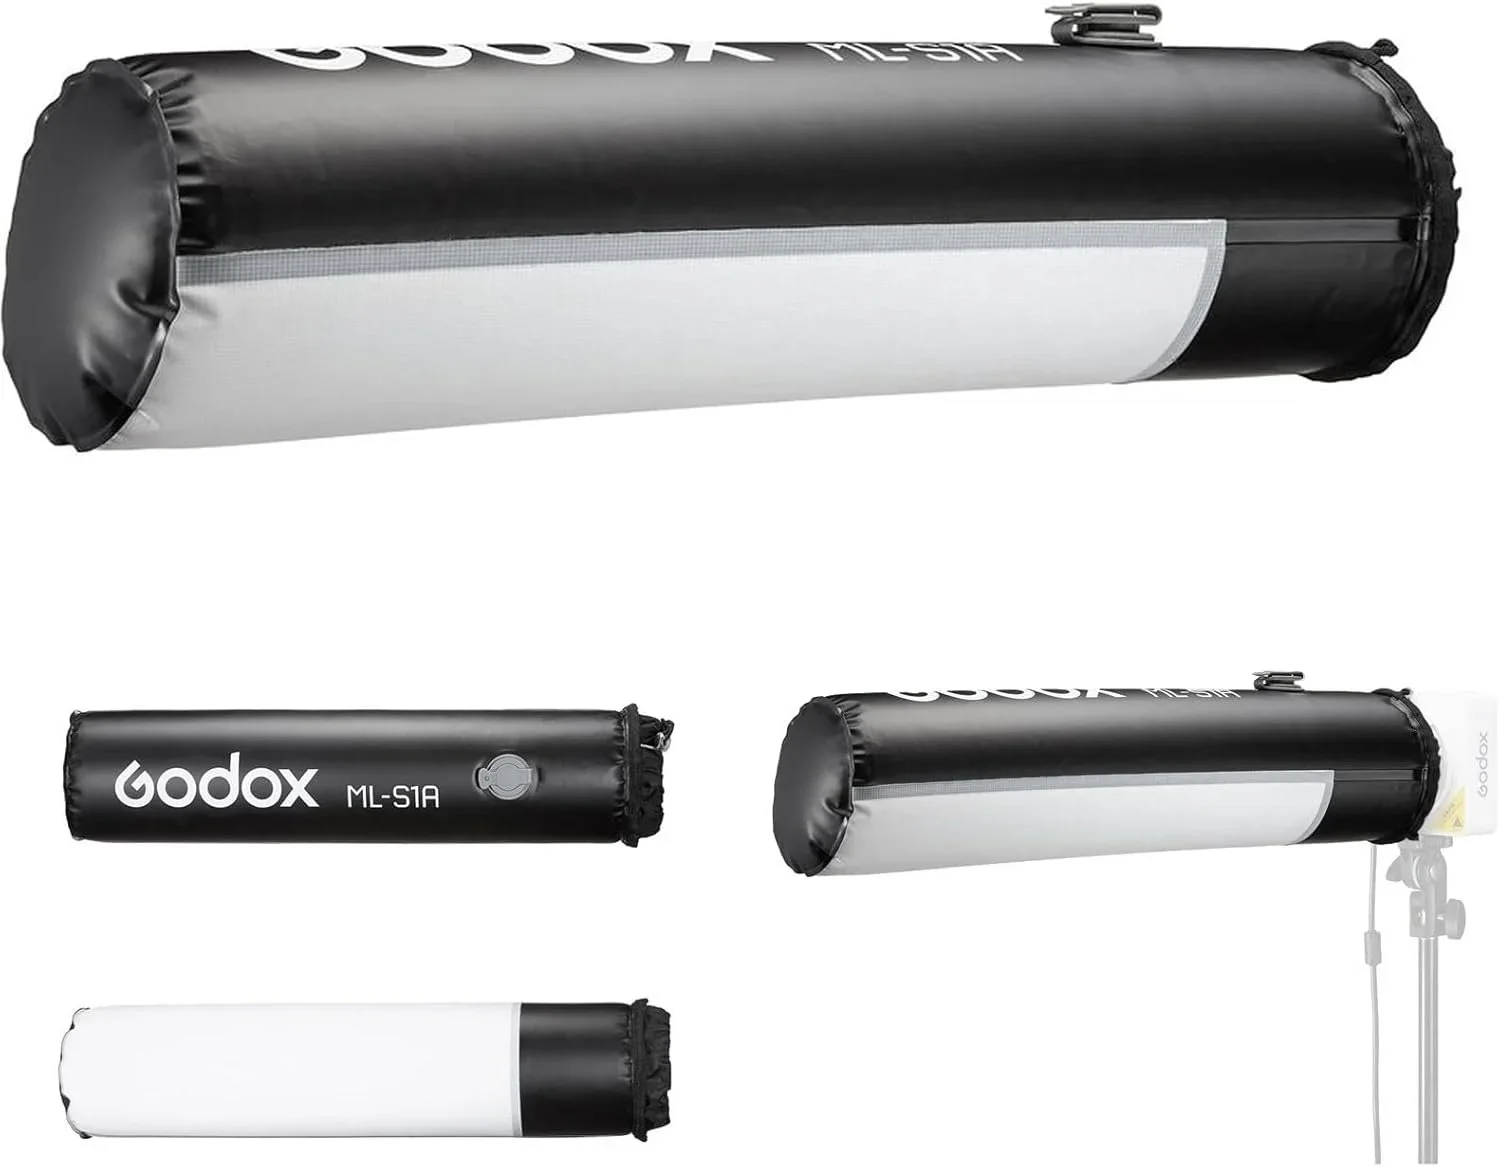
Godox ML-S1A Air Soft Tube
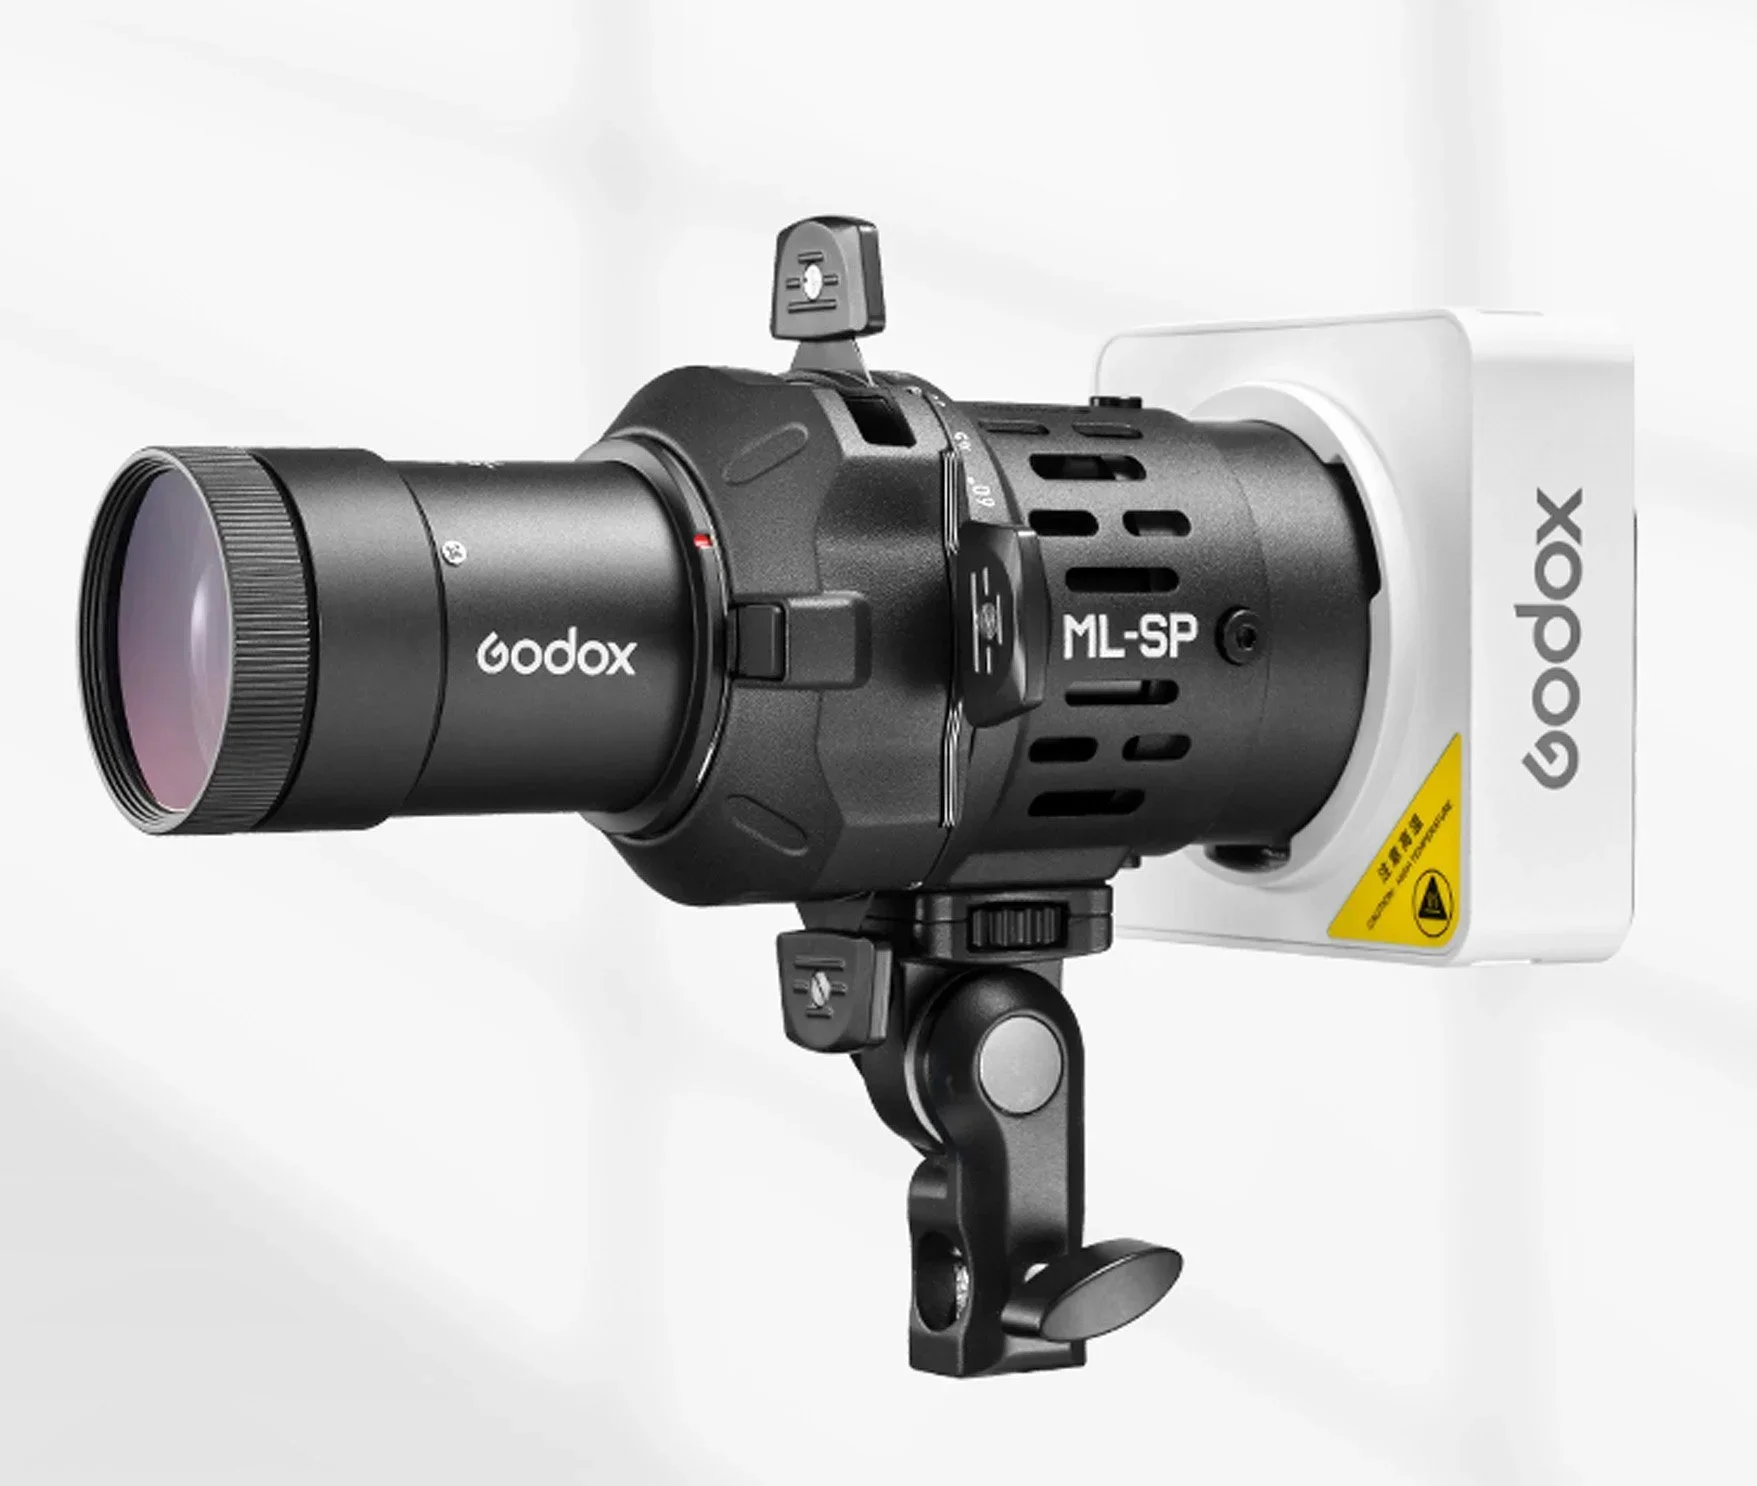
ML-SP Series Godox-Mount Projection Attachment Kit For Godox ML-Series (ML-SP19/ML-SP36/ML-SP50)
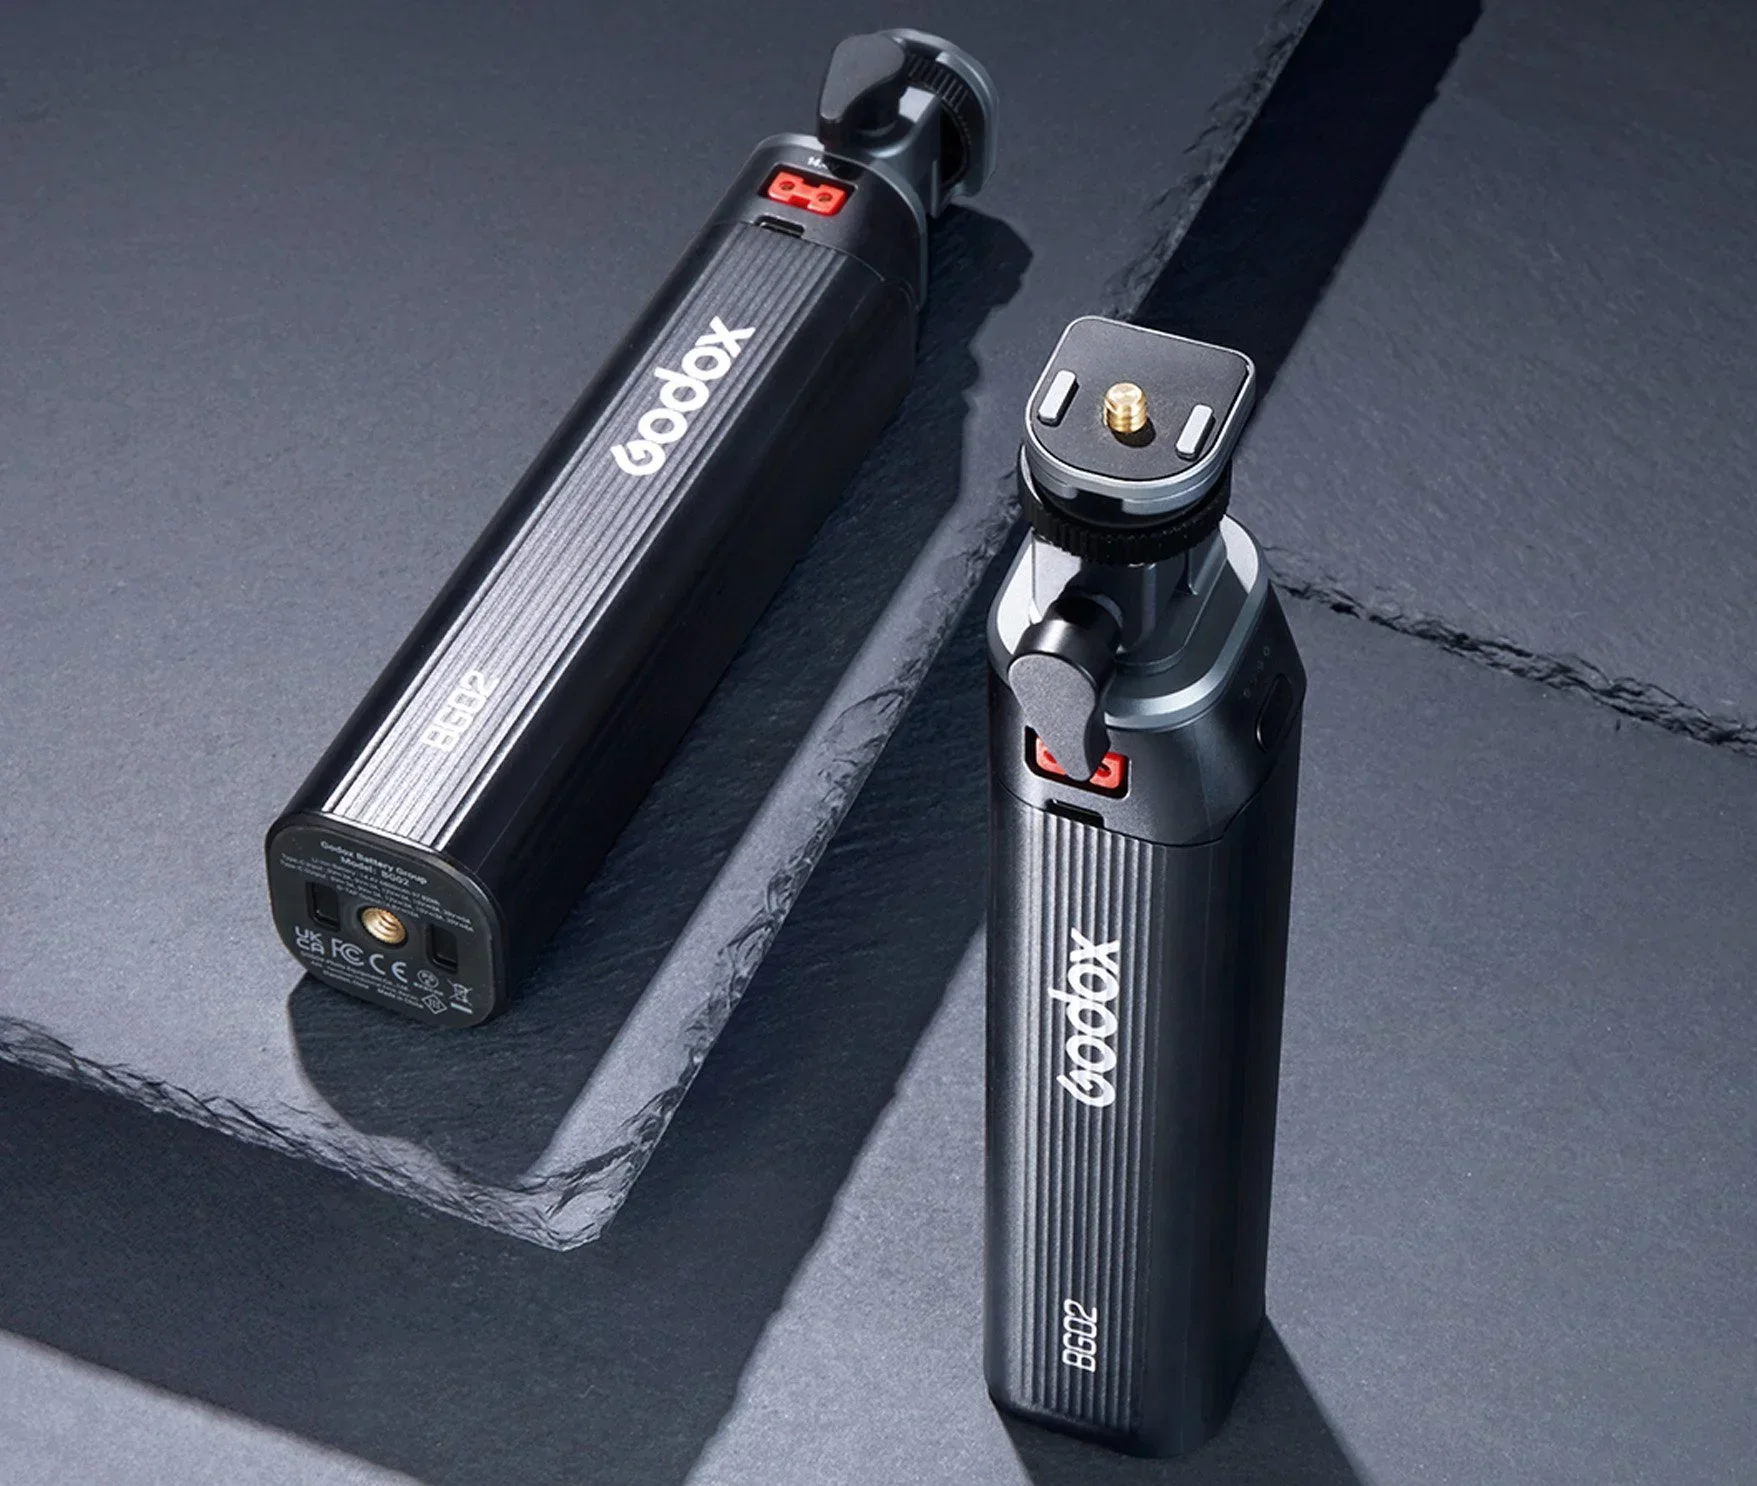
BG02 95W5 Battery Grip By Godox
I've always wanted my photography education on here to be free, so although there is no paywall to any of my -Technique Tuesdays-, any and all support is greatly appreciated. ❤️
PLUS: Donate any amount and I’ll send you a link to the hi-res print version of my studio lighting book.
||
PLUS: Donate any amount and I’ll send you a link to the hi-res print version of my studio lighting book. ||

JHP Livestreams…
I livestream every other Tuesday night via YouTube and there I answer your questions, critique your shots, take community images into Photoshop to work on them and discuss all manner of lighting tips and techniques. I look forward to seeing you and your work there real soon. Jake Hicks Photography - YouTube
