
I've always wanted my photography education on here to be free, so although there is no paywall to any of my -Technique Tuesdays-, any and all support is greatly appreciated. ❤️
PLUS: Donate any amount and I’ll send you a link to the hi-res print version of my studio lighting book.
||
PLUS: Donate any amount and I’ll send you a link to the hi-res print version of my studio lighting book. ||
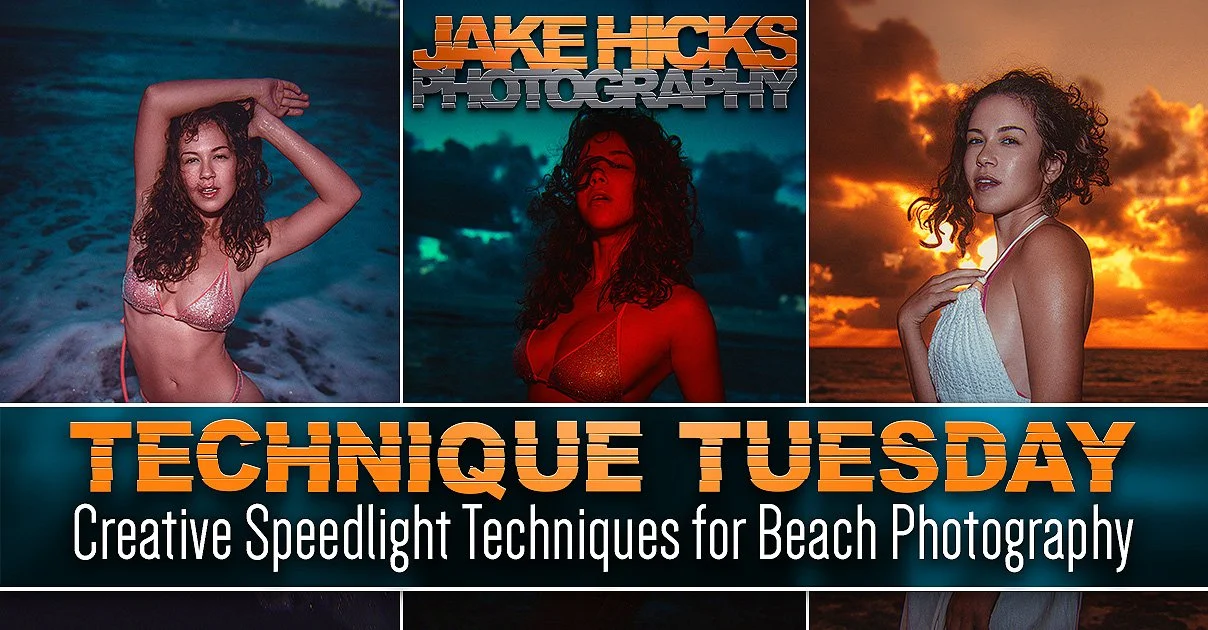
As many of us are now nipple-deep in the 2026 summer sweat-fest, what better time to head to the beach for a cool portrait shoot? Of course, anybody, including my own mother, can get a good beach portrait, but how do we capture something a little different? How can we get creative with what’s typically a very simple setup and location?
As many of you know, I’m what you might call a Dracula of portrait photography. After all, there are few things more comfortable than a studio shoot, and the only thing better than a studio shoot is a studio shoot with no windows! I love my studio lights, and having complete control of those lights, thanks to no outside interference from the annoying daylight, is certainly my happy place.
But there are occasions where I have to don factor-plutonium-paste-level sunscreen and go outside, and one such ‘opportunity’ arose recently where I thought it might be a good idea to experience ‘fresh’ air once again….. but only before the sun actually came up!
I recently travelled to the US to run a private one-2-one mentoring session (more details here), specifically, just north of Miami in Delray, Florida, and the plan was to shoot a bunch of modernised boudoir setups indoors whilst I was there. The goal was to look at the practicality of offering location-style boudoir in Airbnbs or hotel rooms with a kit just one photographer could carry with them. We certainly covered that, but I thought it’d be a shame not to use some of the incredible nearby beaches whilst we were there. But, as I mentioned earlier, I was after something a little more creative than setting the camera to ‘P’ for professional and heading out into the scolding daylight to take some snaps.
Ultimately, I wanted to mix some flash with daylight to give us something a little more interesting. As we know, daylight is very bright, and this can be tricky to do. Yes, we could cart a 1000Ws strobe down to the beach and start shooting, but I wanted to try something a little different. I wanted us to stay light on our feet and didn’t want to drag a ton of camera gear down to the ocean, as the original goal was to produce setups and shots that a lone photographer can create without too much hassle. Yes, a lone photographer can cart a strobe, stand, modifier, and sandbags down to the beach by him or herself, but it takes time, and if you’re after shooting multiple sets in a short window for a senior portrait or boudoir client, these setups can eat into that limited window.
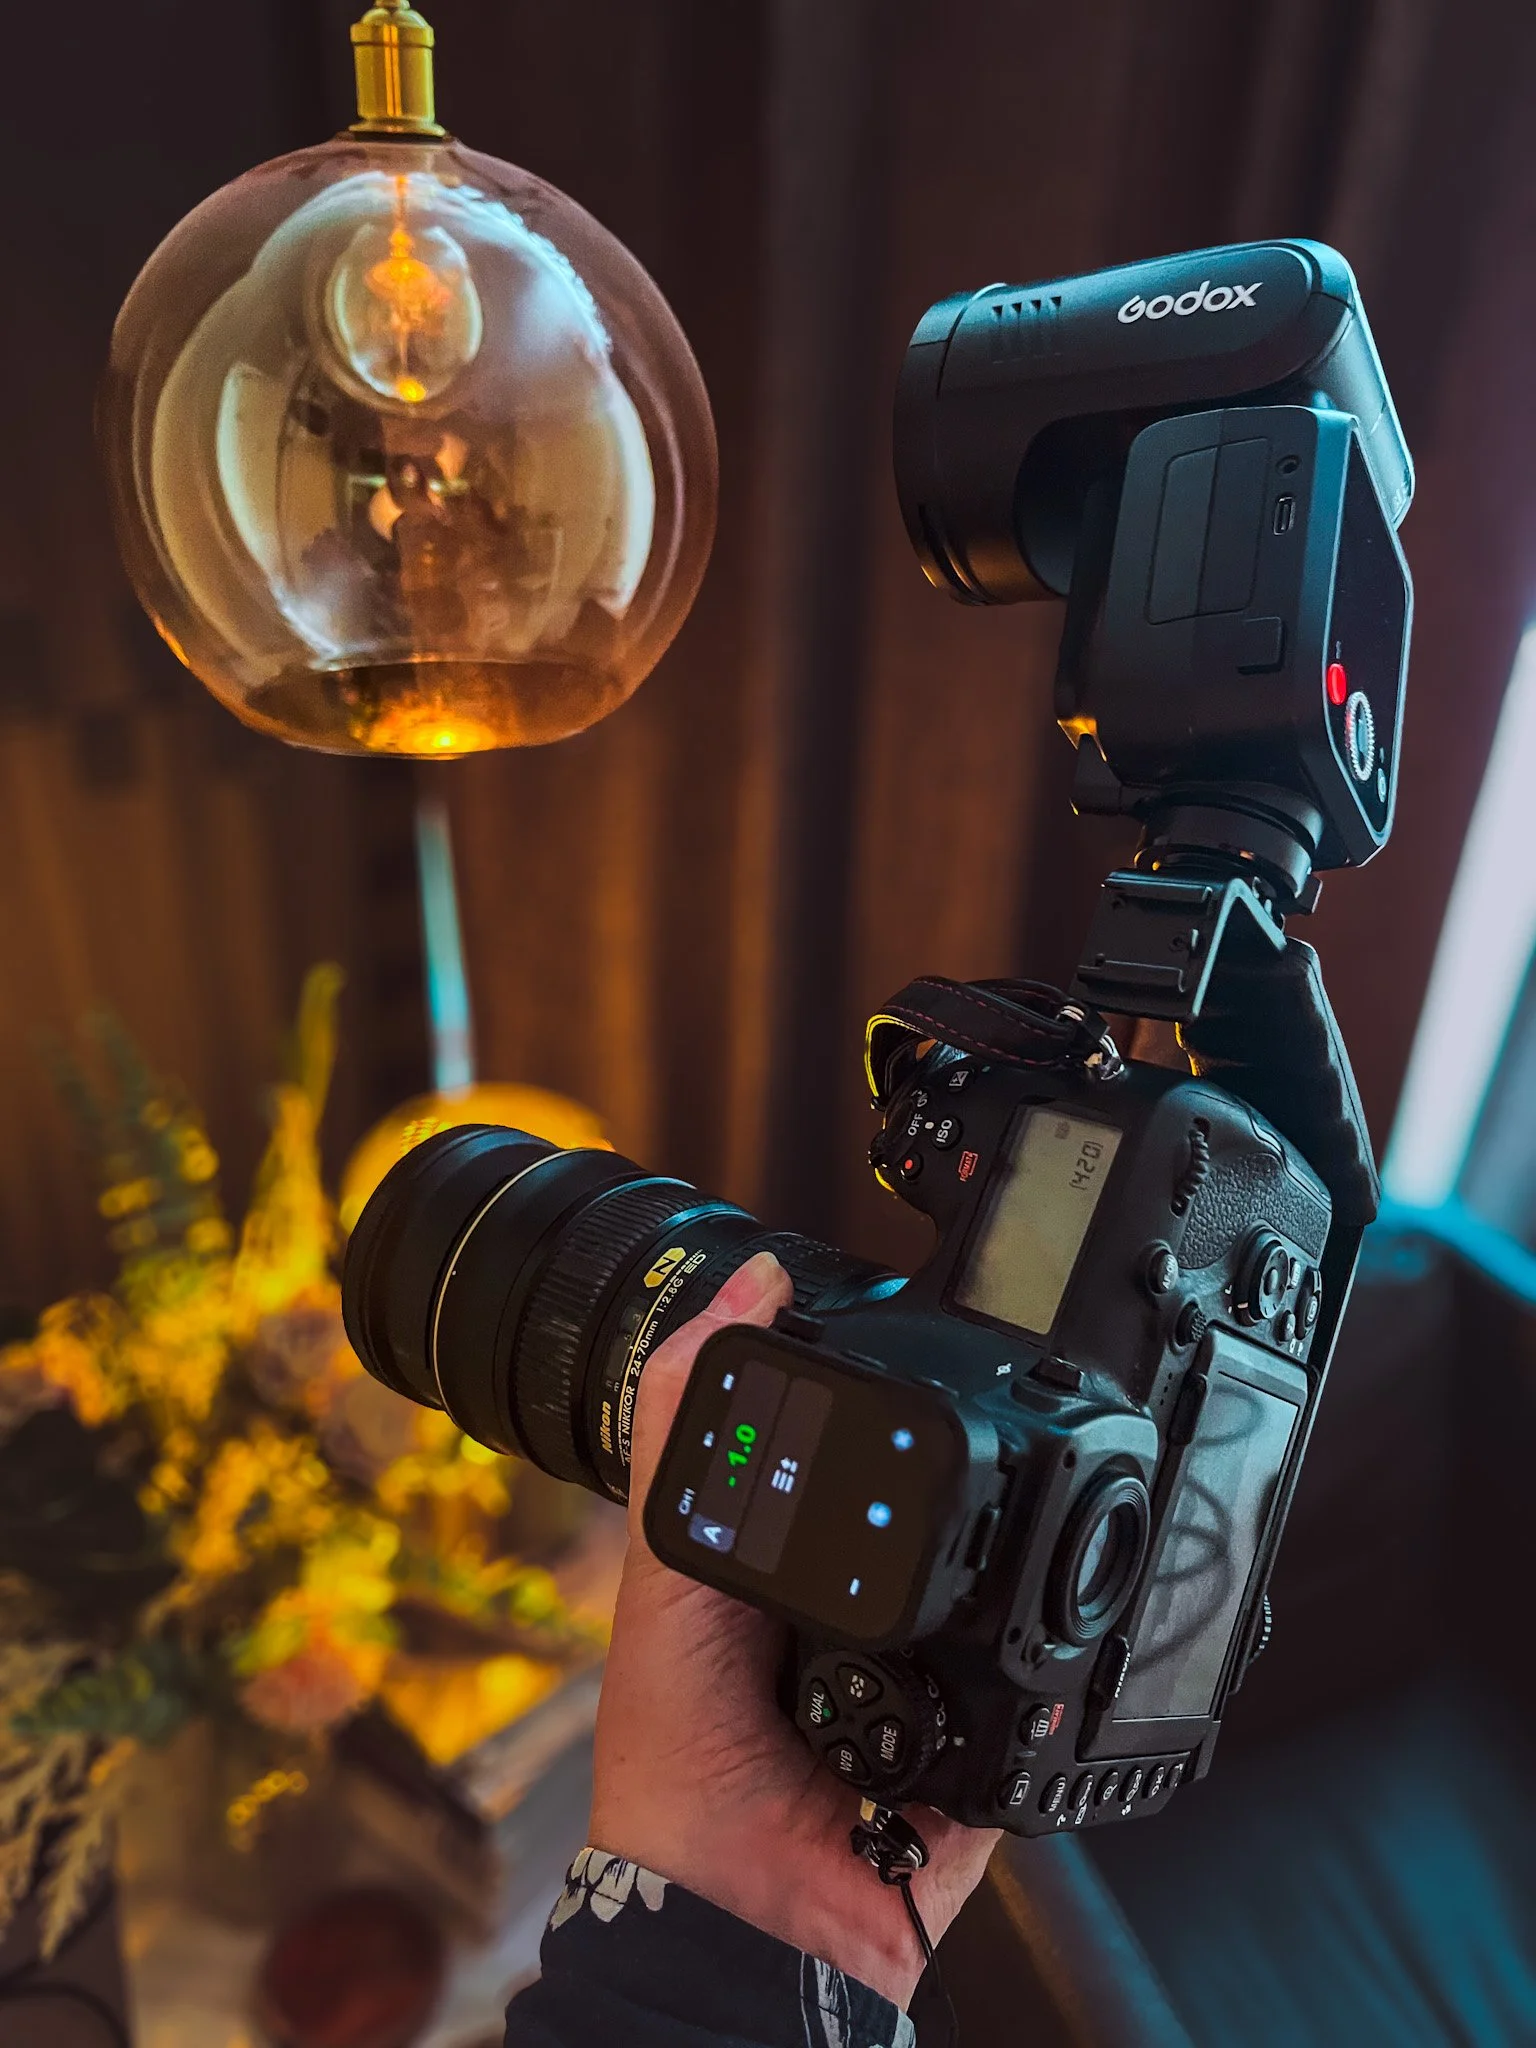
Sometimes, a camera and a speedlight is all you really need.
The Humble Speedlight
So the plan involved a simple speedlight. But how creative can we get with just a basic speedlight?
As we all know, speedlights aren’t known for their huge amounts of power and output, so to use one effectively outside, we had to shoot when the daylight wasn't too powerful, and this essentially means either before the sun comes up or after the sun goes down.
For some dumb reason we went with pre-dawn, but just know that everything I'm about to share below can also be done at dusk!
I will just add that although getting up at stupid-o’clock isn't ideal, doing this at dawn means the beach will be very quiet. Doing it at dusk, and the shoot will be far from private as you’ll quickly get a crowd of 20+ middle-aged white men whipping out their iPhones to record your poor model writhing around in the sand.
Shoot Prep
The premise is simple: grab a speedlight and some gels (I’ll explain the gels later), and get to the beach before the sun comes up. It really is that simple; the hard part comes in that you have to work fast. And I mean, REALLY fast! That sun can come up very quickly, and once it does, you’ll have lost your shooting window.
I advise getting to the beach an hour before the sun is supposed to rise. There are scores of apps you can use to tell you what time that is in your area, and even most weather apps can tell you now. This may seem like you’re getting there early, but once you've parked, loaded up and walked down to the water's edge, and the model/client has changed into the required outfit, you’ll burn through potential shooting minutes in no time at all.
Defining ‘Dawn’
There are a number of sites and apps available for monitoring the sun's path, but I've used suncalc.org in the past.
The premise is simple: search the beach where you’ll be shooting, be sure to also include the actual date on which you’ll be shooting and then make a note of the times.
Whatever sun-tracking tool you use, be very mindful of the difference between ‘Dawn’ and ‘Sunrise’.
Technically, dawn is the time at which the centre of the sun is 6 degrees below the horizon and is what we all refer to as ‘twilight’. This is often what photographers call the sweet spot, and this tiny window between dawn and sunrise is where many of the best dawn shots come from. The time just before dawn is often referred to as blue hour, and you can certainly shoot then, but of course the sky will be a deeper blue colour. Once the sun has risen, you have the golden hour and now many of your shots will be a rich orange colour. This is why that tiny window between dawn and sunrise is so precious, as the sky is a happy medium between the blue and orange.
The Setups
The Safety Shot
Let’s kick things off with the basics first. A simple speedlight shot on the beach that we can all nail straight out of the gate to check everything is working properly, and this is also what I refer to as our ‘safety shots’. I’ll often have a setup on most shoots, and no matter if it's in the studio or on location, I’ll have a super-simple and safe setup that we can start with to get the team warmed up and set the tone. These safety shots still look good, even though they're often easy to pull off, but everyone breathes a sigh of relief that we have some good shots in the bag, and then we can move into the more advanced arty-farty setups safe in the knowledge that we already have something half-decent locked down.
In this instance, it’s going to be the basic onboard flash shot. The sun hasn't come up yet, so we need to lock in our background (ambient daylight) exposure. You can do this while the model is prepping if you like; I tend to have the flash turned off, take a few frames of the background, and then darken my camera settings so the model will pop once we turn the flash on. I’ll leave this exposure up to your personal preference, but I do tend to like that background to be at least one or two stops underexposed. Once the camera settings are set, turn the flash on, make sure to switch it to TTL if your flash has it, and then start shooting. Like I said, super-simple, but still surprisingly effective.
Camera Settings
Camera - Nikon D850
Lens - 24-70mm
Shutter Speed - 1/125th
Aperture - f8
ISO - 160
Kelvin - 4750K
Focal Length - ~48mm
-Click on any of the images below to fit them to your screen
The Kelvin Push
With the safety shots in the bag, I’m happy we have something. The model has seen them; she loved what she saw and is now pumped and revved up to try something else, safe in the knowledge that whatever happens with the rest of the shoot, she has some cool shots already locked down. It may seem like I’m labouring the point of these ‘safety shots’, but you have to understand the client, model or subject can’t see what you're seeing, and they may not be able to visualise your final vision for some of the more arty-farty setups you're dying to try out on the day. Trust me, I’ve set up some bizarre shoots that solely rely on the team trusting my vision for the final image. That’s fine if everyone has worked together before, but for a new client or model, I really cannot stress enough how valuable it is to get some shots that everyone can see and breathe a sigh of relief to break that tension on set.
With that done, I wanted to get a little more creative with colour and one easy way to do that is by playing with the Kelvin. For those that don't know, Kelvin is the world colour. That sounds odd, I know, but the light outside has a colour that we all use in our photography. I won't go into the details of Kelvin here, but the basics are this. Daylight is around 5000K-5600K, and many flashes and studio strobes all shoot with that same 5500K range. A tungsten bulb is a lot warmer (more orange) and has a far lower Kelvin of around 3200K, and a candle is warmer still at around 2000K. At the opposite end of the Kelvin spectrum, we have cooler (bluer) colours, and an overcast day can have a Kelvin of around 7000K.
Click to enlarge - The Kelvin Range
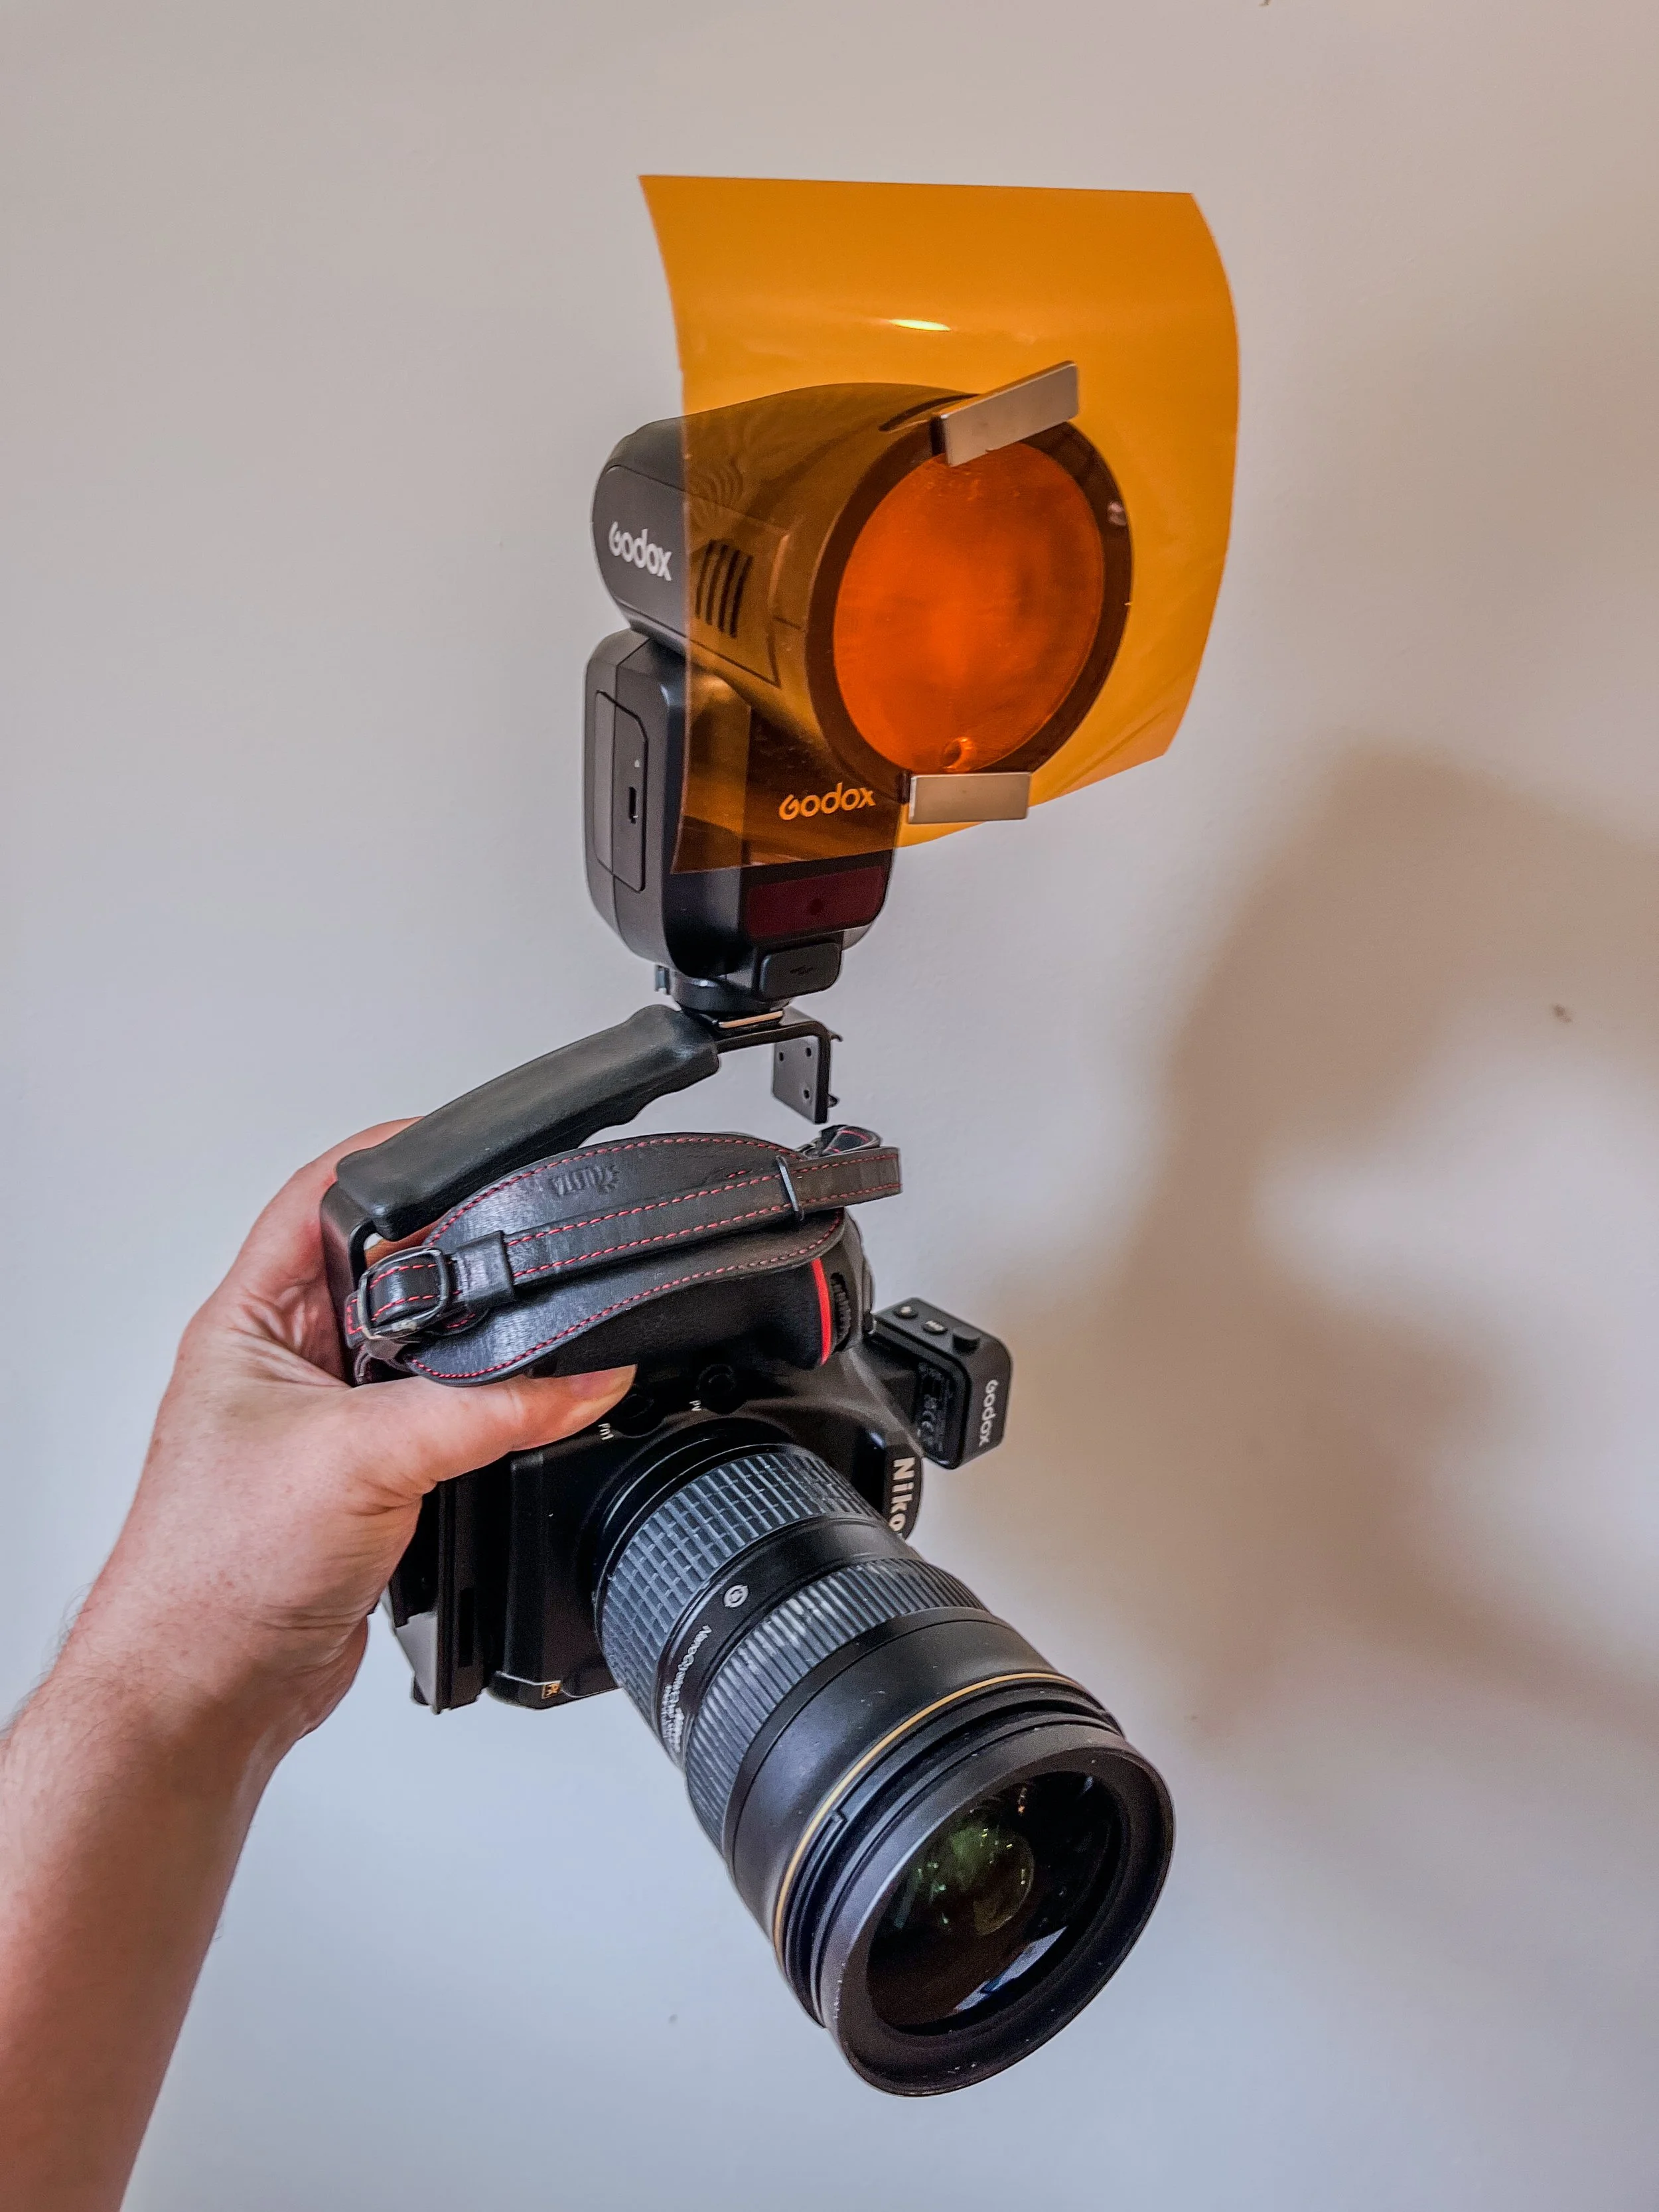
There are scores of products you can buy to attach a gel to your speedlight, but ultimately, a scrap of gel and a couple of magnets gets the job done on the Godox V100 here.
That’s the Kelvin crash-course for sure, and there’s certainly a lot more nuance to it, but for now, I just wanted you to understand that we’re dealing with warm and cool colours.
In this next shot, I wanted to make my background behind the model a wash of blue in contrast to her warmer skin tone. To do this, I set my camera to a very low 2600K, and when you take a picture of the daylight at that Kelvin, the world appears bright blue. If I were to photograph my model like that, the model would also appear bright blue, so I need to counteract that colour shift somehow. The easiest way to do this is, of course, to flash my model with a warm orange colour that will neutralise the very cool blue colour, and we can do that by placing a CTO (colour temperature orange) gel over our speedlight.
This all sounds complicated, but in reality, you set your camera's Kelvin to 2600K, get your camera's exposure set to the background (I prefer mine a stop or more underexposed), place a CTO gel on your speedlgiht, and you’re quite literally done and ready to shoot.
Camera Settings
Camera - Nikon D850
Lens - 24-70mm
Shutter Speed - 1/125th
Aperture - f2.8
ISO - 64
Kelvin - 2600K
Focal Length - ~31mm
Here is what we got. Pay close attention to the blue background colour and remember that this is not adjusted in post; the shots looked like that on the back of the camera.
-Click on any of the images below to fit them to your screen
Doubling Down on the Colour
In the previous set, I was making the background blue thanks to the Kelvin push and CTO gel on the speedlight. This is fine, and it can add a little interest to the shot, but for the most part, the model is correctly lit and correctly coloured thanks to your camera's Kelvin setting adjusting for the CTO gel.
But, in this next set, we’ll be throwing all sense of normality aside and opt to make the model bright red. Why? Because why not?
For the most part, everything remains the same as the previous set. In fact, I’m not even going to change my Kelvin as I want to double down on that blue background in stark contrast to my model's colour, which in this instance will be bright red thanks to a bright red gel on my speedliught.
This may seem odd, but it can look really cool and, if nothing else, it's really eye-catching. One point to remember here is that the Kelvin range is not like normal colours, and the colour correction gels you use are not like ‘normal’ colours either. For example, I used a CTO (colour temperature orange) gel in the last setup, and although it looks orange, it is not an orange gel like a regular orange gel. The point I'm getting to here is that although I have my camera’s Kelvin cranked all the way down to 2600K, this is still only a subtle colour shift when compared to bright red gel. So yes, my camera is making the daylight bright blue, but it's barely affecting the very bold, rich red colour of the gel, and thereby we can combine the two colours to get this effect. TL;DR, don't feel like you have to switch your camera's Kelvin back to the standard 5600K to use the coloured gels in this way.
Camera Settings
Camera - Nikon D850
Lens - 24-70mm
Shutter Speed - 1/125th
Aperture - f2.8
ISO - 64
Kelvin - 2600K
Focal Length - ~31mm
As you can see, the camera settings have not changed at all from the previous Kelvin-Push setup, and yet you can quickly get a completely different look.
-Click on any of the images below to fit them to your screen
Work Fast!
When shooting in natural light, you’re always fighting against the movement of the sun, but with a dawn shoot like this, that fight is never more apparent. I mentioned above when the perfect time to shoot a dawn shoot actually is, and I defined it as the tiny window between ‘dawn’ and ‘sunrise’. Bear in mind that this window will change in size depending on where you are in the world, but here in Delray where I shot these, it was the time between 06:53 and 07:16. That’s just 23 minutes, which is not a lot of time to get everythign done, plus you’re really cutting it fine if you’re still shooting just before the sun peaks over the horizon so 20 minutes at best.
And guess what? ‘We’ were late.
We actually didn't start shooting until gone 7 am, and the time from when the very first shot was taken to the last was only around 13 minutes. So all of the shots and setups above were done in just over 10 minutes of shooting. So you can see just how important it is to work fast, know what you're doing, know when you have the shot and when it’s time to move on, and, of course, have a plan.
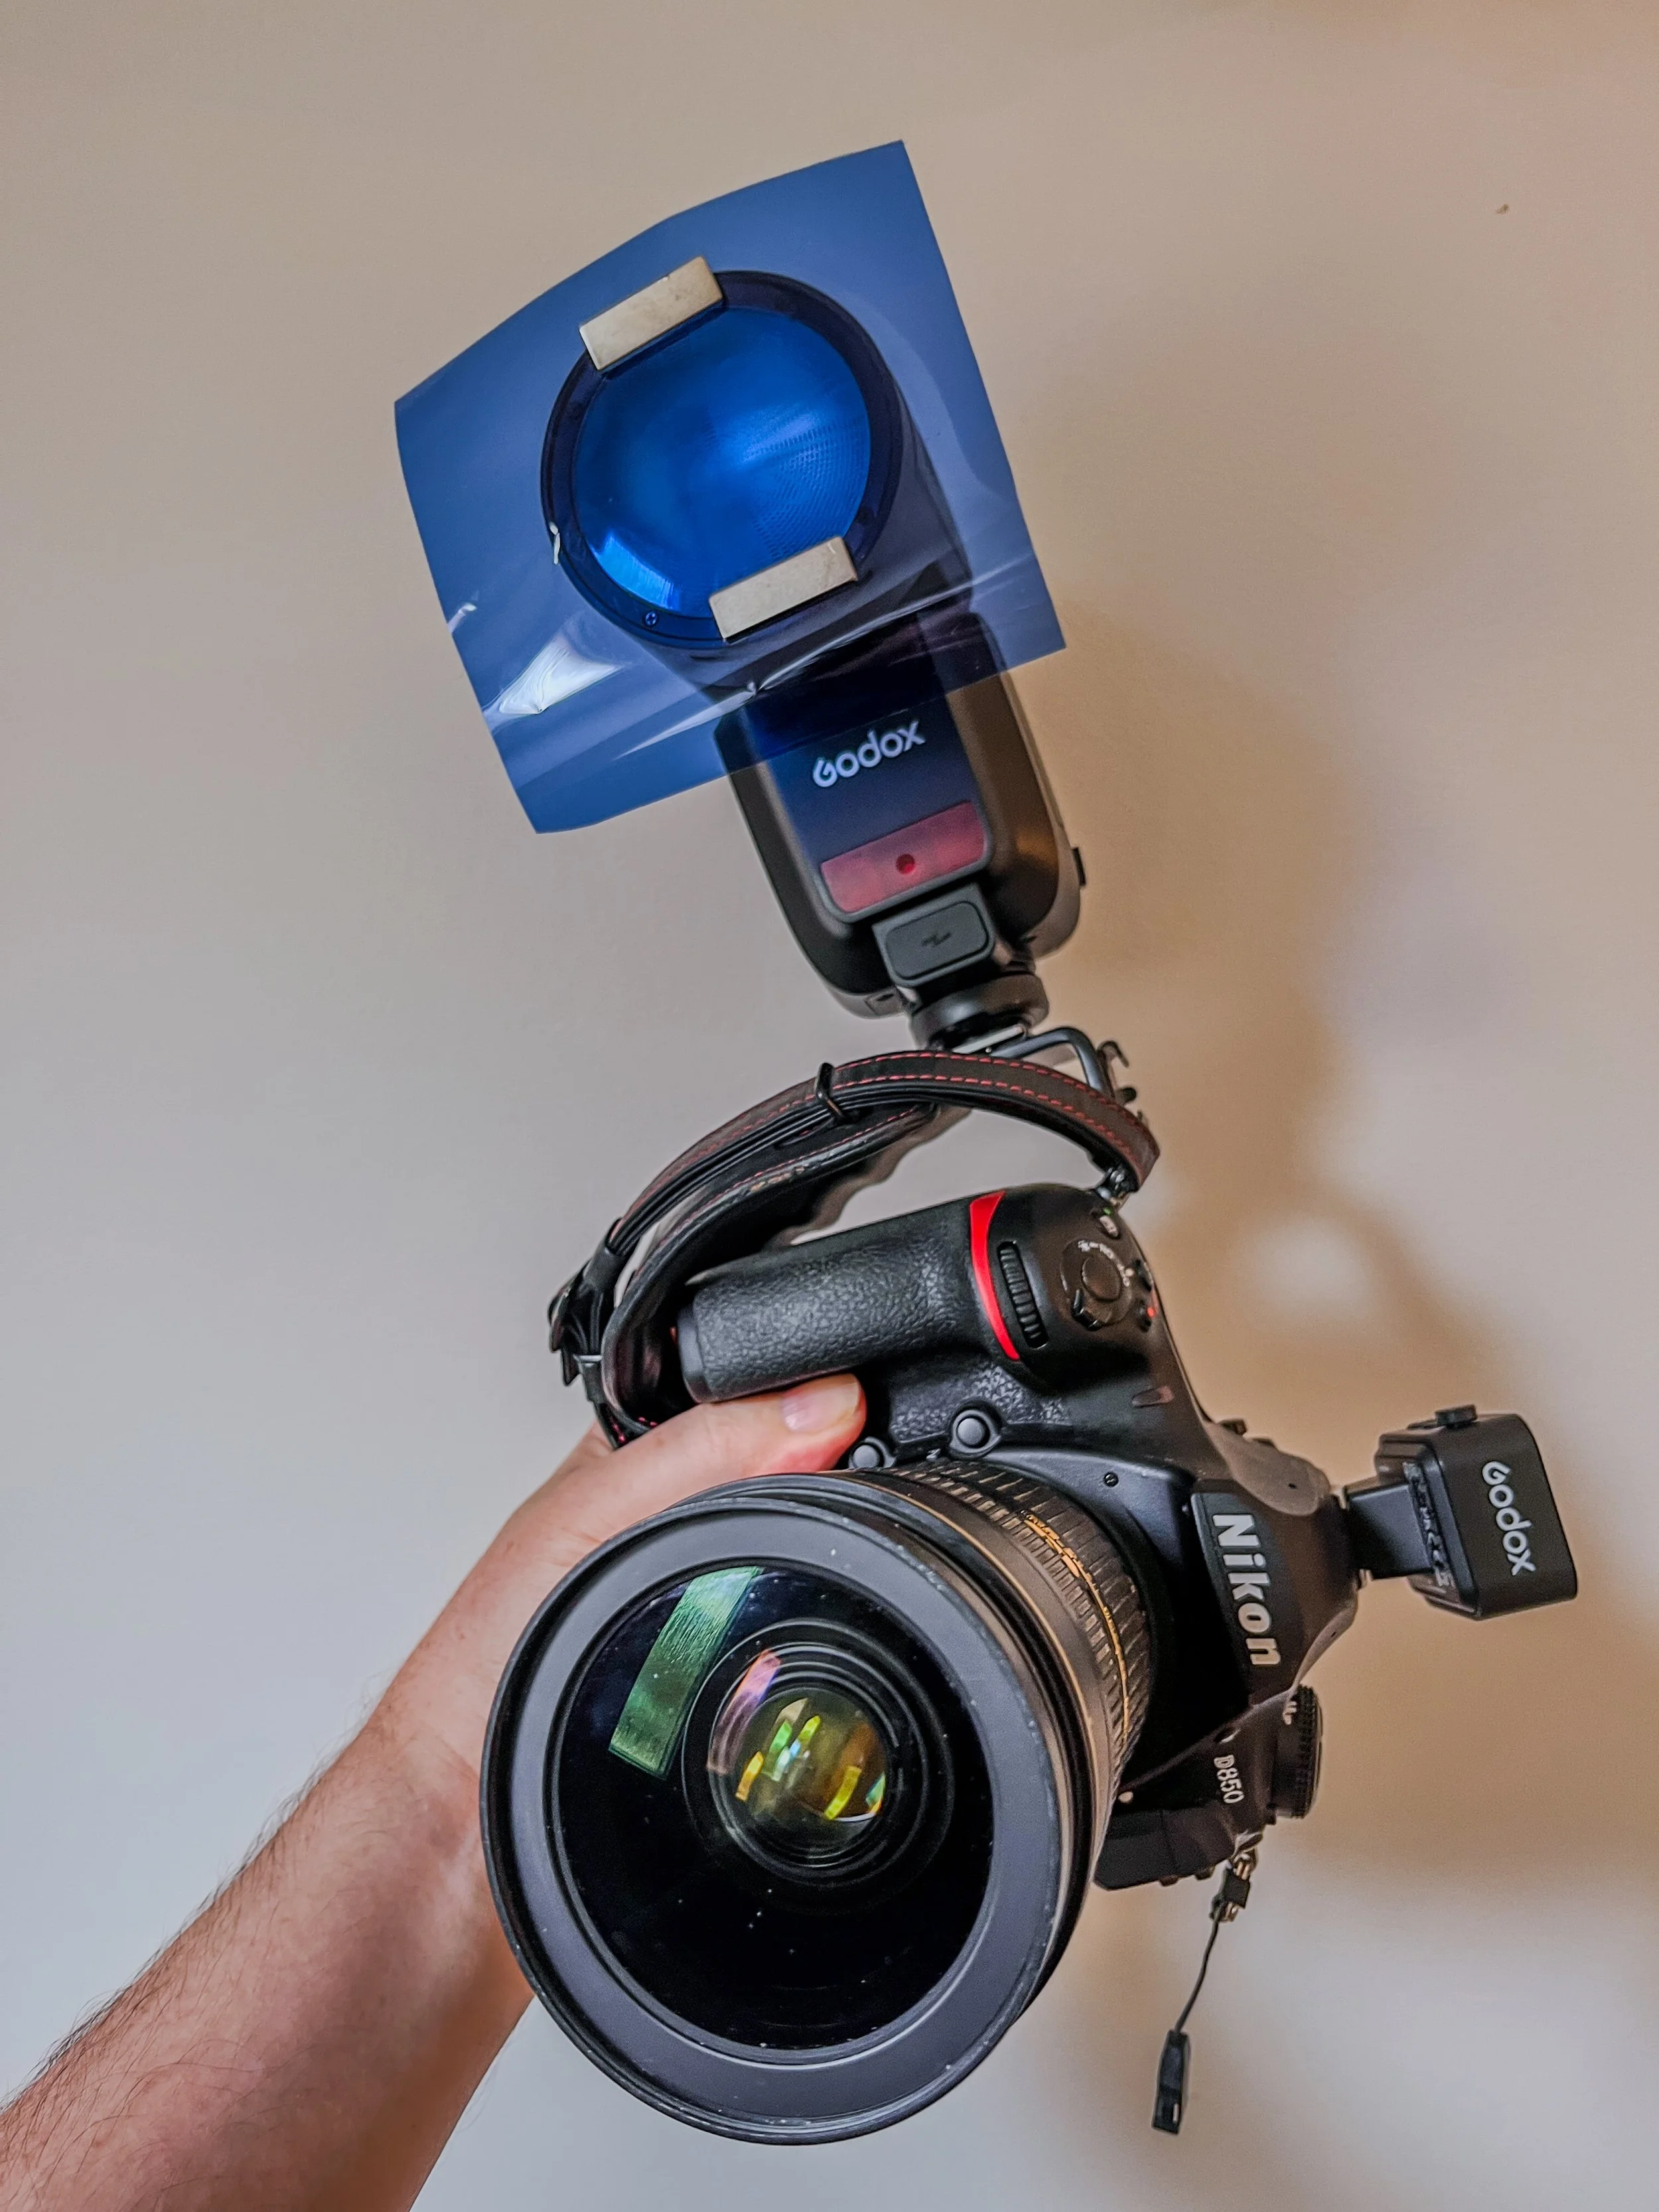
Again, adding a CTB gel to your speedlight is very quick and easy.
Bonus Setup - Forced Golden Hour
I just showed you what it looks like when we use a CTO (colour temperature orange) gel on the flash and adjust the Kelvin in our cameras to compensate, but what does it look like if we do the opposite? What happens when we use a CTB (colour temperature blue) gel on our flash and adjust the Kelvin in our cameras the other way to compensate?
To be clear, the sun had fully come up over the horizon at this point, and you can even see it in the shots behind the model. That said, this technique still works no matter what the sun is doing behind the subject.
Camera Settings
Camera - Nikon D850
Lens - 24-70mm
Shutter Speed - 1/125th
Aperture - f8
ISO - 31
Kelvin - 9900K
Focal Length - ~52mm
Pay close attention to that Kelvin I’ve listed above.
-Click on any of the images below to fit them to your screen
The effect of using a CTB on the flash is not as dominant as before when we used CTO on the flash. This is because the perceived colour difference is less noticeable. Yes, the difference between 5500K and 10000K is wider in terms of numbers compared to the 5500K to 2500K, but we’re only concerned with the perceived colour, as white to slightly blue is far less noticeable than white to bright orange. I’d encourage you to test and play with this yourself, as I think there is also some very interesting middle-ground to be had with this technique. For example, the bold orange shots I’m showing above are pretty striking, but you’d likely get a more subtle and believable look when you use a 1/2 CTB instead of a full CTB as I did here.
Big thanks to the model on the day @slowedtime_ and of course to @swiperightfoto for inviting me out to run the one-2-one mentoring.
Points to Consider
Planning
Make sure you’re prepared and know exactly what time everyone needs to be there. Don't just tell the model to be there before dawn. Do your research and make sure everyone knows when and where they need to be.
Speed
Not only do you need to be there on time, but you need to work fast once you’re there. This will get a lot easier once you've done it a couple of times, but have a system and trust it. For example, get there and start by taking an exposure reading of the environment and then turn the flash on. Don't try to get both exposures right at the sme time.
Establish a Look
You’ll also need to know what look you’re going for. As you can see in my shots above, I prefer a far darker background to make the model pop when using the flash. You need to work out what looks good for you and then stick to it throughout the shots for a consistent look.
TTL
Do yourself a favour and get a TTL flash. Look, I get it, I’m a control freak too, and I love to have full manual control wherever I can. But TTL is just so damn good and consistent these days that you'd be a fool not to utilise it. Remember, you still have overriding control of TTL by adjusting the exposure compensation on the speedlight, which gives you several stops of flexibility if you feel you need it, which I regularly do.
Be Quick with the Colour
Obviously, if you’re not interested in all the fancy colours and coloured backgrounds with Kelvin pushes, you can focus on just getting some clean speedlight portraits. However, if you’re feeling confident and want to implement the colours to give it a try, be ready with the coloured gels and colour correction gels as you’ll want to switch everything over quickly. There are scores of great gel kits for speedlights these days, and many have elastic bands or magnets to help you affix the gels as and when you need them.
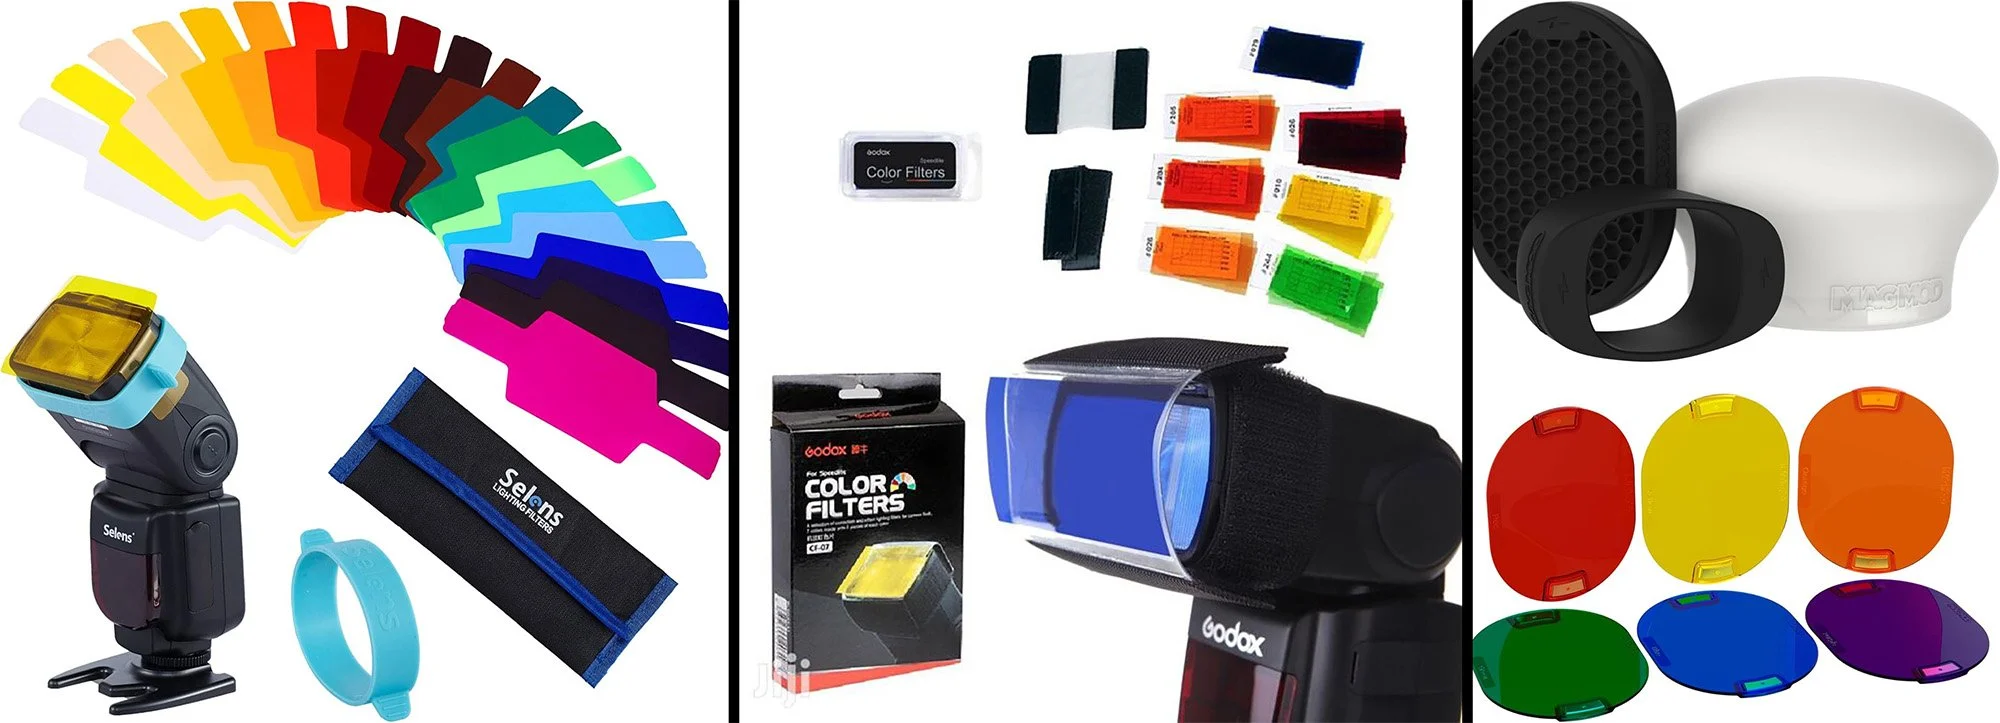
There are many ways to attach your gels to your speedlight. From elastic bands to Velcro to magnets. Whatever you choose, make sure it works with your size and shape of speedlight, and it's easy to swap, preferably with one hand. The elastic bands look secure, but are probably a pain to do quickly.
Don’t make the rookie mistake
This one is a dead giveaway to a photographer’s level of experience. Photographers who shoot in portrait orientation but still have their speedlight on the hot-shoe are either very inexperienced or very lazy. For those with more than a handful of photoshoots under their belts, you’ll see them using a right-angle bracket on their camera to rectify the ugly lighting that failing to do so presents.
Take a look at my example below to see the difference using a right-angle bracket with your speedlight can make.
Click to enlarge - In the shot above, I took a speedlight portrait with the camera in portrait orientation, and the speedlight affixed to the camera's hot shoe.
Click to enlarge - In this example, I took the same speedlight portrait with the camera in portrait orientation, but this time I'm using the speedlight on a right-angle bracket to keep the light above the model's eye line and not off to the side.
Note: Be aware that I’m using a flash trigger on my camera to fire the speedlight, as it is no longer on my hot-shoe. If you’re after a right-angle bracket, there are some with cables running to the flash, so you don’t even need a flash trigger like this. Have a look around to find one that works for you and your system.
What Speedlight?
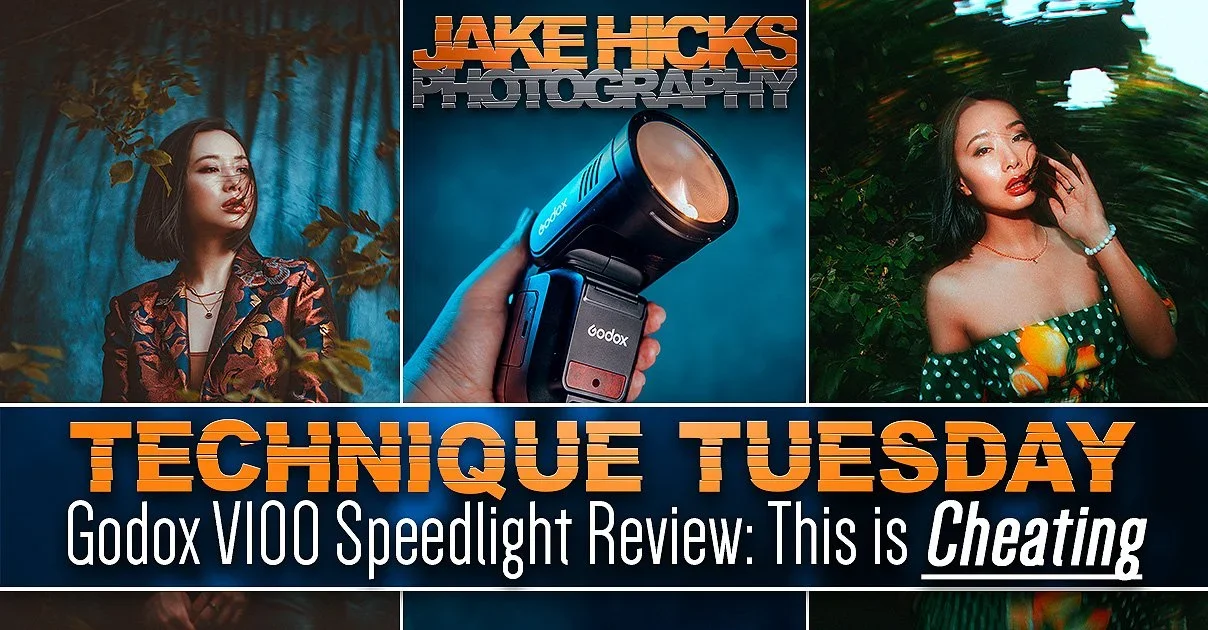
This is going to depend on several things, but I’ll be honest, I reluctantly tested and reviewed the Godox V100 a while back and was blown away by the little thing. I don’t think you can go wrong with that one if you’re after a definitive answer. I tested that thing to death, and it never ever once failed or even dropped a frame, and I was trying to make it fail!
If you’re curious, here was my review… Godox V100 Speedlight Review: This is Cheating!
Products Used
None of these links are affiliate links; they’re only there for your convenience, so feel free to use, not use or find a better deal elsewhere.
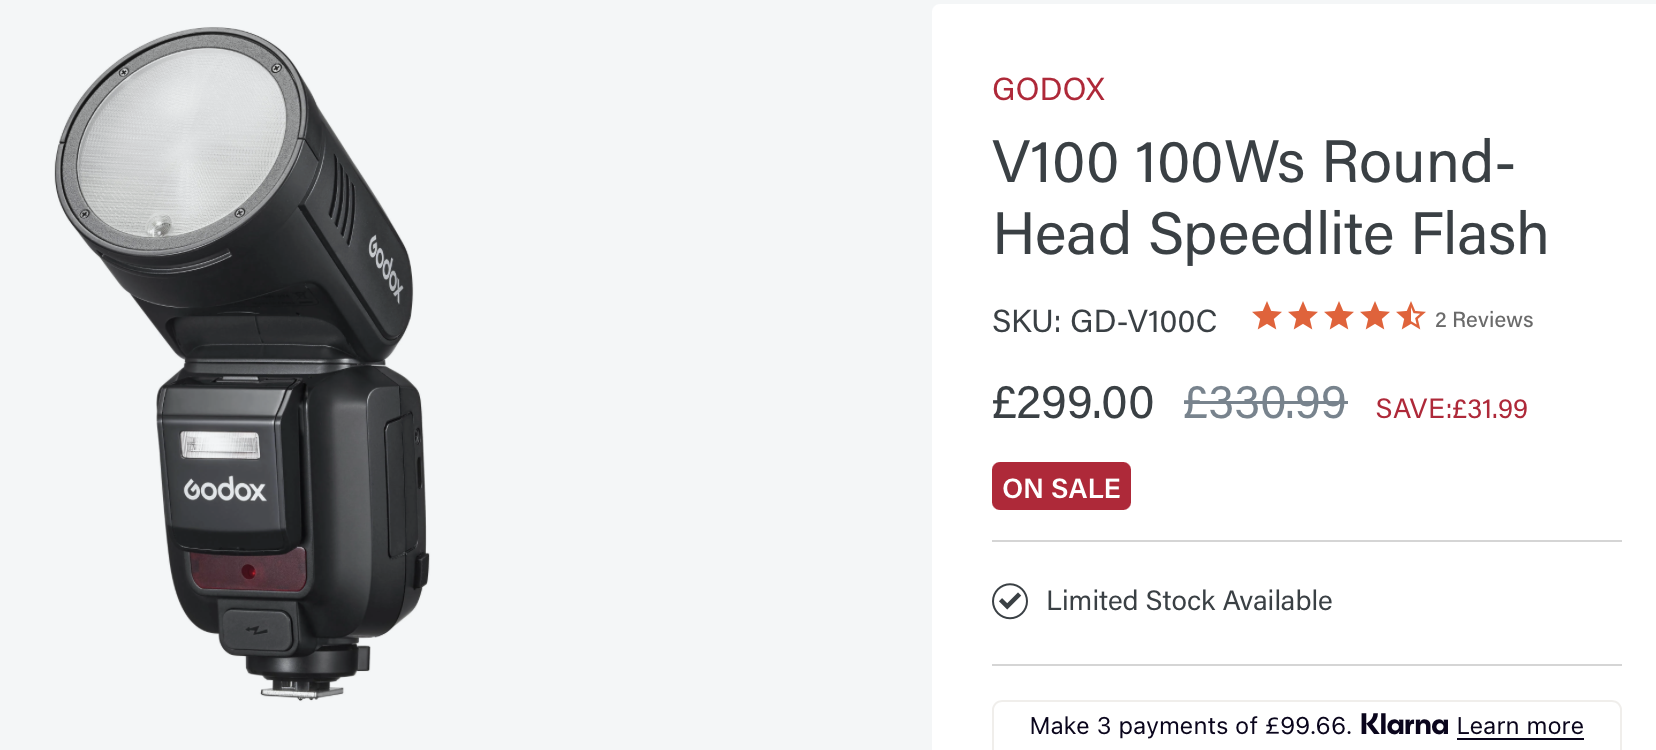
Godox V100 Speedlight
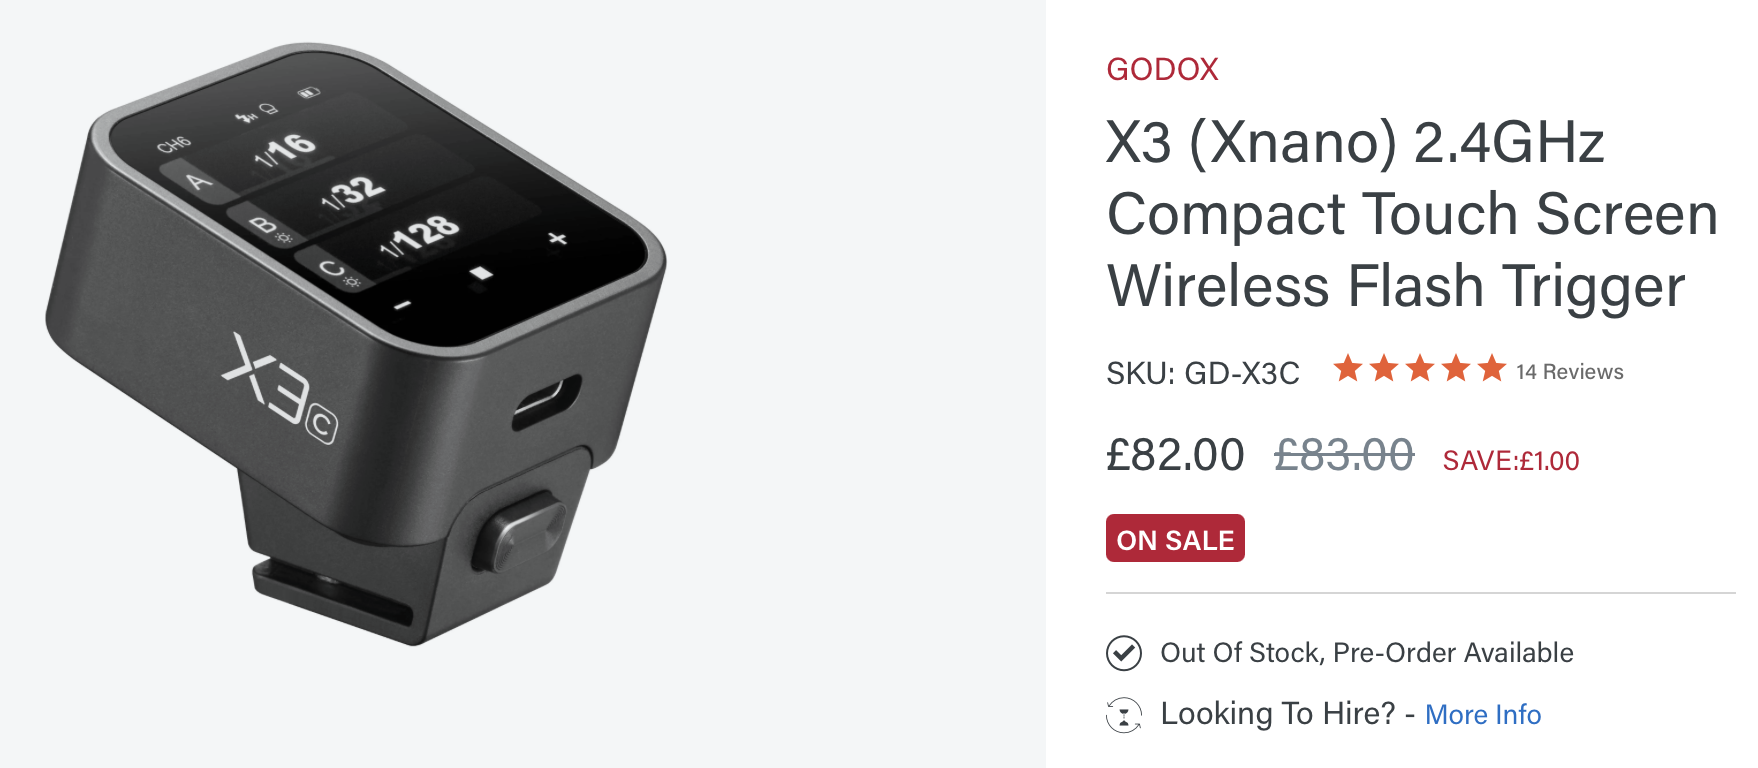
Godox X3 Wireless Flash Trigger
I've always wanted my photography education on here to be free, so although there is no paywall to any of my -Technique Tuesdays-, any and all support is greatly appreciated. ❤️
PLUS: Donate any amount and I’ll send you a link to the hi-res print version of my studio lighting book.
||
PLUS: Donate any amount and I’ll send you a link to the hi-res print version of my studio lighting book. ||

JHP Livestreams…
I livestream every other Tuesday night via YouTube and there I answer your questions, critique your shots, take community images into Photoshop to work on them and discuss all manner of lighting tips and techniques. I look forward to seeing you and your work there real soon. Jake Hicks Photography - YouTube
