
I've always wanted my photography education on here to be free, so although there is no paywall to any of my -Technique Tuesdays-, any and all support is greatly appreciated. ❤️
PLUS: Donate any amount and I’ll send you a link to the hi-res print version of my studio lighting book.
||
PLUS: Donate any amount and I’ll send you a link to the hi-res print version of my studio lighting book. ||
I recently posted a series of images on my Instagram titled ‘Don’t do this’. I was referring to the many dos and don'ts of photography that I often explain to students and photographers I mentor. ‘Do try to have catchlights in the eyes.’ ‘Do place your light above eye-level.’ ‘Do use complementary colours’, and so on. Of course, with these dos, I also have many don’ts. ‘Don’t use green on the skin.’ ‘Don’t place your backlight too low.’ And, ‘don’t under-light your subject’.
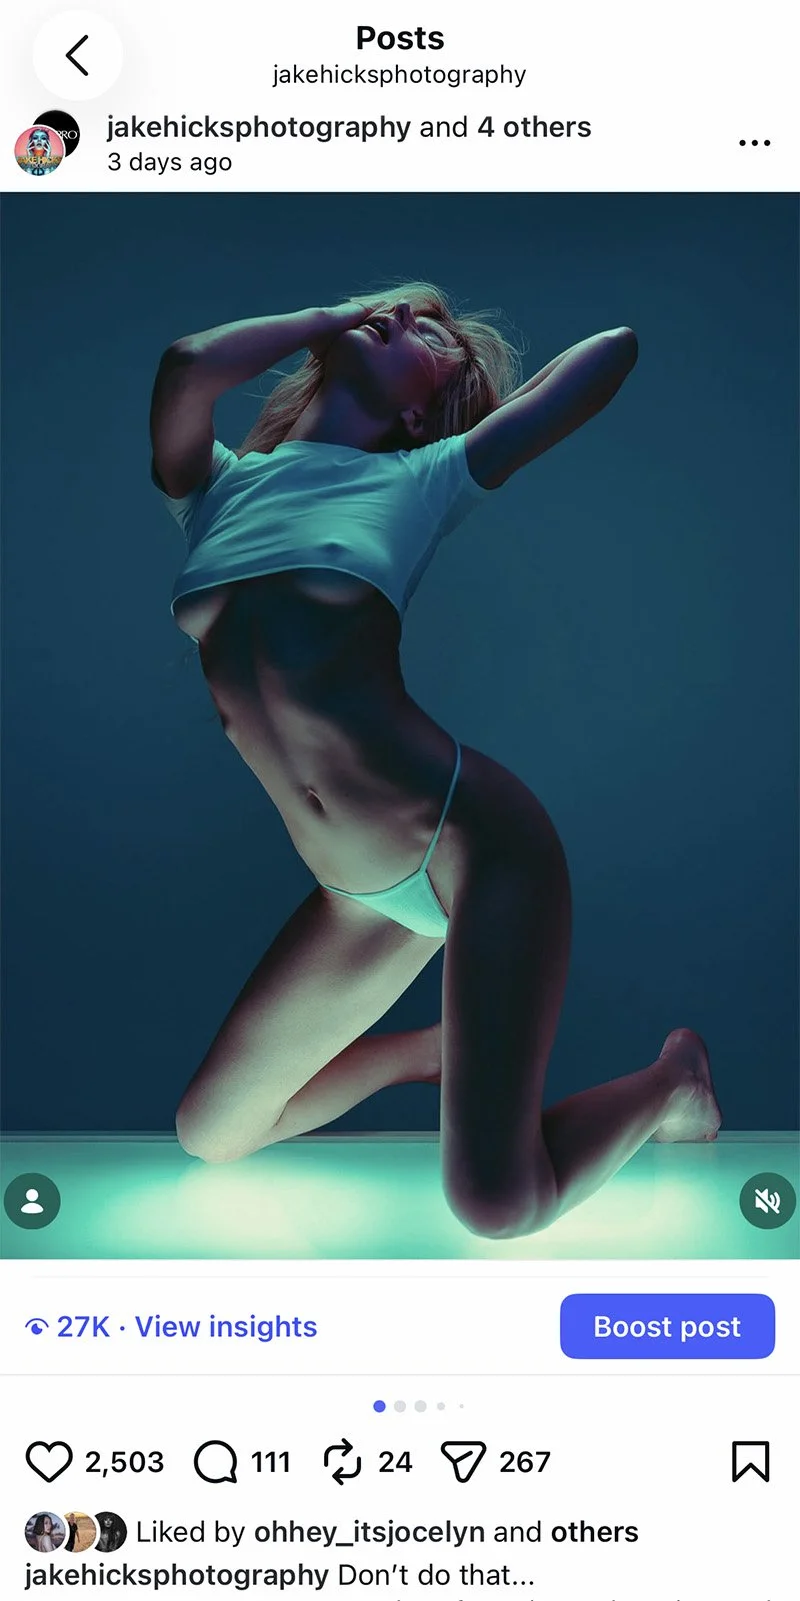
The recent IG Post in Question: Breaking the rules with photography may be more popular than you think…
But rules are often just suggestions when it comes to art, and I’ve recently been looking at several ways in which I can push and bend those ‘rules’, and this lightbox project was one such experiment in rule breaking, specifically, ‘don’t under-light your subject.’
To be clear, when I say ‘don't under-light your subject ’, I'm referring to lighting the subject from below, which typically creates unflattering shadows. So how can I combat this normally very unsightly look that is often referred to as ‘monster lighting’ and is only commonly used in Hammer horror movies from the 1960s?!
Lean into it
One tip I’ll offer right away for overcoming these atypical lighting problems is to lean into them. Don’t be delicate with it; instead, double down and make them a feature. Make it clear this wasn't simply a case of you getting lucky with typically bad lighting. And this is where the giant lightbox idea came from. Make the under-light the core feature of the image.
The Lightbox Plans
Thankfully, with modern software, you can overcome some lighting issues before you even step into the studio. One such program is Set.a.light 3D, and I've been using this software since its release to design and set my lights before I even pick up the camera. Set.a.light 3D allows you to place and position lights in a 3D studio environment to see how the light will fall and interact with the subject and background. The software has scores of prebuilt lights for you to use, and in the latest version, you can even create your own light from your own specifications. Sadly, that version wasn’t out when I made my lightbox, but I was still able to design and build my own lightbox in this 3D studio with great accuracy by entering exact measurements and playing with the design until I was happy with how it performed and lit my 3D subject.
Here is the early initial design for my lightbox. Using the program Set.a.Light 3D, I was able to get a good idea of how large the box needed to be to sufficiently light my model from below.
I’m showcasing the original design in version 3 of Set.a.Light 3D above, but this was built in the older version 2, where you couldn’t actually generate your own light from a user-designed light shape. But that didn't matter too much to me, as I knew the dimensions of the lights I intended to use in the lightbox, and you can see them as the beige squares in the diagram above.
The core benefit of designing the lightbox in this software was to determine exactly how large it needed to be for a model to sit on top of it. Obviously, making a huge lightbox is the easiest way to overcome these concerns, but the cost and practicality of making, moving, and even storing it are all considerations.
The Surface
Lastly, one of my biggest concerns from the start was model safety. How thick did the transparent lightbox top need to be so that it wouldn't buckle, bend or ultimately break and allow her to disappear through the middle of the box? I did a bunch of research and ran some tests based on the box size and the subject's predicted weight and distribution. For example, would tempered glass be better, or should I use Perspex? If I use Perspex, how thick would the Perspex need to be to ensure it doesn't bend under the weight? And if so, how wide should the lip of the box be to accommodate any movement or shrinkage of surface width due to bending?
Ultimately, I opted for Perspex over tempered glass due to safety concerns. I then estimated the subject's weight and tested for both evenly distributed and focused weight distributions. For example, the model is standing on one leg with all the weight in one spot, versus her sitting down, spreading the weight over multiple points of contact.
With all that in mind, I erred on the side of caution and then added a few extra millimetres of thickness to the Perspex for good measure, and I ultimately asked my carpenter to make the lightbox top from 20mm Perspex. When the box was finally delivered, it had inch-thick Perspex (closer to 25mm, likely because he got a deal on that specific thickness and that was more than fine by me), and it's bombproof! The model could tapdance on that thing, and it wouldn’t move at all!
I will add that the Perspex and its unique thickness are what drive up the cost of this build. I think I was fortunate with mine. Yes, I did have to wait a couple of weeks for it to be made, but that wait was likely due to the carpenter getting a good deal on Perspex somewhere, which we were waiting on to complete the project.
Final Design
I’ll share the exact dimensions and specs of the final design I settled on below. Click any image to make it full screen.
The Build
I’m sure to many of you, this is a simple build. Essentially, it’s just a large wooden box with a few sections cut out, and with the right tools and materials on hand, it might even be a quick build. I even looked into the practicality of doing it myself, but I didn’t have the right tools or materials, so I decided to see how much it would actually cost to have a professional carpenter make it. A quick look online in your region and you’ll likely find a service that puts customers in contact with local tradesfolk. Here in the UK, I found MyBuilder.com, which lets you post your job online (I uploaded all of the plans and specifications you saw above), and local carpenters can bid to take it on. I quickly had a few offers, and within a day or so I’d settled on a local carpenter who said he could build the lightbox for a very good price and even deliver it if I could wait a few weeks. This was fine by me, and a few weeks later, the finished lightbox was delivered (ironically, it actually arrived during one of my livestreams, and some of you may even remember me dragging the raw unit into the office at the time).
Lightbox in the Raw
The lightbox arrived in its raw, unpainted form because it was cheaper and faster. If you’re doing something similar and don't have the space to paint it yourself, you can, of course, ask your carpenter to paint it for you.
The raw, unpainted lightbox.
The unpainted lightbox with the Rotolight Titan X1’s in situ and the undiffused Perspex in place.
In the top image above, the lightbox is without the Perspex. In the second image, you can now see the lightbox with my intended lights in place and the Perspex inserted.
It’s worth noting that you could use a variety of lights instead of the Rotolight Titan X1’s I’m using, and several brands make cost-effective LED panels that would fit perfectly in here too. In fact, later in the article, you'll see me using a Godox UP150R LED panel to light my model from above. If I’d had another of those panels, it would have worked great in the lightbox as well.
Diffusion
Ironically, this part was trickier than I’d imagined. How do I properly diffuse the top of the box? I’d originally designed the lightbox around me using two Rotolight Titan X1’s inside, and many of the lightbox measurements were made with these large LED heads in mind. Yes, the Titans have their own diffusion, but having a deeper lightbox not only allowed me a little light control but also let the LEDs spread their light before it reached the top, thereby giving me a more even spread of light across the surface of Perspex.
Note that the deeper the lights in the box, the more the light goes straight up rather than immediately spreading out to the sides, similar to using barndoors on the front of your light to control it. This was another benefit of mocking up this lightbox in 3D beforehand, as its depth was fundamental to the final light control.
So, although the Titan lights are large, they certainly didn't completely fill the lightbox, which meant I had to diffuse the Perspex surface somehow. I could have had the Perspex surface sanded down to give it a frosted look, but I chose not to, as it would have left me with almost no way to control the diffusion level later, if needed. In the end, I went with diffusing the Perspex with my own diffusion gel from LEE filters. They sell rolls of diffusion gels in many, many thicknesses and diffusion levels, and I had a roll left over from a previous shoot, so I used that.
An initial quick test with only a single sheet of diffusion gel in place.
In the shot above, you can see that my initial test was not promising. This is with one sheet of diffusion gel, and with the light source only a few inches away, the gel simply doesn't have a chance to diffuse the light properly.
First Test
This first test was quite literally the day after the lightbox arrived. I had another shoot lined up for something else, but I simply had to test the lightbox out, but bear in mind that I hadn't even painted it yet. The following couple of images show the unpainted light box with only a single sheet of diffusion gel in place.
The first test. If you look closely, you can see that the lightbox isn’t even painted yet.
Before I could stop her, the model quickly took it upon herself to stress-test the lightbox by placing all her weight onto her tiptoes! Thankfully, at 25mm, the Perspex never even budged.
With only a single sheet of diffusion gel, the lightbox was producing very bright hot-spots at the heart of the light. This immediately showed me that I would need much more diffusion to even out the light below.
If you look closely, you can see the bare wood, which was the first indication to me that I had to paint it white, not black. Secondly, you can see the diffusion is not very diffused at all, and the hot-spots are pretty aggressive.
Lastly, look at how there is no bending in the Perspex, even though the model immediately begins testing the box's limits by placing all her weight on the smallest point possible, right in the middle!!! That was all the unsolicited proof that I needed that the inch-thick Perspex is bombproof!
Getting it Painted
Initial test out of the way, the next step was to get it painted. You may have noticed, that In my original plans, I had thought I'd paint the box black, but after doing that quick test shoot with the lightbox in its raw, unpainted state, I quickly realised that there was no way to keep the lightbox out of the final image in any reasonable way, so ultimately I felt it would be easier to include the lightbox in shot if it was painted white.
After a couple of coats of matte white emulsion paint, the lightbox was finally finished.
Nothing too tricky about this part. A couple of coats of white emulsion paint (ensure that it’s matte) and you’re good to go.
Final Form
Once painted and with (I think) 4 or 5 sheets of diffusion gel in place, the lightbox is finally ready to shoot. You may think that ‘the more diffusion, the better’, and although this is initially true, you also need to remember that the more diffusion gels you add to the box, the less light power you’re letting through, so a compromise needs to be reached somewhere, and this seems a good spot to me.
The final form of the lightbox has either 4 or 5 custom-cut sheets of diffusion gel in place. But remember, the more diffusion you add, the more light you’ll stop.
The Setup
As always, I’ll share the final images below, but first, let's go over the setup and what's involved.
Click to enlarge: Cut out and Keep!
The Godox UP150R LiteWafer LED panel in the back, as well as the ML100R LED light with ML-S1A Air Soft Tube in front. -Have I ever mentioned how much I hate these barcodes instead of light names!!
You see me using the Godox BG02 95W5 Battery Grip on the LED light here.
This tube is a remarkable lighting modifier, and I’d urge you to try it out.
I have the egg crate (grid) attached to the Godox UP150R panel here to help keep the light off the white background next to it.
The control box dangling from the bit of string here shows that I’m at 65% power and 10,000K. This is to give an icy-cold light to that key on the model.
Here you can see that I’ve attached the UP150R panel above my model with a C-Stand boom and knuckle.
As you can see in the lighting design above, we essentially have 4 lights. The lightbox and 3 others. The Godox UP150R LiteWafer panel is above and slightly behind the model. This is to highlight the hair and face when the model looks straight up. We have the ML100R with the ML-S1A Air Soft Tube slightly in front, and that is very delicately illuminating the face with that dusty purple colour. Note that I’m using that with the Godox BG02 95W5 Battery Grip in these BTS images. Next, we have our large softbox behind us acting as a fill, and lastly, of course, we have our star, the lightbox lighting our model from below.
Camera Settings
Camera - Fujifilm GFX 50SII
Lens - Fuji GF 63mm f2.8
Shutter Speed - 1/125th
Aperture - f2.8
ISO - 100
Kelvin - 4500K
Focal Length - 63mm (~50mm 35mm equivalent)
TL;DR/ADHD/Artist Setup Explanation
Set up white backdrop behind model
Position model on top of large custom lightbox
Place LED panel above model and just behind - set to ‘white’
Place LED tube light in front of model - set to ‘purple’
Have large soft box behind you - set to ‘blue’
Kit Used
Godox UP150R LiteWafer LED panel
Godox ML100R LED Head
Godox ML-S1A Air Soft Tube
Godox BG02 95W5 Battery Grip
Large Softbox & Head
White backdrop
C-Stands and clamps
Custom Lightbox w/ 2x Rotolight Titan X1’s
Final Shots
Click on any of the shots below to fill the screen
I’ve only shared a few of the final shots here as this article is already very image-heavy. But I’ve shared a lot more of them on my Instagram if you’d like to check them out.
Jake Hicks Photography Instagram: https://www.instagram.com/jakehicksphotography/
Featured model: Kelly Klein: https://www.instagram.com/kellyklein001/
Closing Comments
I’m absolutely in love with the final shots! The delicate lighting on the body is perfect with strong tonality in both the shadows and highlights, plus I also love where I landed on the final colours. You can see in my initial 3D setup diagram that I was most of the way there with the colours I thought I wanted: cold blue tones overall, coupled with a splash of that more engaging purple on the face, all accented by that bright cool-white light from behind. I was essentially there, but on the day I loved this idea of the model emerging from this eerie pool of light, hence the more greenish glow from below via the lightbox in the final shots.
As many of you know, I’ve almost entirely switched to LEDs now over flash, and this shoot is a great example of why. Firstly, it’s almost impossible to get this incredibly delicate light on the subject’s skin with flash. Flash emanates from a central point, which inherently creates hot-spots, especially on skin, and especially when the lights are brought in incredibly close, like I'm doing here in this shoot.
Secondly, LEDs give me incredible and immediate control over the colours in my work. Had I been shooting flash, I’d have had just a handful of colour choices at my fingertips on the day, but with LEDs, I can tweak and adjust colour harmonies that aren't possible with limited gel colours. This really is as close as you can get to painting with light, as once you have the knowledge and confidence to play with delicate colours like this in real-time as you’re shooting, you’re able to produce some truly beautiful and unique colour palettes in your work.
Don’t Do This…
Of course, this finally brings me back to the original shoot idea of trying to break my own rules. I mentioned at the start how I often advise and guide new photographers via one-2-one training and mentoring, and I’ll invariably warn them of things that they really shouldn't do in their photography. Of course, these dos and don'ts are just guidelines, but they are guidelines for a reason. You shouldn't typically colour the skin with green light, and you really shouldn't ever light someone from below outside of a cheesy horror scene.
But by sidestepping some of these guidelines, we can often create unique imagery. Yes, it is far harder to take a great image that tries to break the rules, but that effort can pay off, and judging by the popularity of the photos I just posted that showcase a model very clearly being lit from below, that extra effort was worth it.
Definitely be sure to know some tips and guidelines before you start shooting, as I think you’ll find far greater success if you know the rules before you break them. All I’d encourage you to do is test some of these rules for yourself. Don’t blindly follow someone else's rules for photography; be sure to form your own opinions based on your own mistakes and successes. And good luck!
Need a Head Start?
||
Need a Head Start? ||
One-2-One Mentoring
I’m typically terrible at self-promotion, but if you feel you could benefit from a few tips and techniques to get you headed in the right direction, or maybe you’ve been shooting for a while and want more guidance on your personal style, get in touch. I’ve been helping photographers from all over the world develop their skills and their photography businesses for many years. Maybe I can help you too.

Products Used
Note: None of the links below is affiliated links, and I do not make any money on clicks. The links will take you to Essential Photo here in the UK. They’re good guys, and I’ve worked with them in the past. By all means, source the best store in your own region.
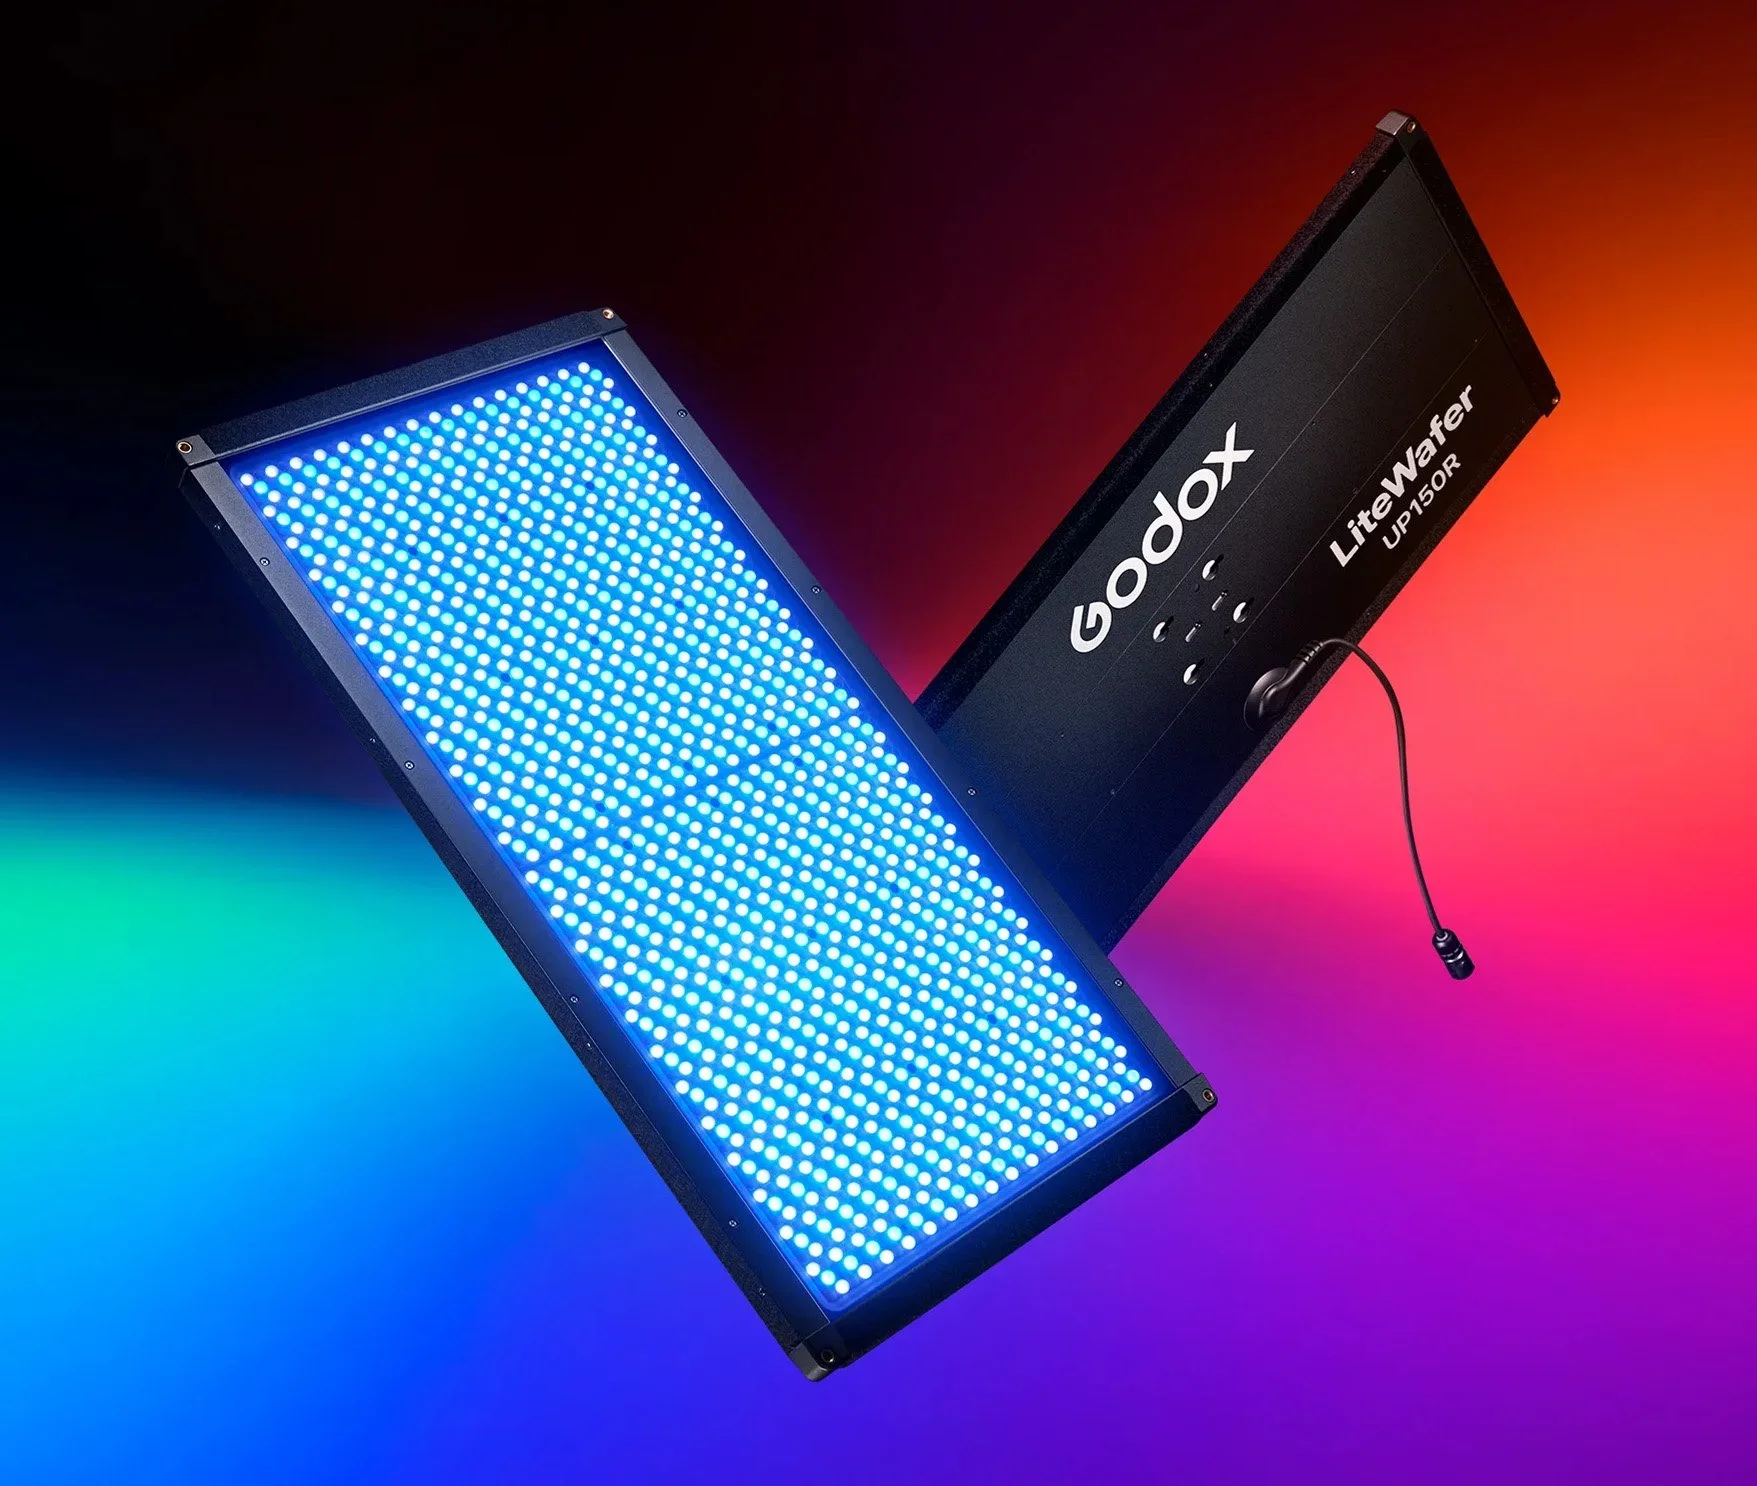
LiteWafer UP150R Ultra-Slim Full-Colour RGB LED Light Panel K1 Kit
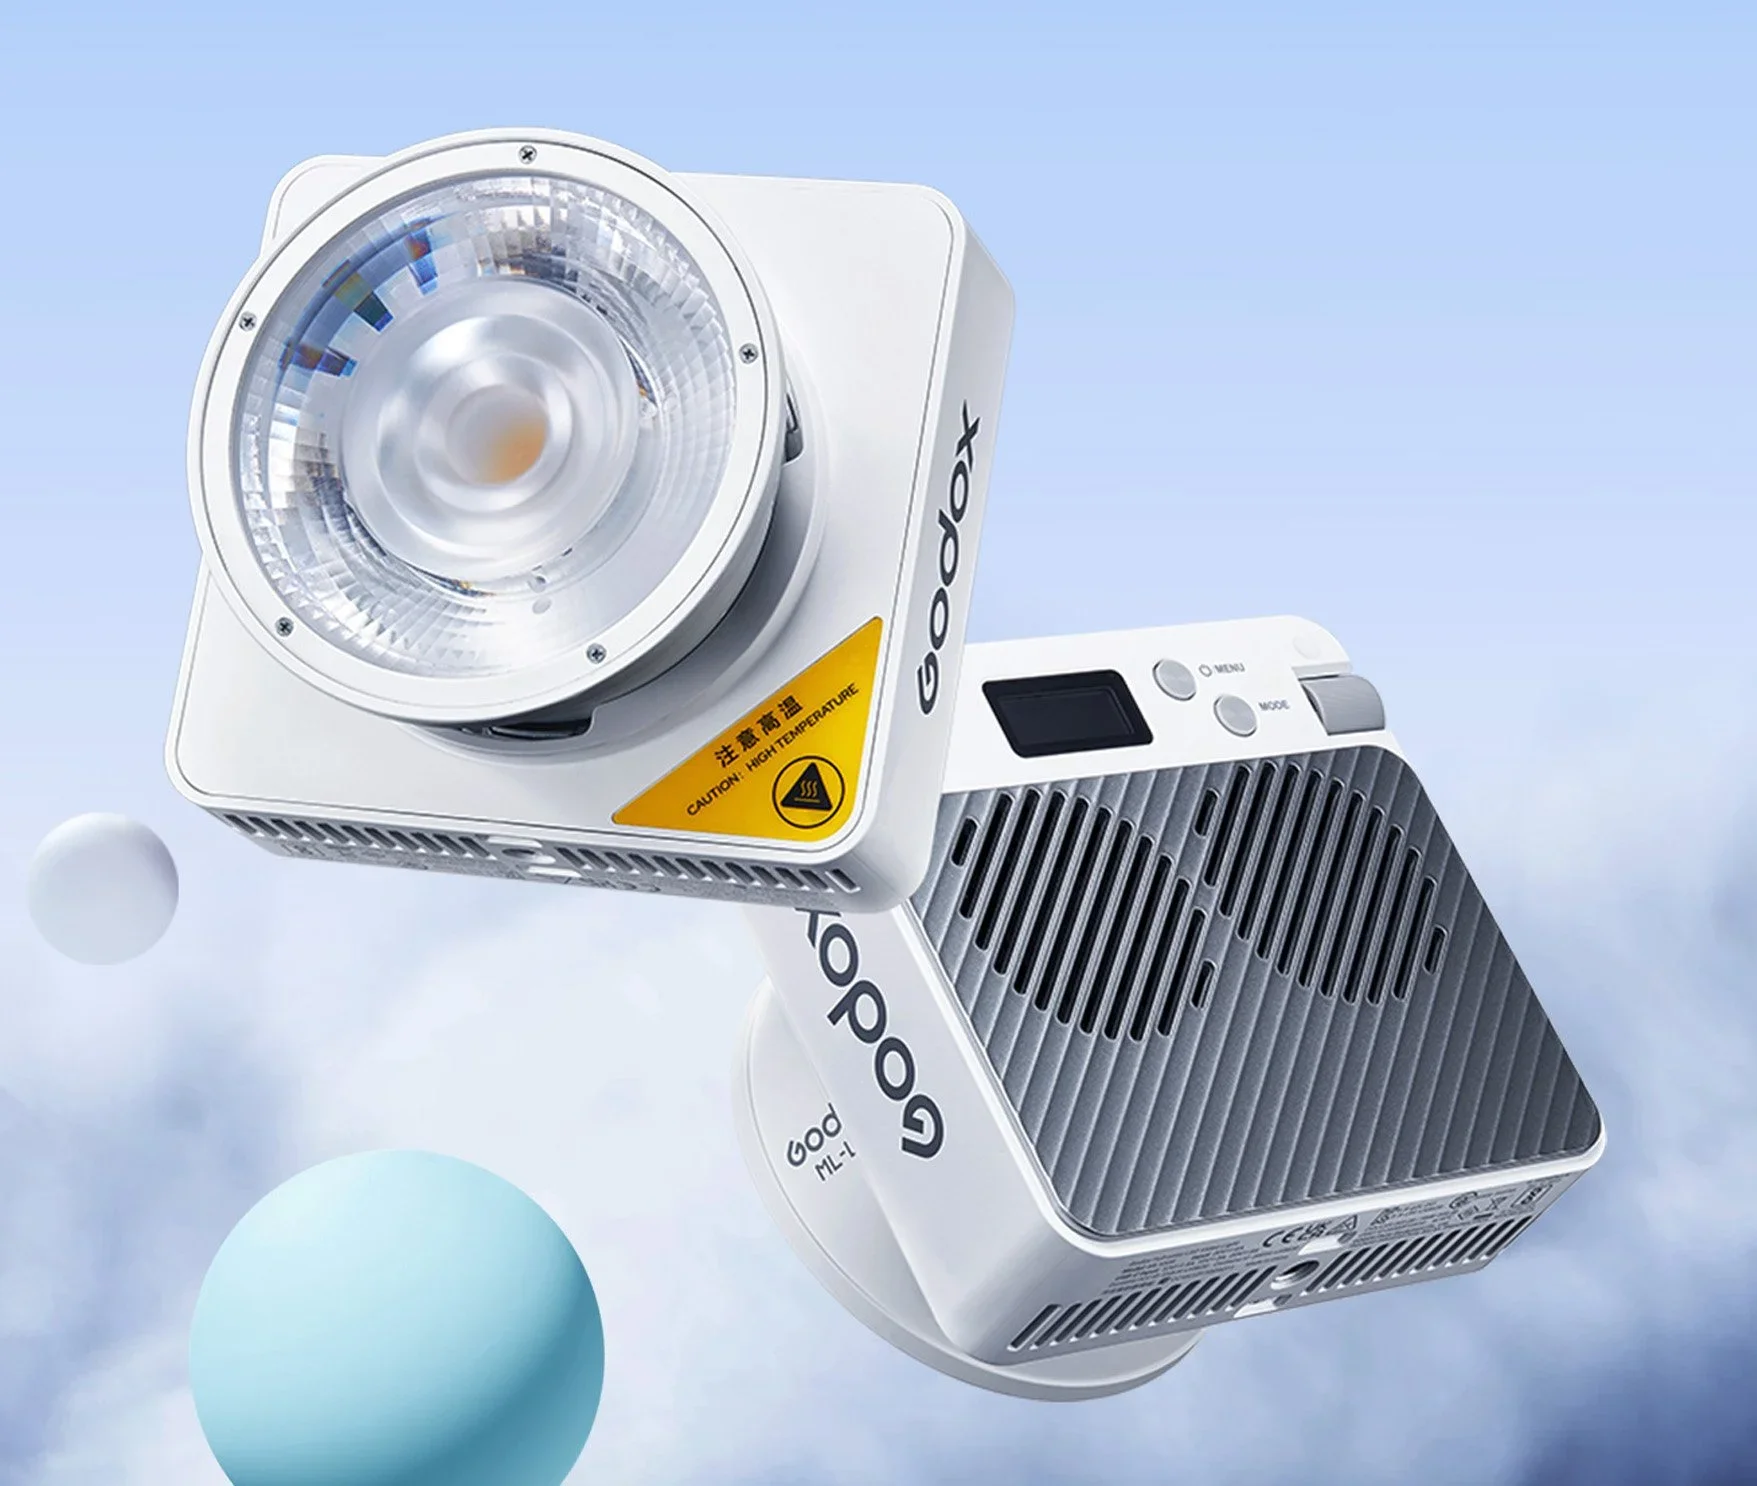
ML100R Compact Portable RGB LED Video Light With ML-L15 Lens Reflector

Godox ML-S1A Air Soft Tube
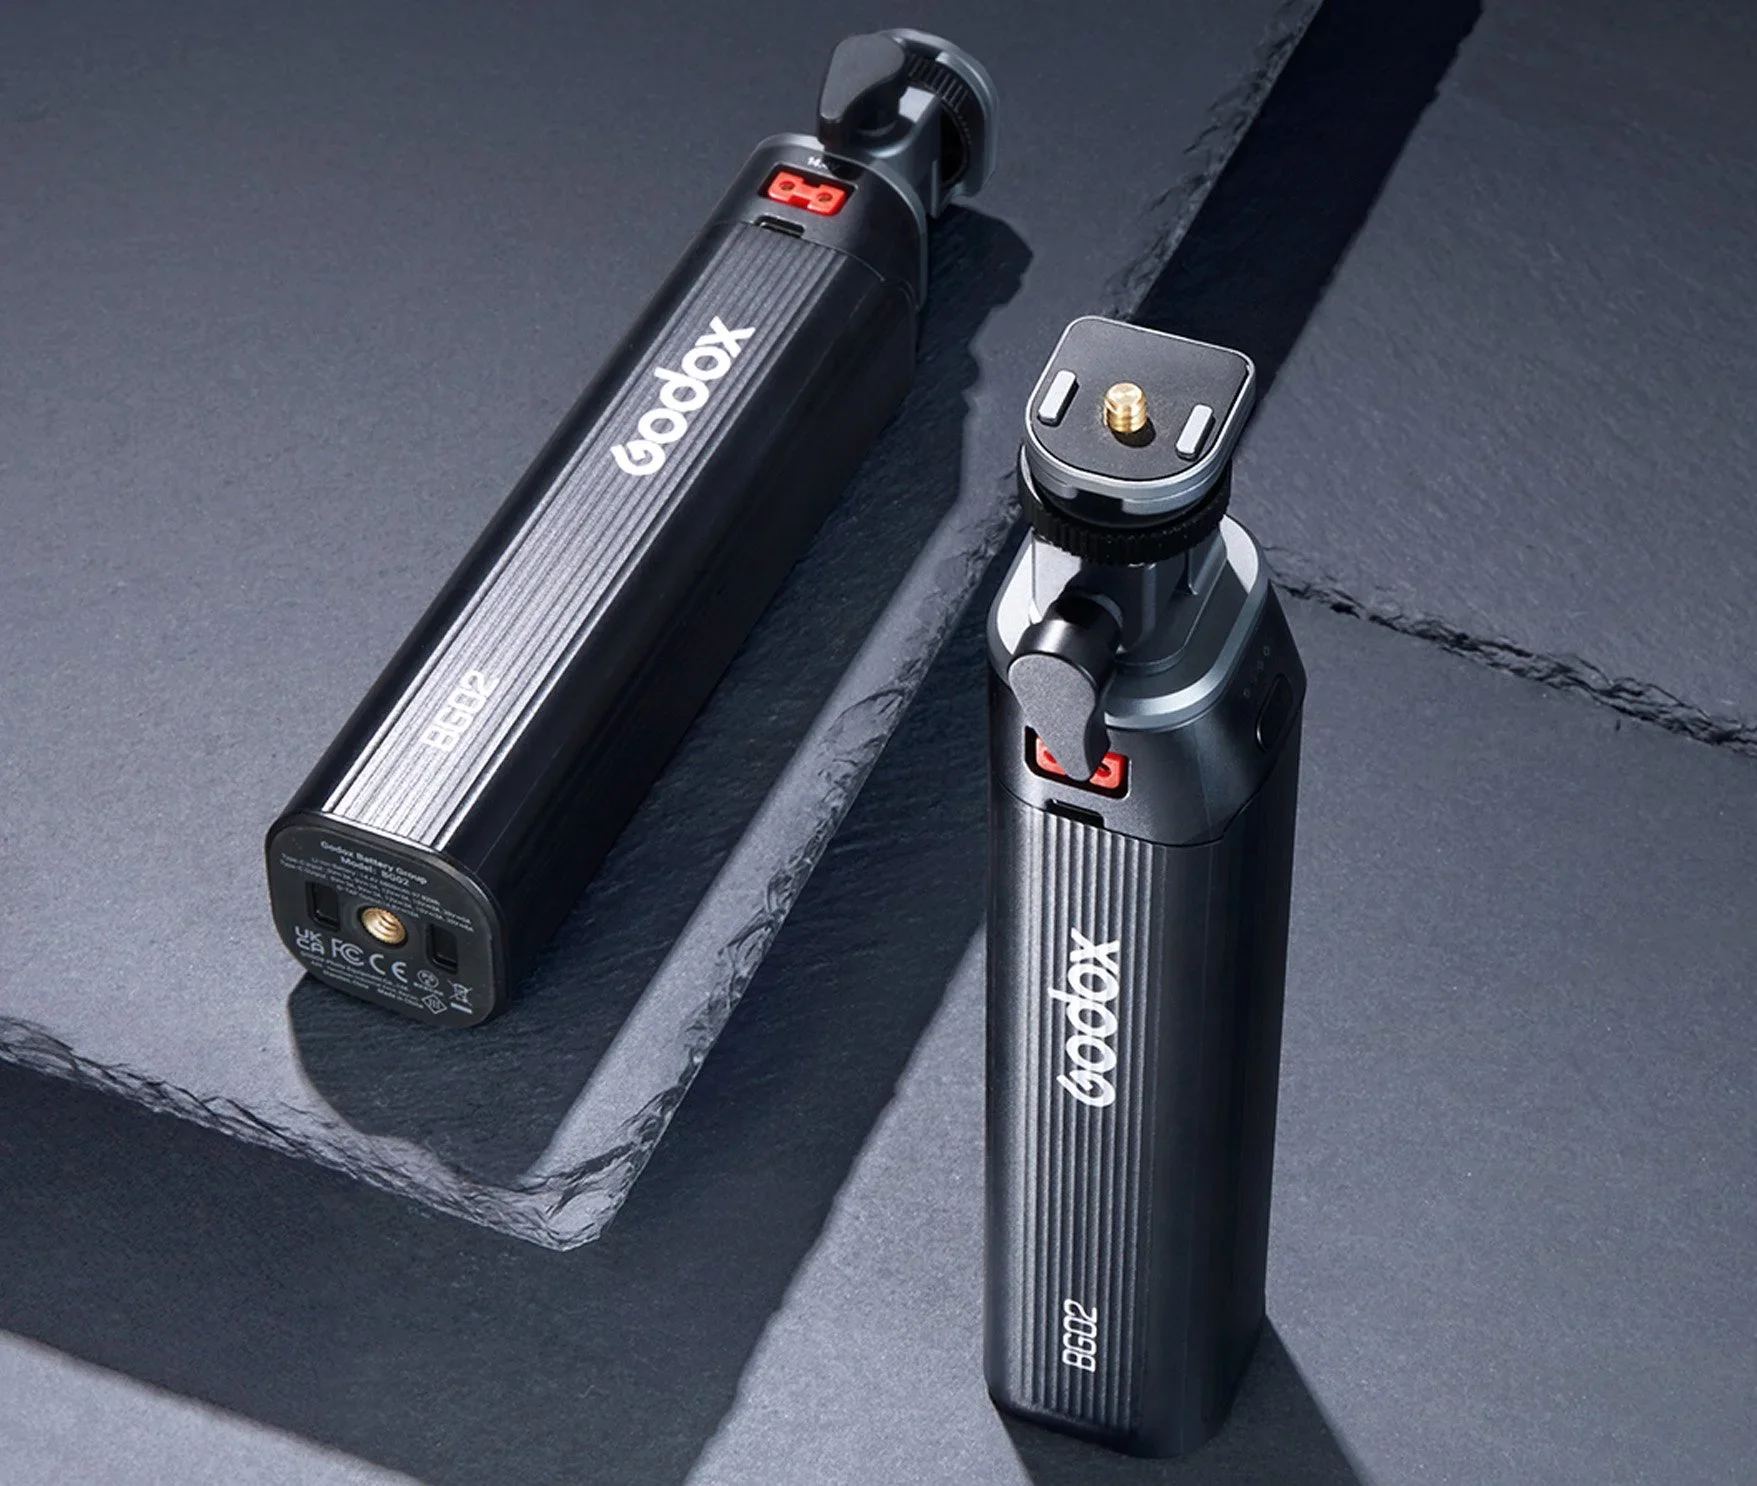
BG02 95W5 Battery Grip By Godox
I've always wanted my photography education on here to be free, so although there is no paywall to any of my -Technique Tuesdays-, any and all support is greatly appreciated. ❤️
PLUS: Donate any amount and I’ll send you a link to the hi-res print version of my studio lighting book.
||
PLUS: Donate any amount and I’ll send you a link to the hi-res print version of my studio lighting book. ||

JHP Livestreams…
I livestream every other Tuesday night via YouTube and there I answer your questions, critique your shots, take community images into Photoshop to work on them and discuss all manner of lighting tips and techniques. I look forward to seeing you and your work there real soon. Jake Hicks Photography - YouTube
