I thought that seeing as I have a Post-Producition Workshop fast approaching, I needed a blatant excuse to promote it via an article on my site :D Well here it is, a look at some of the sharpening techniques I use in Photoshop to give my images a little visual-pop before I publish them.
What actually is image sharpening?

This is Lightroom's default sharpening settings as soon as you import your files. You can see that even the default setting adds a little sharpening to our shots immediately upon import.
Sharpening is one of those odd processes that we all do with our images even if we're not aware of it. In fact even the default import settings on a lot of raw processing software sharpens the images for us before we even look at them. Most of us don't actually change that default setting, including myself, because let's be honest it looks better with a little sharpening to begin with. To see what I mean then next time you import a raw into Lightroom or your preferred raw converter feel free to reduce the default sharpening settings to zero see what I mean.
But even though our raw converters add a little bit of sharpening, I personally don't add any additional sharpening until I've finished nearly all of my editing in Photoshop. Sharpening should be one of the very last things you do your image for a couple of reasons.
Firstly; the amount of sharpening applied to an image should be relevant to where you want it to be displayed. For example you would obviously apply a different amount of sharpening to a file being uploaded to the web as you would a file being printed out for a billboard advert. Applying the sharpening at the end of your post-pro workflow means that you can output several different versions with varying amounts of sharpening applied based on the final usage.
Secondly; sharpening in post-pro is a synthesised process. What I mean by that is that software plays tricks on the viewers eyes to 'simulate' an image being sharper and crisper than it actually is. We obviously can't re-focus the image after the fact so we apply 'sharpening' to simulate it. During this process of our software synthesising sharpening it actually just increases the contrast of adjacent pixels thereby giving the image an overall sharper appearance. But that increase in contrast can also increase saturation in edge detail which can be a problem if you haven't finished editing your file yet.
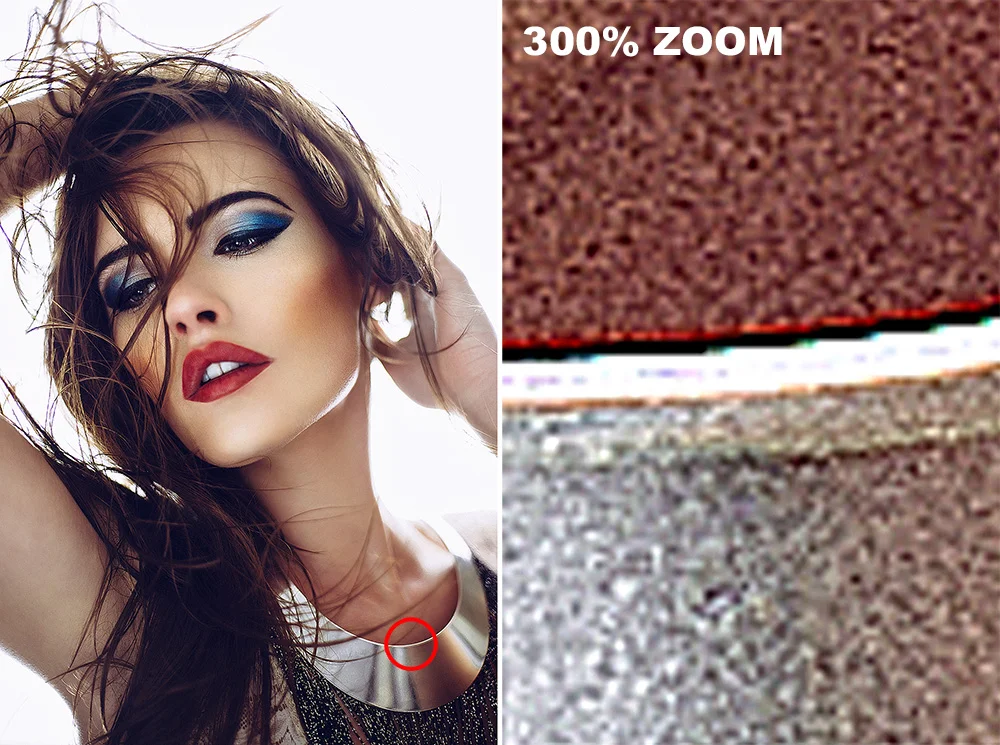
The image on the right is simply a 300% zoom of a section of the lefthand image. In this particular shot you can see what happens when you sharpen a file, see how that increase in sharpening increases the contrast of those adjacent pixels and thereby the saturation. The result is often these unwanted colour artefacts like we see here.
For a more complete explanation of this principle, feel free to check out my 'Colour Toning - Why, How & When' article.
The Sharpening Trifecta
So what sharpening techniques do I use? Now that we've established that we aren't really re-focusung our image in post, we can look at sharpening as more of a series of clever tricks to simply visually improve our images. With this in mind I actually do my sharpening in three distinct stages; detail, global and local.
Detail
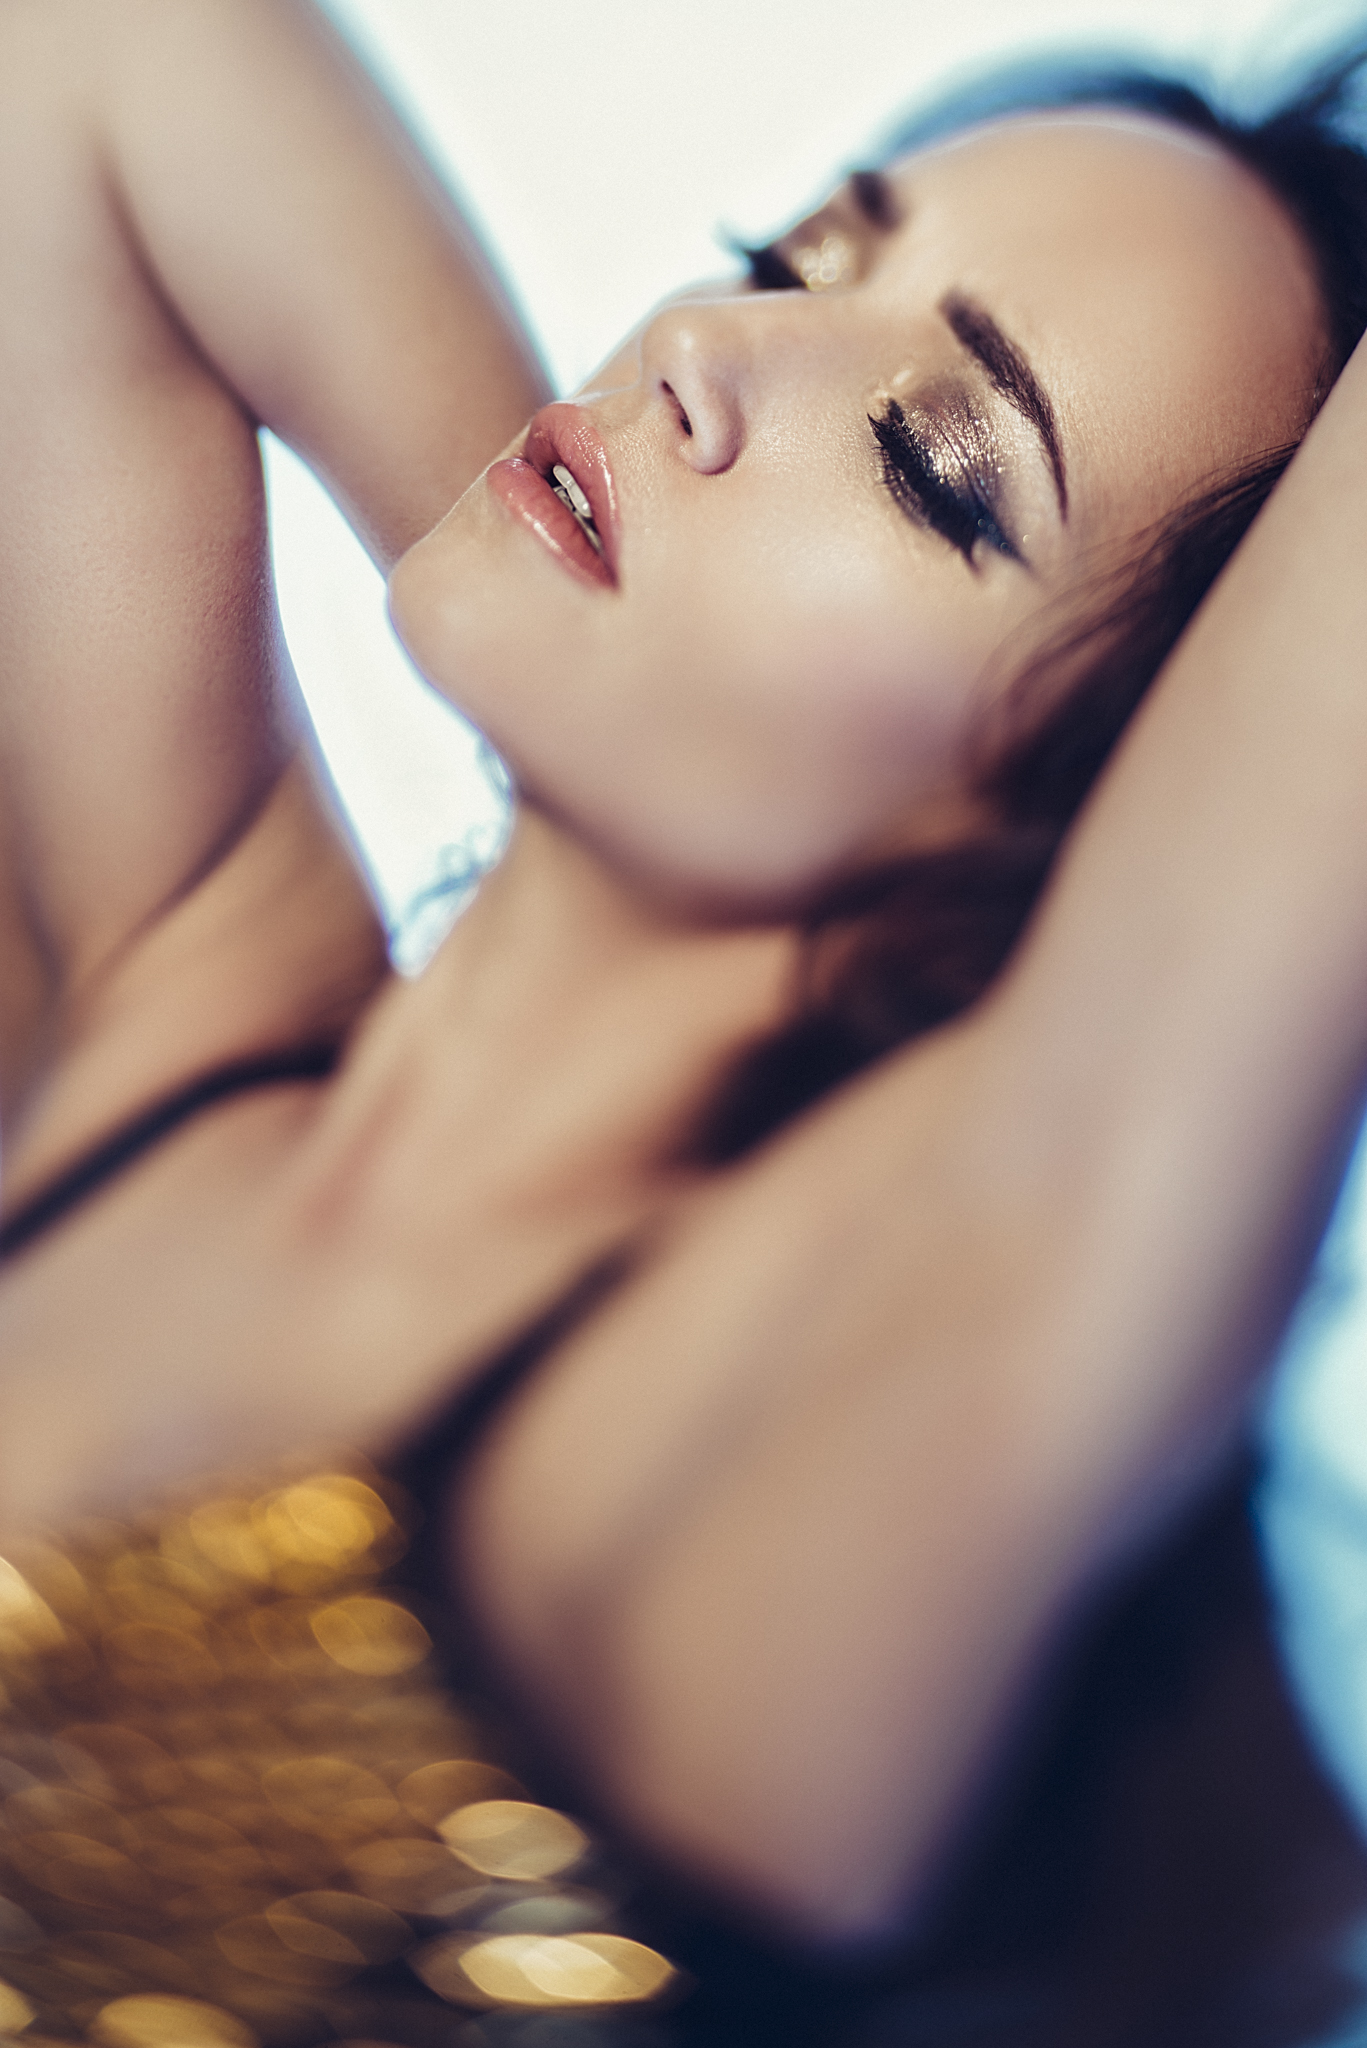
This is the one that most of us will apply by default and if you simply hit the 'Sharpen' filter in Photoshop this will sharpen the detail in your image. This detail sharpening is the one that is increasing edge contrast the most and is the technique we use to give our images a little visual pop. If you were only going to apply one level of sharpening then it would be this one but I apply this detail sharpening as a base and then build on it with global and local sharpening afterwards.
Global
This is a sharpening technique that I use to visually tighten up the image towards the end of an edit. The technique uses the visual illusion of sharpening but increases the edge contrast but at a far broader and softer scale. This is also a technique that is used to quickly and easily apply a dodging and burning effect by increasing the brightness of highlight areas and the darkness of shadows. Remember what I said about sharpening only being the increase of contrast in adjacent pixels? Well this global technique is what sharpening can look like when applied more broadly as this technique sharpens adjacent tonal groups.
Local
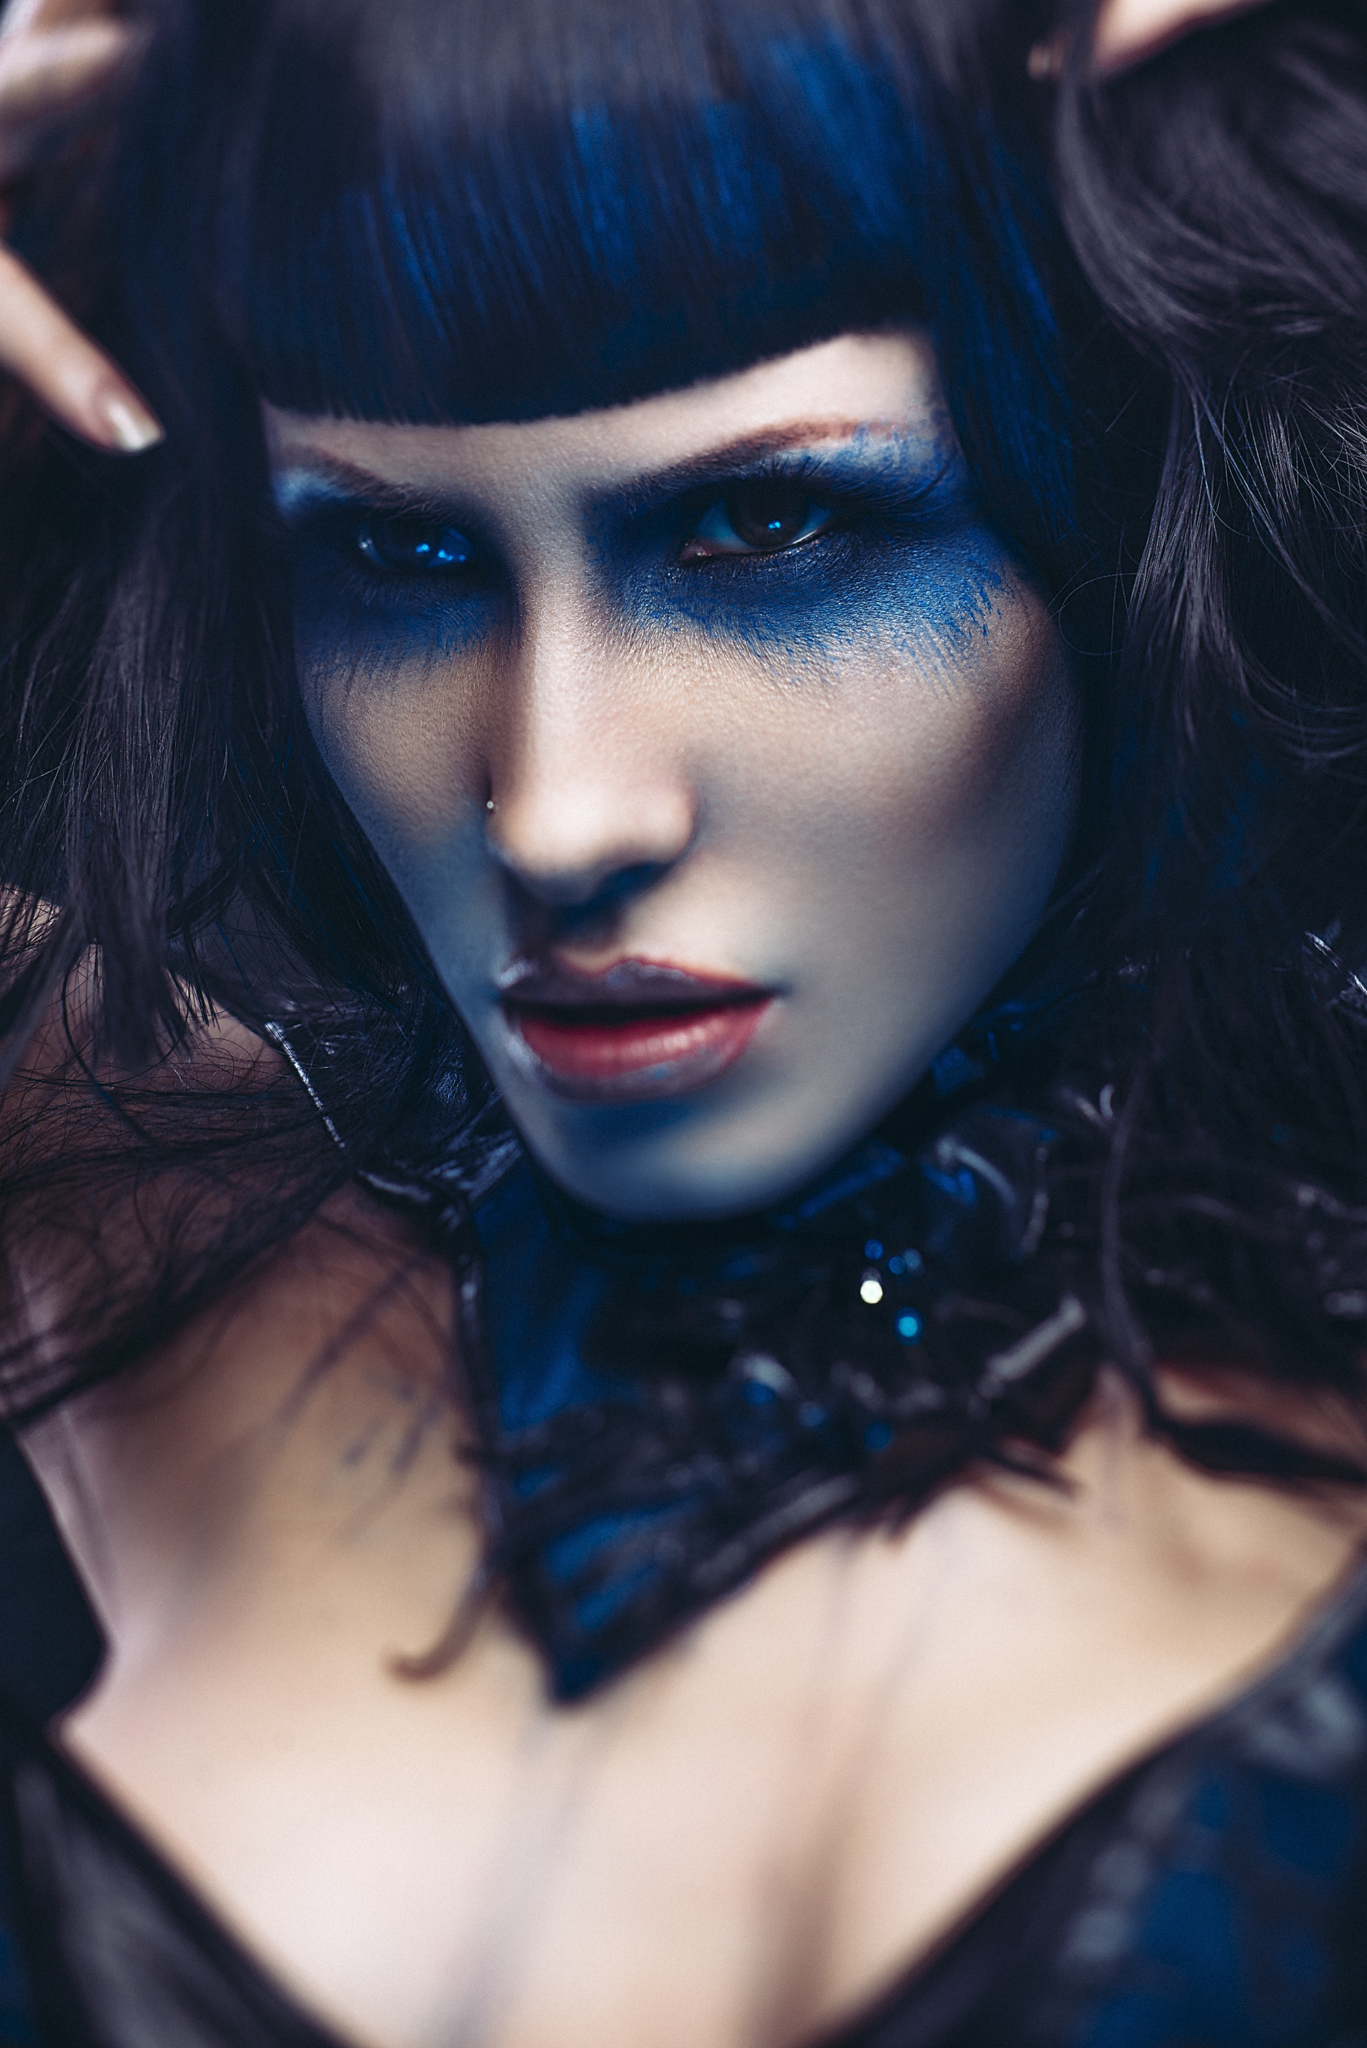
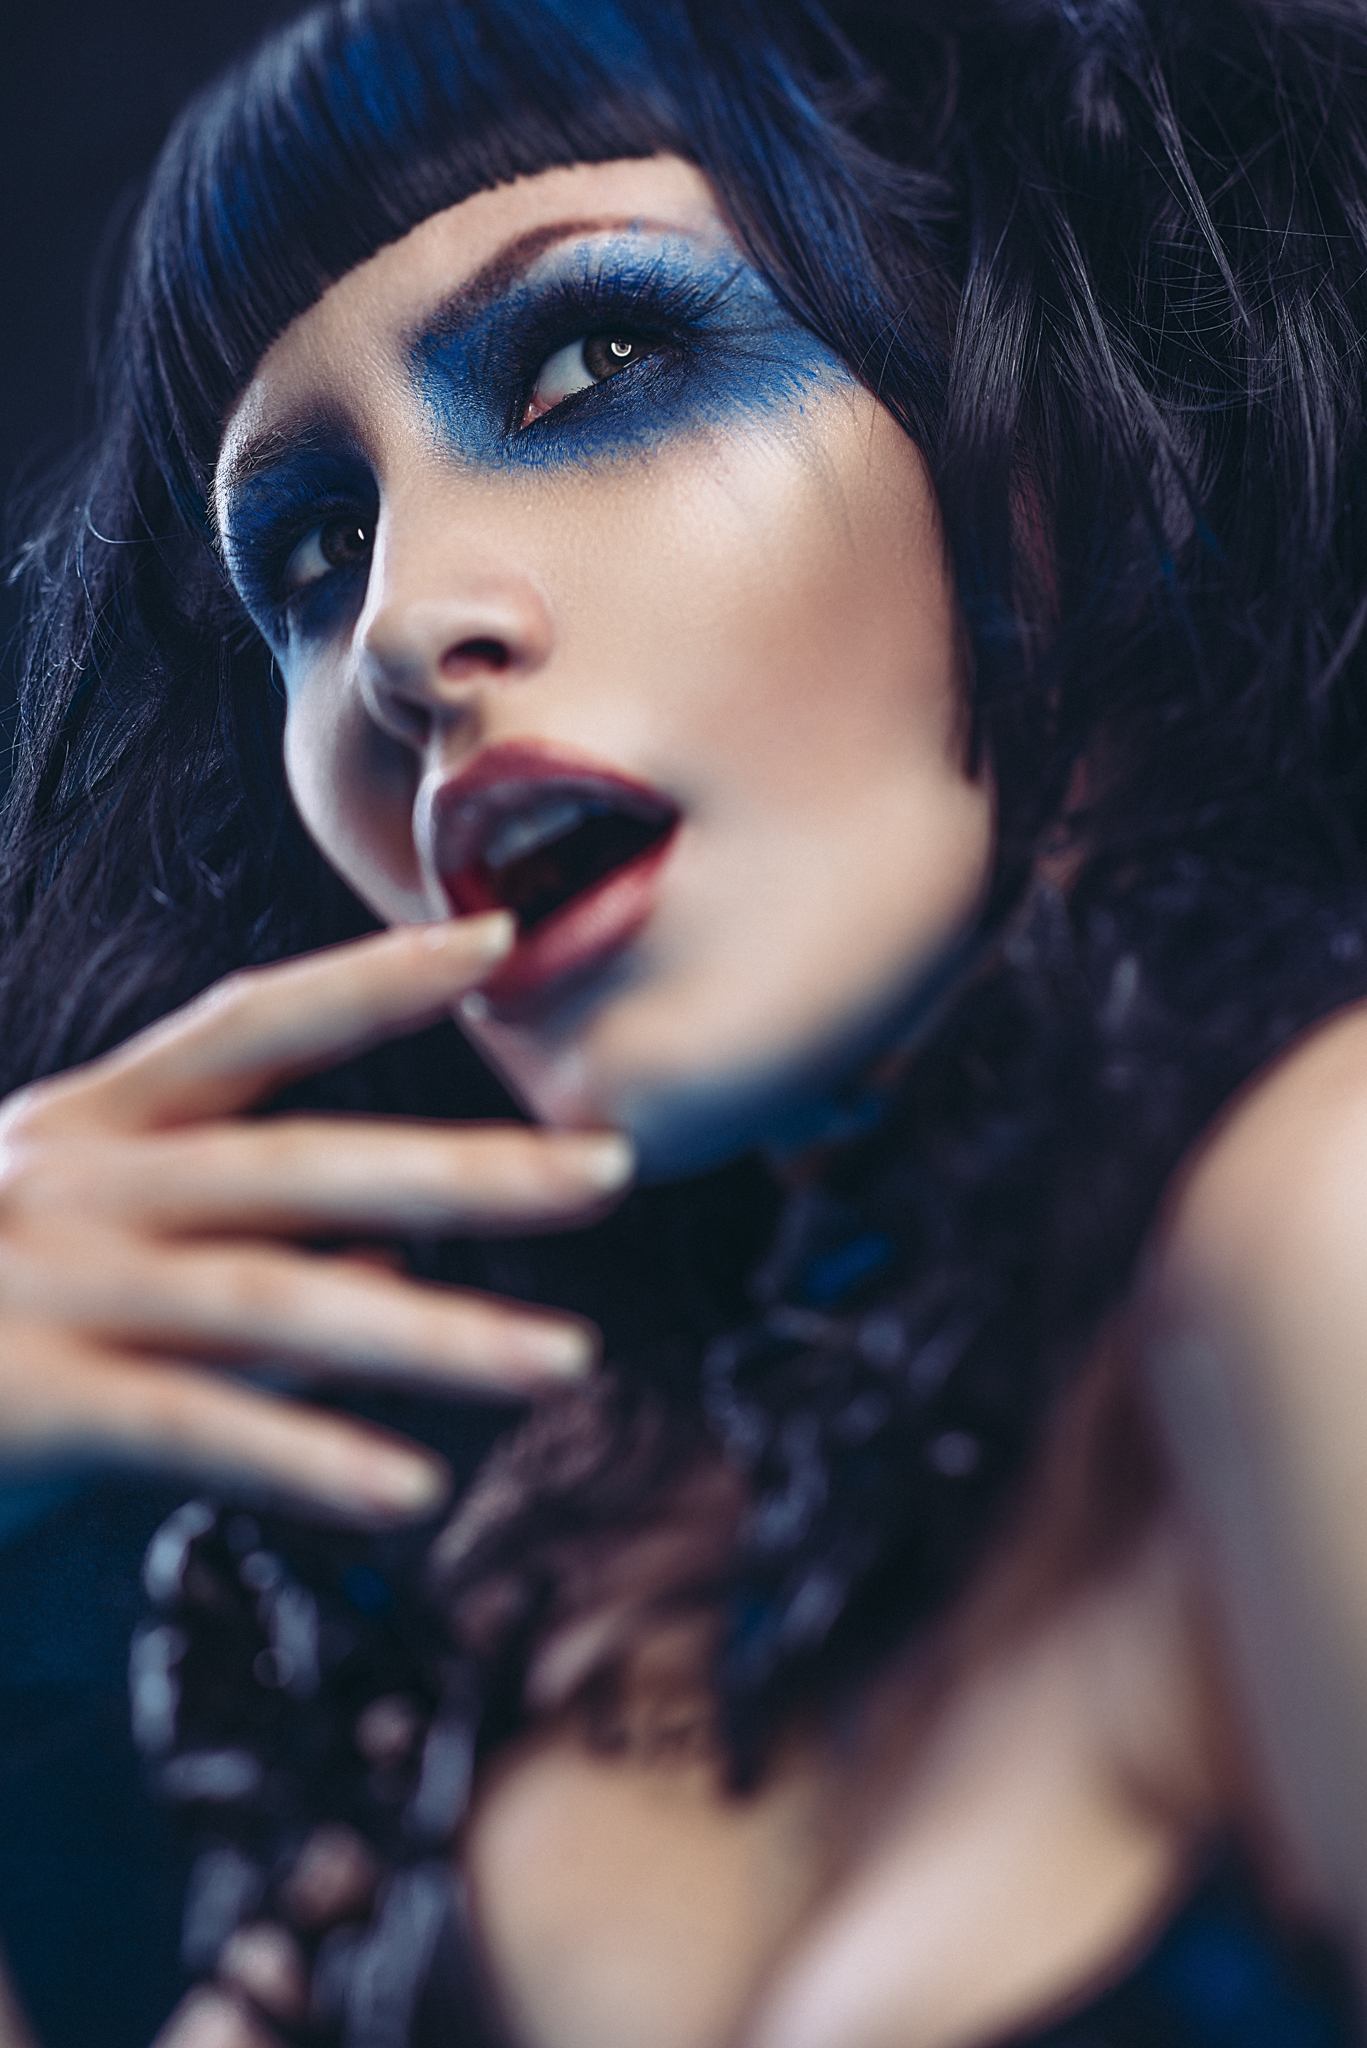
This localised sharpening technique I use is specifically targeted at visually drawing the attention of my viewers eyes where I want it. It's a heavy sharpening look but it is localised to only areas like the eyes of a subject or the jewellery in an image where that extra pop of contrast can make those items really stand out.
The Photoshop Sharpening Technique
The following steps take you through my Photoshop process exactly as I would when I'm retouching a shot. The keys and shortcuts are from a Mac so if you're a PC user some things may be a little different but very minor.
Detail
First off we will need to make a flattened duplicate of the layered Photoshop document so far. As I mentioned at the start of the article, you will have already done the skin retouching, dodging and burning etc so now we need to create a flattened version of our file so far to work from. The following step creates a single flattened layer of everything below.
Select your top layer and hold the keys:
CMD+ALT+SHIFT+E
Rename this layer 'Detail'

Now that you have your new layer we want to strip any colour information that may be present in that layer.
Remember; sharpening increases contrast in adjacent pixels and an increase in contrast is also an increase in saturation. We don't want to increase the saturation so we should strip all the colour from our image before we sharpen.
With our Detail layer selected, hold the keys
CMD+SHIFT+U
or go to: Image -> Adjustments -> Desaturate

Your detail layer should now be black and white.
Next we want to apply the sharpening so go to: Filter -> Other -> High Pass...

In the dialogue box that opens we want to select a sharpening amount that is specific to the edge detail of the chosen image. Choosing a lower amount at this stage is a good place to start and I went for 4 pixels here.
Hit OK

At the moment our image is looking pretty horrendous so we need to select a blending mode that will best display the sharpening amount that we've applied.
In the layers 'Blending mode' drop down choose something like 'Vivid Light' or 'Hard Light'.

The next step is optional and down to personal preference but you may also want to reduce the amount of layer opacity of your Detail layer. Try varying amounts of opacity and see what works for your specific image.
Global
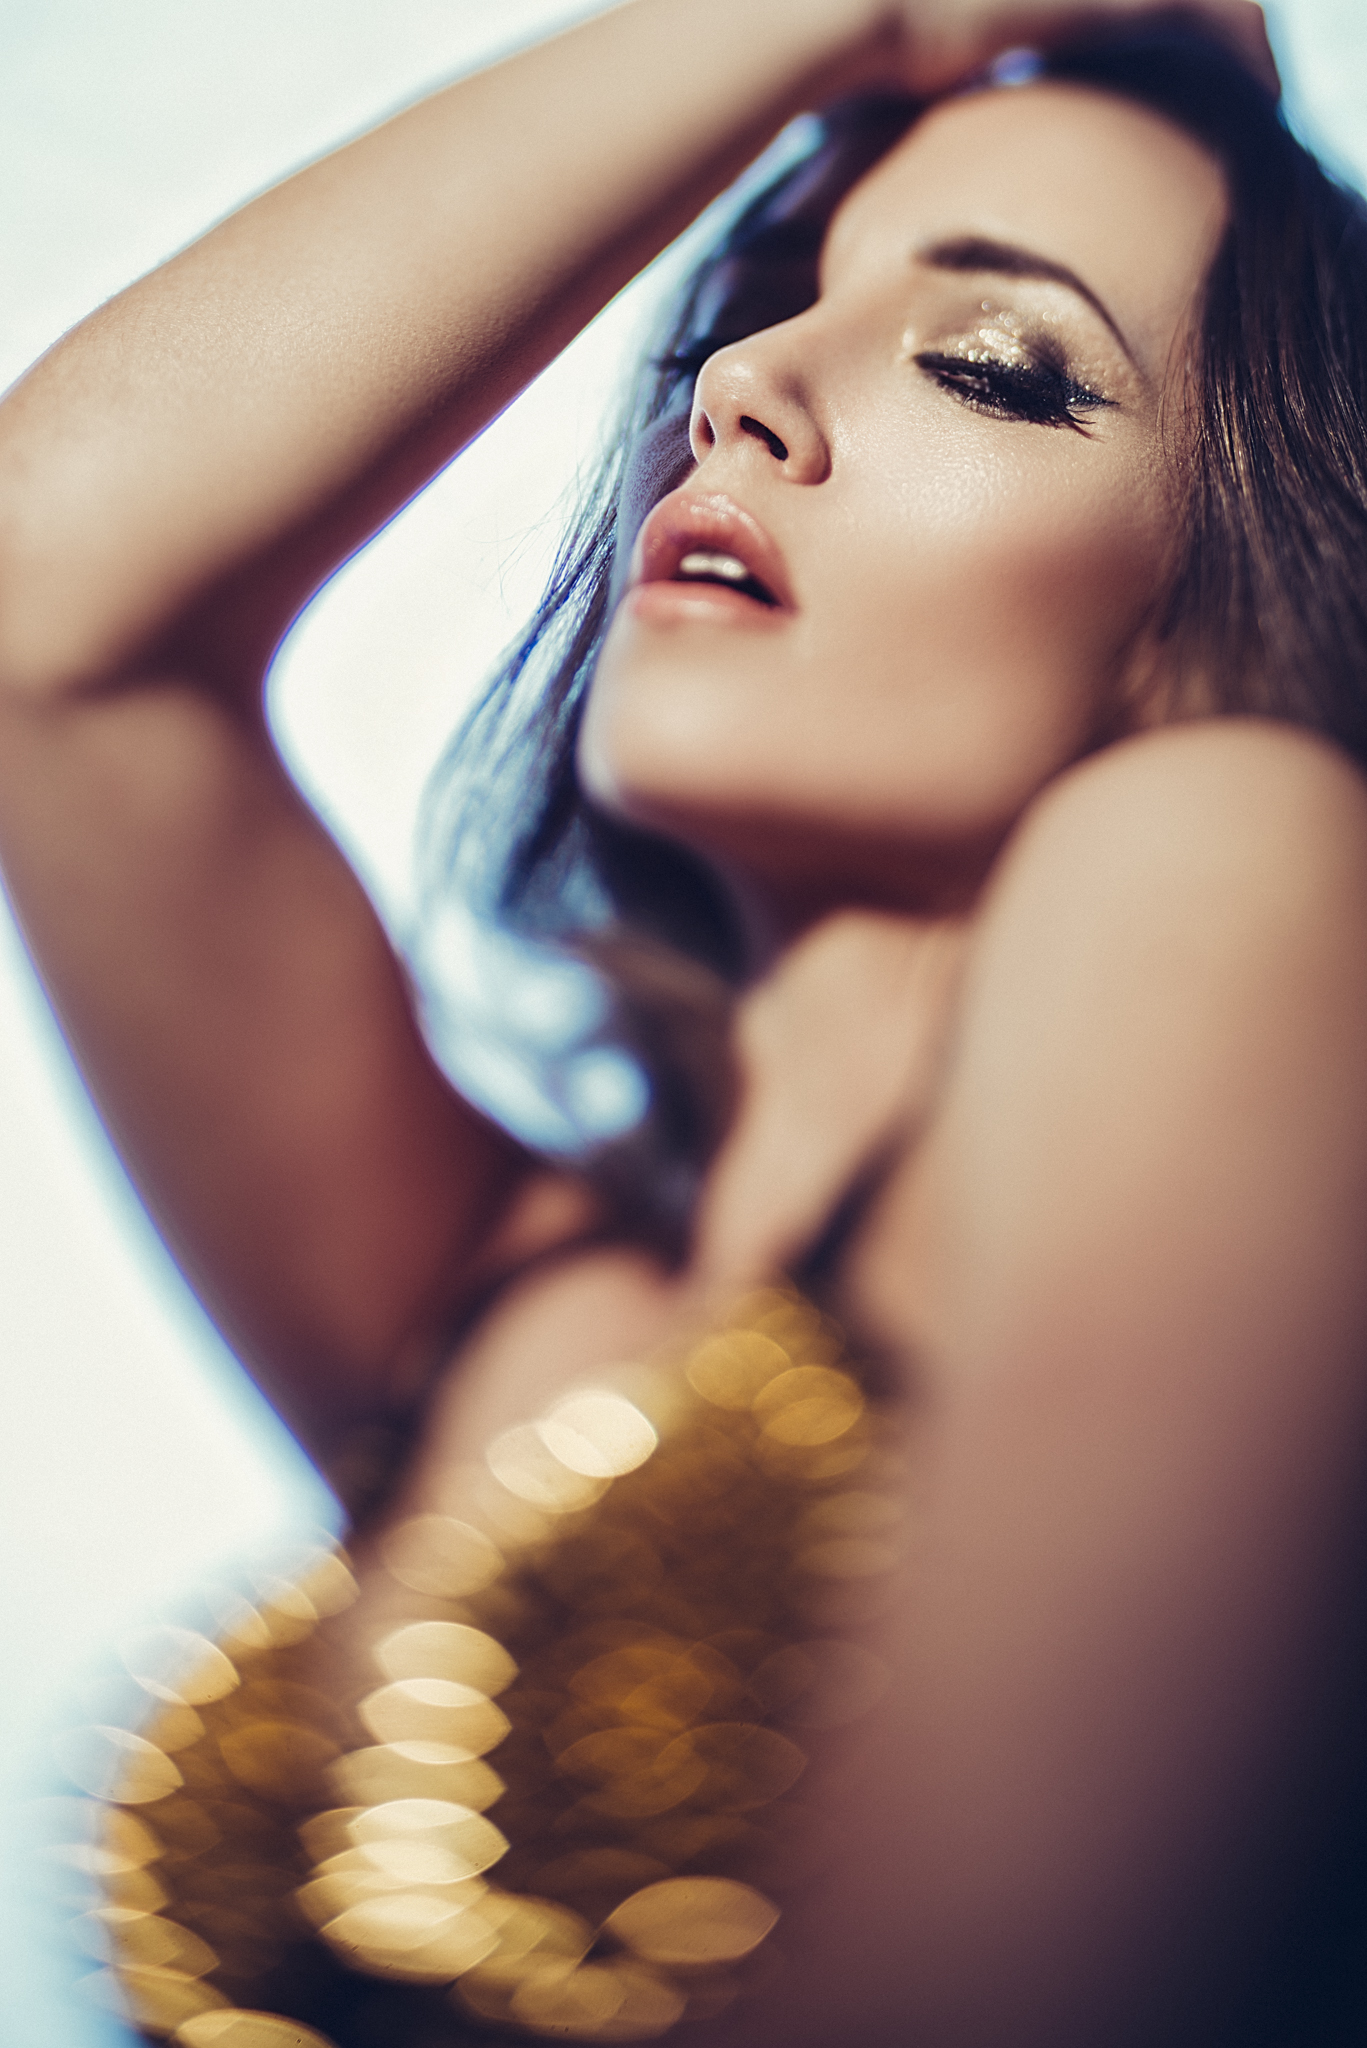
Next up we want to apply our Global sharpening. Remember this a technique that helps tie an image together and can be a great way to add some contrast via adding darkness to the shadows and brightness to the highlights. This is a very powerful technique but caution is advised because if overdone, the image can start to look very fake and artificial very quickly so subtly is key.
We need a new layer to sharpen so with our top layer selected hold the keys
CMD+ALT+SHIFT+E
Rename this layer 'Global'.
Again we want to strip away any colour information so with our Global layer selected, hold the keys
CMD+SHIFT+U
or go to: Image -> Adjustments -> Desaturate

Your Global layer should now be black and white.
Next we want to apply the sharpening so go to: Filter -> Other -> High Pass...
In the High Pass dialogue box we now want to choose a far broader amount of sharpening. In fact we want to select such a large amount that it now no longer looks like a sharpen but more like a glow. Again this amount is based on your image but I chose 40 for this particular shot.
Hit OK

Next we will need to blend this layer just like the previous one but we will choose a more subtle blending option this time.
In the layers 'Blending mode' drop down choose something like 'Soft Light'.
At the moment the effect is probably still looking a little strong so you may want to consider reducing the amount of layer opacity to soften the look.

Local
For our last stage of sharpening we will be focusing on sharpening just certain areas of the image and masking out everything else. For a lot of images this can just be the eyes but this localised sharpening technique can also be used on jewellery and other styling items to really make them stand out if need be too.
As with the previous two stages we will need a new layer to sharpen so with our top layer selected hold the keys
CMD+ALT+SHIFT+E
Rename this layer 'Local'.
Once more we want to strip away any colour information so with our Local layer selected, hold the keys
CMD+SHIFT+U
or go to: Image -> Adjustments -> Desaturate
Your Local layer should now be black and white.
Next we want to apply the sharpening so go to: Filter -> Other -> High Pass...
This time around we are just looking at specific areas to sharpen so in the High Pass dialogue box we want to be gauging the amount we sharpen by looking solely at those features. For this image I will be looking at giving the eyes a little extra sharpening so I've chosen 8 as a good number to show that.
Hit OK

Next we will need to blend this layer just like the previous ones but we will choose quite a strong look as we will be masking out everything apart from the eyes in our next steps.
In the layers 'Blending mode' drop down choose something like 'Overlay'.
We're going to be masking this layer so we can leave the layer opacity at a 100% for now.
We want to completely hide this layer and only show certain areas so first we will mask it by either;
Holding ALT and clicking on the Mask at the bottom of the layers palette or by going to Layer -> Layer Mask -> Hide All

Your Local layer should no longer be visible and in the thumbnail in the layers palette there should be a black square next to it.
Next we want to reveal the areas we want so hit B for the brush tool and choose a large sized soft bush. Next make sure the layer mask is selected by clicking onto it and lastly, paint with white paint over the eye area with 10-20% flow until the right amount of sharpening in the eyes is revealed.

If after you've finished you feel you've gone too far then you can always reduce the layers opacity to reduce the effect further.
That is it, you're done. You can either choose to save the file as it is or continue on with any other final colour toning adjustments. If you're interested in how I colour tone my shots then please feel free to check out the article on it here 'Colour Toning in Photoshop'
Sharpening my image like this is just one small step in a long line of adjustments I make during my post-production process. If you'd like to know more about my post-pro workflow then I discuss my entire post production process from importing in Lightroom to exporting in Photoshop. Both for fast paced studio work and for my intense editorial retouching, I cover absolutely everything in my new face-to-face Post Pro Workshop. Click on the link provided to find out more Jake Hicks Photography - Post-Pro Workflow Workshop
See you there :D
As always, if you have any questions or comments about anything I've discussed in this article then please feel free to fire away in the comments below and I will be sure to answer them just as soon as I can :)
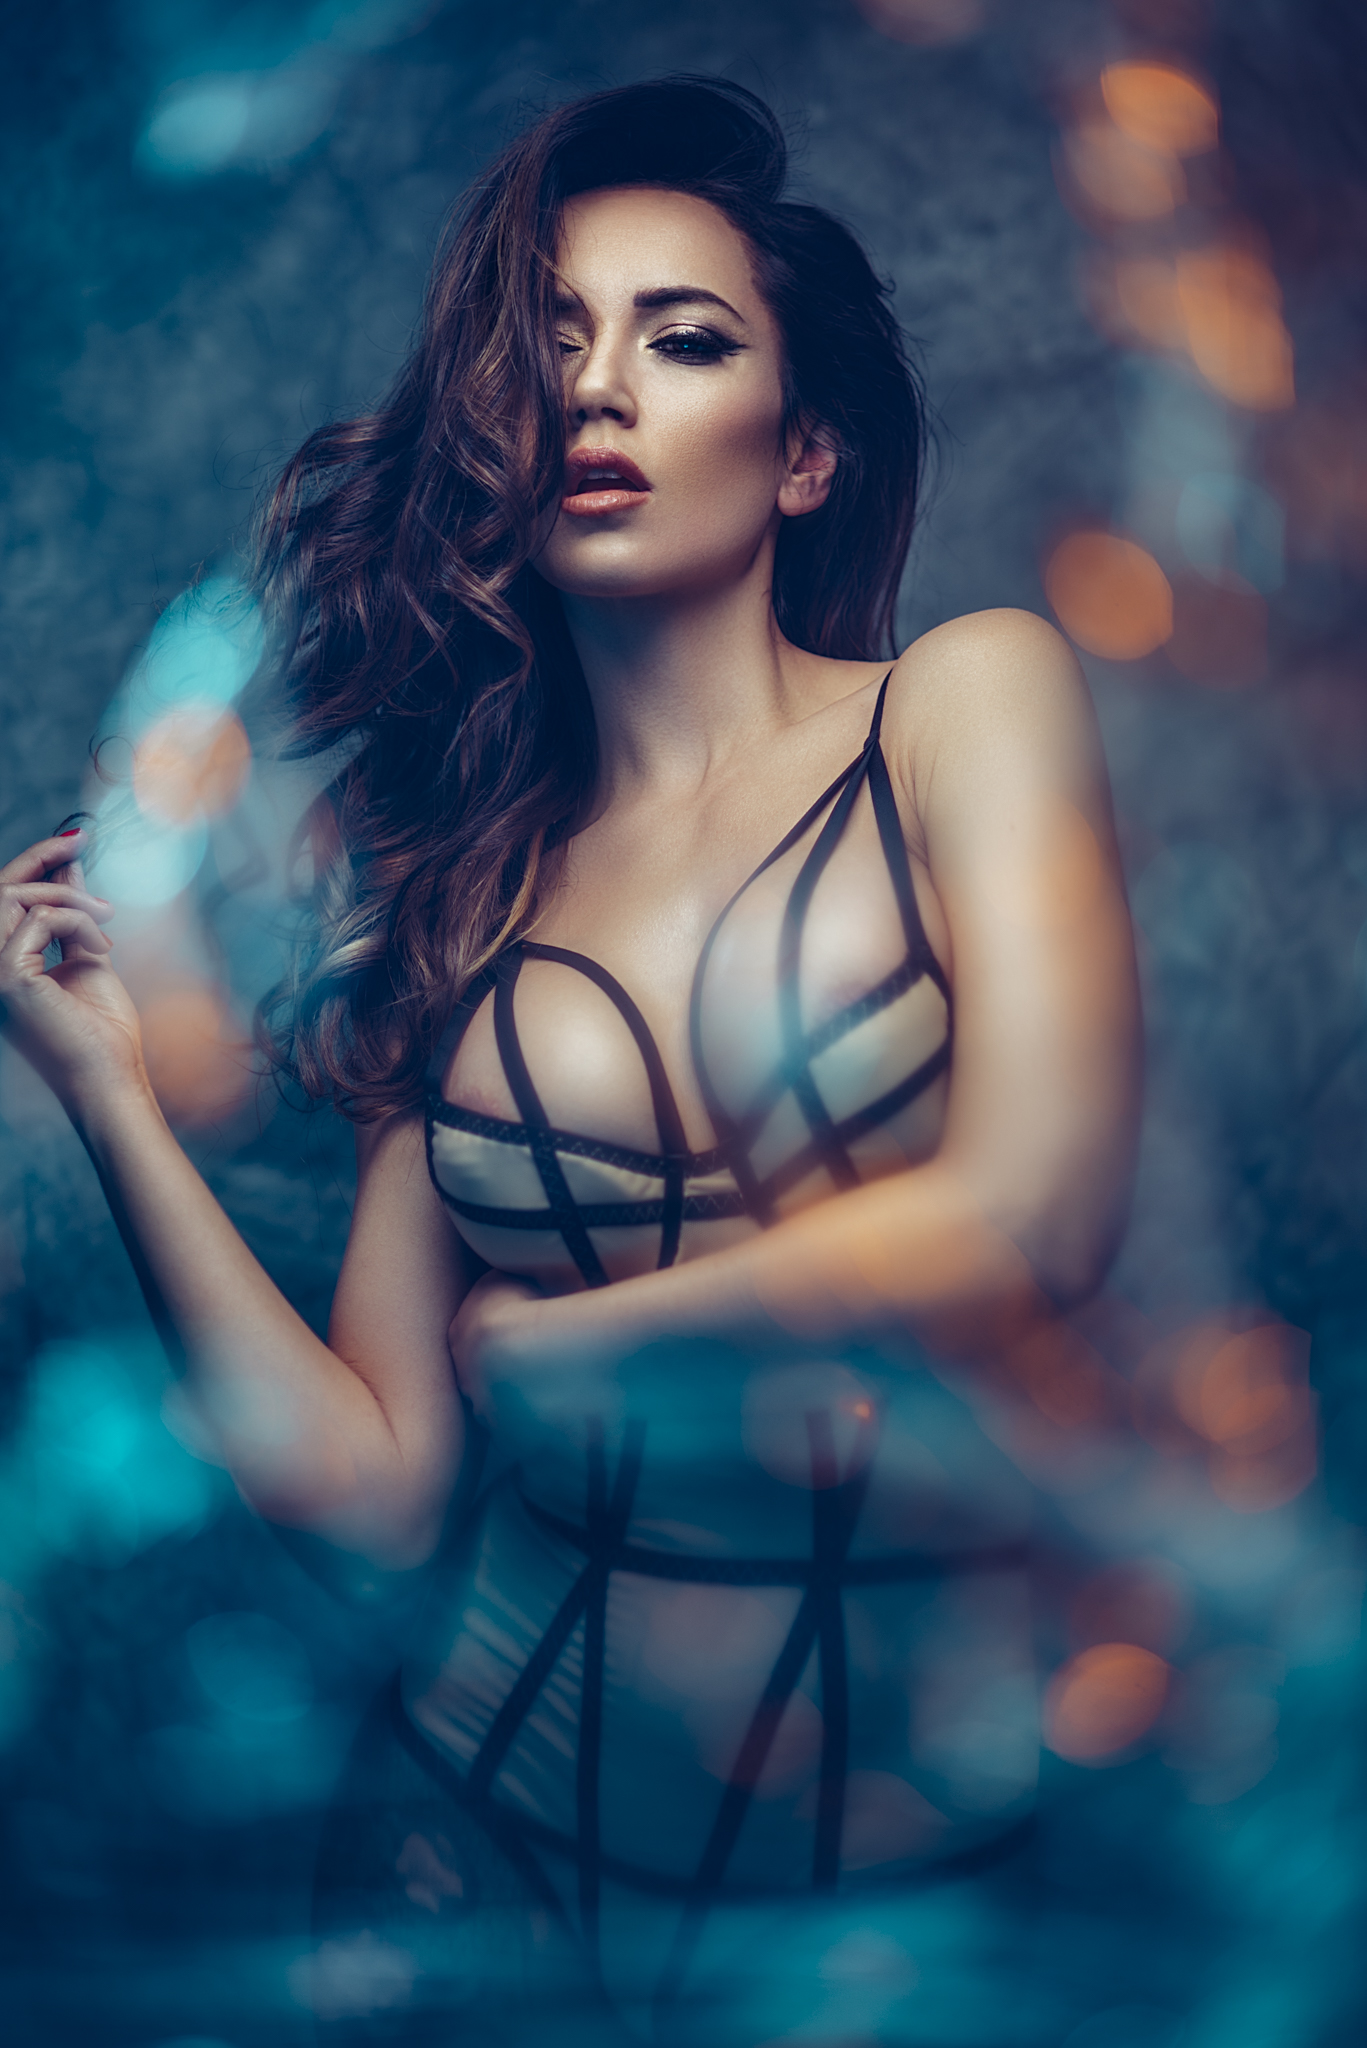
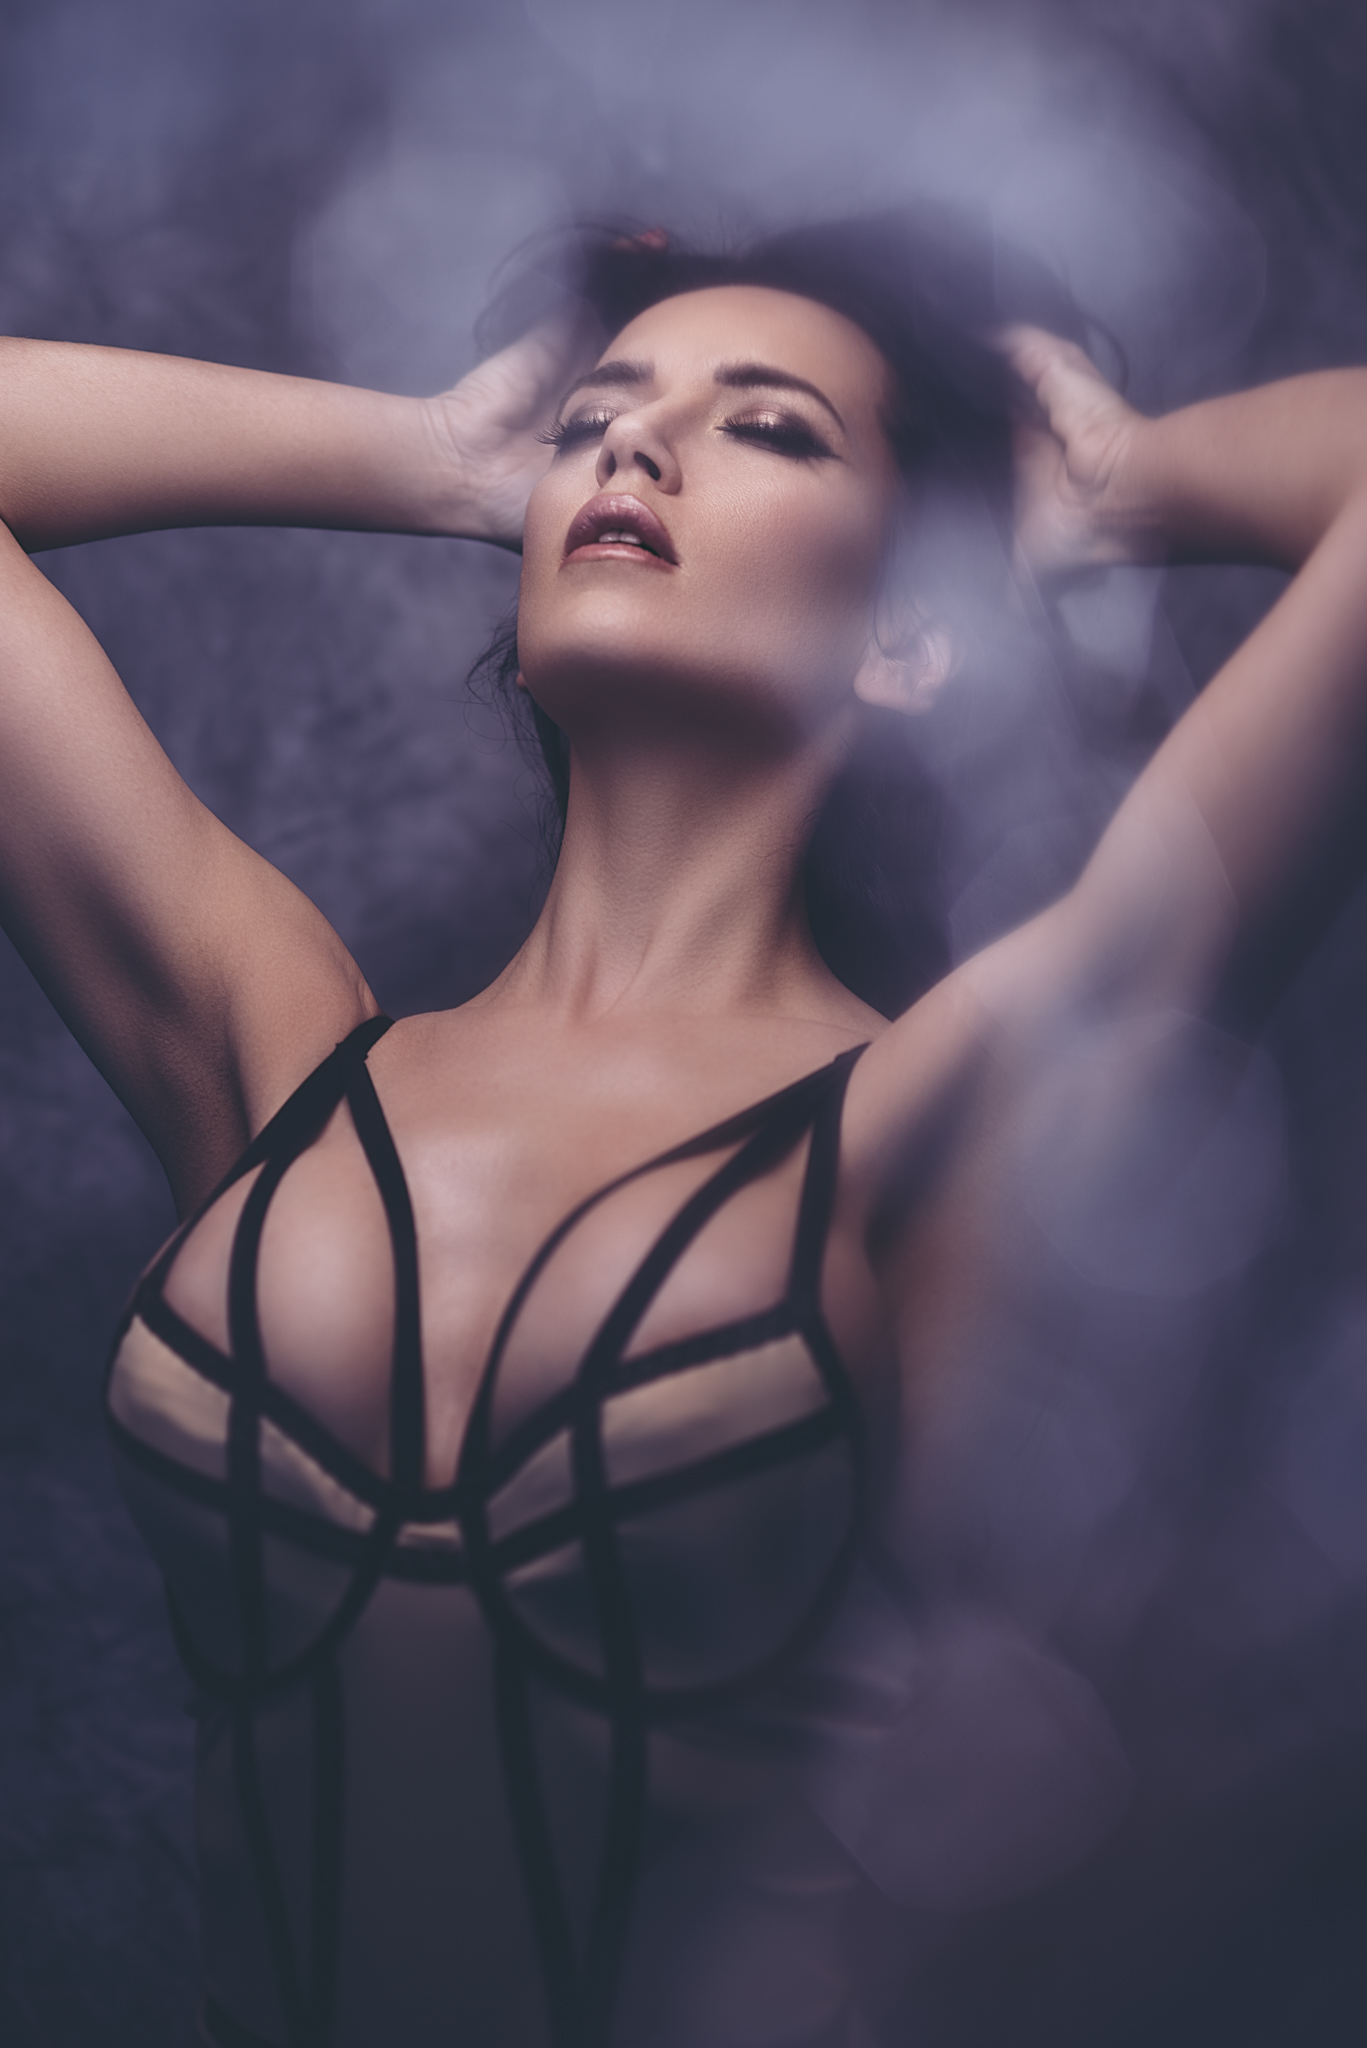
:WARNING: Salacious Photographic Temptation Lies Ahead!
Jake Hicks Photography Workshops
If you're interested in learning more about my professional workflow then why not check out my Post-Production Workflow Workshop. On this full day of hands-on learning I walk you through everything from Lightroom to Photoshop including correct import and export, an in-depth look at the powerful colour correction tools of Lightroom, fast and effective studio proofing tools as well as an extensive step-by-step walkthrough of my editorial retouching techniques in Photoshop. Plus everybody on the day will walk away with an in-depth PDF of everything taught on the day PLUS over 15 of my Photoshop Actions and 30 of my Lightroom presets! Find out more here Jake Hicks Photography - Post Production Workflow Workshop

Jake Hicks Photography Video Tutorial
I have also just released a brand new 22 hour complete Gelled Lighting Tutorial video. I go over everything from studio lighting setups with gels to being on location with gels plus I also go through my complete retouching and post pro workflow. For more details and complete breakdown of everything that's include check out my Coloured Gel Portraits Tutorial
Jake Hicks Photography Gel Packs
I also offer comprehensive coloured gel packs. These collections of gels are what I use day to day to create some of the most highly saturated colours around. If you're looking at getting into gelled lighting or need to get stronger and richer colours in your coloured gel work why not check out my Jake Hicks Photography Gel Packs