Last week we covered three of the main tips to bear in mind when trying to get sharper manual focus images. Ambient lighting, contrasting elements to focus on and actual focusing technique. Although all of these tips are essential in giving us the best possible chance to get more of our manual focus shots pin-sharp, there are still going to be times when we need a little helping hand to consistently nail those manual focus images.
So even though manual focusing is a pain you'll be pleased to hear that there are a few additional tools available out there that are designed to help us nail that focus even in the worst possible circumstances.
In last weeks article we also covered just how many different types of manual focus lenses are available to us and to ignore them all because we find manual focusing too tricky might well be a mistake. If you missed the first section of this manual focusing tutorial then you can check it out here Manual Focusing - Part 1. For the rest us, let's take a look and see what tools are available to help us further.
Three tools that enable you to consistently nail manual focus shots
Focusing Screens
I think it's important to point out that as DSLR users, we have it the worst for manual focussing. In fact it's my personal opinion that the older SLR cameras were far better equipped to deal with the issues of manual focusing because they had to be. If we use manual focus lenses on our newer DSLRs we are definitely in the minority and as a result the cameras aren't predominately designed with those issues in mind. The main element that I'm referring to is the 'focusing screen', this is the small sheet of glass that sits at the base of the pentaprism in your camera and it's this very screen that we look through and displays the focus-points on our modern cameras.

The focusing screen is situated at the base of the pentaprism in our DSLRs. Accessing and replacing or changing it is relatively simple.

Some examples of focusing screens. Image courtesy of focusingscreen.com
In modern DSLR cameras the focusing screen is very simplistic and generally only has a simple outline of the autofocus node area. The focusing screens in older SLR cameras had more of a job to do as they provided the only way to actually visually display focusing. The older screens were designed to essentially visually split the image you viewed through the viewfinder, the more 'in-focus' you made the scene the less 'split' the image appeared and the more 'in-focus' you made it the more aligned the two images became.

If we take a look at the image above we can see what the viewfinder in an older SLR looked like. We have our split-focus focusing screen and in the centre image we see what the scene looks like when the hand is out of focus and in the right-hand image we see what the focusing screen looks like when the hand is in focus. With a focus screen like this in your camera it is very easy to tell when we have correctly focused your shot as the two images visually align. Images courtesy of focusingscreen.com
I mentioned in one of the above pictures that the focusing screen is actually very easy to access and change and I have done so myself in the past without too much hassle. You simply remove the lens and pop out the old one and pop in a new one. There is also a massive variety of focusing screens to choose from that alter the out-of-focus scene in different ways from vertical, horizontal or even angled split screens. Focusingscreens.com is by far the best source of focusing screens I've found on the web so if you're interested in seeing all the different types available to your specific camera model then definitely check them out focusingscreens.com

Some of the focusing screens available at focusingscreens.com.
These focusing screens sound great right? S you may be wondering why on earth this simple yet igneous way of assisting in manual focusing isn't in our modern DSLRs anymore, after all this method of focusing practically guarantees pin-sharp results every time in my experience. There are a few important reasons why these focusing-screens have fallen out of favour and first and foremost is their compatibility issues with our modern autofocus. Essentially these screens can conflict with the speed at which autofocus can determine a scene and focus on it accurately.
There is a few reasons why theses screens conflict with autofocus but namely and most importantly it is the fact that these focusing screens reduce the amount of light that enters our eye whilst focusing. The screens display the out of focus areas visually to us by having heavily ground glass in there which diffuses and thereby reduces the amount of light that can enter the viewfinder which in turn makes it a little harder for us to see through.
With very fast lenses (prime lenses that have an aperture of at least f2.8 for example), this isn't too much of an issue as there is already a ton of light entering the lens when we're trying to focus. Remember that our modern cameras only apply the chosen aperture value when we actually press the shutter. For example we may have our camera set to f8 but when we are focusing, the lens is set to it's widest possible aperture. On longer zoom lenses where the aperture only goes as wide as f4 for example the drop off of light is significantly noticeable. Some of these focus screens can limit as much as one whole stop of light from entering and remember one stop in this instance is the same as halving the amount of light entering the viewfinder.

Focusing screens are relatively easy to swap in and out yourself without specialist knowledge or tools being required. The downside is that they can reduce a lot of light from entering into the viewfinder due to the ground glass they are made of like the one seen above. Image courtesy of Matthew (mattdm) Miller
I know of several photographers who use a lot of very fast manual focus lenses and swear by how effective and efficient these focusing screens are. After all it's not the end of the world if you don't get on with them as you can simply put your old focusing screen back in. The cost of these is around £70-£80 ($90-$100) so it's pricey but not so expensive so as to not be worth a look. I'm thinking of getting one for my back-up camera body to use with manual focus lenses.
PROS
- Very effective at consistently nailing pin-sharp manual focus images
- Can be replaced and altered without specialist tools or knowledge
CONS
- Can conflict with autofocus lenses making them sluggish
- Most of the focus screens will make the viewfinder darker and even effect 'through the lens' exposure readings
- A little pricey to test out
Cost
£70-£80 ($90-$100)
Magnifying Viewfinder Eyepiece
This next item is the cheapest 'quick-fix' for sharper manual focus shots but as is often the case, this is also probably the least effective in my opinion. A magnifying eyepiece will replace the eyepiece you currently have for one that has a tiny magnifying lens built into it. You remove your current eyecup and slot this on instead and it will then magnify everything you subsequently see in your viewfinder.

A magnifying eyepiece may be the cheapest option but not necessarily the best option.
I picked one up a while ago as I thought this seemed like a really smart and effective way of fixing a temporary problem. After all I only use manual focus lenses some of the time so I thought I could pop on this magnifying eyepiece quickly and effectively only when I needed it. In theory it makes sense and yes it does magnify the image when you look through the viewfinder making manual focusing a little easier, unfortunately I also found that it magnifies the image so much that I can't quite see the edges of the frame in my shot making it quite tricky to compose an image effectively.

The magnifying eyepiece that I purchased came with a few additional eyecups and attachments for different camera manufactures.
Different magnifying eyecups come with varying amounts of zoom and mine even came with the ability to zoom the image from 1.08 times to 1.6 times zoom. Even with the ability to dial the zoom right down if you wanted, it still meant that you had a tiny lens attached to the back of your camera which meant that your eye was further from the viewfinder, so even with the minimum zoom selected I still found it hard to see the entirety of the frame within my viewfinder.
I'll just add here that I bought an inexpensive third-party magnifying eyecup. Although I've shared my experiences with this version I cannot say that the more expensive versions won't be better as they may well be. If you have one and haven't come across the problems I've outlined here then please get in touch as I'd love to hear your thoughts on it.

Simply remove your old viewfinder eyecup and replace it with the newer magnifying one.
PROS
- Very inexpensive to try out
- Simple and easy to swap on and off with your existing eyepiece
CONS
- Additional depth on the eyepiece can make it tricky to view and compose your shots
- Having the larger eyepiece attached makes your camera prone to getting caught on everything, especially when carrying your camera on a neck strap
Cost
£15-£30 ($20-$40)
Video Loupe
The last item on my list is something that is so simple yet so effective that I was dumbfounded as to how I'd overlooked it for so long. The video loupe is a large viewfinder that covers the entirety of your LCD screen and displays an image in an eyecup that you hold up to your eye. Rather than composing and focusing your shot via the standard viewfinder you now switch your camera to live-view and compose and focus your shot through this video loupe.

DSLR Video Loupe: I'd love to tell you that I spent hours deliberating over which video loupe to purchase, but alas it simply came to the fact that this one had red bits on it.
First off, this video loupe is only useful on cameras with a 'live-view' function and thankfully that is a feature that is on most modern DSLR's now. You attach this video loupe by screwing a little plate into the base of your camera via the tripod mount and then slot the video loupe viewfinder in when you want it. This is great as it is very quick and easy to remove when you're not using it.

The video loupe comes with a mount that you attach to the cameras tripod screw mount. You can then slot the video loupe on and off very quickly and easily via the slot attachment you see here.
When you engage live-view on your DSLR you are asking your camera to essentially send a live video feed of what is in the viewfinder to the screen at the back of the camera. Doing so results in a couple of key things happening that is very important to us. Firstly, the cameras mirror has to flip up out of the way for this live-view to work. That doesn't sound like a big deal but it does mean that when you actually take a shot, there is distinct delay between pressing the shutter, the mirror moving again and the shutter actually capturing the image. It is still quick but certainly noticeable if you were trying to photograph something quickly. In reality though it is unlikely that you'd be trying to photograph something that was moving quickly with a manual focus lens so this slow methodical shooting speed is often found when manual focusing anyway. On top of that it does mean that you can't fire off multiple shots very quickly because of this mirror delay, but again I doubt that if you're shooting with manual focus lenses that you're intending to shoot at 10 frames a second.

Of course adding a video loupe to your system will increase the bulk/size/weight a little!
For me the biggest feature of this video loupe solution to manual focusing is the fact that your image is now backlit. Remember that you are looking at the bright LCD screen to focus and that automatically brightens the image considerably compared to the viewfinder in most studio situations. As a result your task of seeing when and where the image is in-focus is now incredibly easy, the image is bright and you're looking at a screen that is filling your vision entirely. Even when I was using a 2-stop ND filter on my old manual focus lens in a dimly lit studio environment with tungsten modelling lamps, the live-view image being displayed was bright and easily focusable.

On most of the video loupes you can also choose to flip the actual viewfinder section up like you see here in the left and centre shots. This is great for reviewing images, then you can flip it back down again, as seen in the right hand image above to continue taking photos.
For me, having a video loupe for manual focusing is fantastic! One of the key reasons I love using it for manual focusing is simply because of the brightness that is offered from focusing on that big backlit screen and that feature alone easily outweighs the minor downsides for me.
They aren't cheap though I'm afraid and I think that is because it has the word 'video' in its name. Everything related to video is overpriced in my opinion and this is no exception. That being said, there is huge price range starting out at the bottom end with the basic ones like mine for £70 all the way up to the higher quality ones for upwards of £200.
PROS
- A gorgeous big and brightly lit image for you to nail your manual focus shots
- Quick and easy to attach and detach on nearly any camera
CONS
- They are a little pricey
- Video loupes add a lot of weight and bulk to your system
- Running live-view constantly will slow down your shooting speed making photographing fast moving subjects tricky
- Having live-view constantly enabled will significantly reduce the battery life if you're used to never using it
Cost
£70 - £200 ($90-$250)
In Conclusion
So that's my top three tools/hacks available to aid you in your quest for sharper manual focus shots.
Essentially if you're a hardcore manual focus shooter that has a lot of fast lenses I would seriously consider looking at the focusing screens. I will be looking at one for my spare camera body as I feel they are the best balance between effectiveness and ease of use.
If you're after a quick play around with manual focus and aren't overly precious about the exact composition then maybe the magnifying viewfinder eyecup is an option. It's definitely the cheapest and easiest to add and remove as and when it's needed so it's also the item with the lowest risk associated with it too.
For those looking to invest a little more, I seriously recommend you look at the video loupes. I love shooting with mine when I'm manual focusing simply because of how bright the image I'm trying to get sharp is and you'd be amazed at how much easier it is when your subject is big and bright like this.
But what are your thoughts? Do you have a manual focusing aid that you swear by? Have you used any of these ones that I've already mentioned and if so, did you find them effective? Let me know your thoughts in the comments below.
PS can the mirror-less camera owners please keep their gloating to a minimum ;)
:WARNING: Retail Therapy Ahead!
If you're interested in any of my work and would like to know more about how I created some of my shots then why not check out my workshops. Here you can find out everything there is to know about Gelled Lighting, Long Exposure Flash Photography and my entire Post-Pro Workflow. Jake Hicks Photography - Workshops

I have also just released a brand new 22 hour complete Gelled Lighting Tutorial video. I go over everything from studio lighting setups with gels to being on location with gels plus I also go through my complete retouching and post pro workflow. For more details and complete breakdown of everything that's include check out my Coloured Gel Portraits Tutorial

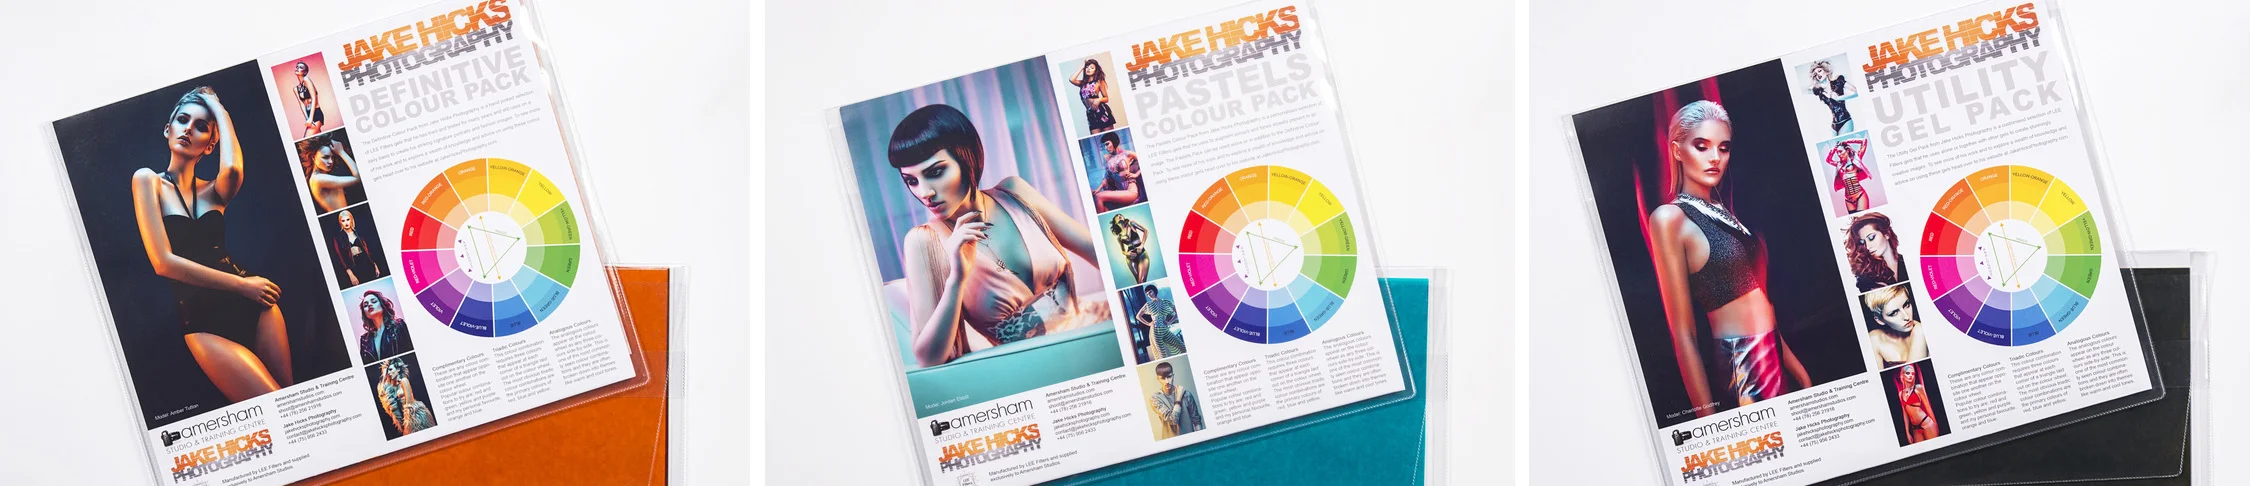
I also offer comprehensive coloured gel packs. These collections of gels are what I use day to day to create some of the most highly saturated colours around. If you're looking at getting into gelled lighting or need to get stronger and richer colours in your coloured gel work why not check out my Jake Hicks Photography Gel Packs