I was super excited to hear a few weeks back that Lensbaby had a new lens in the works and even more excited when I heard it was going to be a lens with the swirly bokeh effect.

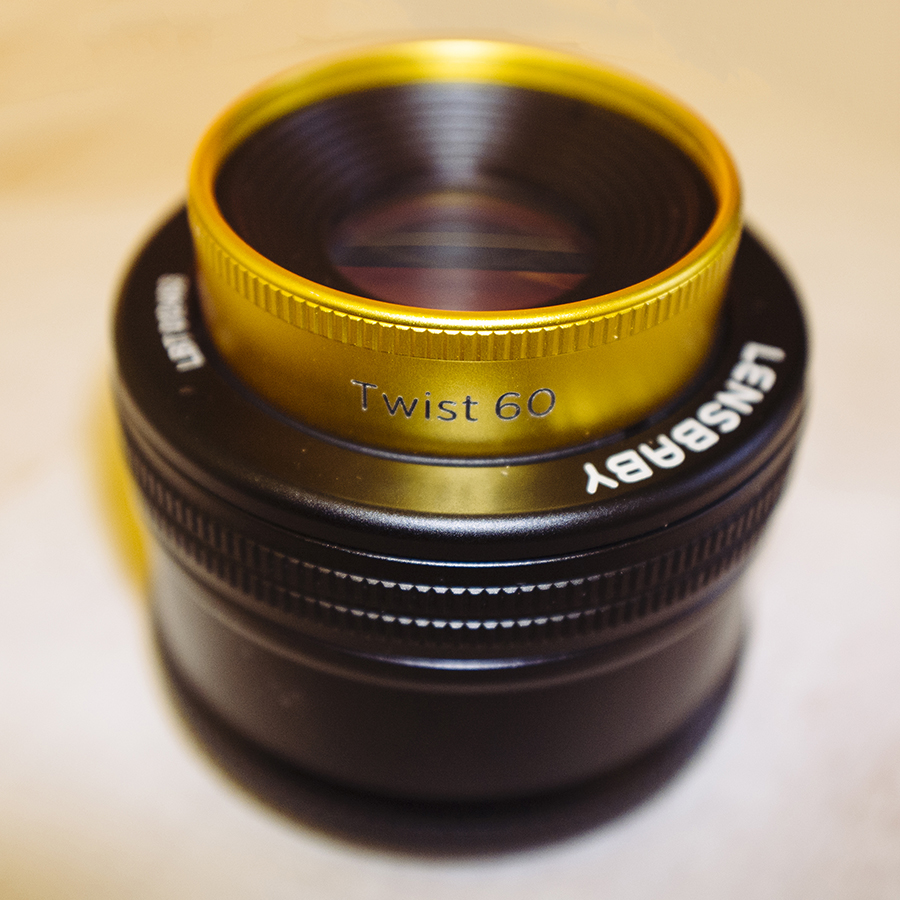
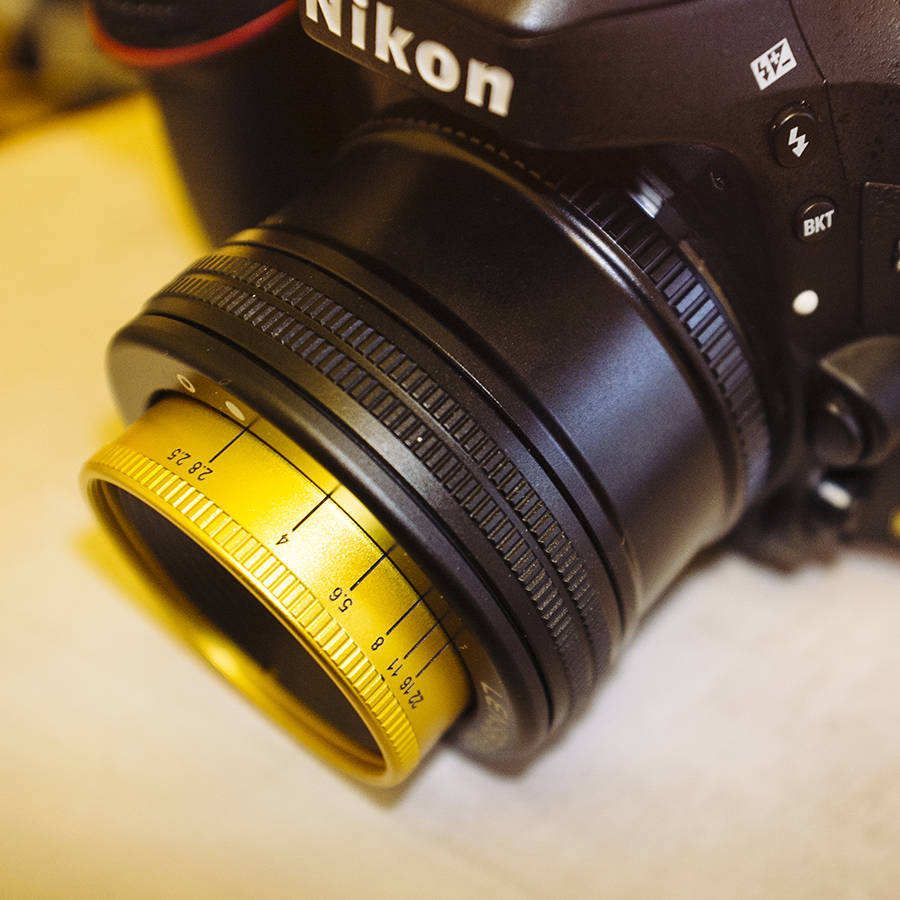
The new Lensbaby Twist 60
In the past this swirly visual effect had been the money-train for Lomo and their Petzval lenses in the form of the 85mm and the soon to be publicly available 58mm. I own a lot of the Lensbaby lenses and I've been very pleased with the resulting optical effects from their previous products so I was certainly pleased to hear Lensbaby were taking a crack at the swirly bokeh effect now too. This time around lensbaby introduces the same Petzval optics but in a modern lens, and the reason I say modern lens is because the Lomo Petzval lenses were always 'remakes' of the old classics. Don't get me wrong they were gorgeous looking lenses and very well made but they also had all of the trappings of the original classic lenses. They weighed a ton with awkward focus controls and they had drop-in drop-out aperture plates to change the aperture. So as gorgeous and fun as they were, they were always a trade-off over practicality.
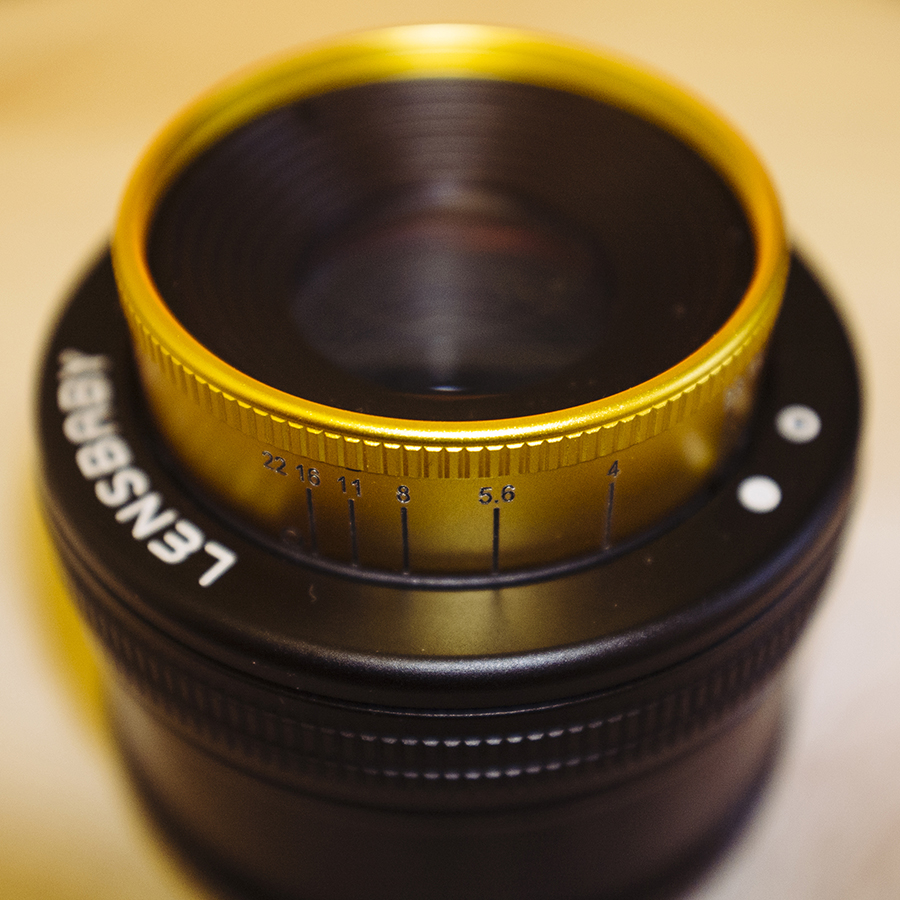
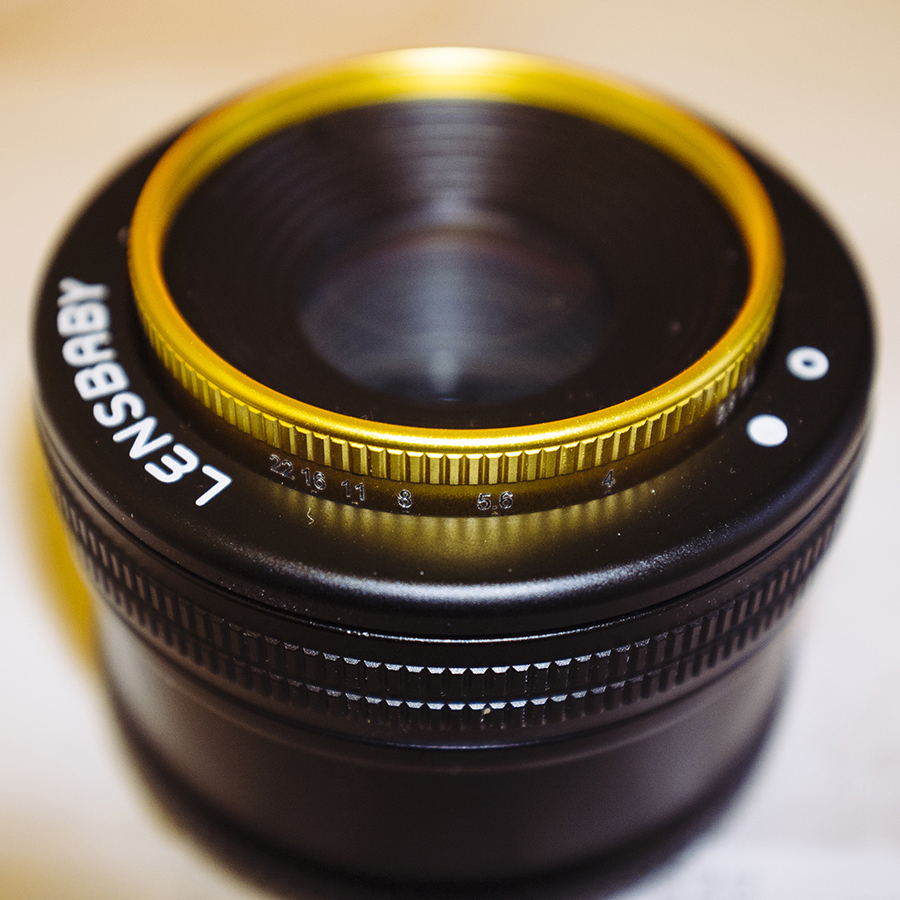
Cue the Lensbaby Twist 60. First impressions of the Lensbaby Twist 60 is lightweight, well made and simple to use. That may seem an obvious statement but I will come onto why that's of particular relevance later on. The lens is matt black metal with an inner gold metal collar section that holds the optics. You don't need to be a genius to figure out that the inner gold section is referencing the famous brass colouring of the Petzval lenses of old. The first thing I notice is how lightweight it is and at under 200grams this is definitely not going to be a burden in your camera bag. It has a focal length of 60mm which is a really great portrait length in my opinion (50mm vs 85mm: Which is the Best Focal Length for Portraiture?) with minimal perspective distortion. Granted it's not going to be your go-to focal length for those corporate headshots but 60mm gives you a huge range in terms of singles shots and group shots over the longer lenses. It has an f stop range of f2.5 - f22 and those apertures are adjusted via the gold metal collar in the centre. One thing to note on this is that the apertures are changed via this gold collar but this is also how the lens focuses in and out. So for example when youre focused on objects far away that gold collar disappears into that black lens housing making it tricky to change the apertures. Not a big deal really and although you can still physically change the aperture you just can't see the numbers you're changing them to.
This like all other Lensbaby lenses is a manual focus lens so remember this isn't 'talking' to your camera directly so you can't adjust the apertures etc via the camera body itself. Anybody who has already purchased a Lensbaby or any other art lens in the past will be familiar with this anyway. The focusing ring is grippy and firm so you'll not be nudging it about all the time plus its not a huge thread so from maximum focus to minimum focus its only a quarter turn on the focusing ring so you have plenty of accurate control. That's pretty much all you really need to know for now, I'll post the manufacturing stats a the bottom if you're interested but for now lets take a look at some photos through it.
I just want to state that I don't pretend that this is a full review at all. I've only used this lens on one shoot so far and that was at the end of another shoot I was doing. I Just wanted to get some shots with it to see what it was like and get some first impression. I will obviously need to use it a lot more to get a firmer idea.
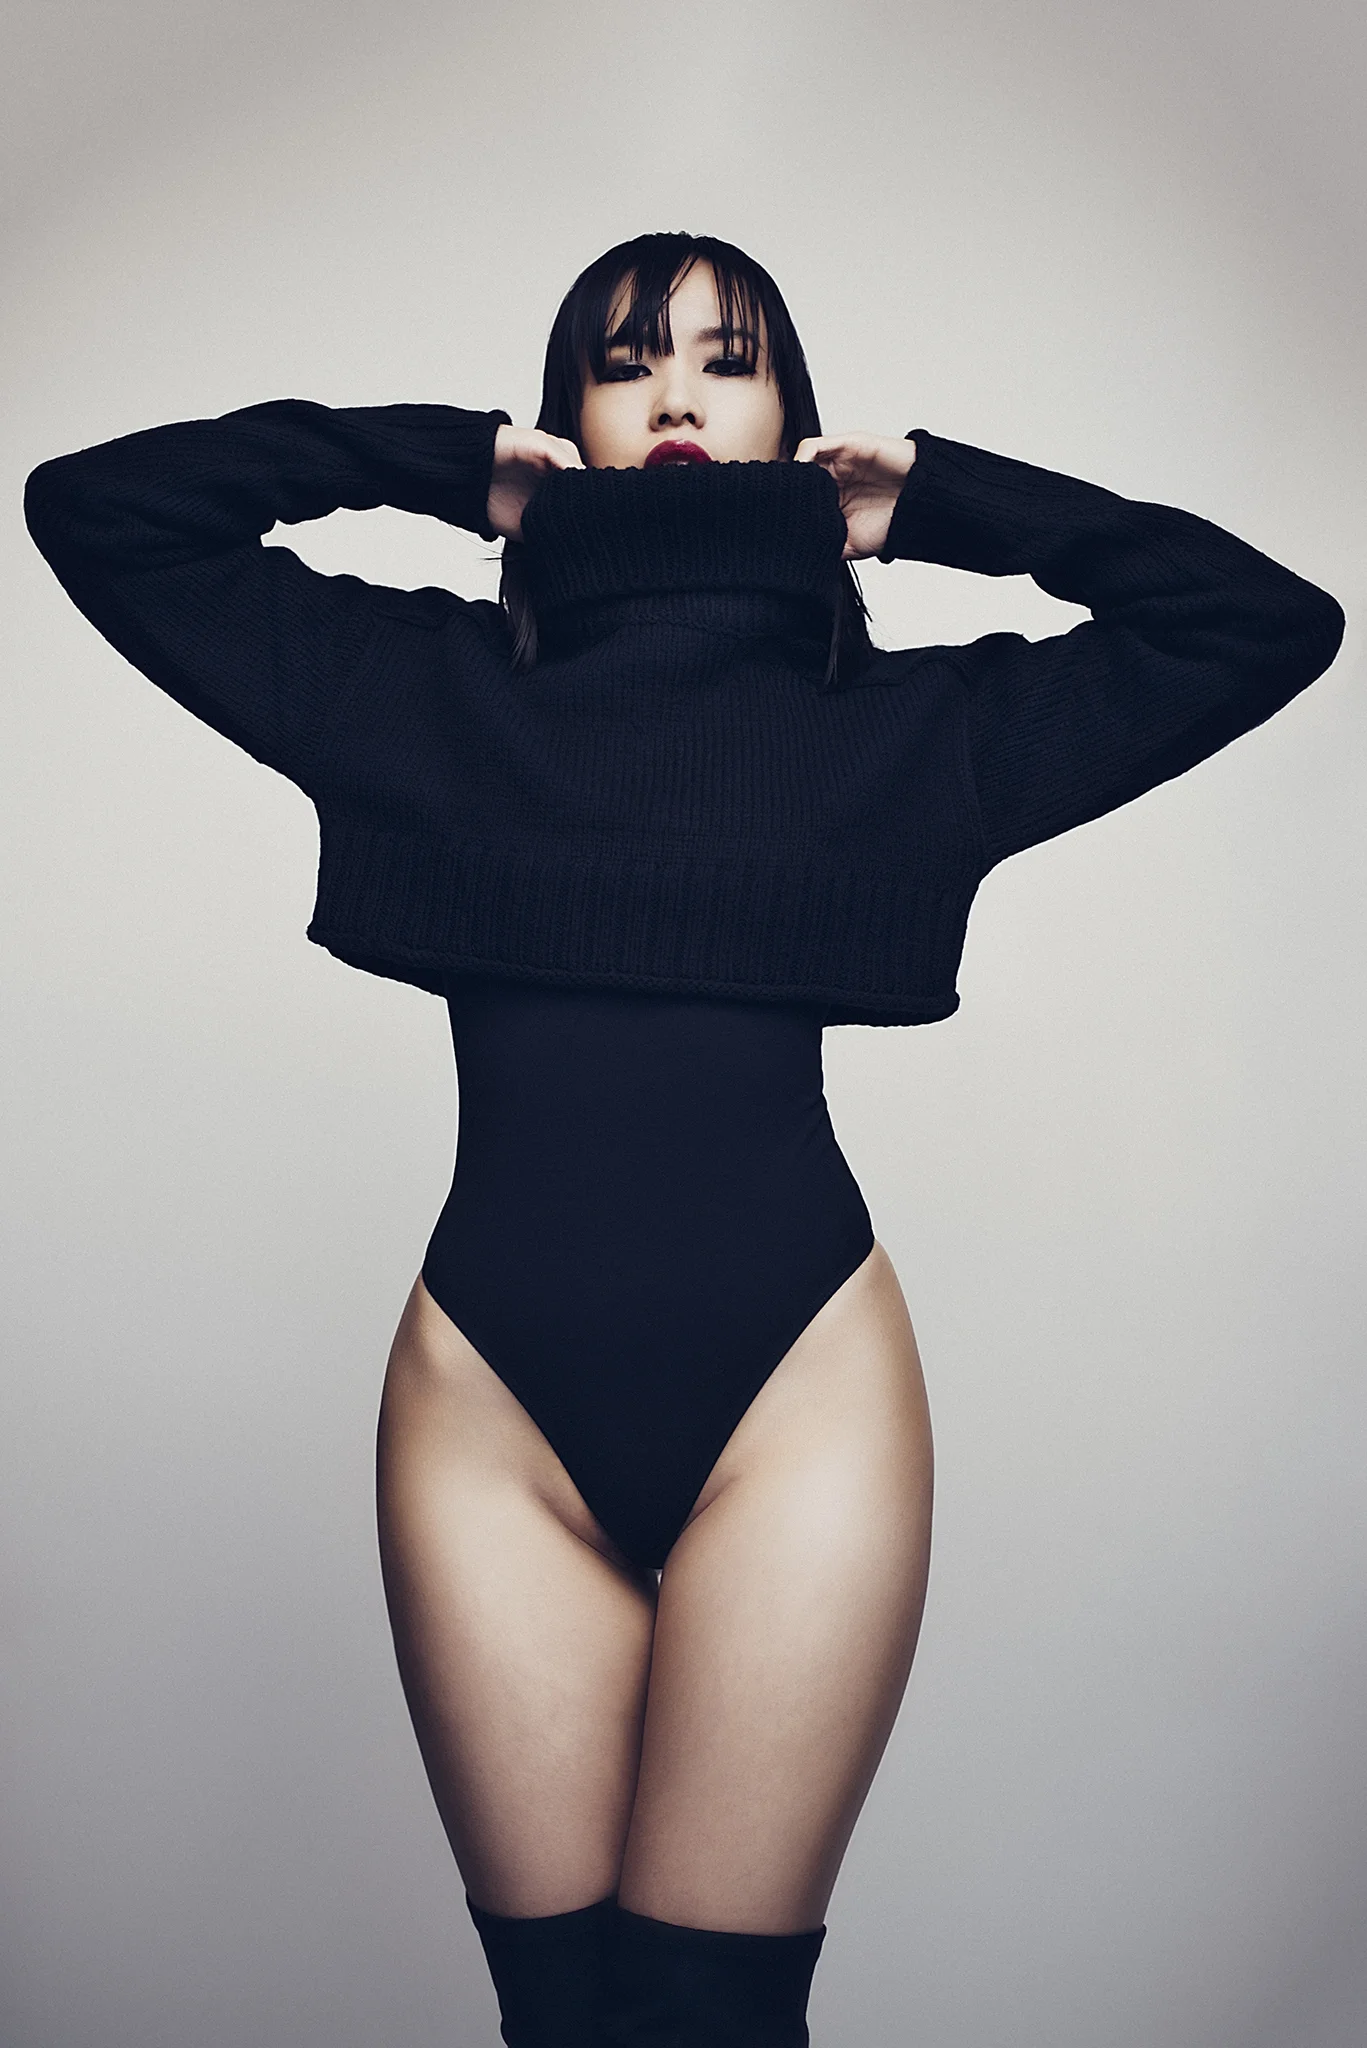
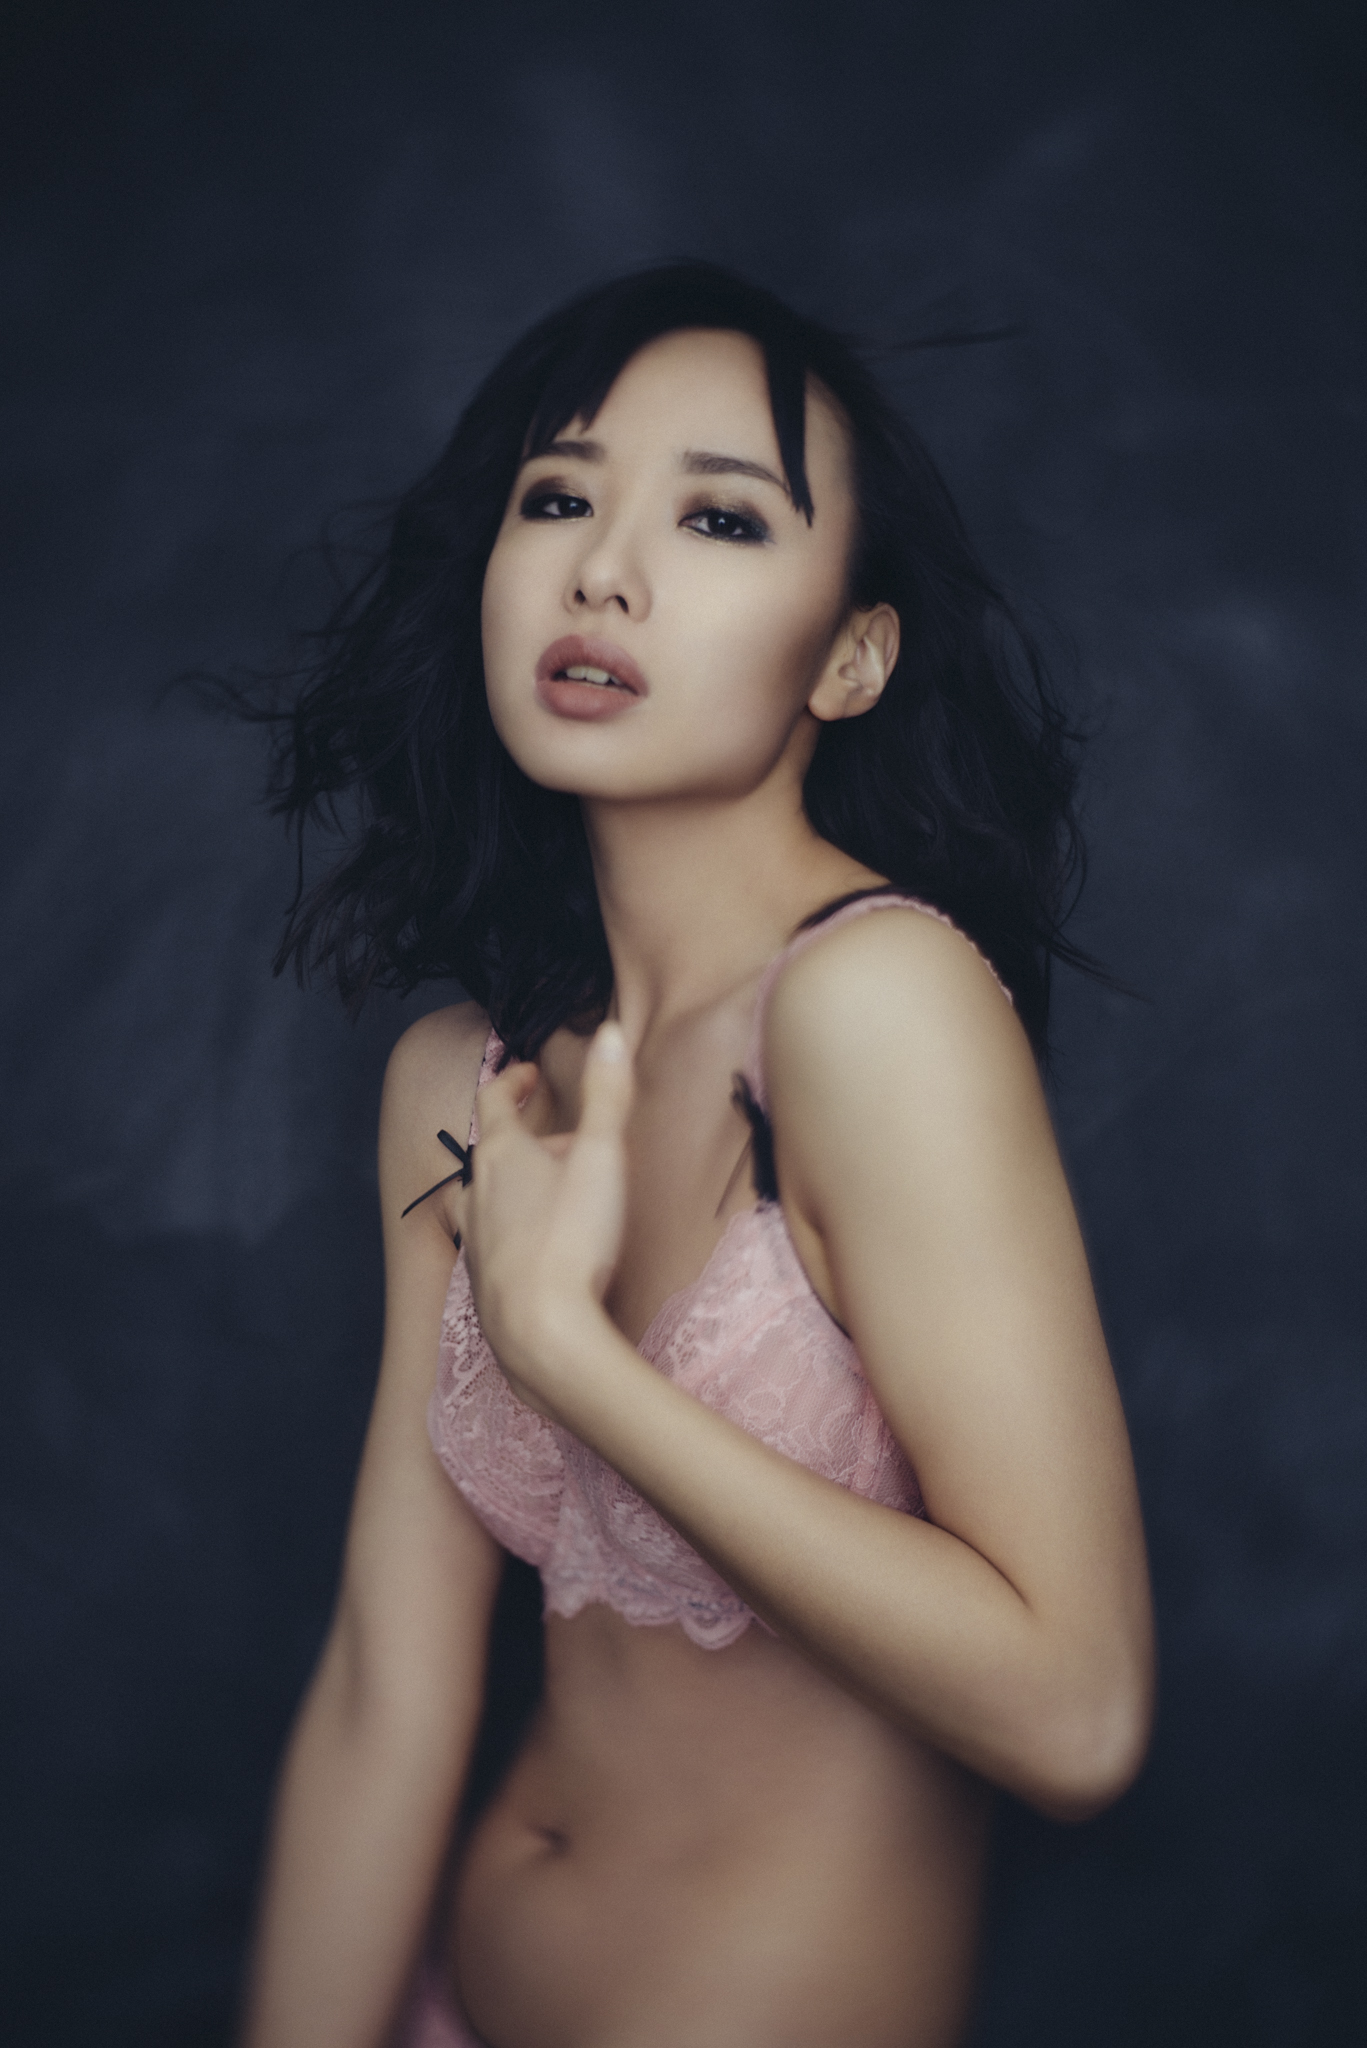
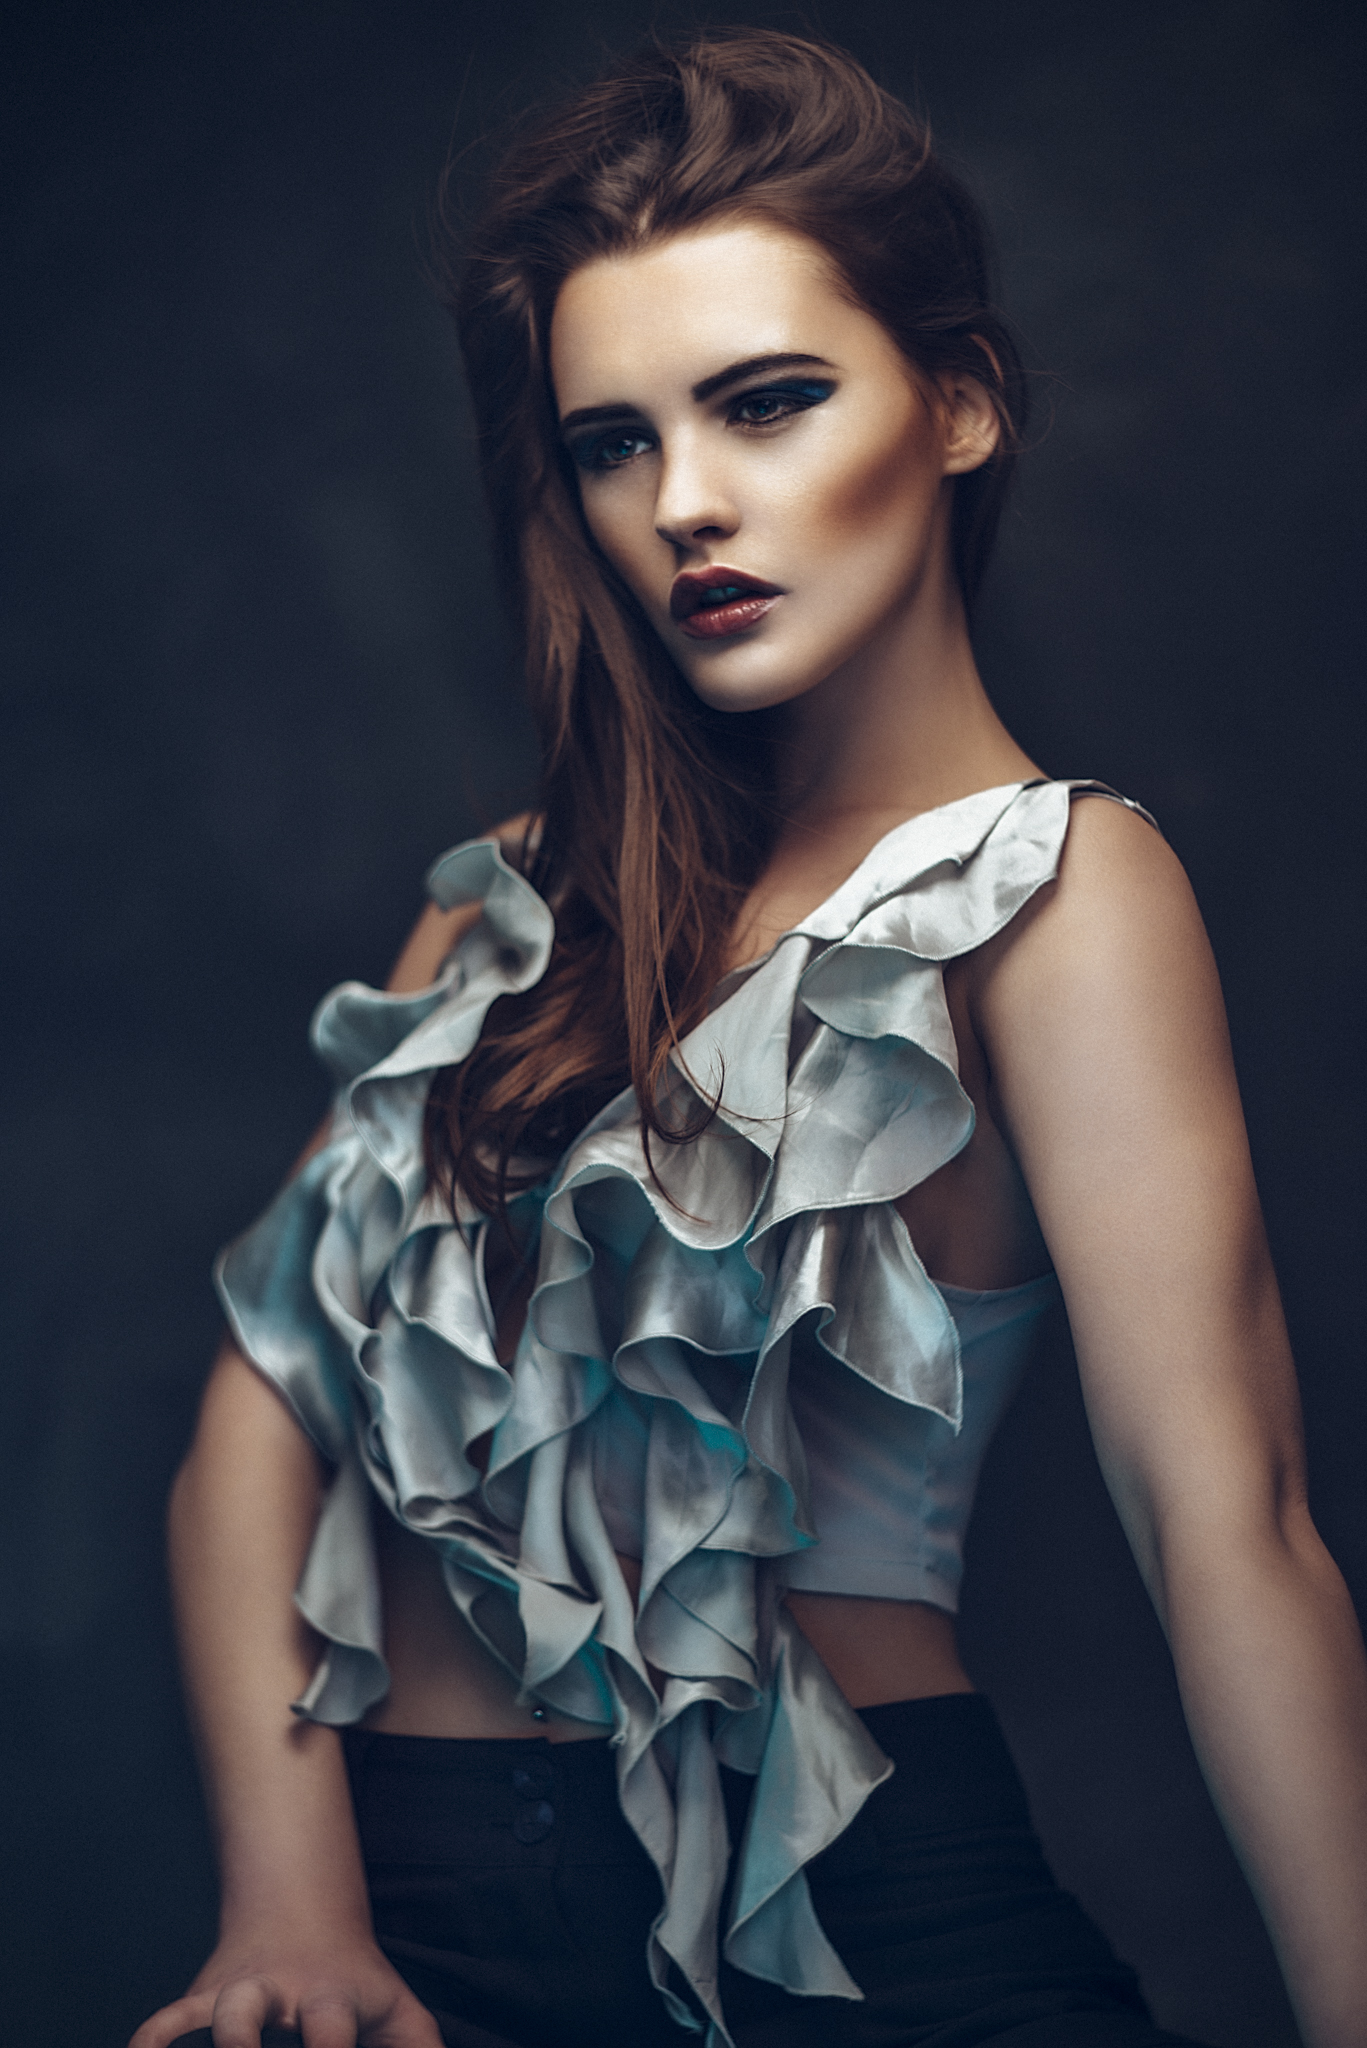
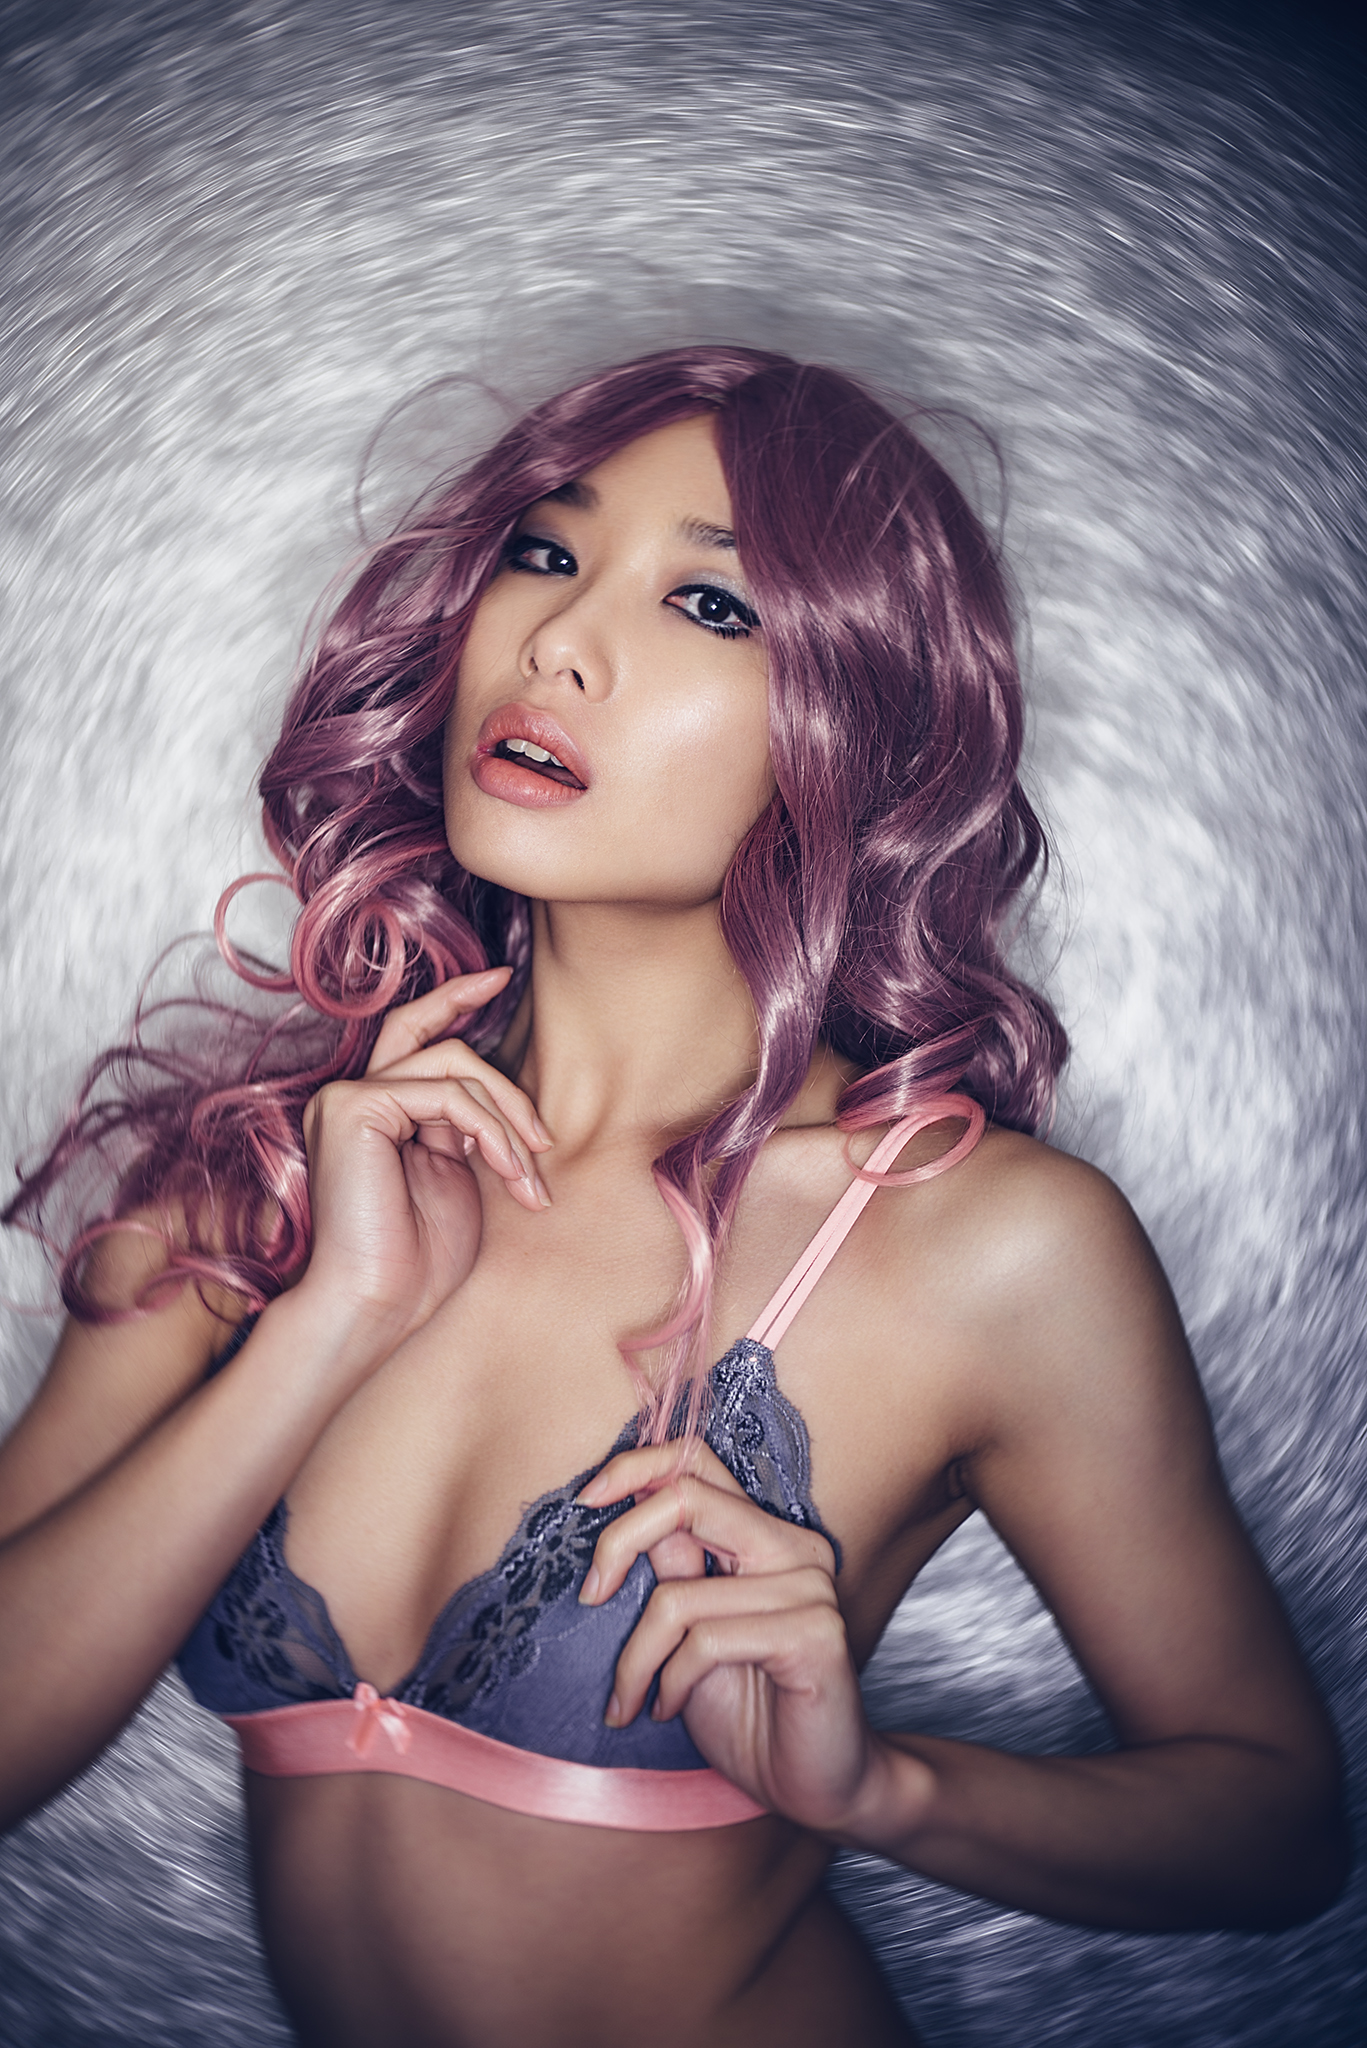
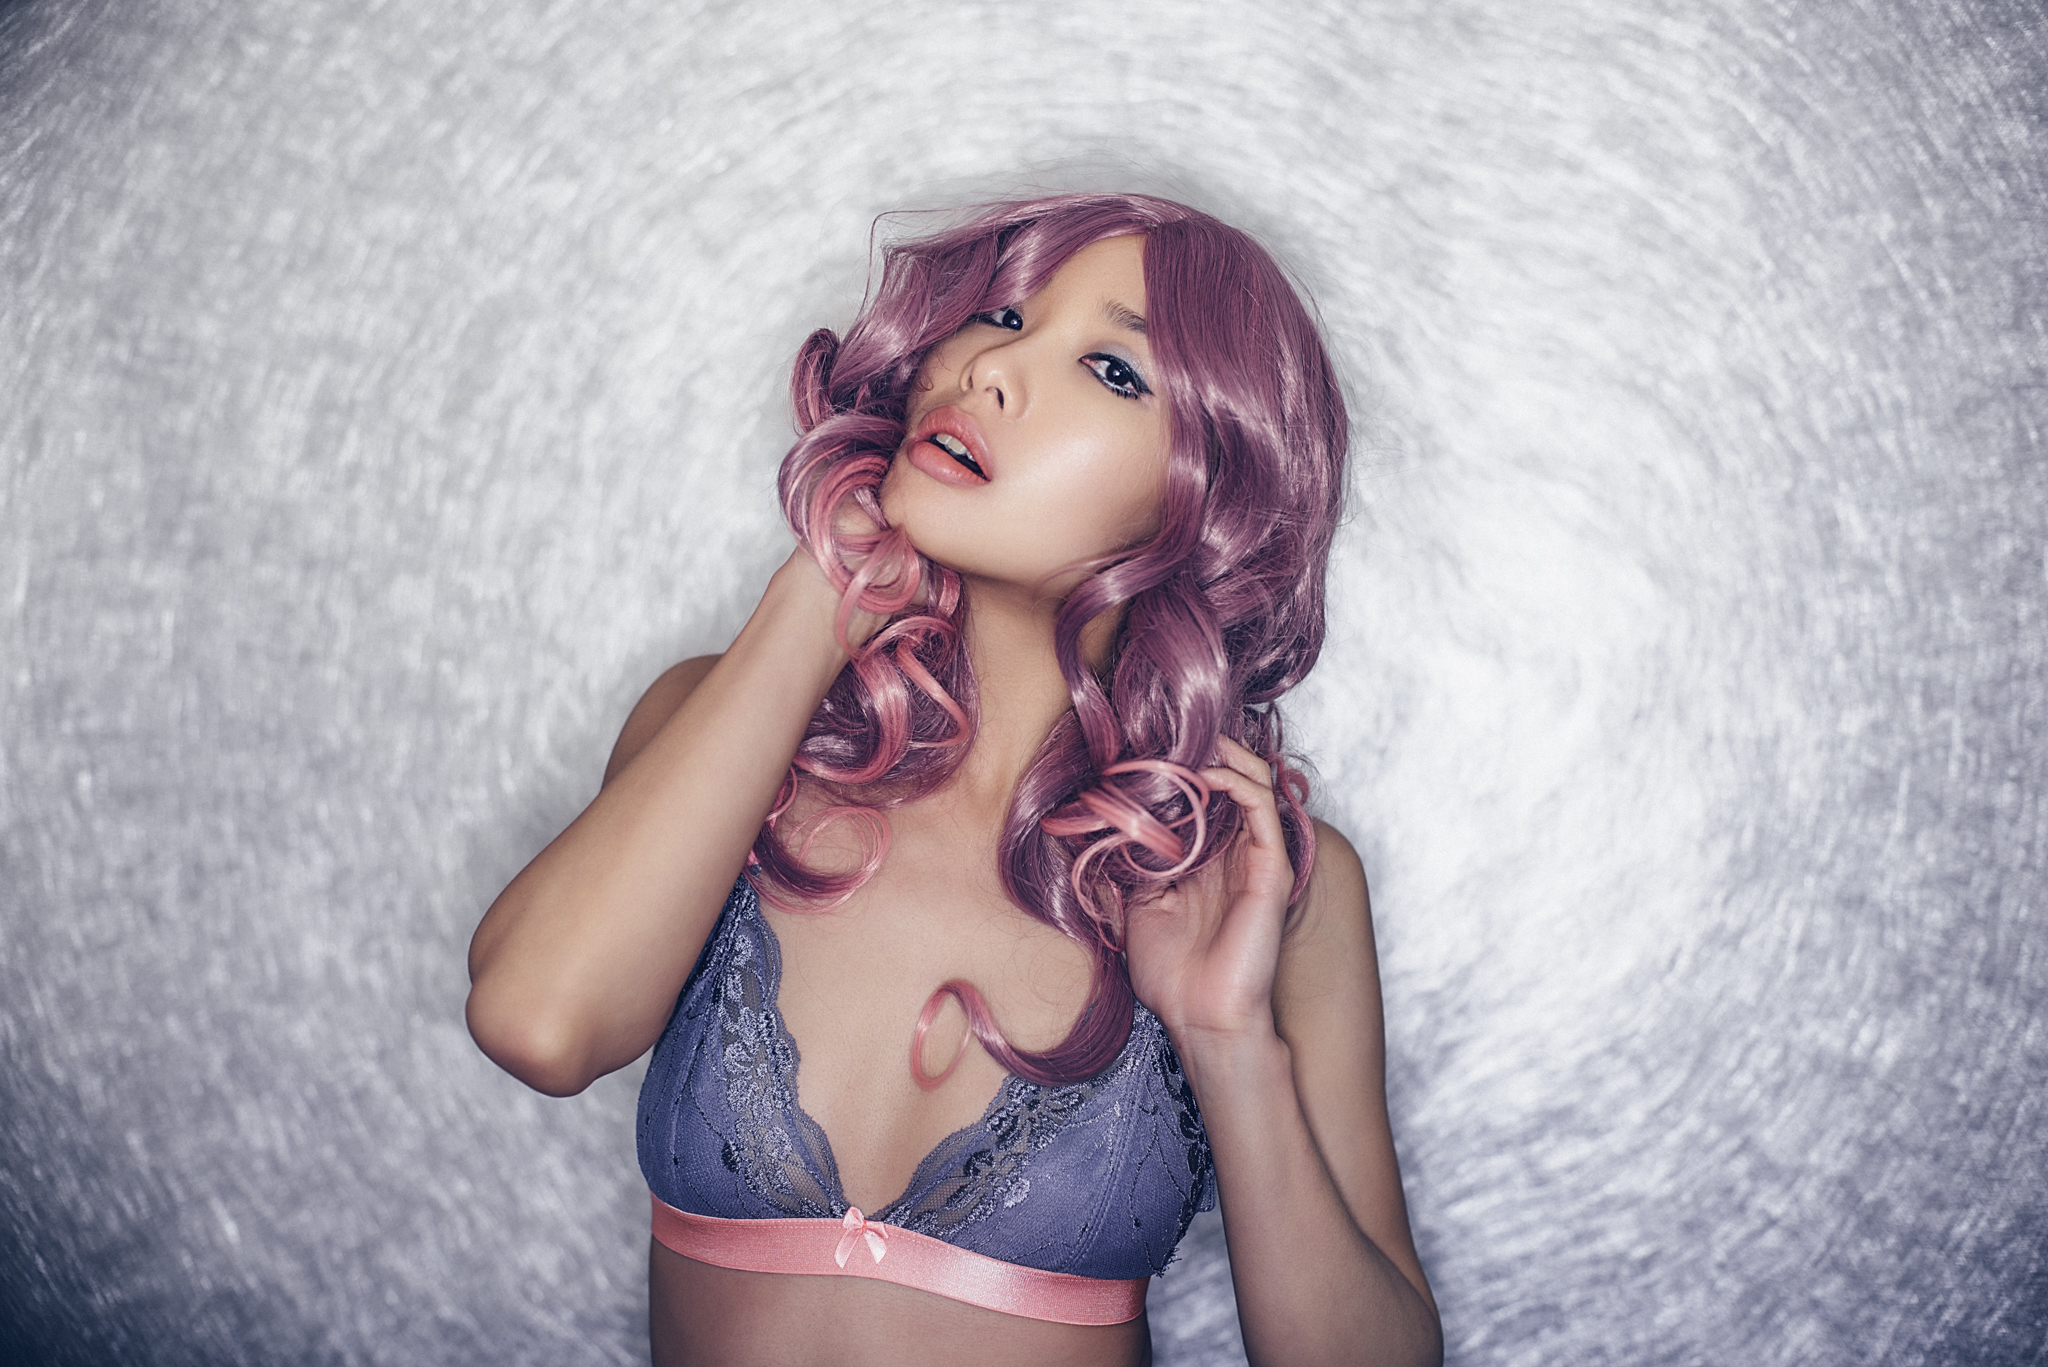
First shot taken with the new Lensbaby Twist 60. F2.8. Click on the image to enlarge it.
So first impressions are that it does exactly what it's designed to do. Its adding a huge amount of swirl (twist) to the background here. But what was the background and did it already have that swirl in there somewhere? No it definitely didn't in fact this is just a simple one light shot against a silver window blind, hardly anything overly exotic but to prove my point I also took the same exact shot with a standard 50mm lens to show you.
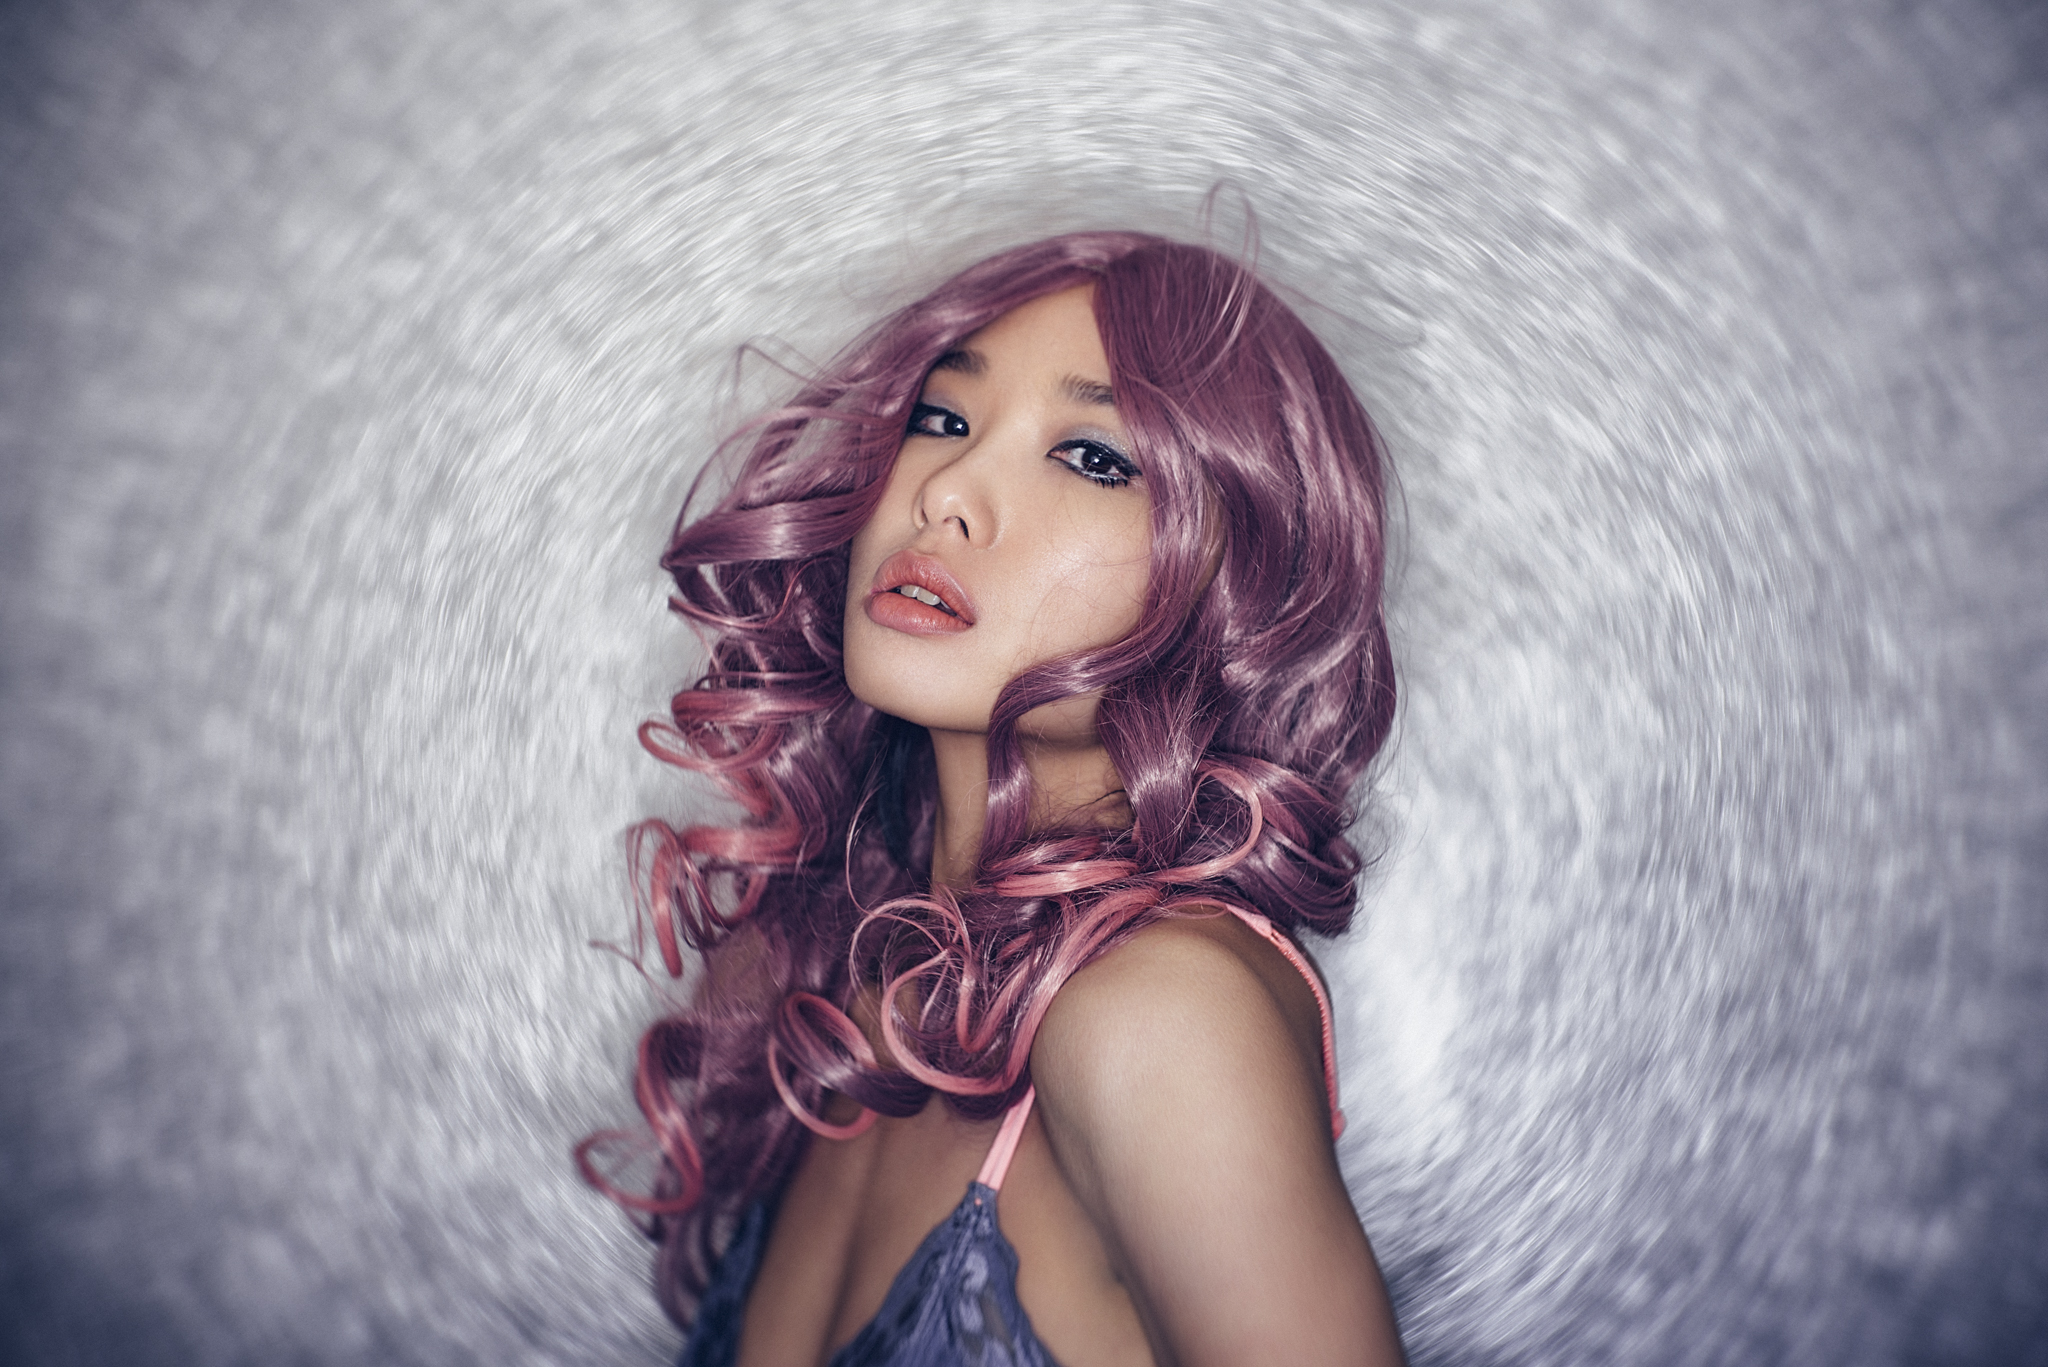
Image taken on standard 50mm Nikon prime lens. Image also taken at f2.8. Click on the image to enlarge it.
You can see in the image here how the effect is markedly different to when you're using the Twist 60 and not using it. So what do you need to do to get the effect working at its best? Well not much really, I literally just attached the lens and focused the shot and I was done there's no secret to getting it to work as the effect is all created in the optics. It's not like some of the other Lensbaby lenses that needs a bit of practice or skill to use like the Edge or the Composer Pro, the Twist does it all internally.
So what's the limitations of the lenses effects then? Thats a simple one to explain, but you have to think about this lens doing two separate things. Firstly its focusing on your subject and keeping them nice and sharp like any lens does, secondly its partitioning the outer edges of the lens to do the 'twisting'. Those two roles are fixed in the lens and you can't change them, what I mean by that is that you can't make the outer edges of the lens tack-sharp and you can't get objects in the centre of the lens to start twisting. As soon as you understand that you can stop fighting it and shoot accordingly. For example your subject is always going to be best placed in the middle of the shot and because of this the landscape format crop is going to lend itself to this composition.

For those that are interested, this was the simple one light setup. A ring flash and model against silver backdrop
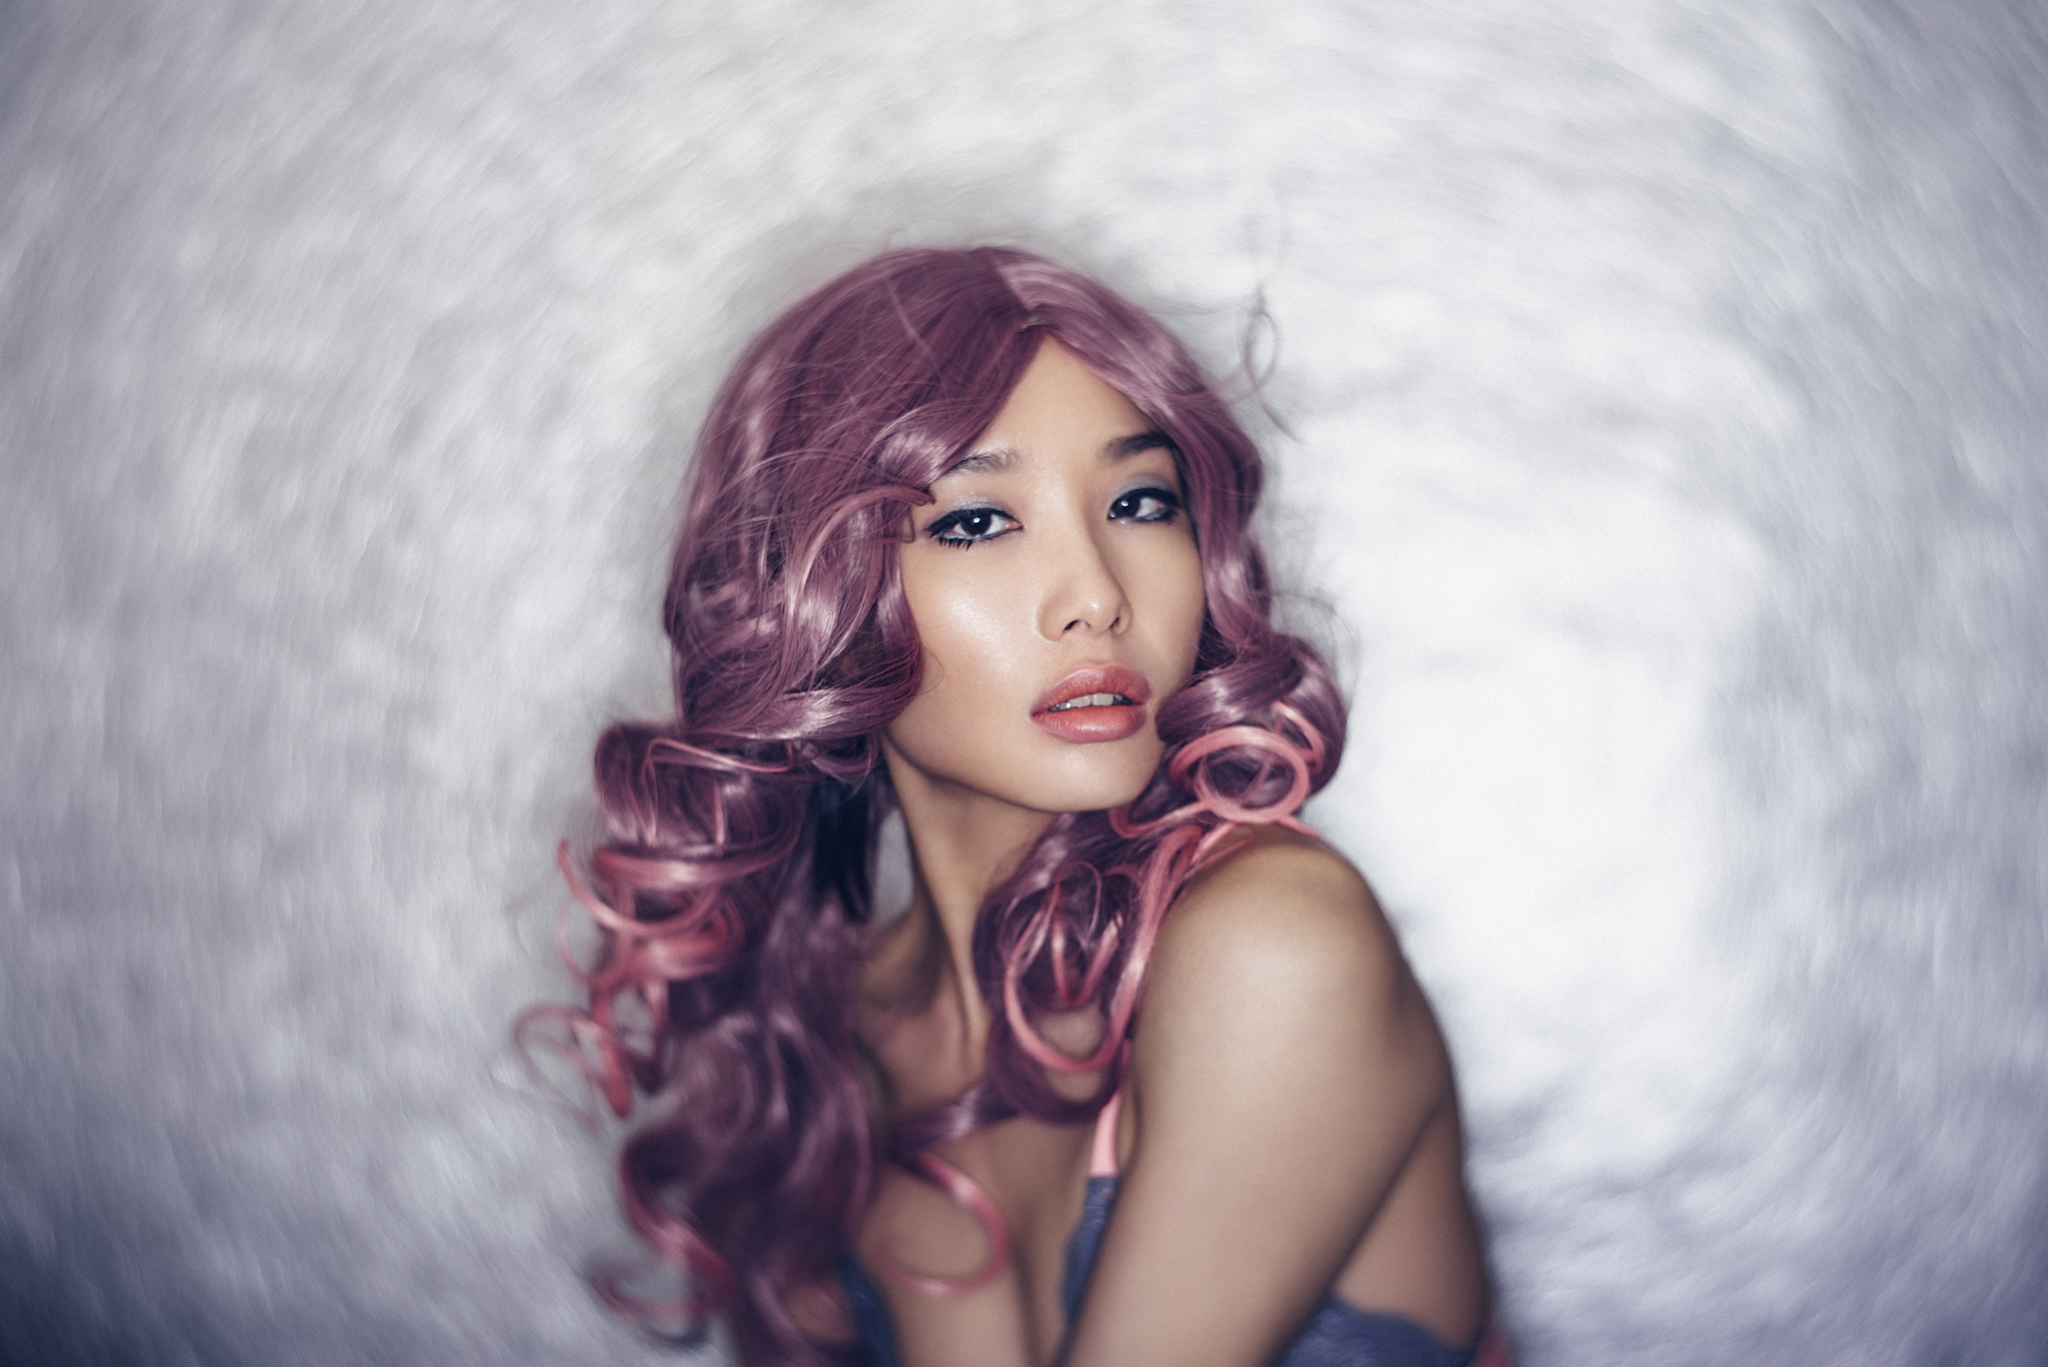
A portrait version of the same shot. The eyes here are a little higher up than centre so they are starting to feel the effect of the 'twist' leaving them a little blurred but not drastically so. Click on the image to enlarge it.
The Elephant in the room
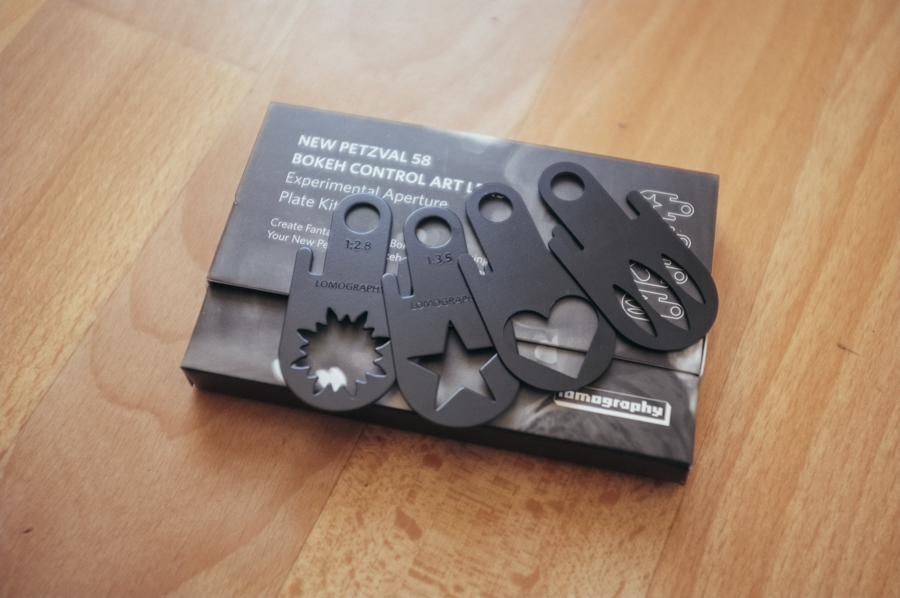
So lets not put this off any longer, I know the first thing I wanted to know and I'm sure the question you've been wondering is 'How does the Twist 60 compare to the Petzval 58?' Yes I know Petzval has an 85mm lens as well but it's a different focal length to the Twist 60 so I'll be comparing it to the Petzval 58 plus I have the 58 so I am able to directly compare the two. Fortunately I was able to take shots using the Petzval 58 alongside the Twist 60 at exactly the same time so lets take a look at the results. The images below show the different shots and the image descriptions appear at the bottom of each of them.


From the resulting images I'll let you draw your own conclusions of what you prefer or don't prefer. To those that don't know the Petzval 58 has the option to manually dial in a varying amount of bokeh/swirl and you can see the varying amounts on the shots above. To find out more I did a full review here where you can see more examples of the Petzval bokeh control feature Petzval 58 Bokeh Control Lens Review - March 2016
In my opinion though I really like the clean look to the swirl effect on the Twist 60 over the Petzval 58, at any bokeh control value. This is probably because its a modern lens though, its taken the swirling aspect of the older Petzval lenses and applied it to a modern chassis if you will but as a result its a little more defined. There's no right or wrong here but I do think the Twist 60 might be more practical for me day-to-day whereas the Petzval does have that more vintage traditional look but you'd expect that as its a remake of a vintage lens.
Ok so the Twist 60 creates a great effect and its comparable to the Petzval, I own a Petzval 58 and I love the shots it takes but I also have an issue with the practicality of this vintage style lens in a commercial setting. I think the Petzval 58 could take some truly stunning wedding shots for example but would I recommend lugging around a lens equivalent to the weight of a bag of sugar and a wallet full of loose aperture plates to faff about with whilst the bride patiently waits? No, of course not. The Petzval has its place and that's perhaps not in a high pressure setting, it's a vintage experience and as such you'll definitely get those unique vintage style shots. The Twist 60 however creates lovely swirly looking shots and it's in a modern, easy to use housing that weights practically nothing. I know which lens I'll be throwing in my camera bag the next time I have a commercial shoot and I want to quickly grab a few 'art shots'.
The Twist 60 comes out here in the UK on May 5th 2016. The Petzval 58 has a planned shipping date of May 2016 (they are still fulfilling kick-starter backer orders until then) so both of these lenses are coming out in the same month. The current price of the Twist 60 is £249/$279 and the current price for the Petzval 58 is £549/$749. It's also worth mentioning that for the current Lensbaby owners of the 'optic-swap-system' the Composer Pro, Edge lenses etc can actually swop out your other optic and insert this new Twist 60 optic inside instead. The price of an Twist 60 insert is £159/$179!
*I also have a discount code for you guys where you can get a further 10% off of these Lensbaby prices at WEX JAKEHICKS10 meaning you can get the Twist 60 for as little as £143
Now I don't mean to start riding around on the elephant in the room wearing a clown suit and sining the Hokey Cokey here but I think this Mays lens purchase might have just gotten a LOT more economically viable.
Additional Info and Links
The new Twist 60 comes in (the following links take you to WEX UK) Nikon, Canon and Sony mounts. The Sony mount is actually a completely redesigned lens, not just a different mount screwed on the bottom. Plus you can always simply get the Optic on its own.
Remember that if you're buying any Lensbaby lens from WEX you get an additional 10% off with my discount code JAKEHICKS10 simply enter it in the 'Any Vouchers' box at checkout.
US Links at B&H Nikon, Canon and Sony. Twist 60 Optic
The Nikon Twist 60 Specs
- Focal length - wide (mm)60
- Max aperture - wide2.5
- Max aperture - tele22
- Minimum aperture22
- Minimum focus distance (m)0.45
- Lens elements4
- Lens groups3
- Aperture blades12
- Filter thread (mm)46
- Size6.35 x 6.35 x 5.7 cm
- Weight (g)198.45
Again my apologies for not having more shots for you guys but I wanted to get this 'quick look' out there as soon as possible and I am certainly looking forward to using the Twist 60 on some more upcoming shoots real soon which I will obviously share as and when I do. So what do you guys think? Will you be getting a Twist 60 in May? Feel free to let me now your thoughts and if you have any questions about the lens feel free to fire away and I'll do my best to answer them :)
You may also be interested in my past art lens reviews, the Lensbaby Velvet 56 and also my Petzval 58 lens review.
Also if you're interested in learning more about my work then why not check out some of my workshops. I run workshops on Gelled Lighting and also my entire Post Production Workflow