This technique isn't going to turn any heads, it isn't even going to be new to most of you, in fact you may even glance at the shots and think you already know everything about it. That may be true, but I doubt it.
One of the things I love seeing at my workshops is watching the attendees have those 'ah-ha' moments. We've all had them at some point, and they're usually the simplest of things that are the final piece to completing a look or technique we've been chasing to perfect for far to long. The eureka moment happens where we are shown something that although obvious when shown, it's somehow eluded us and its a common problem when we are teaching ourselves.
The reason for this is simple, we're teaching ourselves a subject that has no right and wrong so when we shoot something that looks ok we're happy. The thing is, although that shot looks ok it can usually be improved with a little refinement and knowledge of good technique and thats what I want to look at today.
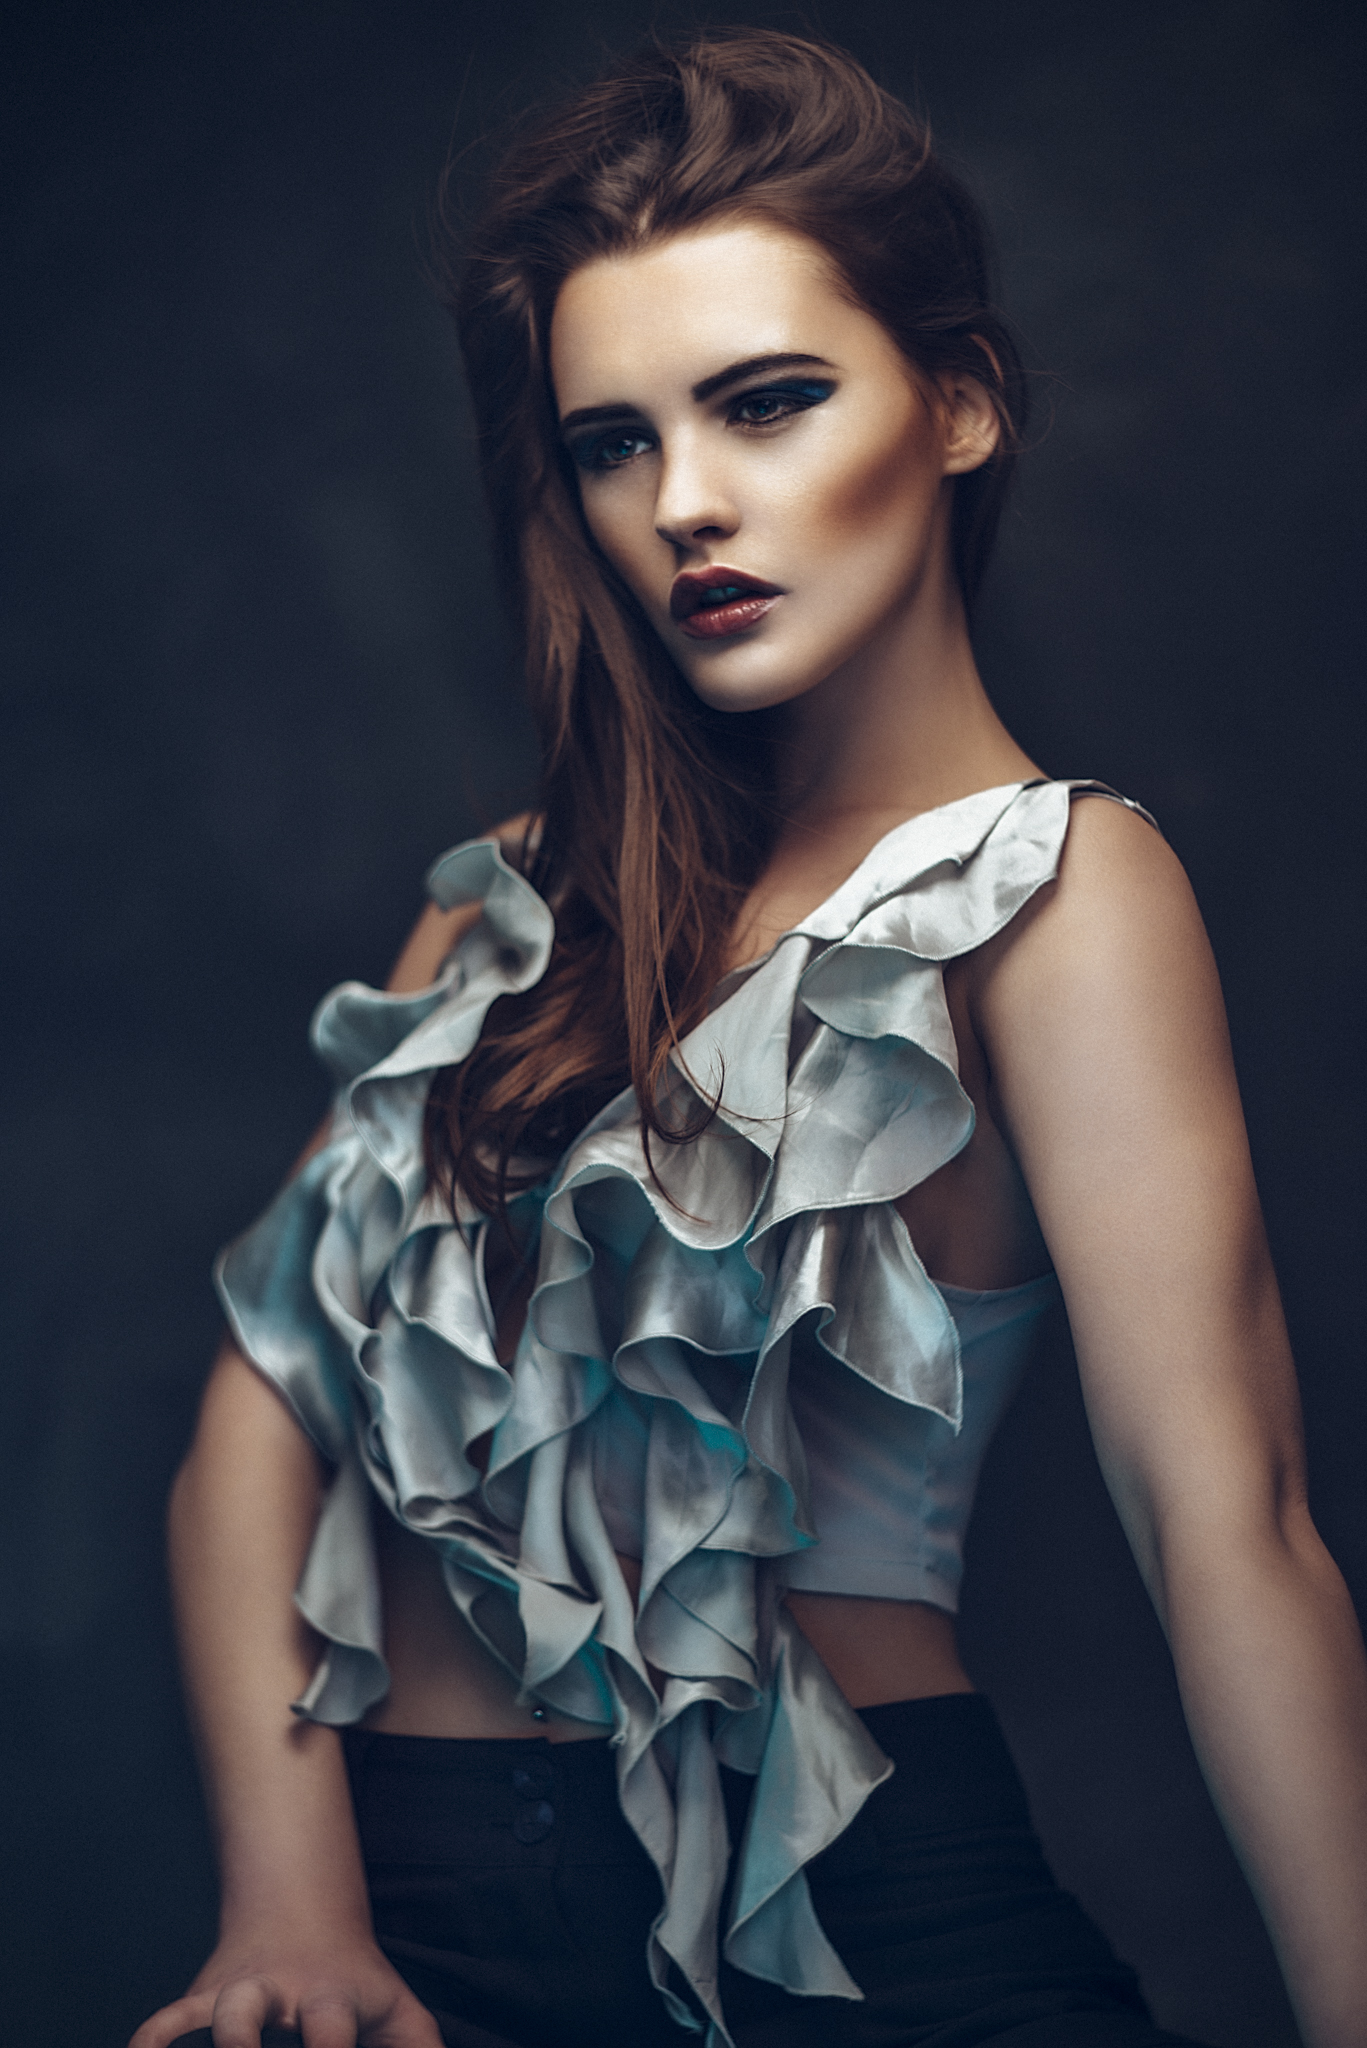
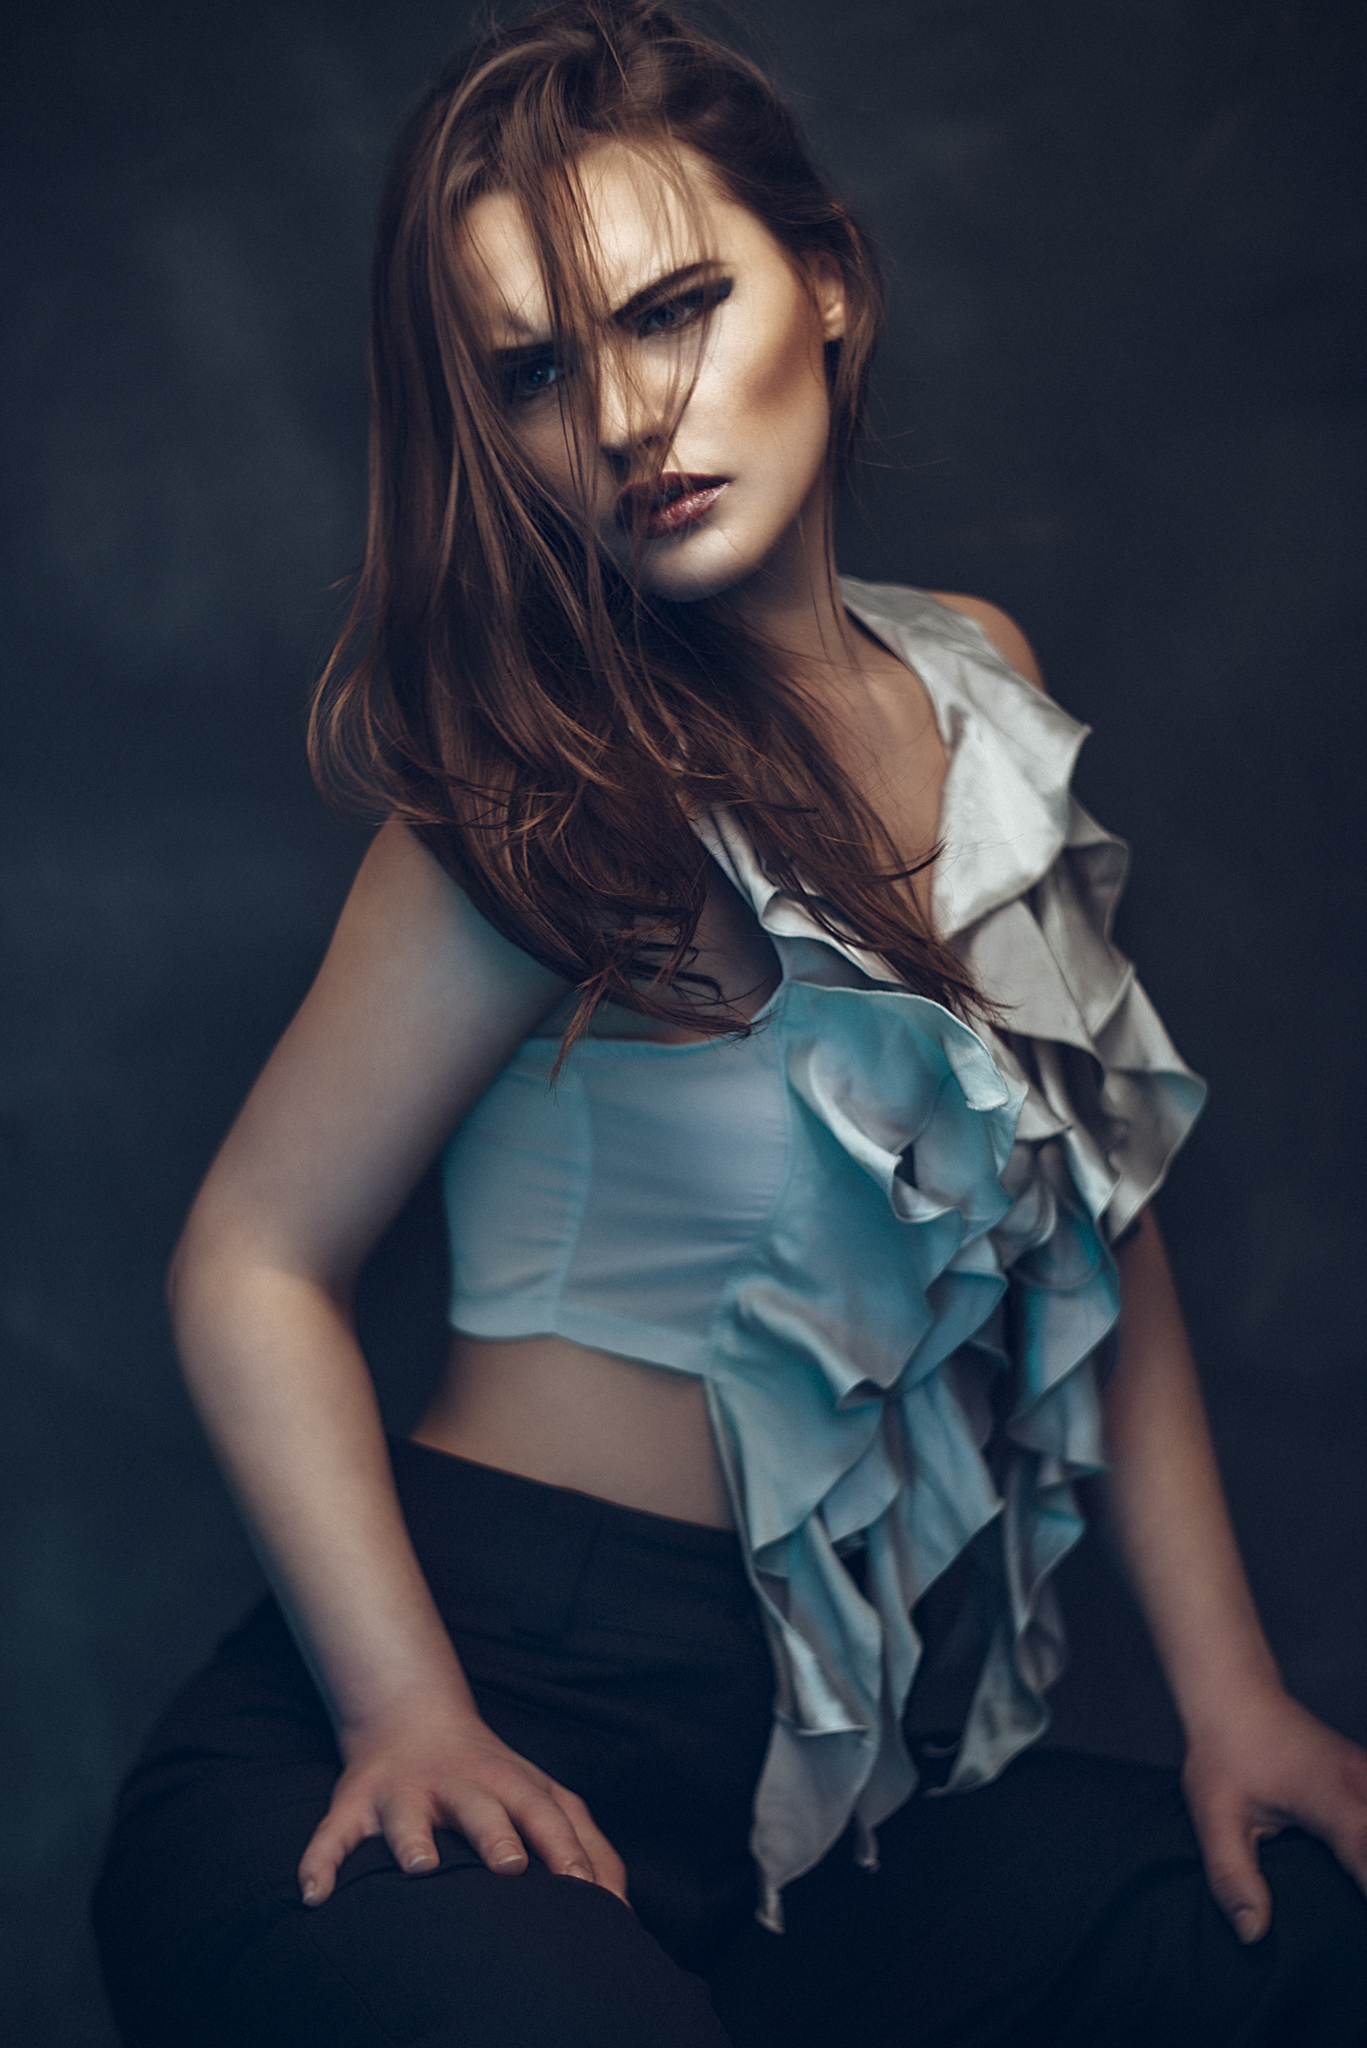
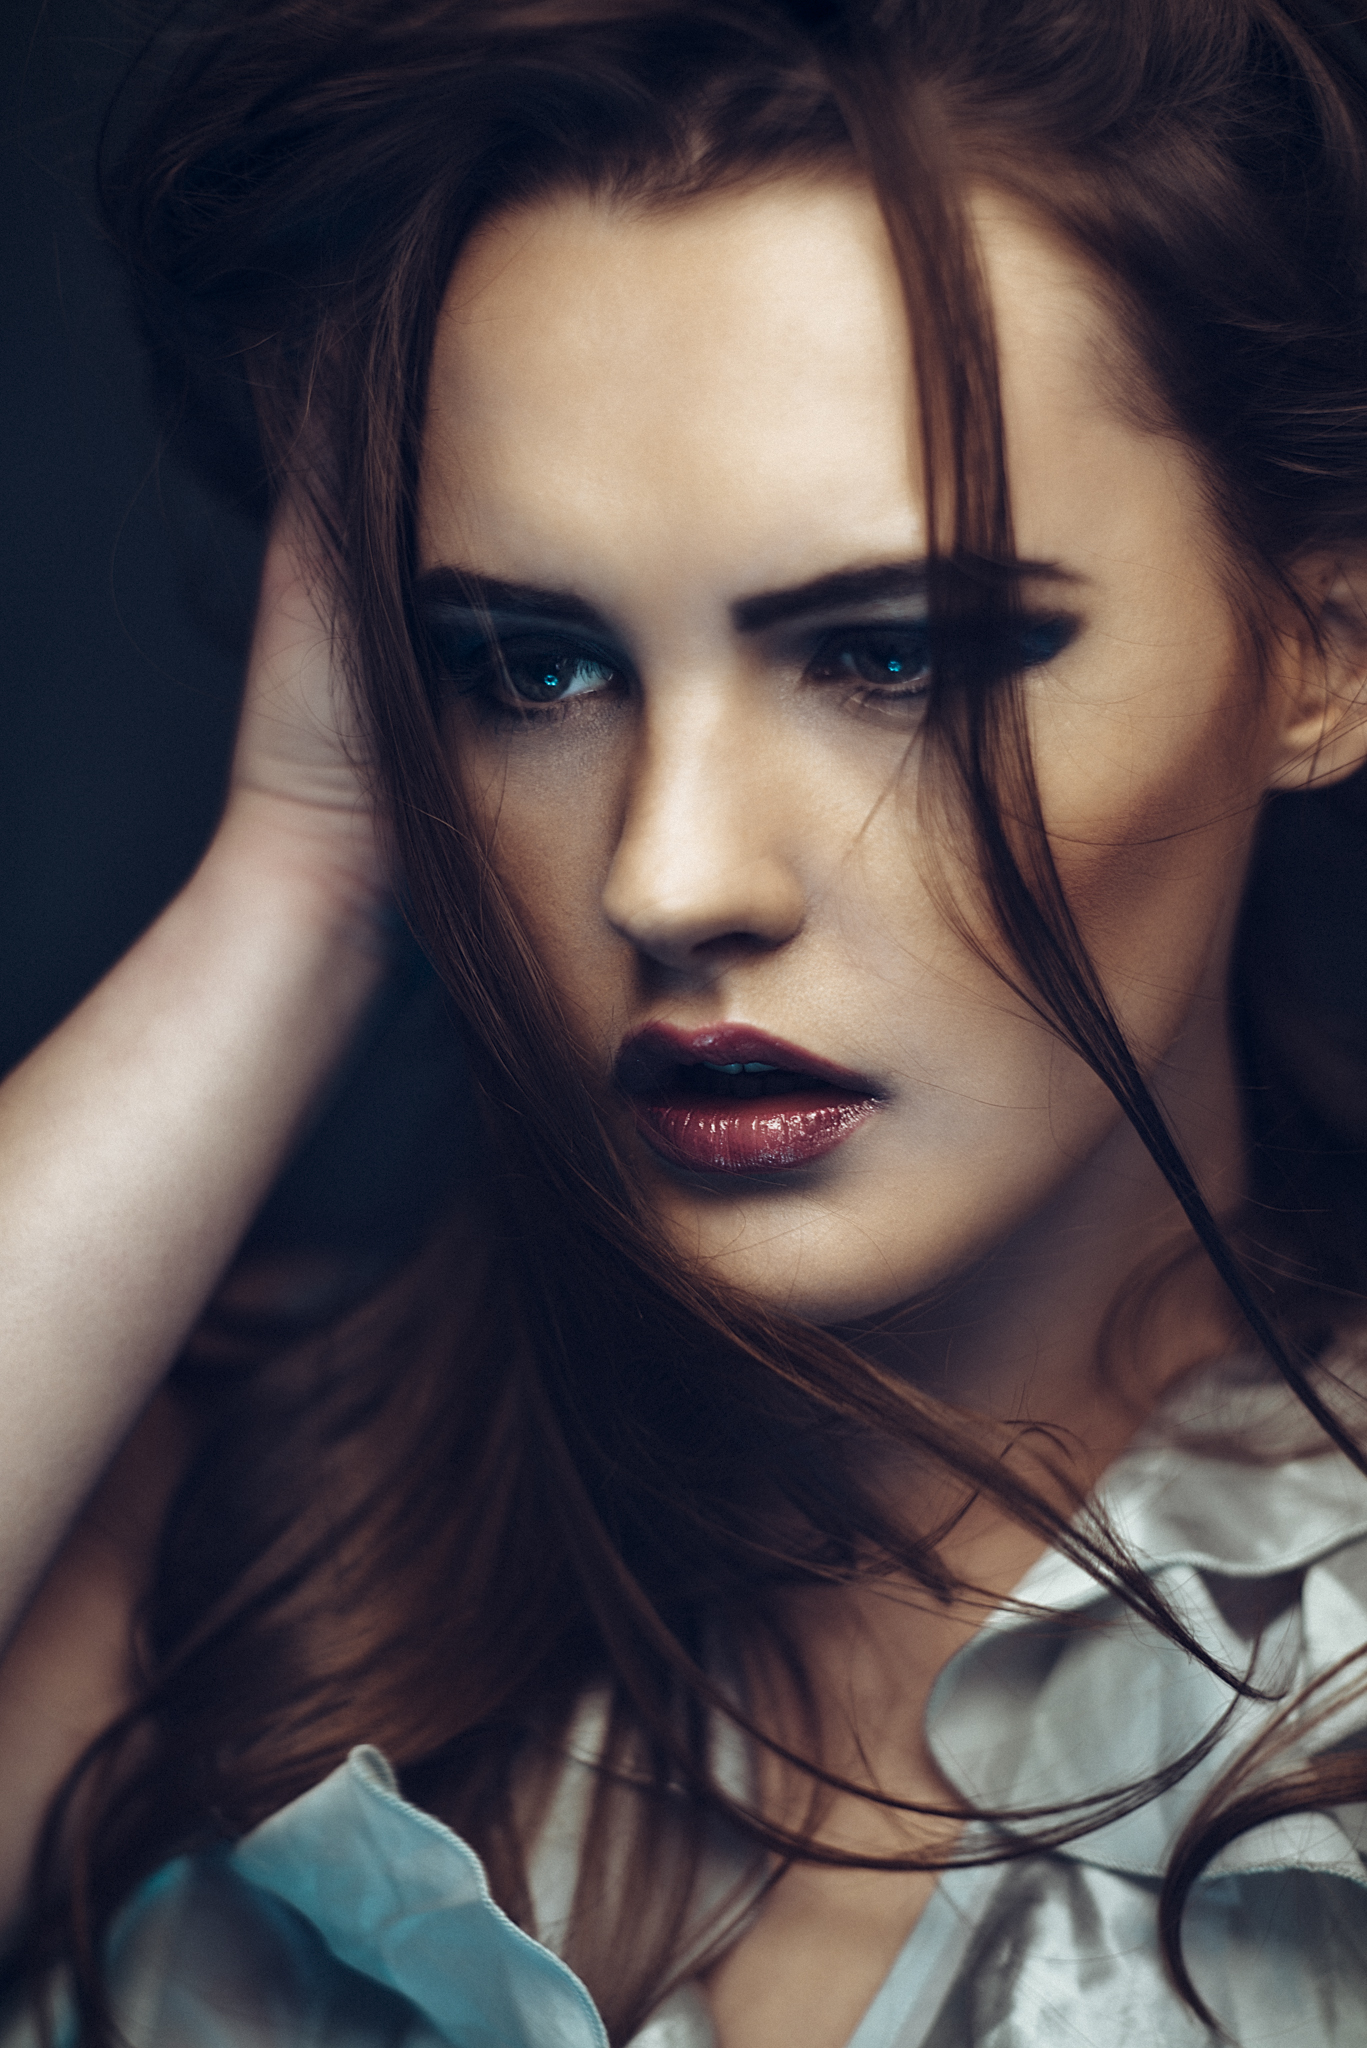
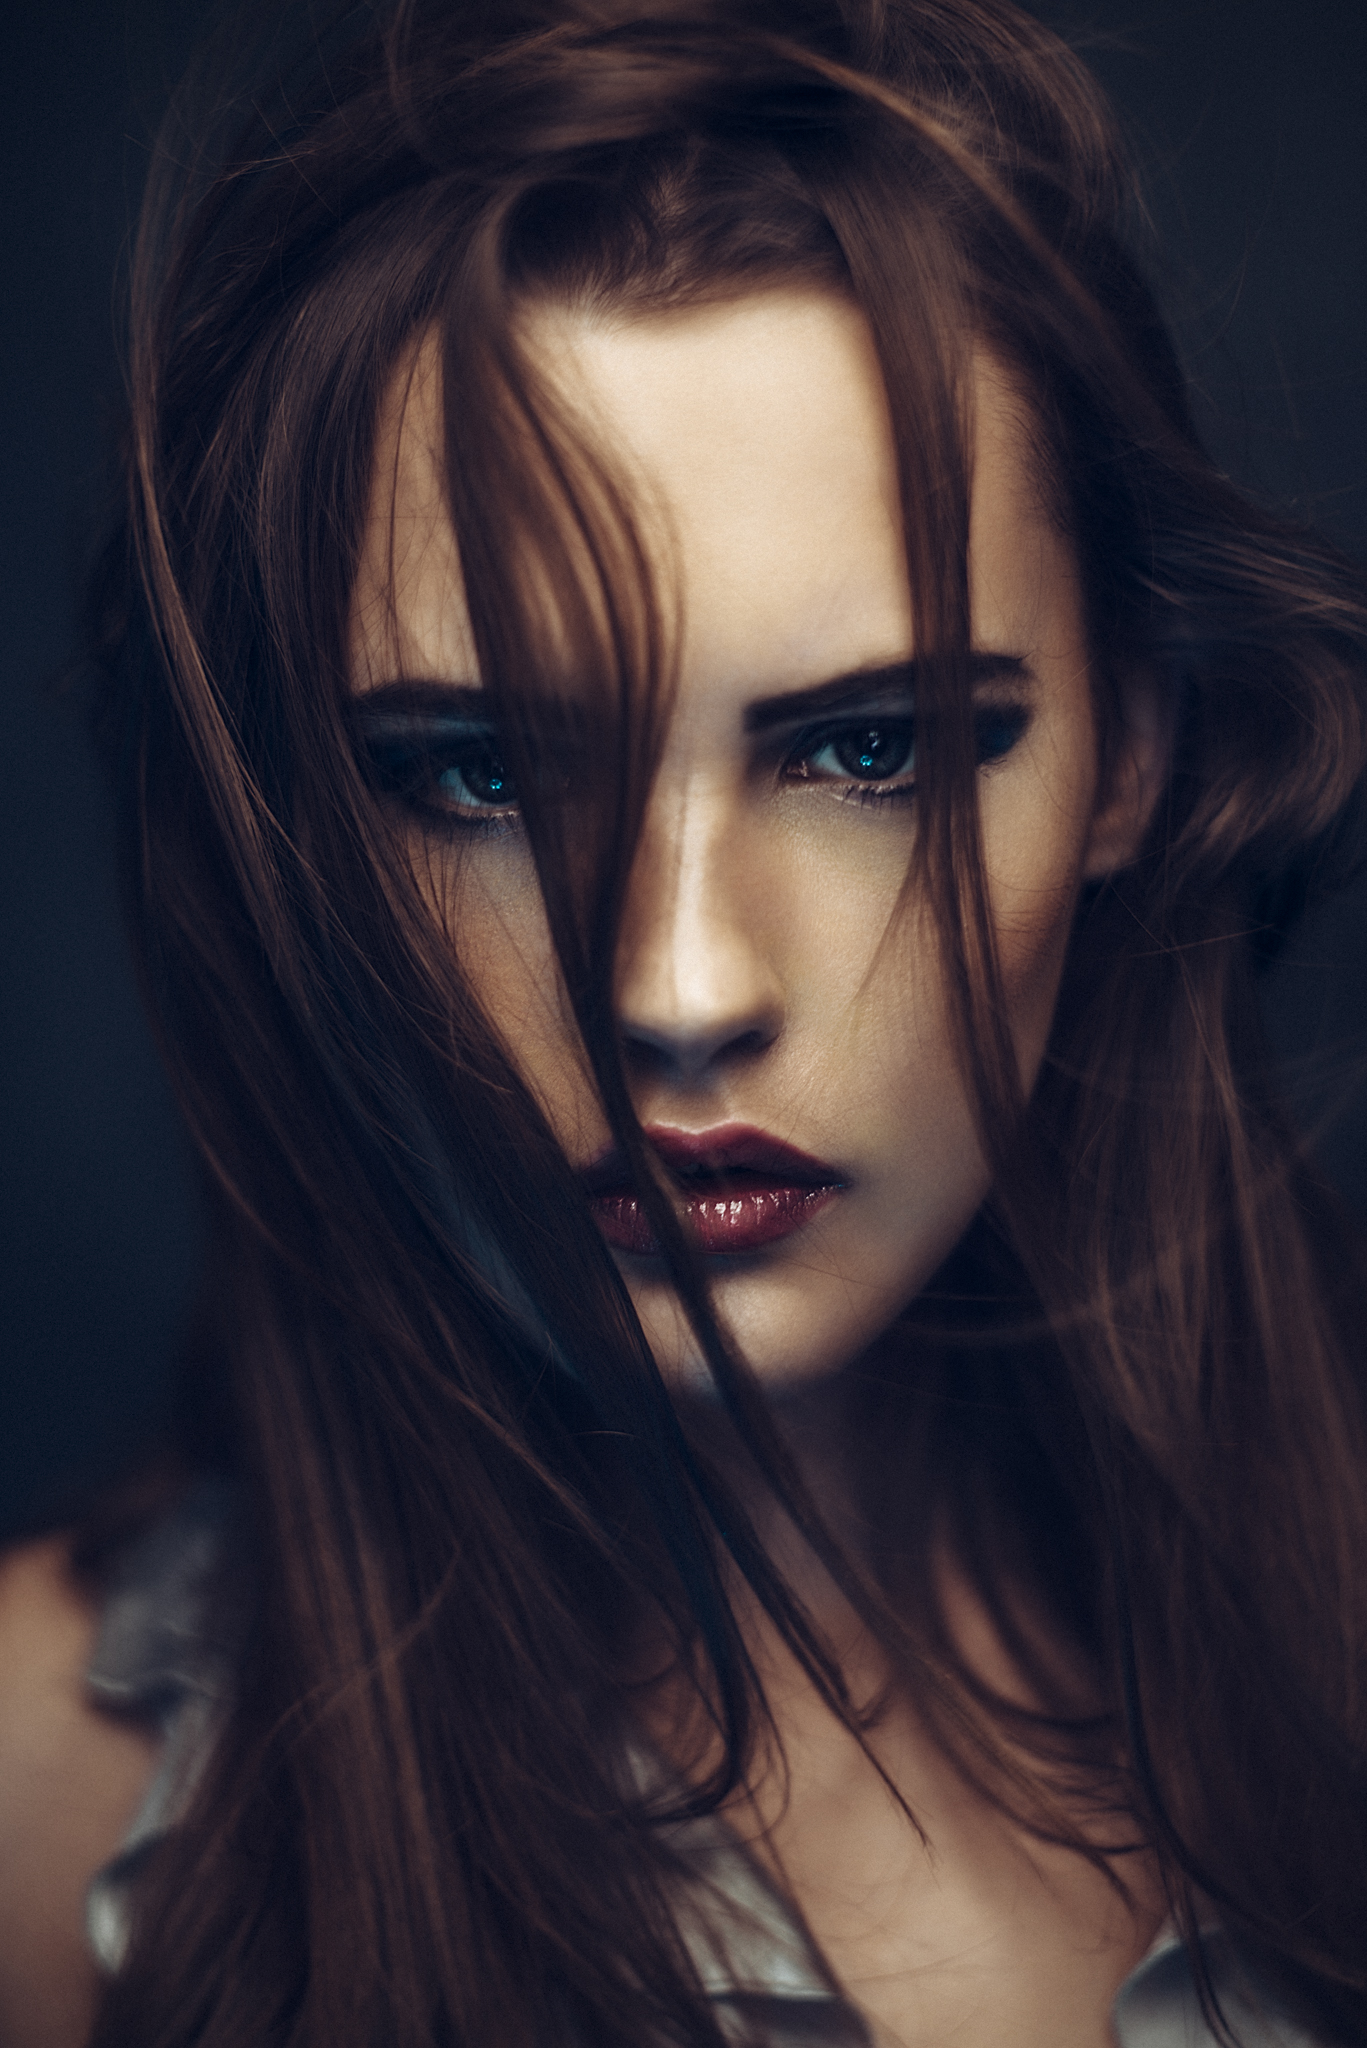
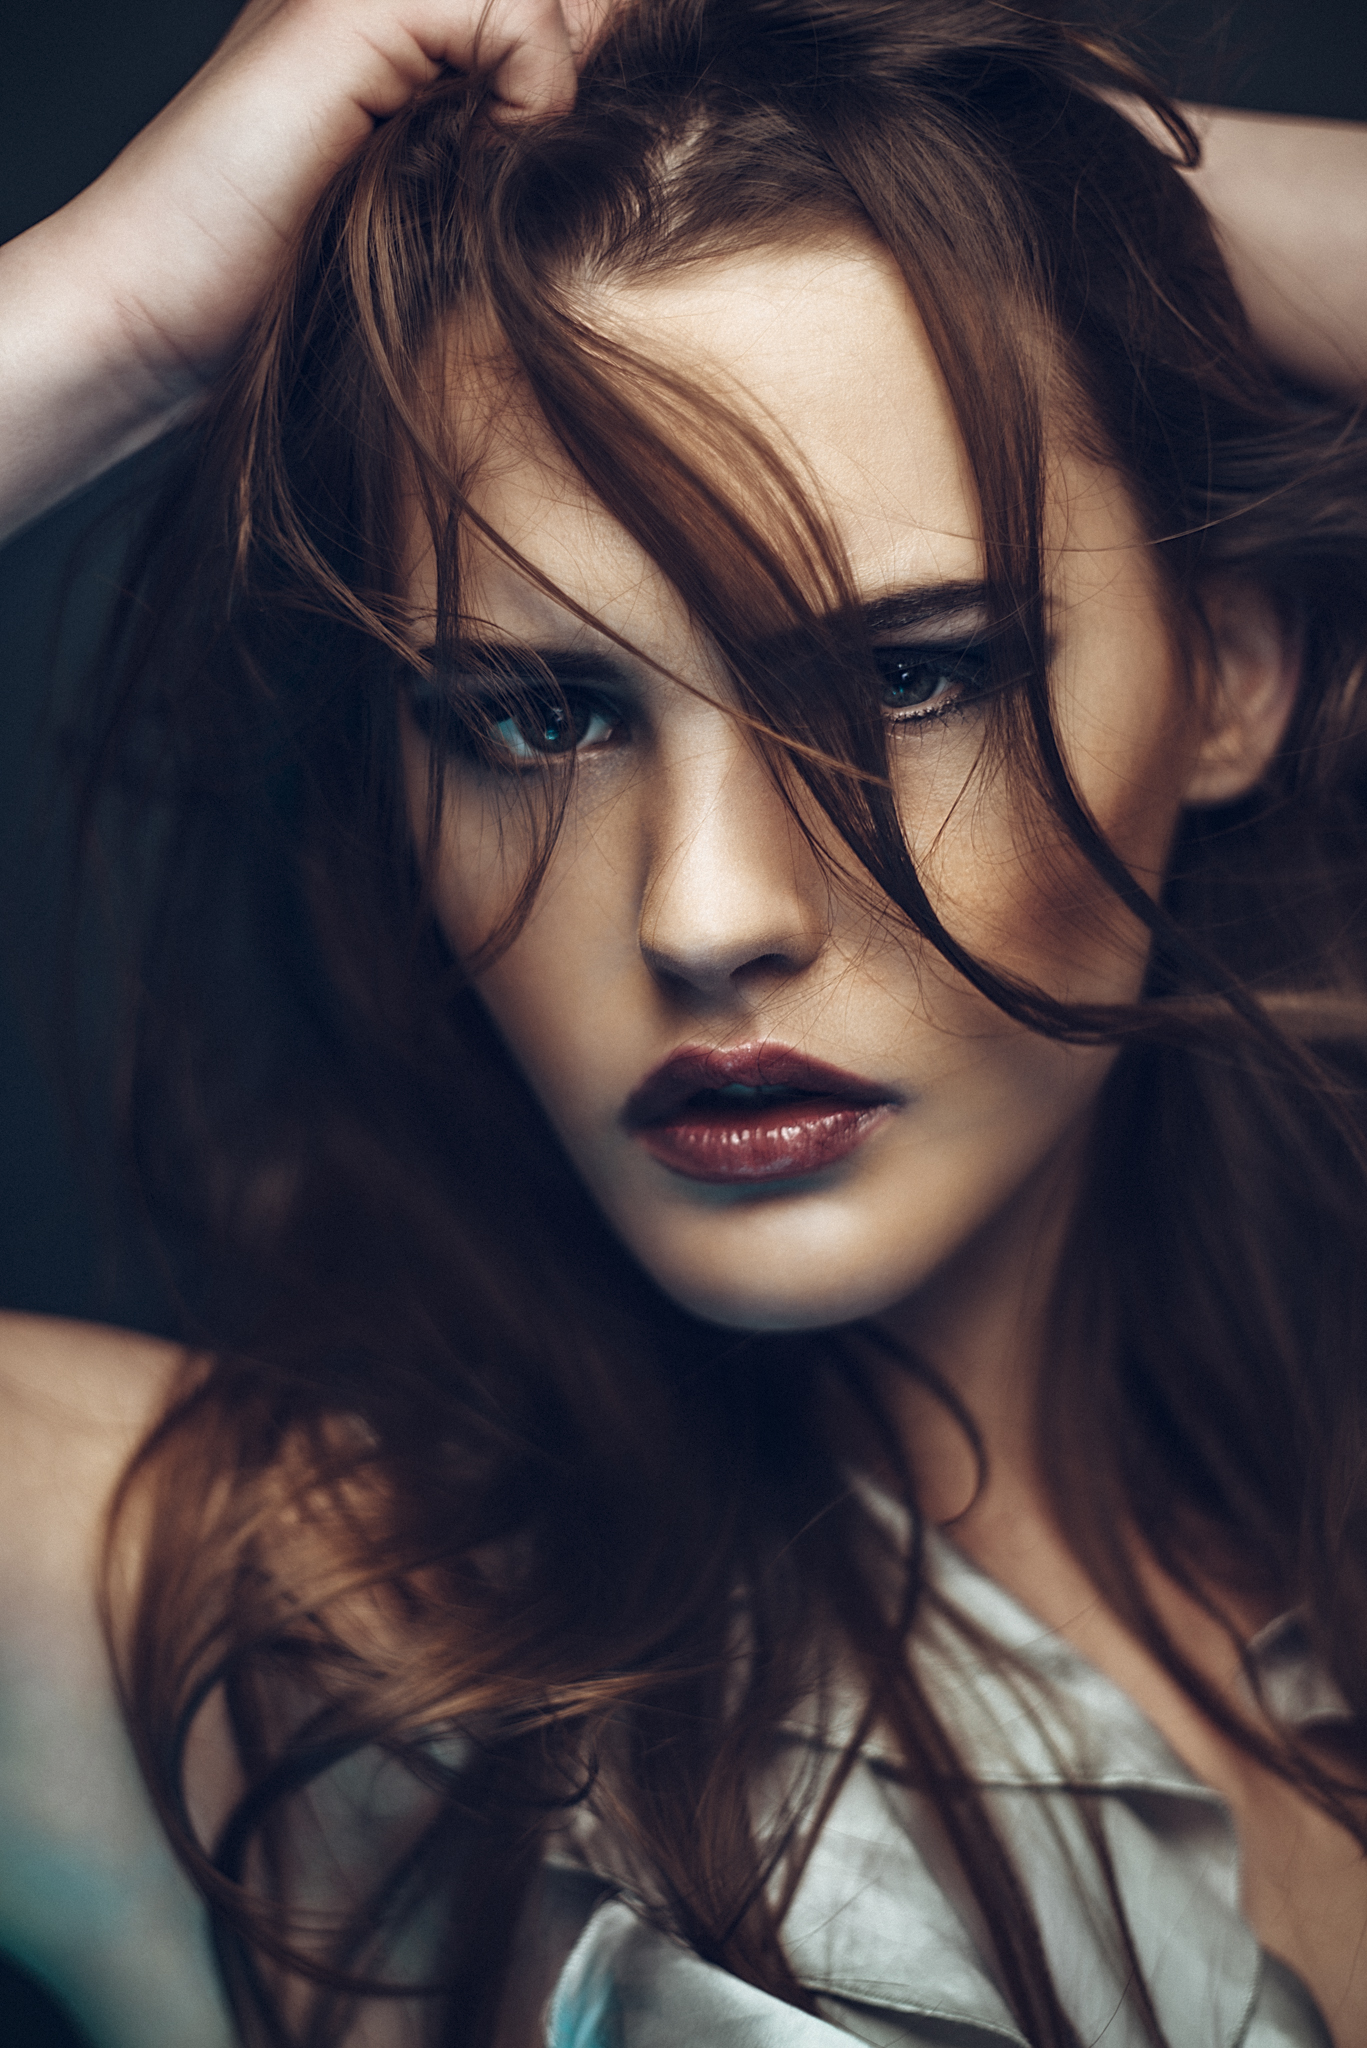
So lets look at the basic setup to begin with; the classic 'clam-shell' lighting technique. This particular setup that I've used here is a mutation of that fundamental light above, light below beauty lighting but with a few tweaks of my own. Firstly we have our beauty dish above the models head height and as directly in front of her as you can (more of the importance of that little technique here). Then we have a small softbox on the floor at her feet and that softbox has been gelled with a blue gel. More on the actual gel in a bit but for now lets concentrate on the lighting placement. From the diagram provided you should be able to see that both lights are very close to the model and that is done for a reason. Each lighting modifier we have does tend to have optimum performance ranges which is just a fancy way of saying they create 'better' looking light when placed at a specific distances to the subject. I'd like to point out that the basis of this article is not to debate what 'better' light is but for the sake of argument just go with me on this, its better.
My 22" Bowens beauty dish is usually placed about a metre away or just out of arms reach of the model (this is measurement value not a trust issue with the model ;) ). The 60cmx60cm square softbox is then placed at the base of that stand and angled up towards to the model. There will be more on the exact angle of the softbox in a moment but for now lets look at the gel placement.
Hilarious it may be, but cool it ain't. I've seen this in the past as a way of gelling a softbox. It fairness it seems logical enough and although it will colour some of the light that leaves it, it will be pale and washed out. Apart from that, this must have been a real pain to apply!
In the past I spent many years training in studios and I've seen some absolute cracking examples of gel placement on lights. From literally 'wrapping' the bulb to blu-tack to parcel tape, you name a sticky tape and people have tried attaching a gel to a light with it. Gels are pretty simple things and they don't need much for them to work properly but one of the fundamental factors in getting them to work correctly is to ensure they are completely covering the point of light they are trying to colour. There's no point covering some of the light or even most of it as any light that escapes un-gelled is going to ruin your desired tone and you'll end up with a washed out insipid version of your colour instead. I've seen people buying huge sheets of gels to try and cover the front of their softboxes and if you've got the resources then this is one way to go. A slightly simpler, cheaper and easier way to go though is to simply just gel the source.
The top images here show that I have only taped the gel inside my softbox on two sides. The resulting righthand side image is showing a paler, washed out colour that is very susceptible to being washed out even further by other lights in the setup. The image at the bottom shows the gel taped in completely on all four sides so that no white light is allowed to escape and wash out the desired colour resulting in a rich and highly saturated colour.
Pretty much every softbox I've ever seen has a removable front cover that can be removed to gain access to the inside of the softbox. With this front cover removed you can then also access the source of the light and its here where we need to gel. For myself I actually remove the modelling bulb altogether (when you're shooting digitally you don't really need the modelling bulbs on for every light), then I just tape the gel over the middle of the softbox ensuring its covering the entire flash tube. By using this technique you can use a far smaller and more cost effective sized sheet of gel. The gel sheet used here is 10"x12"/255mmx305mm which as luck would have it is exactly the same size as the gels I sell :D
It may also seem like 'overkill' but I tape all four sides of the gel in there too. This ensures that absolutely no white light escapes around the sides of the gel. Failing to do this will result in a washed out and desaturated colour.
This is a stopped down shot of the front of my 60cmx60cm softbox when the flash is fired. It clearly shows that the centre of it is brighter than the edges and this brighter centre point is referred to as the 'hotspot'.
Finally we move onto the refinement of our technique and now that we've gelled our softbox fill-light correctly it's here that we'll take a closer at the placement and power. Earlier I mentioned that the softbox is positioned at the base of the key light, thats fine but we need to take a closer look at the angle we point it at. With any setup that involves lights being this close to the subject you need to be very careful indeed about their positioning. Any monkey with a camera and a 6ft octabox can take a half decent picture and you certainly don't need a baccalaureate in the science of light to place it correctly. When we bring our lights in close to the model like this then its super easy to get ugly lighting super quick and we need to be aware of whats going on to avoid it. For the topic of this article I want to focus on the hotspots present in every light we use. Hotspots are created by every softbox whether they have an internal baffle or not and they are the result of the centre of the softbox being brighter than the edges. This isn't normally a problem when the softboxes are further away but when they're up close to the model like this they can create a few problems.
The image at the top displays the common and most obvious fill light placement with it being pointed directly at the models face. This creates an overpowering and often unflattering light due to the softboxes hotspot. The bottom image instead shows a softbox pointed at the models torso, allowing for a far more flattering light to fall onto the face.
So how do we overcome this issue of the hotspot in our softbox when using it this closely? Thankfully it's a simple solution and one that will produce the 'ah-ha' moment when implemented correctly. Before we continue though, remember that this is our fill-light, the lighting it produces is not supposed to be overtly seen in the shot. What I mean by this is that I always see people using fil-lights that are far to overpowering in the shot. Every image should have a single key-light and every other light should complement that light not fight for its attention. The point of this setup is not to scream 'hey check me out, I'm using a blue fill' but to add visual interest to a shot. Trust me theres a distinct difference and I wish I could morally show you work where people are failing to see this difference.
So because this is a fill-light we need to soften the light as much as possible and we do this by angling the fill-light down and point it at the models torso. In doing so we use the softest part of the light, and bathe the models face in a feathered softer edge light not the centre hard hot-spot. You actually have a lot more control of the light as well and you'll find that the blue isn't drowning out the key light anymore. It's also worth bearing in mind that this is really only effective for headshots and half-body shots but you can't shoot any lower than that anyway because otherwise you'd get see the physical light in the shot.
I know this seems simplistic but trust me this is what I mean when I say 'refining our lighting', all these things add up to a better than ok image. Next time you're doing a headshot, whether you're using a gel on the fill-light or not, think about where you're pointing it and try to angle it down more than you'd think.
Key Points to Remember:
1. Get those lights in nice and close to get a more 'sculpted' look. Just out of the models arms reach is a good place to start.
2. No need to cover the entire modifier in gels, just the actual light source itself. As long as the flash tube is covered, everything else is fine.
3. Make sure you completely cover the flash, not just most of it. Any gap in the gel will allow white light to escape and wash out the colour so tape the whole the thing down.
4. To make it easier to cover the flash with smaller gels, try removing the modelling bulb. This will allow the gel to sit right next to the flash tube thereby ensuring it's completely covered plus your gels won't decompose into coloured melted cheese.
5. Be wary of the hotspot on your fill-lights that are close to the model. All softboxes have hotspots so angle the fill-light down a little and feather the light hitting the models face to ensure a softer and more beautifying light.
Give it a go, share any results my way as I'd love to see them and by all means fire away any questions down below.
Model: Layla Leigh
Makeup Artist: Emma Cadec
If you'd like to get some coloured gels of your own to experiment with then you can always get the ones I use and I've specifically built packs of gels that I work with on all of my shoots. You can find out more here but in this setup I used the 'Rich Teal' colour from the 'Definitive Collection' gel pack. Jake Hicks Photography Gel Packs
If you're interested in refining your photographic skills even more and would like to know an absolute mountain of knowledge when using coloured gels you can always come along to one of my incredibly popular Jake Hicks Photography - Coloured Gel Lighting Workshop click on the link to find out more and check the availability.
Alternatively I also run complete post-pro workflow workshops where I go through absolutely everything I do to get my images magazine ready Jake Hicks Photography - Post Pro Workshop


