I’m often described as a ‘technical shooter’ or as a photographer who utilises ‘technical lighting’ and although I don’t mind the comparison, I think many people may be surprised at how often I like to simply improvise on set.
If you’re not sure what a technical shooter is, then it’s often used as a way to describe seemingly complex and purposefully accurate lighting. Think scores of lights on set all lighting a single headshot. This may seem overkill to some, but if done well, you shouldn’t even notice all the lights as they should all be complimenting each other, not fighting each other for attention.

Infamous Playboy photographer shares his 44-light setup and states, “I like to shoot with available light … or every light available.”
Technical Shooters
Arny Freytag
One technical shooter is the legendary Playboy photographer, Arny Freytag. Arny photographed hundreds of Playmates in the 70s and 80s and was famous for truly remarkable lighting setups that saw him using upwards of 50 lights to achieve his incredible looks. Many inexperienced photographers today argue that it was overkill to light like this, but you have to remember that photographers like Arny who were often shooting on large format film and at a time before Photoshop, had to get EVERYTHING right in-camera and Arny himself stated in an interview with Esquire magazine that
“It takes five days to shoot a centrefold. One crunched-up foot will ruin the picture.”
Jill Greenberg
Another slightly more modern example of a ‘technical shooter’, is Jill Greenberg. Many will recognise the very iconic ‘End Times’ images of the now infamous crying baby series. The technical lighting setup Jill used in these shots would subsequently go on to be one of the most copied and replicated lighting techniques in modern photography.

Jill continued to use this very successful lighting setup that consisted of upwards of 7+ lights, with animals, singers, athletes and a whole host of other celebrities and it served as her signature look for many, many years.
Side Note: Ironically, Jill herself adopted the nickname ‘The Manipulator’ in the early 2000s (if I recall, even her website was called, The Manipulator - somebody correct me if I’m wrong though) as at the time, she was seen as someone who heavily adopted post-production in her images. You have to remember that this was the early 2000s, a time when many pros were still working with film. Little did the critics know, this look would quickly become the norm. I find it funny that although Jill smartly leaned into the nickname, this supposed ‘heavy’ manipulation would ultimately not just be the norm, but expected. - it just took the rest of us a decade of ‘plastic skin’ before we got back to where Jill originally started it all. Regardless of the nickname though, Jill Greenberg’s foundational lighting from the early 2000s has always been outstanding and no matter the post-pro applied to them, the original shot was always exceptionally well crafted.

Jill Greenberg’s signature look for many, many years consisted of 7+ lights and is arguably still very technically challenging to achieve for many photographers today.
Jazz Lighting
Fast-forward to todays comparatively very post-pro heavy photography and nearly any photographer using more than 3 lights is deemed as ‘technical’. It’s a far-cry from the incredible lighting talents of the glamour photographers of the 80s, but some of my lighting setups that utilise 7 or 8 lights and a multitude of colours can certainly seem technical at first glance.
Yes, many of my shoots are meticulously planned well ahead of time and I’ll even get video and floor plans of properties to build the space in 3 dimensions to light it virtually before my arrival. This helps with kit-planning, crew allocation and most importantly time management on the day, but there are certainly many shoots where I love to be a little more organic and spontaneous with the look.
As I mentioned, planning is great, but just as talented jazz musicians don’t need or like to follow sheet music, many artists like to roll up their sleeves and simply start creating, especially when we’re working with other creatives like models on the day. Ultimately, it’s simply just fun to ‘play’ with your craft once in a while.
The Setup
So if this setup I’m sharing today isn’t what many would deem as overly contrived or ‘technical’, what do I mean when I say it’s “fun” to be freer and more creative with the lighting?
Of course, before we can have fun with this one, we need to have a foundational lighting setup in place first and from there I’m essentially trying various camera settings such as shutter speeds, various colours, holding things in front of the camera and mixing all of the above to get a far more unique and ultimately creative final image.
Bear with me on this one as it’s a very different approach to what I typically share, but I think you’ll learn an awful lot about your own photographic style if you give this somewhat creative setup a go for yourself.
The Foundation of the Look
Cut-Out & Keep
TL;DR/ADHD/Artist Setup Explanation
Have model stand against a white wall or backdrop
Place ‘Mirror-Tree’ off to one side
Position a hard light across from Mirror-Tree and point it back towards the mirrors
Place a large light source behind you and colour it to your liking
Finally, angle the mirrors to bounce spots of light back onto the model
Kit Used
1x Rotolight AEOS 2 Pro
1x R120 Parabolic attached to the AEOS
Godox SZ150R
Godox Spotlight
White Backdrop
1x Mirror-Tree ( see below for details)
Multiple Gels
Multiple Lens Filters
Camera Settings
Camera - Nikon D850
Lens - AF DC-Nikkor 105mm
Shutter Speed - 1/15th to 1/50th
Aperture - f2
ISO - 30 to 64
Kelvin - 4300K to 4900K
Focal Length - 105mm
The Results
Click to enlarge any of the shots below.
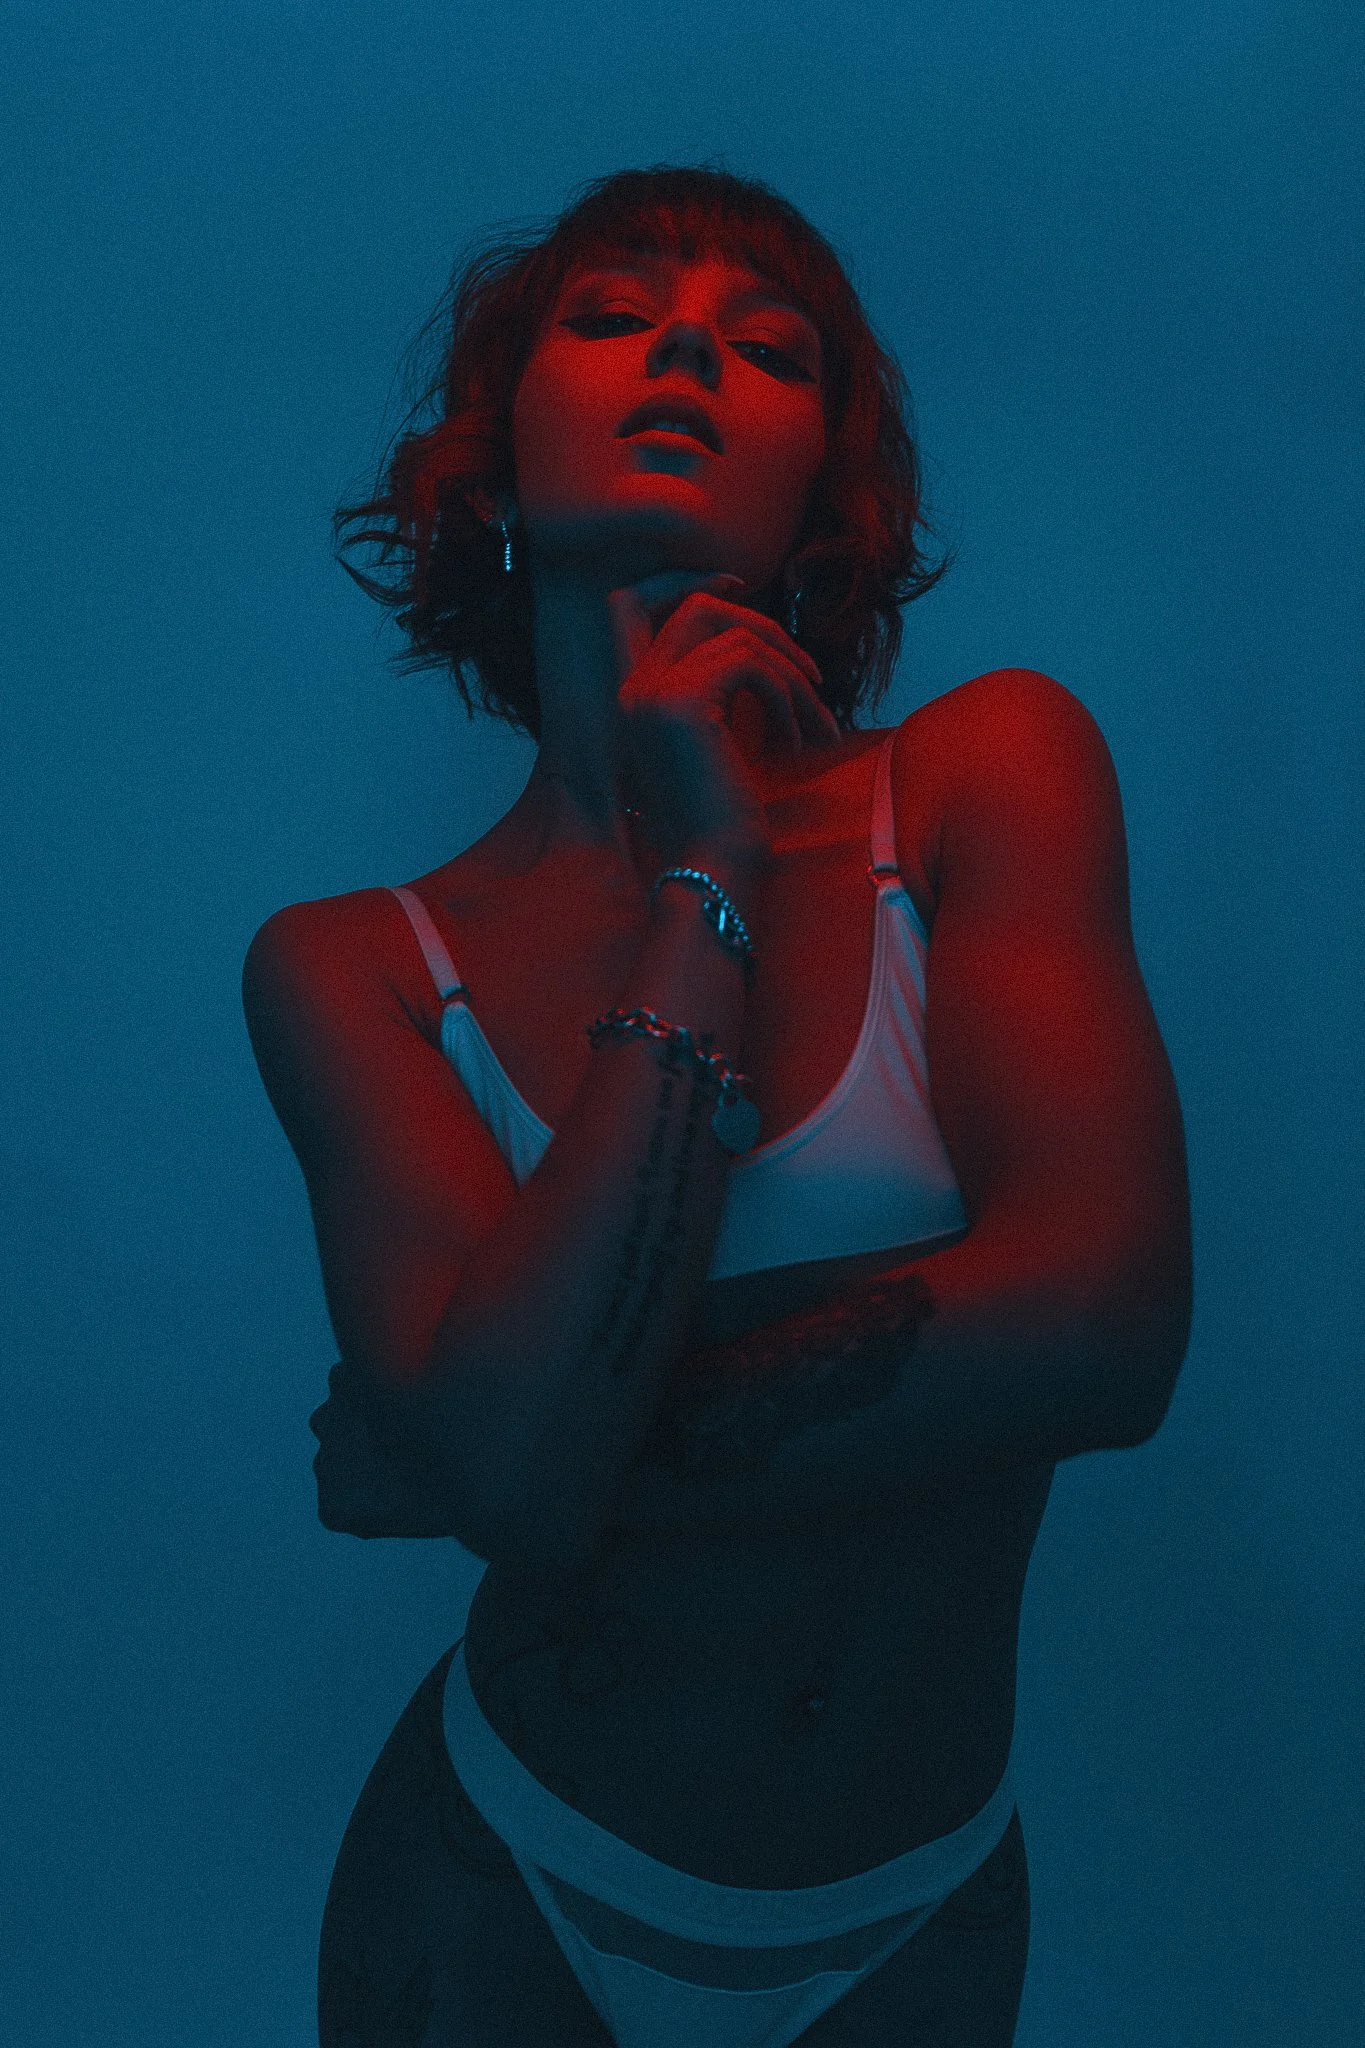
Model: Irina Ludosanu
Breaking it Down
The Mirror-Tree
The core of this setup revolves around the ‘Mirror-Tree’ (patent pending) that I made for the shoot. I’m sure it’s fairly self-explanatory to many of you, but essentially it consists of 5 mirrors attached to ‘Magic-Arms’ (highly adjustable and articulated arms) which in turn are attached to a light stand via crab-clamps.
Click on any of the images below to fit them to your screen.
Items Used
I opted for the Magic-Arms so as to manipulate the attached mirrors in any way I wanted and hold them there. This may seem like overkill to some and yes, you can attach a mirror to anything or even get a couple of people to hold them instead.

At the time I paid around £50 for 5 of these, but you may have to hunt around for a deal or enquire about a bulk purchase offer like I did.
Next, I needed some mirrors to attach to the ends of the arms and thankfully these are very cheap. I opted for the acrylic ones as they were inexpensive, plus they are indistinguishable from glass ones these days and of course, they’re far lighter and less likely to break if dropped. I bought several in a multitude of sizes, but ultimately on the day I kept the smaller 75mmx75mm ones in both the square and round versions attached. These smaller mirrors proved not only easier to manipulate on the arms but their smaller size also meant they weren't getting in the way of each other's reflected light.

I opted for the smaller mirrors like these 75mm round and square ones.
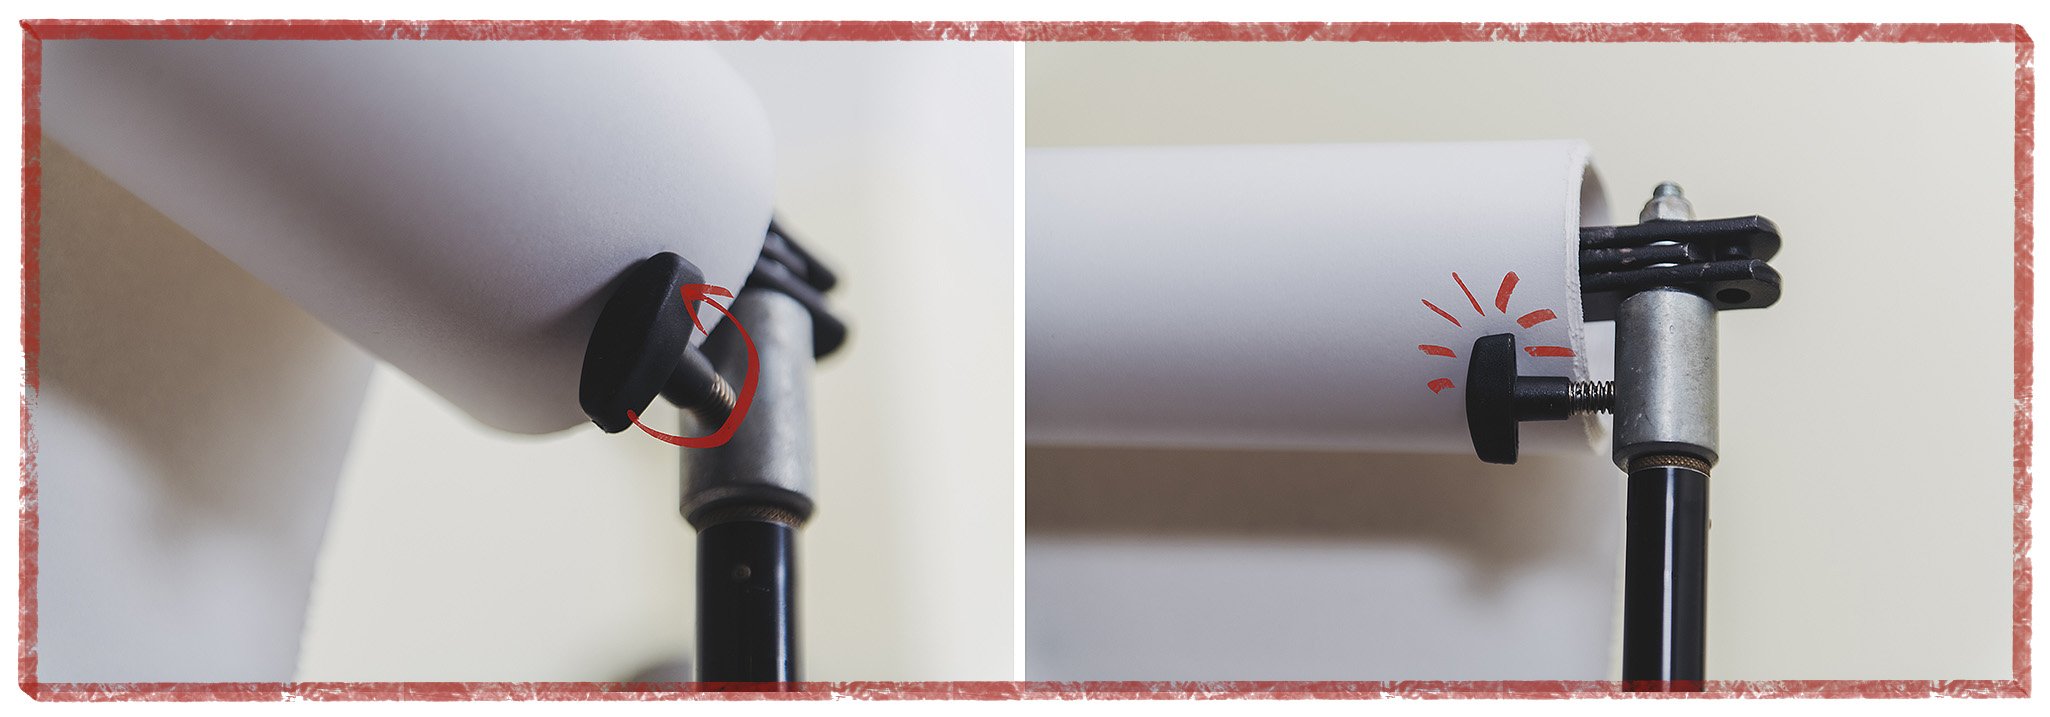
Tip for attaching the mirrors
One final tip on the items I used, is of course how I actually attached the mirrors to the Magic-Arms. I simply used blu-tac (malleable sticky putty) to do so and one thing I was actively looking for when purchasing the Magic-Arms, was if they came with the hot-shoe mounts. If you’re not sure what they are, then they’re the flat plates that slot into the hot-shoe on top of your camera and it's these flat plates that I was looking for as they were a perfect surface to securely attach the blu-tac and ultimately the mirrors.
I’m sure there are plenty of alternative ways to secure the mirrors to the Magic-Arms and if you want a more solid attachment, hot-glue or even something like Araldite will give you a very secure bond. I just wanted to use the magic-arms for other purposes after this shoot so the blu-tac was a good enough solution in the short-term.
Getting Creative
At its core, this setup is super-simple right? 2 lights and a couple of fairly standard modifiers. Sure I’m using some fancy lights and modifiers here, but a cheap umbrella and snoot would also work too. Plus, this is a setup that can be done in a small space and even with speedlights. There is nothing technical going on here and the unique x-factor of this setup is simply a reliance on your ability to ‘play’ with the light. How can we take what we have here and add some depth, interest and visual magic to the shot?
Adding Colour
One of the easiest ways to get a bunch of unique looks really quickly is to play with the colours. In my setup, I opted to start with a simple light blue as my base light and this is the colour that was on my large light source. Yes, I was using a Rotolight AEOS 2 Pro which has millions of colours instantly available, but a gel on a large umbrella will also work.
The next part is to add more and varied colours to the scene and the easiest way to do this is by placing coloured gels over the mirrors on the Mirror-Tree.
Remember: We only have ONE key light, but each mirror is essentially reflecting its own separate and individual light back onto the model. It’s because of this that it appears as if we have 5 separate lights on the subject. We need to plan our set with this in mind and colour or adjust each mirror as such. - For example, we could put 5 separate coloured gels on each of the 5 separate mirrors if we really wanted.
In the above BTS image taken on the day, you can see that I have a variety of gels clipped and hanging from various mirrors. More importantly though, you can also see how those mirrors and gels are reflecting that light back onto the background. Note the Spotlight in the very top-left of frame too as it’s this light that is pointed at the Mirror-Tree and ultimately being reflected back onto the background.
You can see via the example images above that I used a variety of gels and coloured background light to get a whole host of variety very quickly. Don’t just stick to gels though and really anything translucent can create a cool effect. The fun part is playing with anything and everything on the day to see what works. Can you now start to see where the spontaneous aspect of this shoot is coming from.?
Pro-Tip: Be sure to experiment with not covering the mirrors entirely. You can see in the shots above that I have slices of gels covering some mirrors and some mirrors don’t even have anything covering them. This is to allow slivers of white light to be bounced back and this can help to add even more depth to the final image. Again though, feel free to experiment with this to get the results you want.
Lastly, I appreciate I’m in a fortunate position with my gels. I’ve been shooting for a very long time and I have tons of off-cuts and old gels covered in crappy tape dotted about the studio. These scraps of gels are perfect for this shoot as I only want parts of them covering certain mirrors anyway. If you don’t fancy cutting up your precious gels just yet, consider getting some cheaper alternatives.
A quick search online via the typical evil mega-corps will yield the results you’re after and for just a few quid you can get a ton of varied faux-coloured gels. Just try searching, ‘coloured cellophane’ and you’ll get what you’re after. And no, before you ask, these aren’t good enough to use as actual gels on your lights. They’re simply too flimsy and thin, resulting in insipid colours when pumping a lot of light through them…. although I know I’ll receive messages from people saying “I’ve used these ‘sweet wrappers’ for years and they’re absolutely fine”. - You know we can see your photos, right?
Adding In-Camera Atmosphere
I’ve spoken about lens filters countless times over the years so it should come as no surprise that I used them on this shoot too. As I’m sure you’re all aware, there are scores of great lens filters available that will give you a variety of effects, but here are a few that I tried on the day.
Many filters tend to work best when they have bright points of light coming back to the camera. In the example above, you can see how the highlights from the jewellery are creating those glowing blooms of light thanks to the lens filter.
I predominantly used the Prism FX ‘Dream FX’ Filter. This doesn’t create a look that’s too dominating and tends to give a slight glow to the edges of bright highlights. If you’re after an alternative, then I’ve made a decent DIY version for a few quid too and that works very well if you just want to play with the idea. Other filters to try are something along the lines of a Bloom filter, Low Contrast filters like the Black Pro Mist or even more extreme filters like a Flare FX or Chromatic Flare FX. If you’re after some links to any of these, then I’ll provide a couple below. One of my reviews showcases a bunch of them, along with a link to my DIY Diffusion Filter.

A look at what a bunch of lens filters actually do via my review.

A very cheap DIY alternative to diffusion filters.
Incorporating Movement
The movement aspect of the images may be the most divisive one as it asks you to break the golden rule of photography by encouraging you to keep the blurry ones! I know crazy, right? What year is this? 1999?
For many of you with expensive cameras, this may be a creative step too far, but I would urge you to break a few rules here and allow for a little spontaneity to creep into the photoshoot just this once. I’m being overly cheeky and I apologise, but you’d be surprised at how hard this next bit is for some. I am of course referring to the shift to very slow shutter speeds that allow for not only your camera movement to be shown in the image, but the model’s movement too.
In the example images above you can see a couple of different shutter speeds being used. For the entirety of the shoot, I never went faster than 1/50th of a second as I found this is sharp enough, whilst still allowing the images to not be overly sharp. It’s also worth noting that these are all from a very sharp 105mm prime lens too.
The other main shutter speed I played with, was 1/15th of a second. For many, this is heresy, I get it, but I can’t deny I like the visual energy many of these shots have thanks to that slower shutter speed. It’s also worth noting how different the two 1/15th images above are. One is almost perfectly still and the other has a huge amount of movement. Remember that whatever the shutter speed you choose, it’s not only how much you’re moving that affects the image, but how much the model is moving too. If those two things are moving in opposite directions, you’ll quickly get a lot of motion in the image so just keep this in mind.
LED Vs. Flash
I’d be remiss if I didn’t also point out the obvious here, but remember, I’m using LED lighting in all of my shots. That means I’m able to adjust my shutter speeds to get various movement looks. Yes, I’m compensating for this shutter speed change by also dropping my ISO, but this movement look simply isn’t possible with flash as no matter what shutter speed you chose, the images will always be frozen by the flash. You shouldn’t let the fact that you only have flash deter you from playing with this setup though and you could even try to make it work with your modelling bulbs, I’ve just personally been enjoying playing with shutter speeds again since I started to use LEDs and it’s something for you to consider in the future.

Closing Comments
If you’re a long-time follower of mine, this lighting setup may seem even more abstract than normal. Yes, I absolutely love to nerd-out with lighting and I really do love nothing more than pulling off a very creative and technical lighting setup where everything slots into place and a shot practically jumps off of the page at you. But sometimes it’s just as much fun to empty out all the crayons and simply play with the light.
I appreciate I may be minimising what’s actually going on in these shots and calling it ‘playing’ may be a little overly simplistic. After all, I wouldn’t necessarily say a jazz musician is just 'playing around' when they’re riffing with a melody. That said, it really is a lot of fun to shoot like this and I’d encourage you to ‘play’ with it if you can.
Don’t worry about the ‘perfect’ shot. Don’t worry if the eyes aren’t perfectly sharp or the colours aren’t perfectly harmonised. Don’t worry if the model isn’t making the perfect expression or if the shot isn’t perfectly composed. Allow yourself to be led by the scene as it unfolds and never be afraid to try something out, even if it seems crazy and especially try it out if you’ve never done it before.
This is a great exercise in letting go of the rules for a moment and I think you’ll learn an absolute ton about your own style while you’re doing so. Plus, you never know what might catch your eye or what happy accident may come from working like this. Have fun and Good luck.
Products Used
Rotolight
Although I am sharing my own personal thoughts and findings about the lights mentioned in this article, many of you will want to know that I am now a ‘Master of Light’ for Rotolight. As such, I have been given a discount code to share with you when purchasing any of their products via the Rotolight website. Use my code ‘JAKEHICKS10’ when purchasing and you’ll save a bunch of money. I’ve never earned a penny of commission on this though, so if you find a better deal elsewhere, go for it.

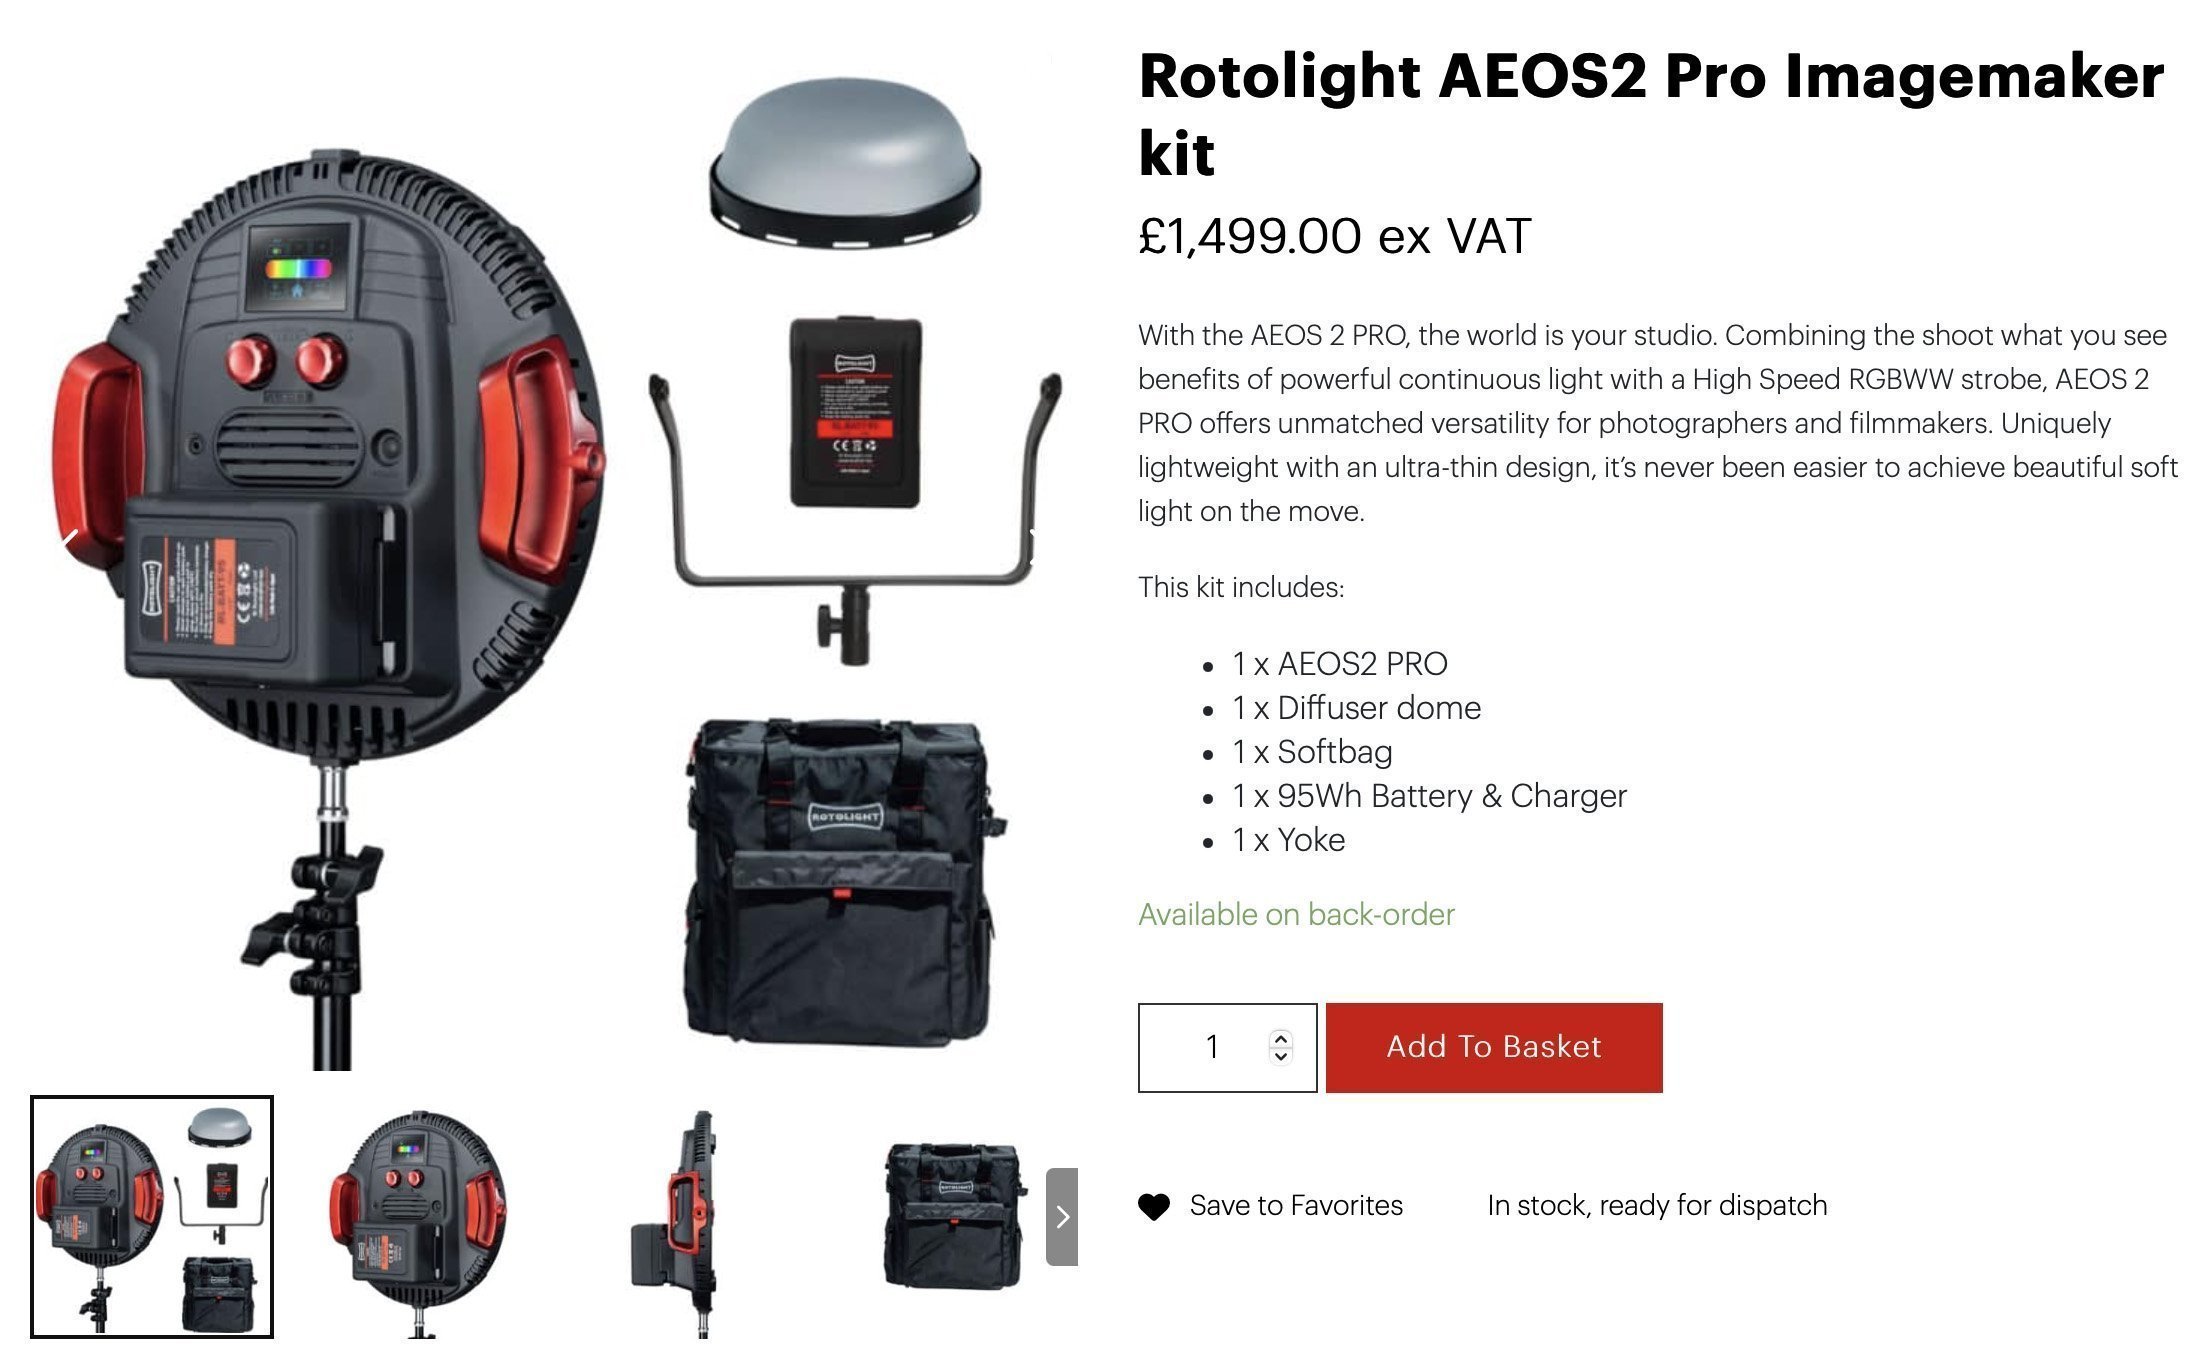
Rotolight AEOS 2 PRO
With the AEOS 2 PRO, the world is your studio. Combining the shoot what you see benefits of powerful continuous light with a High Speed RGBWW strobe, AEOS 2 PRO offers unmatched versatility for photographers and filmmakers. Uniquely lightweight with an ultra-thin design, it’s never been easier to achieve beautiful soft light on the move.

Rotolight R120 Sofbox
A softbox is pretty much a must-have piece of kit for any studio shooter, so if you own any AEOS 2/Pros, this is certainly worth taking a look at. It comes with internal baffles as well as the eggcrate grid on the front. Plus, it has 16 sides making this an incredibly round and clean light source.
PixaPro
Please note that I’ve included affiliate links below for PixaPro and I will benefit (albeit minimally) from the sales of any of these products should you purchase them. To that end, please feel free to use my discount code ‘HICK5-OFF’ at Essential Photo to receive a discount on any purchase via their site.
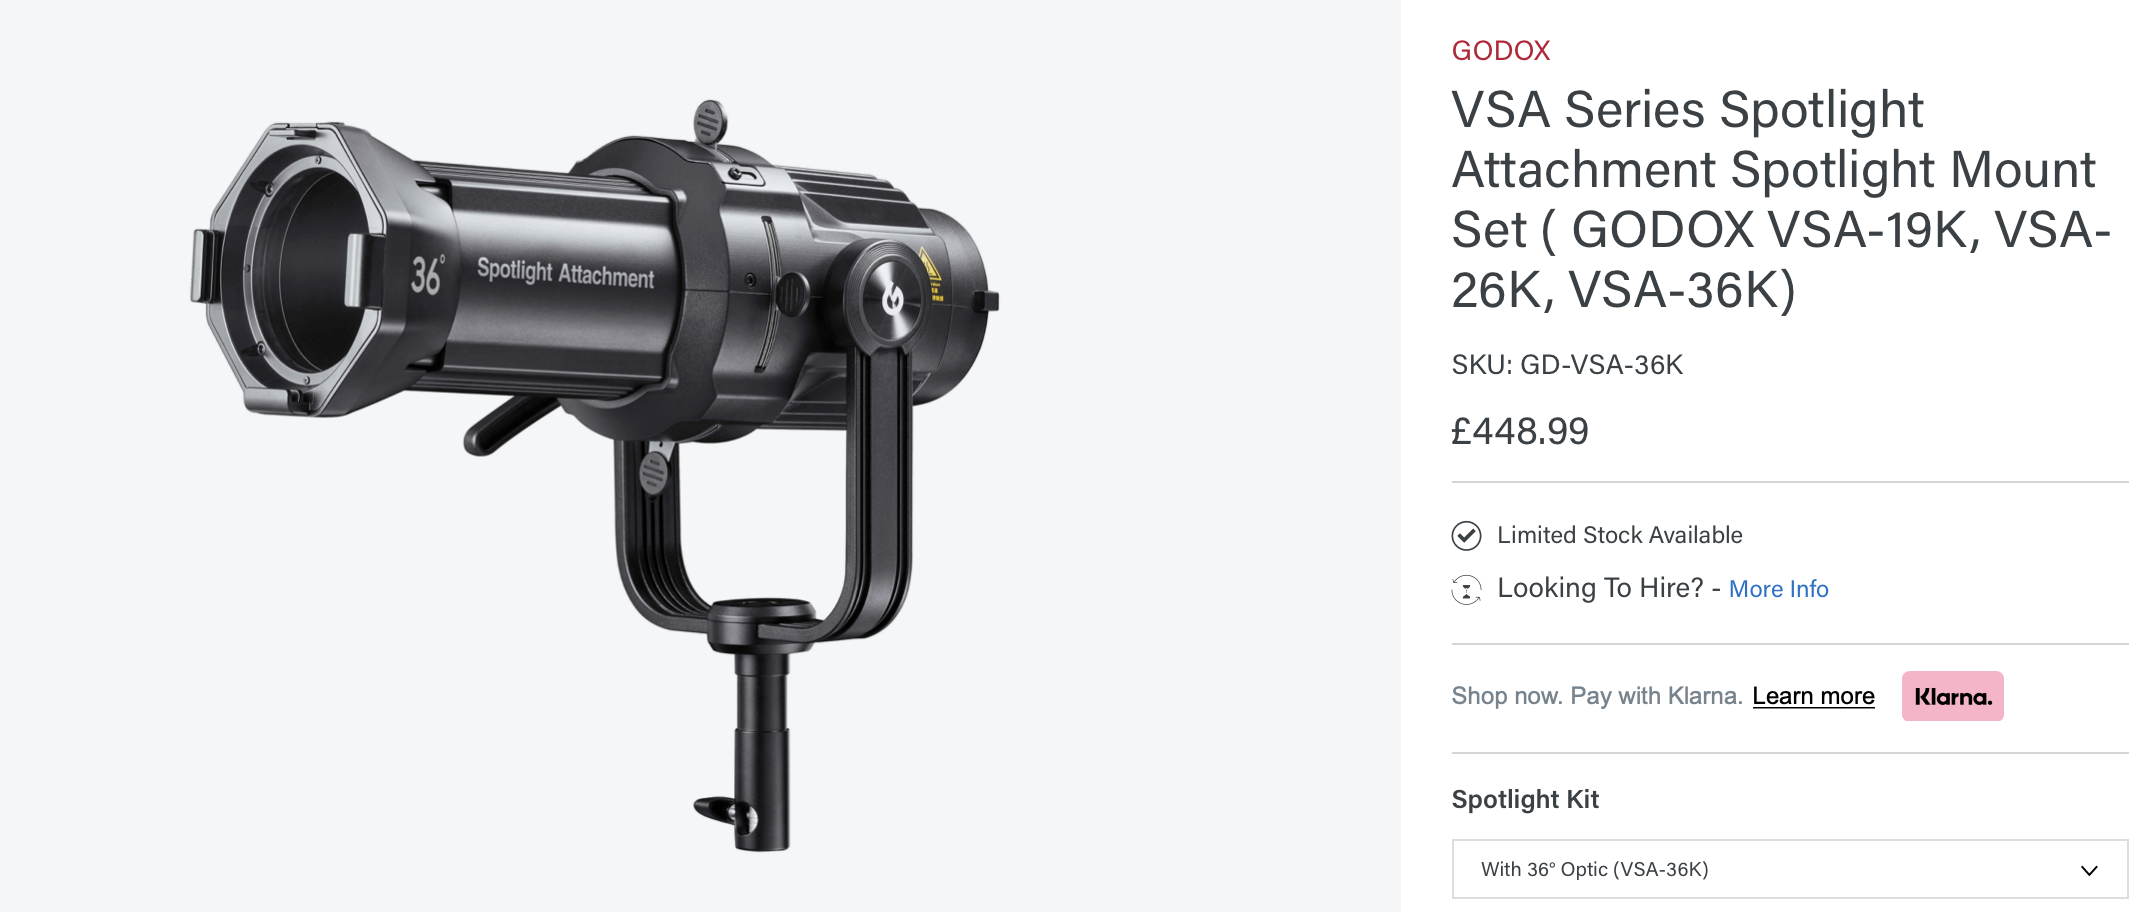
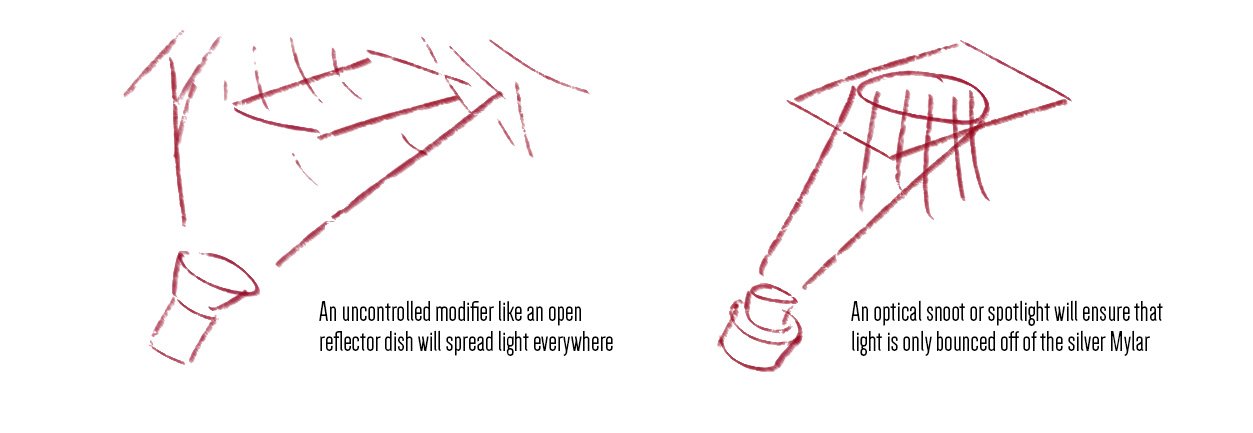
Godox Spotlight
S-fit spotlight that can be very finely controlled via inbuilt blades or via a range of Gobos. Due to the large lens at the front, this modifier can also produce some of the hardest-looking light available.
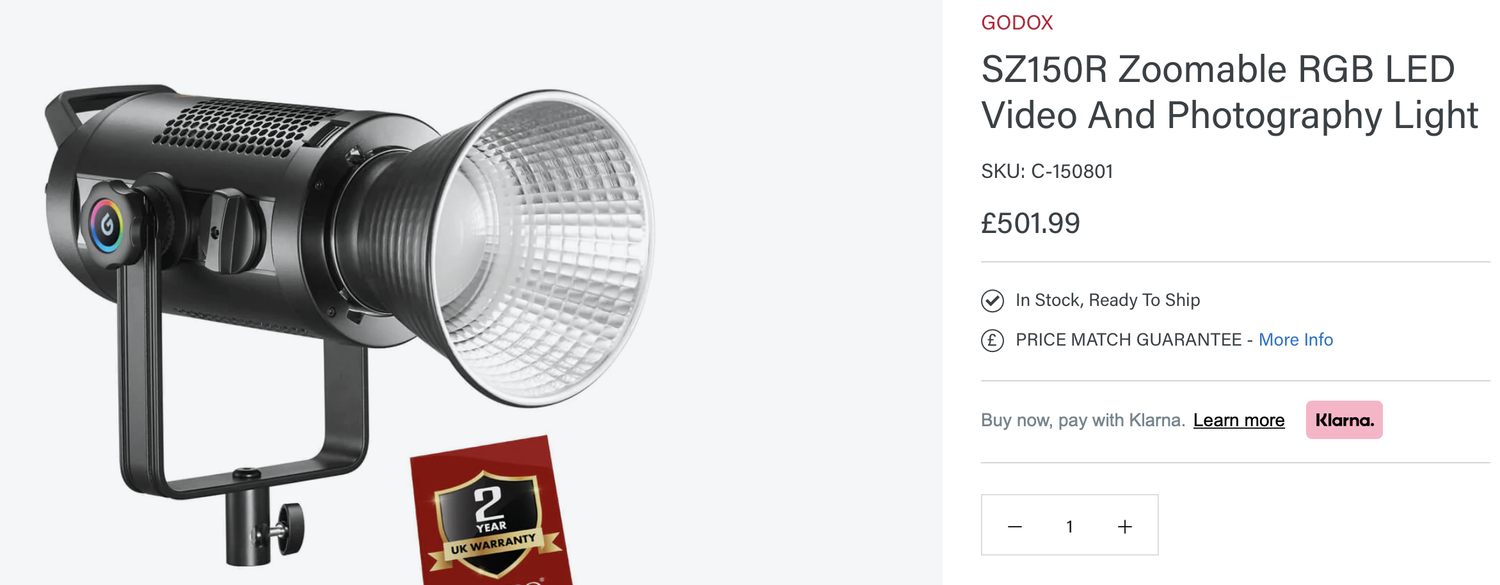
Godox SZ150R
Essentially this is an LED studio strobe. You can use it with any S-Fit modifiers like beauty dish and softbox you already own, plus you can also change this to any colour and any Kelvin you’d like. It’s only 150 watts though, so you will want to use this in a controlled studio environment.
I mentioned this earlier and although I’m using all the fancy kit here, this setup certainly doesn’t require it. One example of this is the Godox Spotlight and as much as I love this incredible modifier, I used the basic version of this, the optical snoot, for many years. If you’re interested in either of these then take a look at my reviews to see just what’s possible with them.

The Optical Snoot is very affordable and can offer a lot of very unique and creative possibilities.

If you’re keen to start taking studio photography seriously, I cannot recommend this modifier highly enough.

JHP Livestreams…
I livestream every other Tuesday night via YouTube and there I answer your questions, critique your shots, take community images into Photoshop to work on them and discuss all manner of lighting tips and techniques. I look forward to seeing you and your work there real soon. Jake Hicks Photography - YouTube