I'm as interested in an 'easy life' as much as the next person, so if somebody else has already done the hard work of making a product for me, and I can purchase it for a reasonable price, I'm all over it. After all why make life hard for yourself if you don't have too. Unfortunately there are times when you literally can't purchase what you need and the only option is to get all arts-and-crafts on the problem!
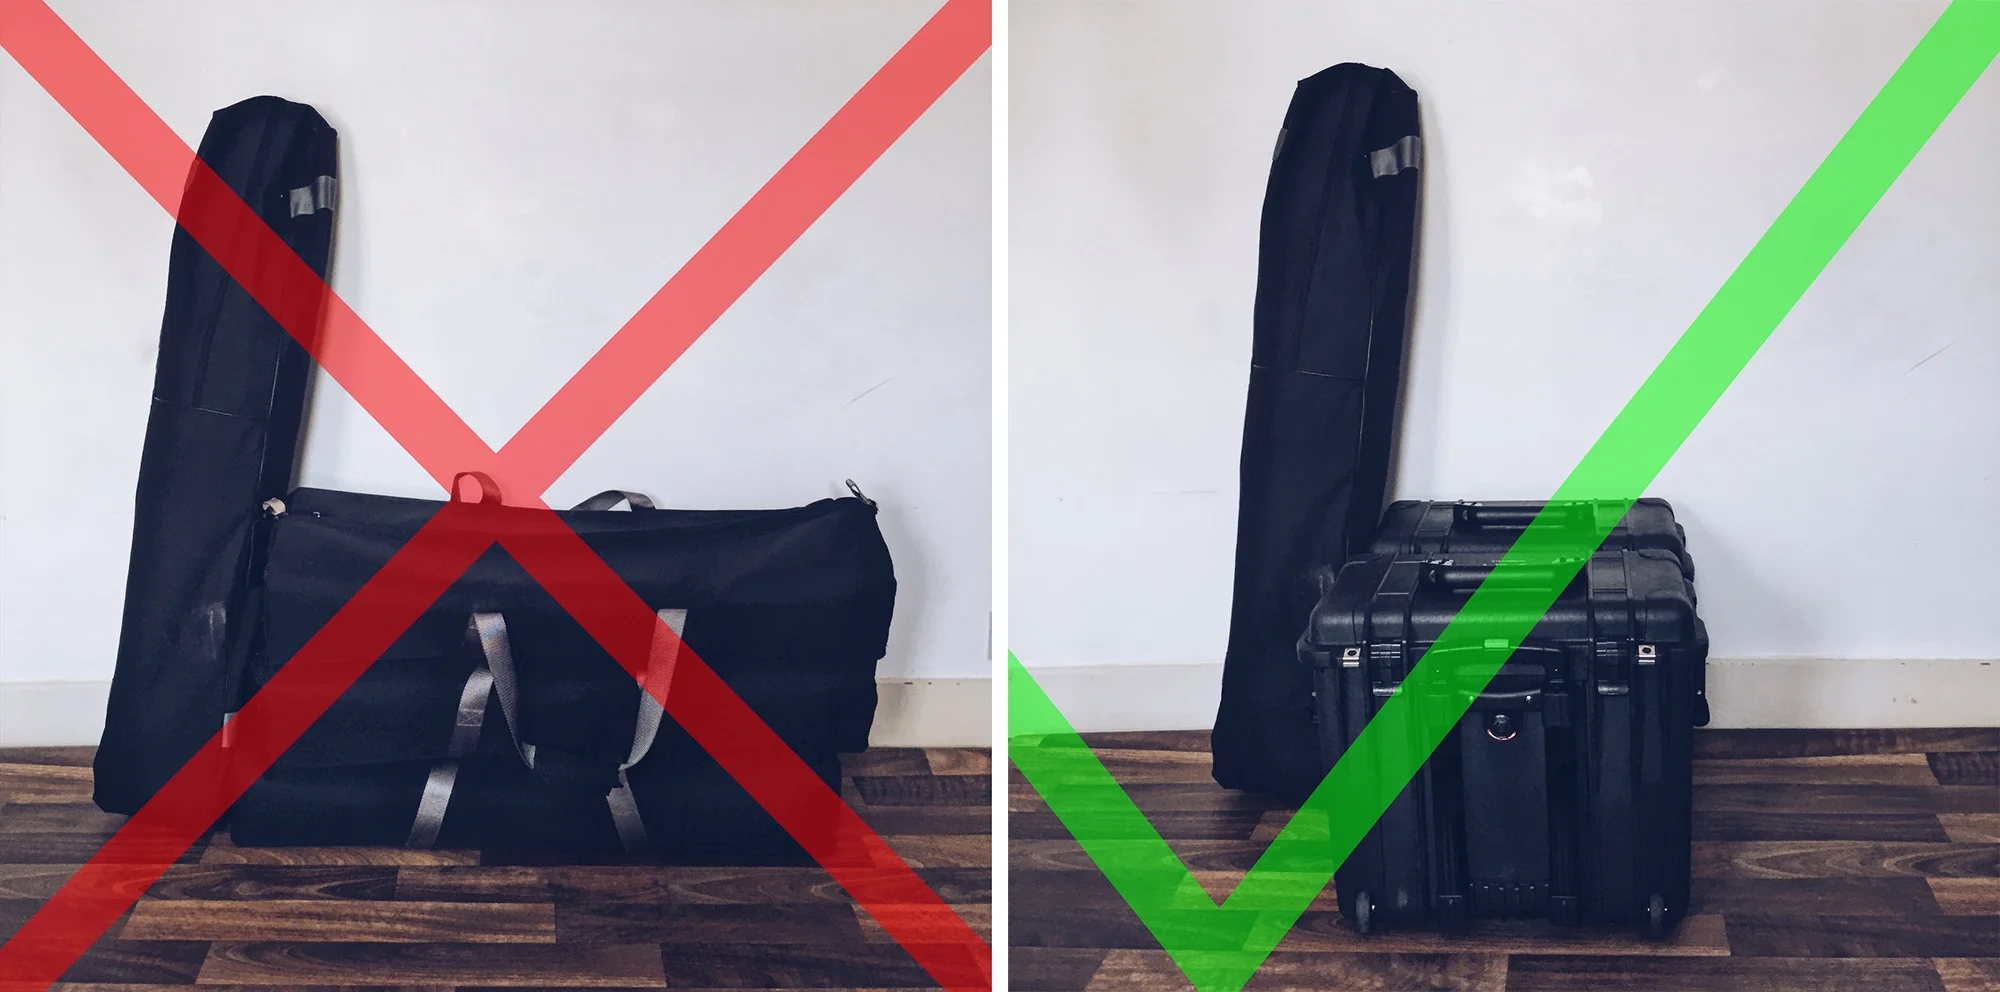
I finally got around to upgrading my old long soft-bags to the Peli hard cases. Unfortunately I couldn't find quote the case dividers I needed...
I recently decided to upgrade my flash-head carrying bags from the old, long, soft and cumbersome kit bags to the sleek, compact and robust Peli cases. These new 1440 Peli cases hold three of my strobes upright, side-by-side. This upgrade not only offers me far more protection on the heads but it also makes it a lot easier to transport them with their wheels. But although they fit my three strobes perfectly, I needed some way of separating them inside to avoid them bashing against one another in transit. Thankfully Peli does offer many varying solutions to this problem including foam and of course their own standard dividers but alas they did not have the correct inserts for what I needed for separating the lights and I would have had to remove too much foam for it to be effective. There is one other option as well for all you Peli case fans and that's the TrekPak dividers. I love the simplistic nature of these but unfortunately TrekPak don't make them for the size Peli case I have :(
'If you can't buy it, build it.'
So when money can't help you, the only option is to make your own dividers and thankfully it's actually pretty easy. This quick tutorial is for making dividers for my Peli case but exactly the same thing can be applied to smaller soft camera bags too.

What you will need
- Fairly stiff Cardboard
- High density foam (not as tricky to find as you might think)
- Sharp craft knife
- Metal ruler to cut straight lines
- Tape measure to ......measure stuff
- Your preferred fabric (I personally used Nylon and that's what I would recommend)
- Velcro strips (preferably with self adhesive sticky-backs)
- Needle and thread (This is the worst part but bear with me)
- Stapler (optional)
Cardboard
I shouldn't need to explain this one I'm sure but if you're stuck, just stack up two or three layers of cereal box cardboard to make one thicker piece. The cardboard is only there to offer additional support and is sandwiched between two pieces of foam. So don't worry, it will be completely hidden and nobody will ever know that you still love Lucky Charms.

High Density Foam
Like I mentioned before, this is actually really easy to get a hold of via sites like eBay who will sell it to you in small quantities. Here's a link to the one I used 60"x20" High Density Foam. Mine cost around £4.85 and it was the thinnest foam at a quarter of an inch thick.

Fabric
This is something that you'll need to decide for yourself but my recommendation is the Nylon. This fabric is essentially made of lots of interlinked plastic threads that means its harder to tear or rip as soon as you cut into it like other fabrics. This is very useful for us as we'll be making lots of thread holes close to its edges, so unless you're a master seamstress it just makes our lives a lot easier. Here's link to the sheet I got; 4oz Waterproof Black PU Coated Nylon Fabric. I bought a metre of this black fabric for around £3.75 but you can obviously get whatever colour you'd prefer to match you specific bag.

Velcro
This is that 'hook & loop' stuff that makes all the noise. You'll need enough of it for the size of the project you wish attempt but I got a metre of it for £1.19. You're looking for the 'hook' part though as nearly all camera cases and bags have the 'loop' part as their lining, meaning that you can place your dividers anywhere inside. Here's a link to the strip I bought; 1m 20mm Black Self Adhesive Hook & Loop Fastening. Whatever you decide to go for it would be my recommendation that you get the self adhesive ones as again this will make your life a lot easier. The sticky side is the one covered in the white strip on one side in the picture.
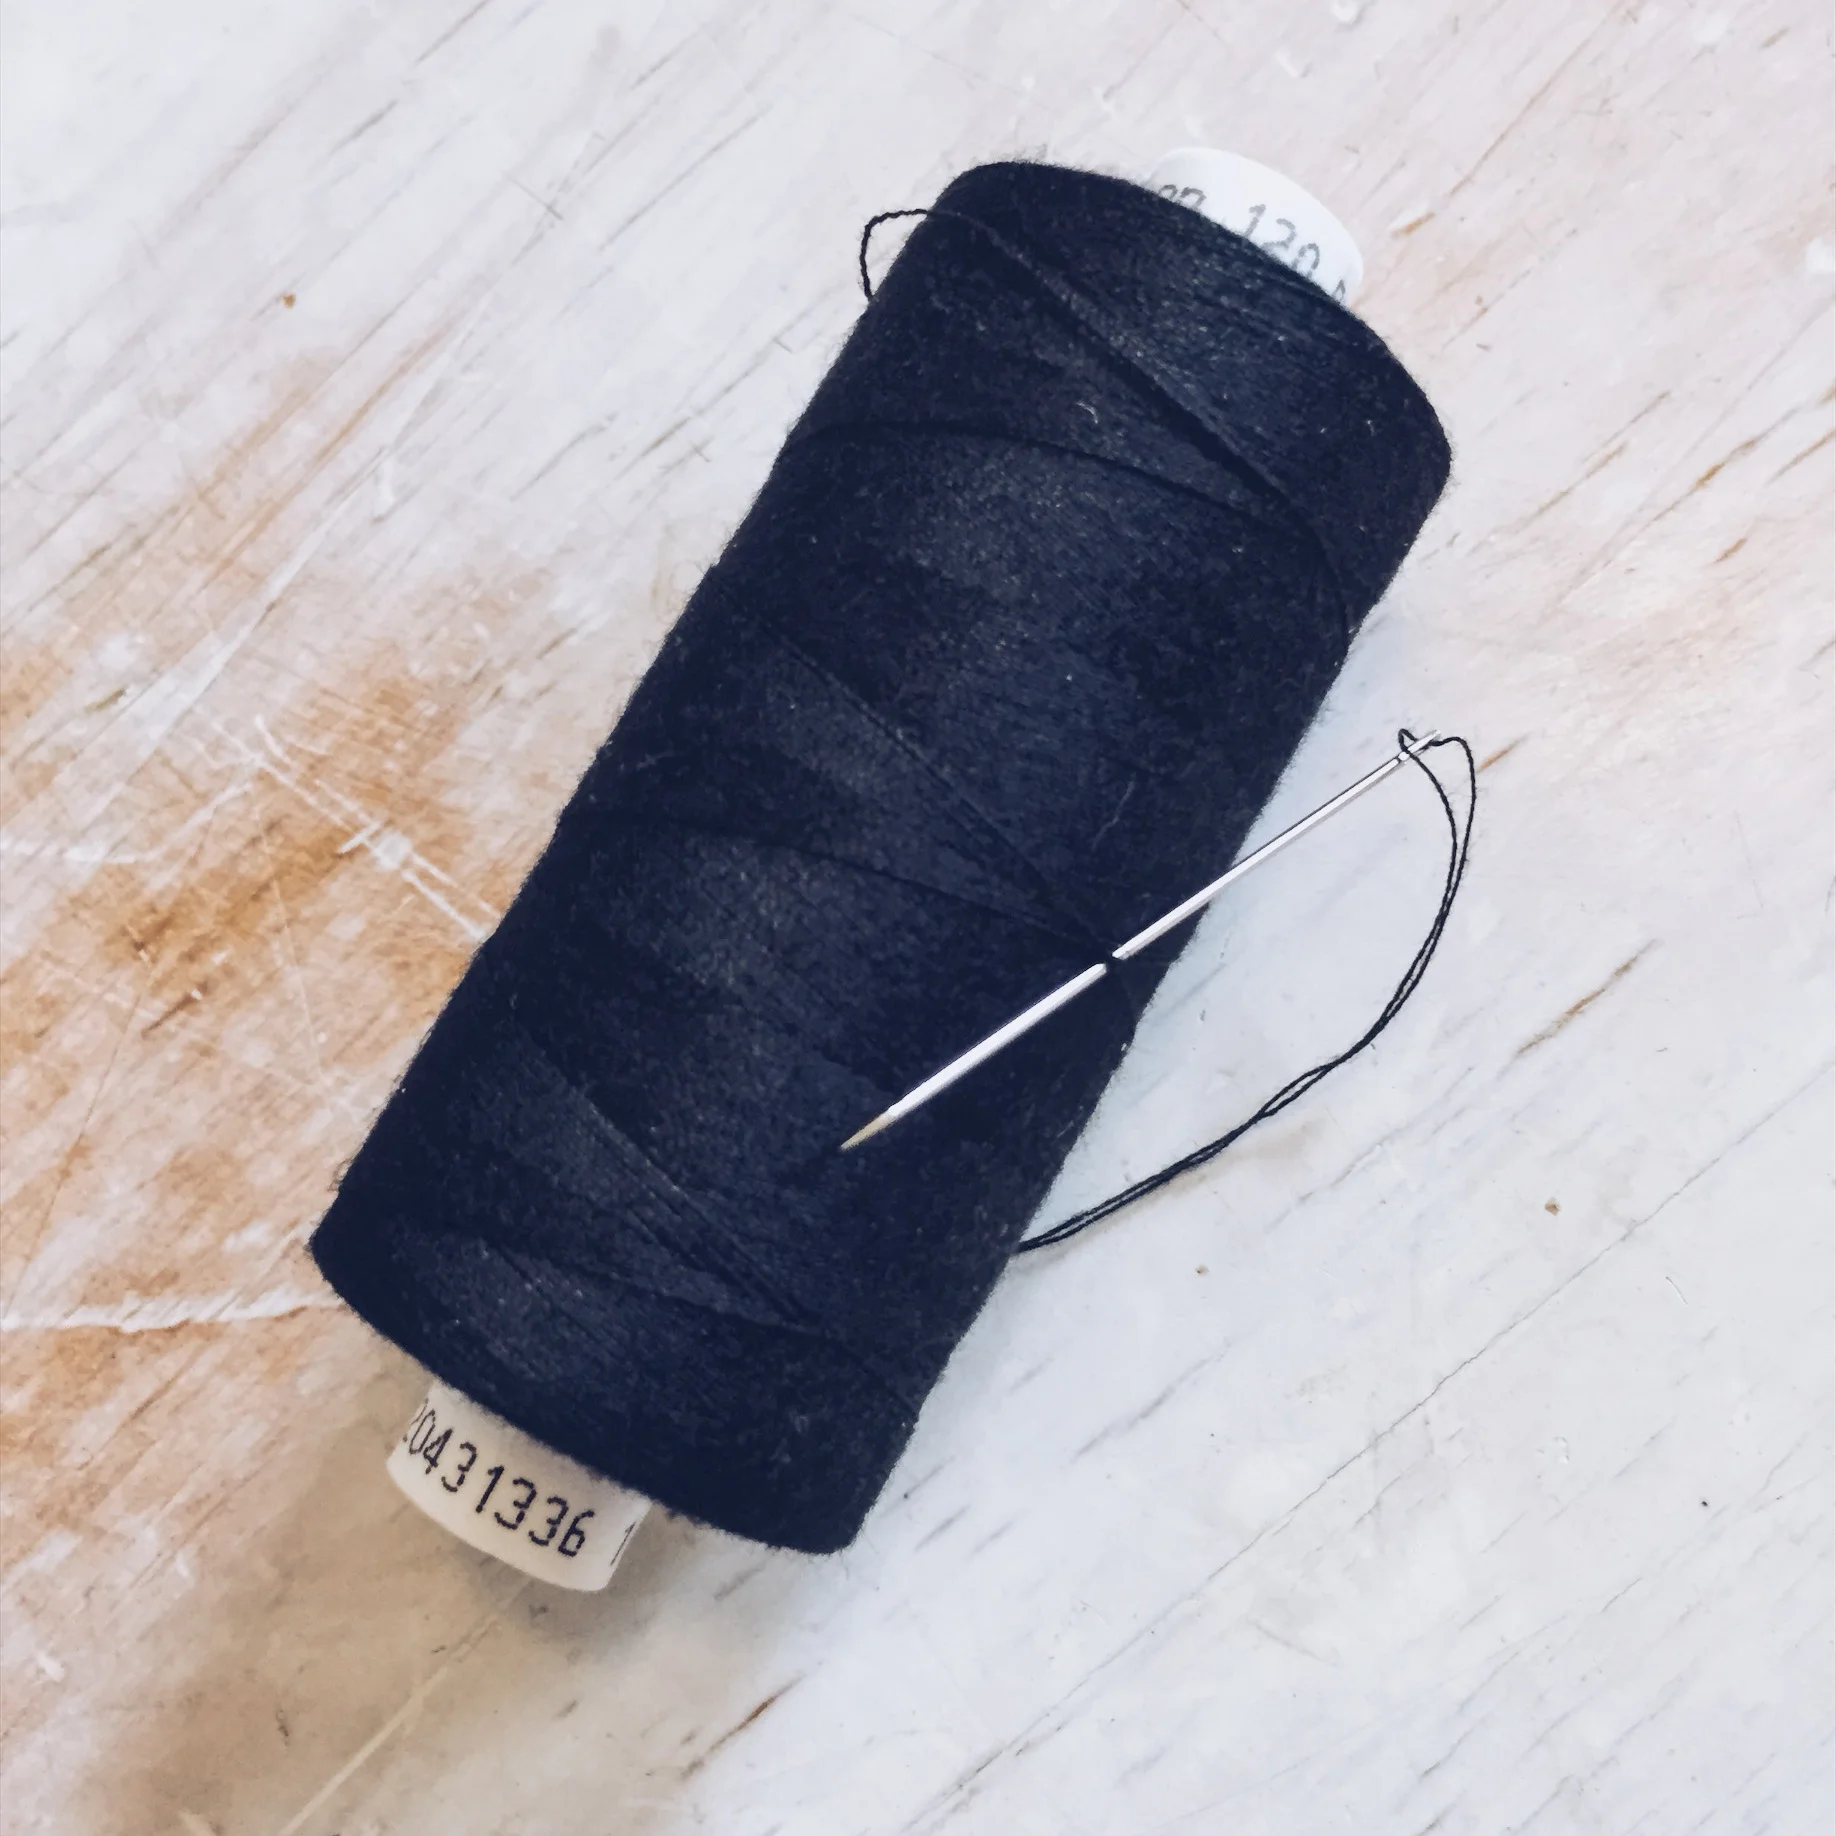
Needle and Thread
This is the worst bit but to really make your camera dividers stand the test of time you'll need to do a little bit of sewing. WAIT! Before you close this window, you don't need any prior knowledge and it really is pretty quick and easy so I promise its worth doing. I had four pretty large panel dividers to make for my two cases and it took me about an hour to do them by hand. If you have access to a sewing machine (and a fully trained operator ;) ) though this is literally 5 minutes work. Obviously, if you have smaller panels to make it'll take no time at all. I'm sure you already have thread at home somewhere but if you don't, here's what I bought. Machine Thread 120s Spun Polyester 1000YD. And no I have no clue why on Earth I bought a THOUSAND YARDS of thread :O Pretty sure that's me done for LIFE!
Making the Dividers
Step 1
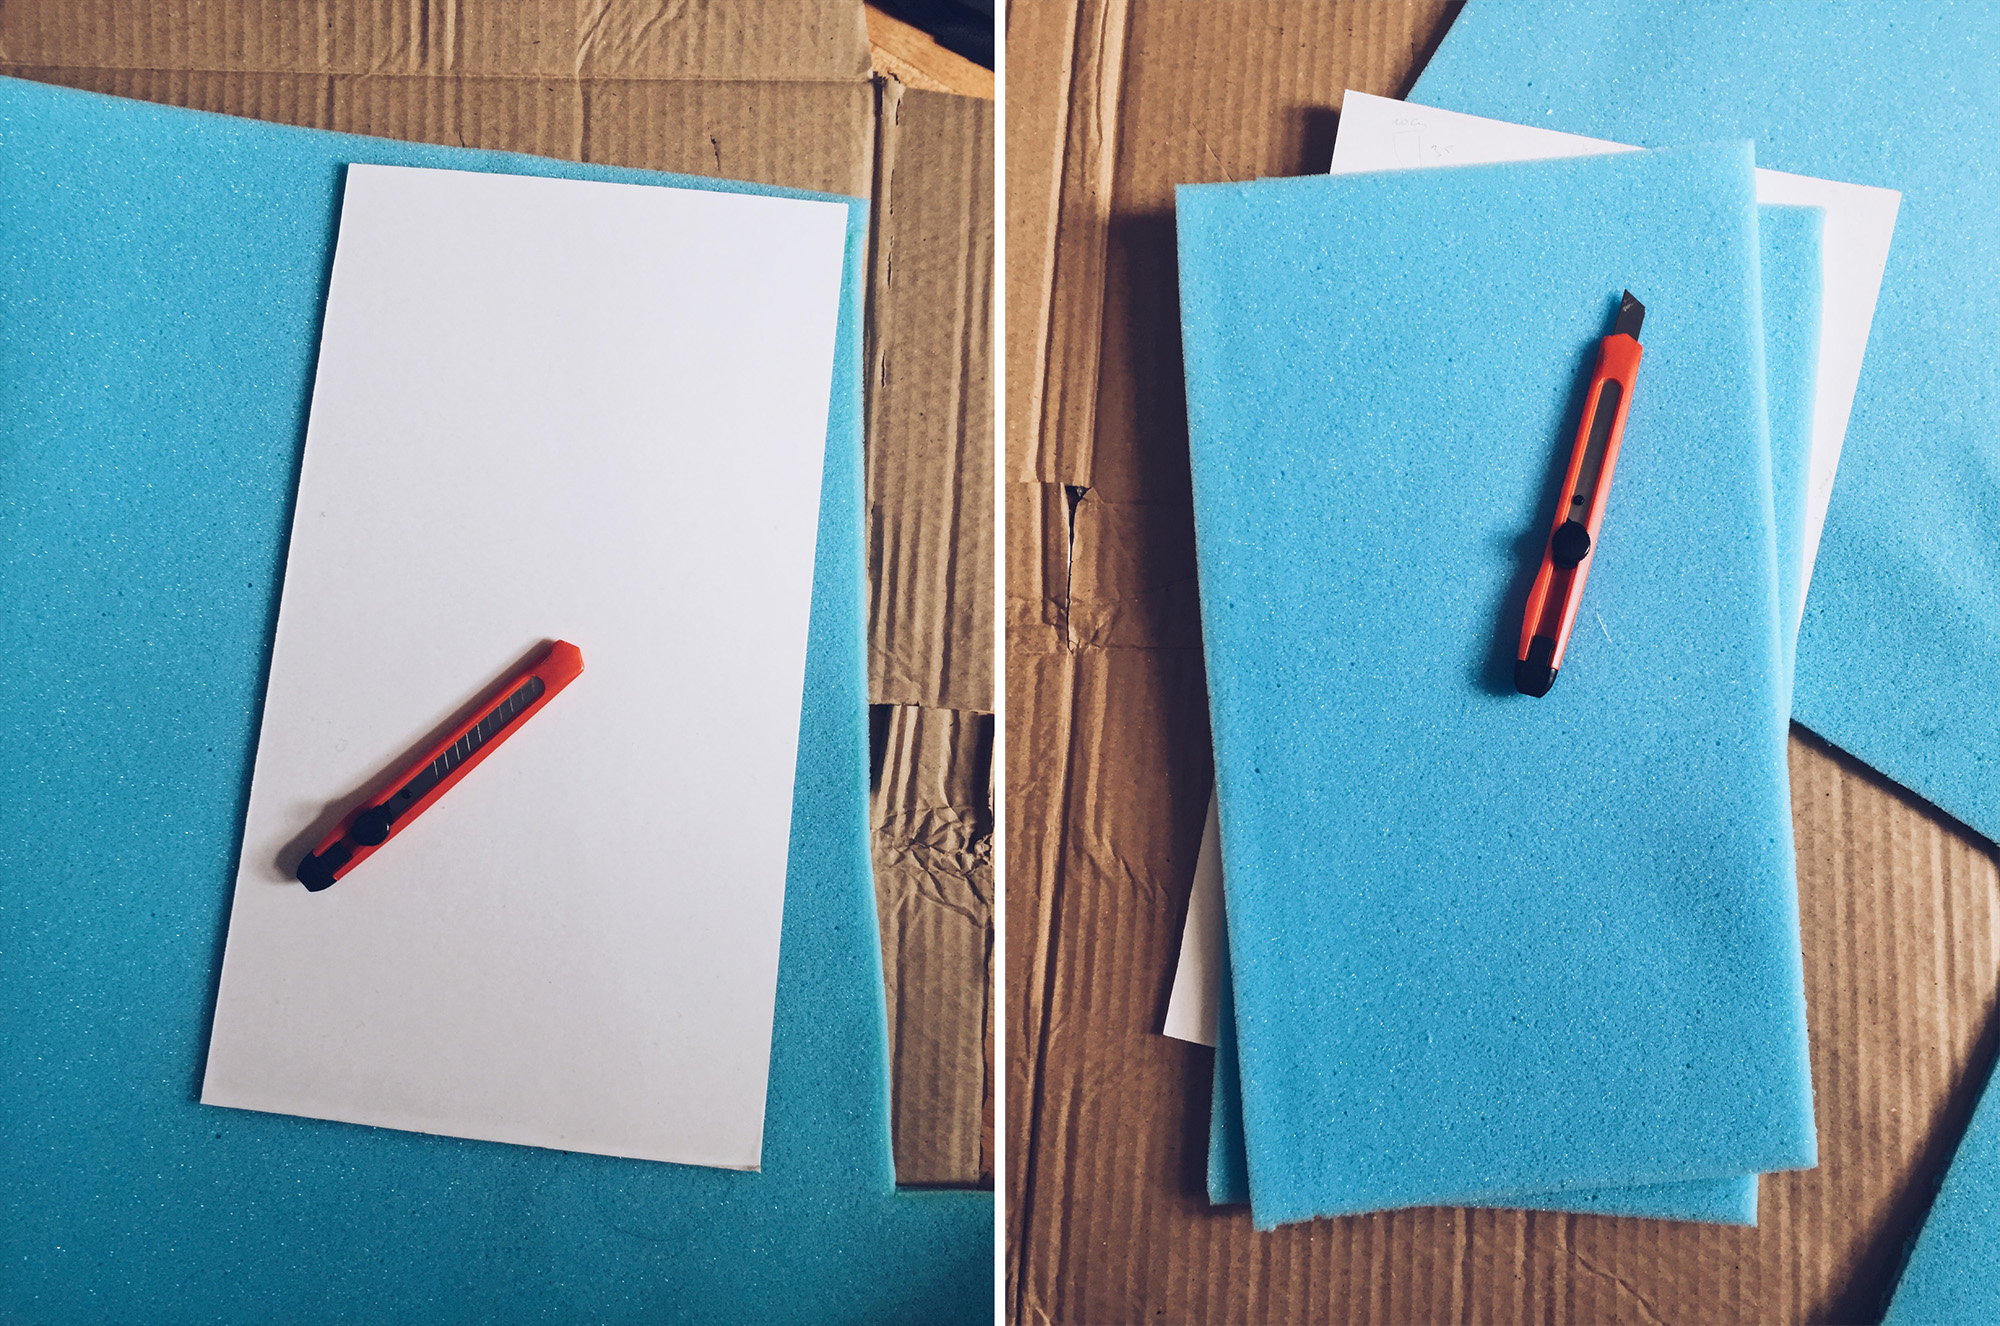
First off you'll need to measure the space for the dividers. Measure the inside of your case or bag so that you can cut out your cardboard. Pro Tip: Take care to check that the space is symmetrical. My Peli case has a slanted side on one side so I had to account for that too.


Step 2
Next up you'll need to translate those measurements to your cardboard. Once you've done that, you'll need to take care cutting the dividers out.
NOTE: Make sure to use a metal edge to keep the lines straight and alway ensure you're cutting into something below that wont lead to you spending a night on the sofa!
Step 3
Now that you've got you cardboard cutout, place it on top of your foam and cut around it again. NOTE: You'll need two pieces of foam for each piece of cardboard as we'll actually be sandwiching the cardboard between the two.

Step 4
Next up we need to cut our fabric. To do this I placed my stack of two bits of foam and sheet of cardboard and allowed the fabric to hang over by about 1-2 inches all the way around.
NOTE: We need this extra width to allow for the Velcro flaps to extend beyond the width of the actual divider.
To reduce the amount of sewing I also just folded the fabric back on itself to sandwich the whole lot in the middle rather than cutting two pieces of fabric top and bottom.
Step 5
Once you have your fabric, remove the foam and cardboard and turn it inside-out and begin to sew around the outside of two sides. Once you've done that, turn the whole thing inside-out again to reveal the proper side which will in turn hide all of your horrendous sewing work....just speaking from experience :(

Start to sew up your divider pocket by sewing along two sides (middle pic) ensuring you have one open side. When you're done simply turn the pocket inside out to hide the 'handiwork' (right hand image).

You can see in the right hand image that I've stapled all the way around where I need to sew. This makes life a LOT easier without the foam ad cardboard moving about inside when you're sewing.
Step 6
Now place your sandwiched foam and cardboard inside the fabric pocket via the one open end. This next step is more personal preference than anything but apart from looking as ugly as all hell this is actually a great way to hold everything in place when you start to sew it up. With the foam and cardboard inside, I actually went around and stapled it all into place. Once you've finished sewing along the line of staples you simply remove the staples and you're done. Of course there is no shame in just stapling the whole thing in this very manly way and leaving it. It serves its purpose and nobody will see it in you bag ...... but I'll know ;)
Step 7
Once you've stapled it, proceed to sew around the line of staples. This will ensure everything stays where it's meant to and leaves you flaps on either side to attach the velcro.
Once you're done with the sewing you can remove the staples.

Above you can see this is the most time consuming step. Firstly staple everything in place (left hand shot), next sew along the staple line (middle image) and then finally remove the staples (right hand shot).
Step 8
Now all that's left to do is affix your Velcro strips down each of the sides and you're done.

In my case the 'loop' section of Velcro only extends two thirds of the way up the case so that's why I only put the 'hook' part of the Velcro two thirds of the way up the divider. I would recommend you put as much 'hook' as you have 'loop' in your case.

The same principles learnt here can make dividers big or small to fit any bag :)
Congratulations!
You did it, you made a whole bunch of camera case dividers for under a tenner! :D Plus I'm pretty sure you can now add seamstress to the C.V.
Remember: I know I've just shown you how to make these camera case dividers for my large case but all the same ideas and techniques are just as applicable for far smaller camera bags too.
Now that you have your camera case dividers all finished its time to insert them into your case and never speak about how horrendous your sewing skills are ever again.

As always if you have any questions or queries feel free to fire away in the comments below. Also if you know of anywhere or anybody who actually makes bespoke dividers for all shapes and sizes then let me know too.
:WARNING: I just saved you some money so feel free to be tempted to spend it below ;)
If you're interested in any of my work and would like to know more about how I created some of my shots then why not check out my workshops. Here you can find out everything there is to know about Gelled Lighting, Long Exposure Flash Photography and my entire Post-Pro Workflow. Jake Hicks Photography - Workshops

I have also just released a brand new 22 hour complete Gelled Lighting Tutorial video. I go over everything from studio lighting setups with gels to being on location with gels plus I also go through my complete retouching and post pro workflow. For more details and complete breakdown of everything that's include check out my Coloured Gel Portraits Tutorial

I also offer comprehensive coloured gel packs. These collections of gels are what I use day to day to create some of the most highly saturated colours around. If you're looking at getting into gelled lighting or need to get stronger and richer colours in your coloured gel work why not check out my Jake Hicks Photography Gel Packs