It was a while ago now that I posted about using a single light to create a stunning beauty setup with only an additional reflector. At the time that article was shared and posted everywhere including all the big photo sites. In fact it seemed so popular at the time that the link I shared within the article that linked back to a cheap reflector sold nearly 60 of them in a couple of hours hahaha(if only I'd been selling reflectors that day ;) ). But if you missed it, here's the basics; the setup requires a medium sized silver reflector with a lens sized hole in the middle of it and a large softbox...that's it.
For the complete article and details please follow the link here, Simplest and most effective single single light setup I've ever used.
The original one-light and reflector article is still probably my most popular article to this day.
So now that you've read that and you now have your reflector with a hole in it, it's now time to take it to the next level. As those that have been following my work for a while will know, it was only a matter of time before I added some colour to this technique and although this won't blow you away with colour, it's a subtle look that can certainly add a little more interest to a currently simple looking shot.
At its core this is still a single light setup with a little trickery we can create a coloured glow around the model whilst keeping her the correct colour.
What's the principles of the technique?
In the shot show here, the look appears to have a blue colour being shone from behind the subject with a separate colour on the actual subject themselves - this is because there is no blue colour on the subject so the light on the model is technically a different colour. This appearance gives a coloured glow from behind the model that warps around them and on first impressions you might not think this is anything extraordinary but remember this two-colour look is still coming from a single light.
What you will need:
- Your medium sized reflector with a hole in the middle (mine is about 33" in diameter).
- One light source (preferably a strobe but a speedlight should also have enough power with a higher camera ISO)
- A large softbox
- Coloured CTO and/or CTB gels (these are Colour Temperature Orange and Colour Temperature Blue colour correcting gels)
- A camera with manual Kelvin control
With that list, there should be some of you with bells ringing in their heads who are now starting to put together how the technique works. Still not sure? Then read on.
The Prep
First and foremost you'll need to 'upgrade' your reflector with your coloured gels. My reflector is 33in/84cm in diameter so I just needed to get a sheet of CTO/CTB gel that was at least that in diameter. LEE Filters sells them on a roll so I had plenty of room either side for my reflector. The ones I used are the full CTO gel with a LEE filter number of 204 and a Full CTB gel which has a LEE filter number of 201.
Here are the rolls of gels I used. The LEE Filters 201 Full CT Blue and the 204 Full CT Orange.
Step 1
- Cut a sheet of gel big enough to cover your reflector.
Step 2
- Lay your sheet over your reflector so that it covers it completely and trace around the hole in the middle.
Step 3
- Remove your gel from the reflector and place it on something you're happy cutting into. NOT your kitchen lino! Now simply cut the hole in the gel you previously traced.
The Setup
This setup is again, very simple. All you need to do is attach your gel to the front of your silver reflector. I usually hang my reflector from a stand rather than holding it so I used clips that meant I could remove the gel quickly and easily as required.
I just used clips to hold my gel in place in front of the reflector rather than fussing with loads of tape. It's also a lot quicker and easier to swop from the blue to orange when needed.
Next you just need to set up your softbox at the correct height behind the model and lastly you need to open up the Kelvin adjustment on your camera. It's slightly different for all cameras but here's what it looks like on the Nikon D610.
Here's how to adjust the Kelvin via the in camera menu on a Nikon D610
When choosing your Kelvin you first need to know which colour adjustment gel you will be using on your reflector as it's the Kelvin value in the camera that actually gives your subject that coloured glow not the actual softbox from behind them.
Here's the simple cheat-sheet for quick reference and then I'll go into this in more detail afterwards.*
No gel, just reflector - Set the camera to 4500-5500 Kelvin
Colour Temperature Orange gel on the reflector - Set the camera to 2500-3500 Kelvin
Colour Temperature Blue gel on the reflector - Set the camera to 9500-10500 Kelvin
*Kelvin varies from camera manufacturer to camera manufacturer and strobe to strobe so play around with what works best for yours
When you're ready to begin shooting, start off by positioning yourself fairly close to the model with your reflector (about two to three feet away). I tended to use wider lenses like a 50mm prime for these shots because I was so close to the model. The aperture you use is up to you but this setup does require a lot of power so start off with a wider aperture and adjust from there. All that's left to do now is start taking some shots and adjust the variables as required. In this instance that would be the power of the light or aperture and then playing with the Kelvin value until you got something you're happy with.
You should be able to see from the shot above just how close I tend to be when shooting this setup.
What is actually happening here?
Like I mentioned before, the coloured glow isn't coming from the light source it's actually coming from you balancing out the colour of the reflected coloured light from the reflector via your Kelvin. Take a look at the Kelvin values of the following images to see what I'm referring too.
This image has no colour correction gels on the reflector. Just a straight shot taken at around the 5000K mark which is a standard daylight/flash for my kit.
Next up, I added a CTO gel to my reflector and adjusted the Kelvin on my camera to counteract it. Here I have a Kelvin 2500K which is adding a lot of blue into the shot to eliminate the orange light being bounded back onto the model.
Then I switch my gel to a CTB gel on the reflector. This time I countered the heavy blue light being bounce back onto the model by adjusting my Kelvin all the way up to nearly 10,000K. This is of course adding a lot of orange into the shot which results in that warm glow around the model.
But just to show you how much I'm adjusting the Kelvin, let's take a look at what the shots would look like if we didn't adjust the Kelvin from daylight/flash (usually around 5000K).
This image has the CTO gel bounced onto the model but the Kevin value has been left on a standard 5000K for flash and daylight. It's very clear how much orange is actually bounced onto the model here.
Here we've left the Kelvin set to 5000K, a standard flash/daylight setting but you can see that the image is very blue because we're bouncing that light off of the CTB gel onto our subject.
I think one important point to note here is that with the CTB gel attached the effect isn't as dramatic as when you use the CTO. I think that is simply down to the fact that you are effectively firing blue light (it isn't really blue but for the sake of argument regarding Kelvin let's say it is) onto a blue gel. In effect the blue CTB isn't dramatically changing the colour of the source light by much which results in a less dramatic effect than the CTO which is making a significant colour correction to the source light.
In-Short: Using a blue gel (CTB gel) will produce an orange glow around the model and using an orange gel (CTO gel) will produce a blue glow around the model.
The Final Images
Below you can see the final images that I took from the shoot. I've included all three variations here as well; shots with no colour correction gel on the reflector, shots with the CTB gel attached plus shots with the CTO gel attached.
To recap, the shots with no coloured glow have no colour correction gel attached to the reflector. The shots with a warmer glow have the CTB gel attached to the reflector and the shots with a cooler blue glow around the model have the CTO gel attached to the reflector.

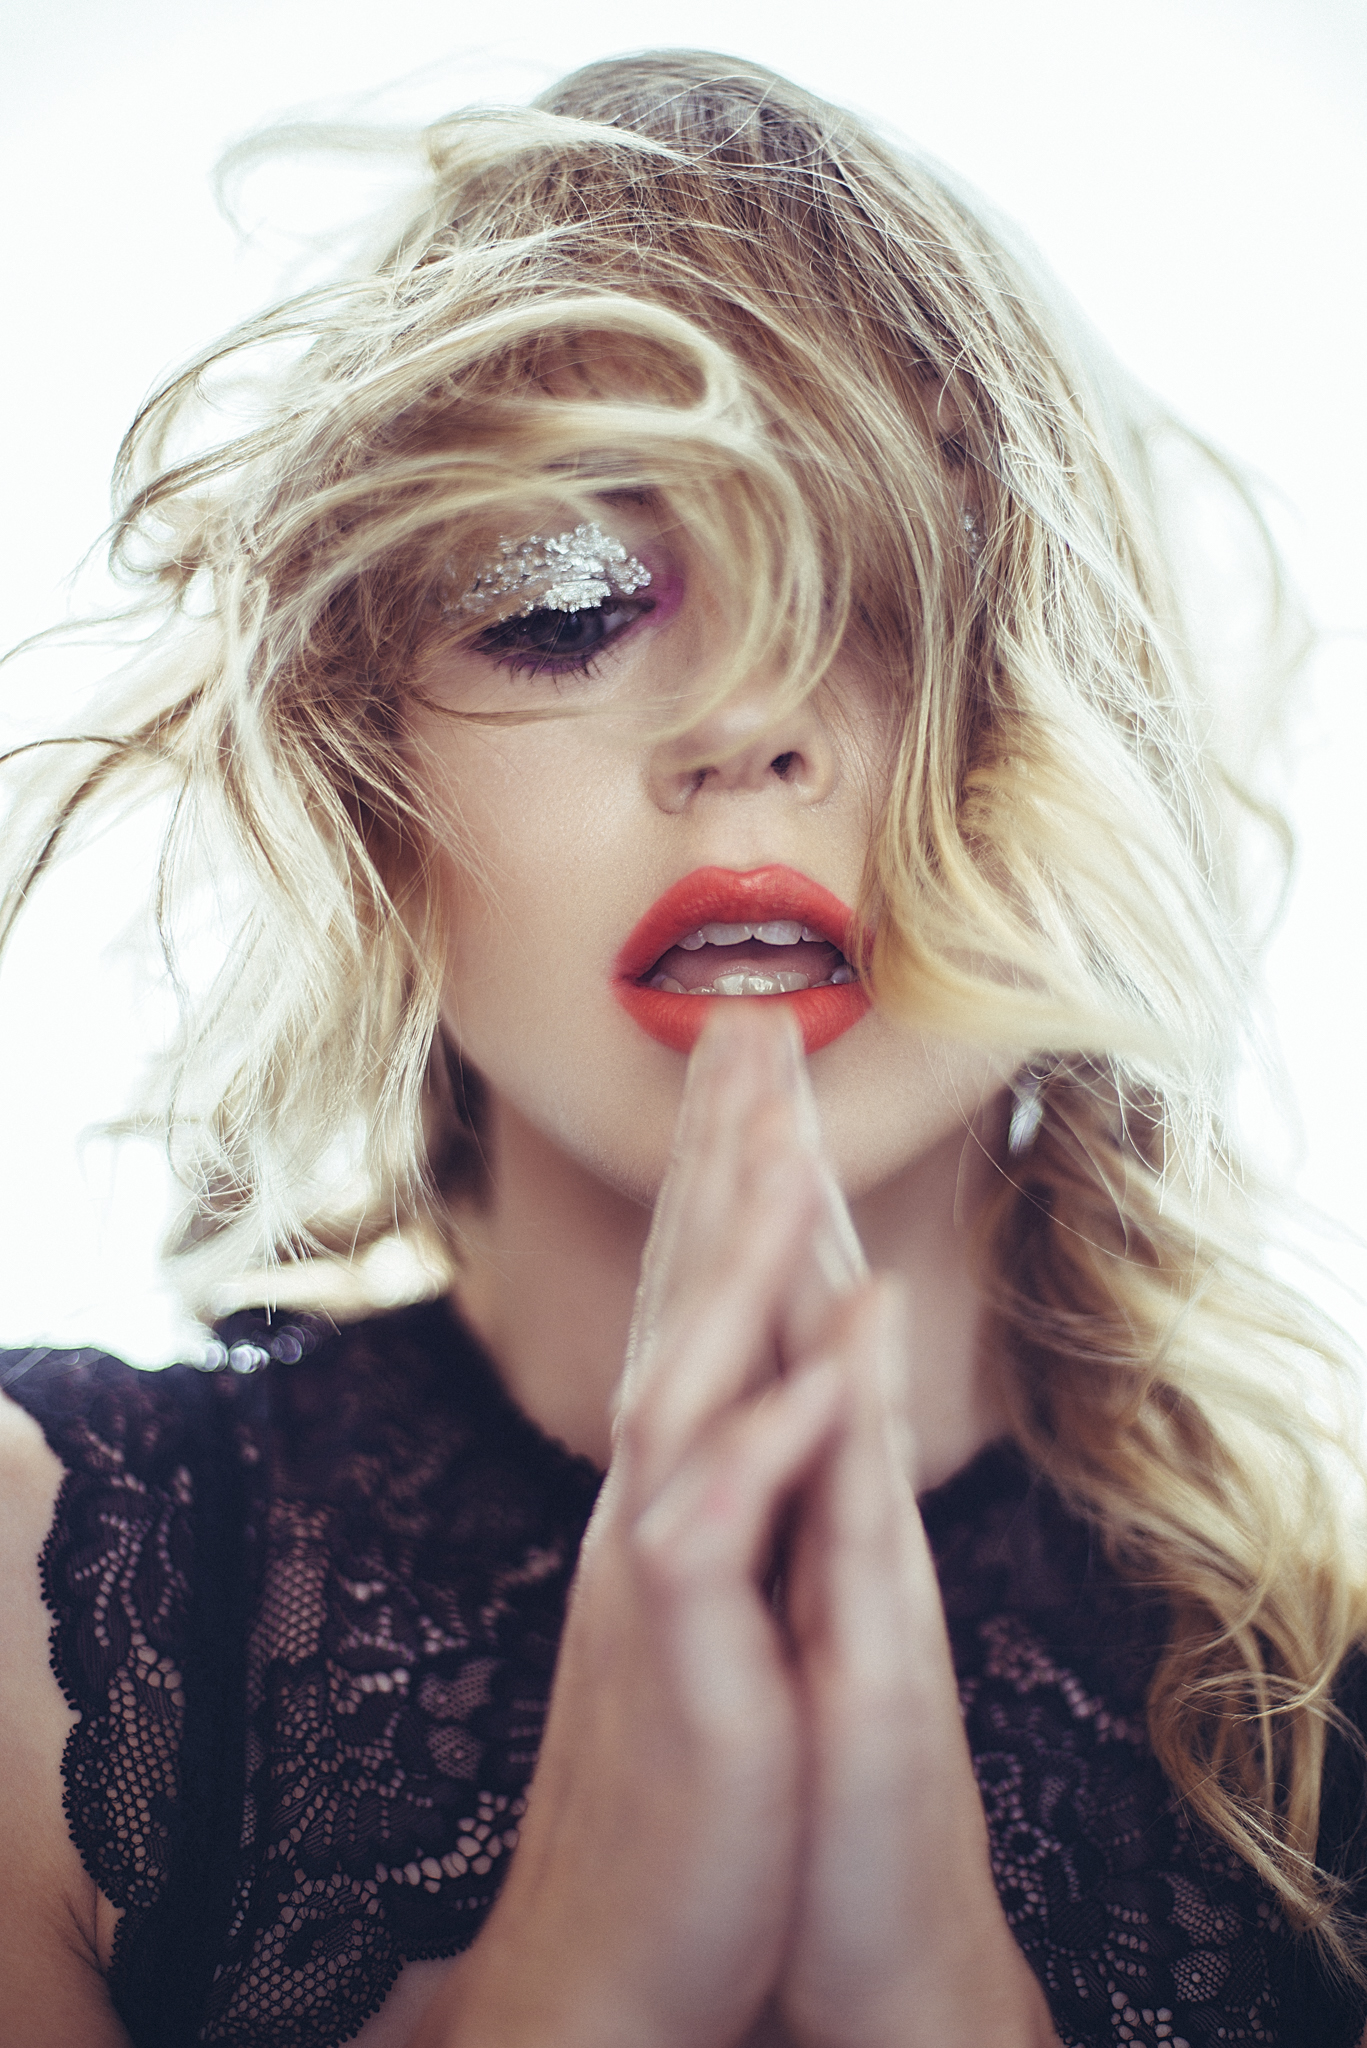
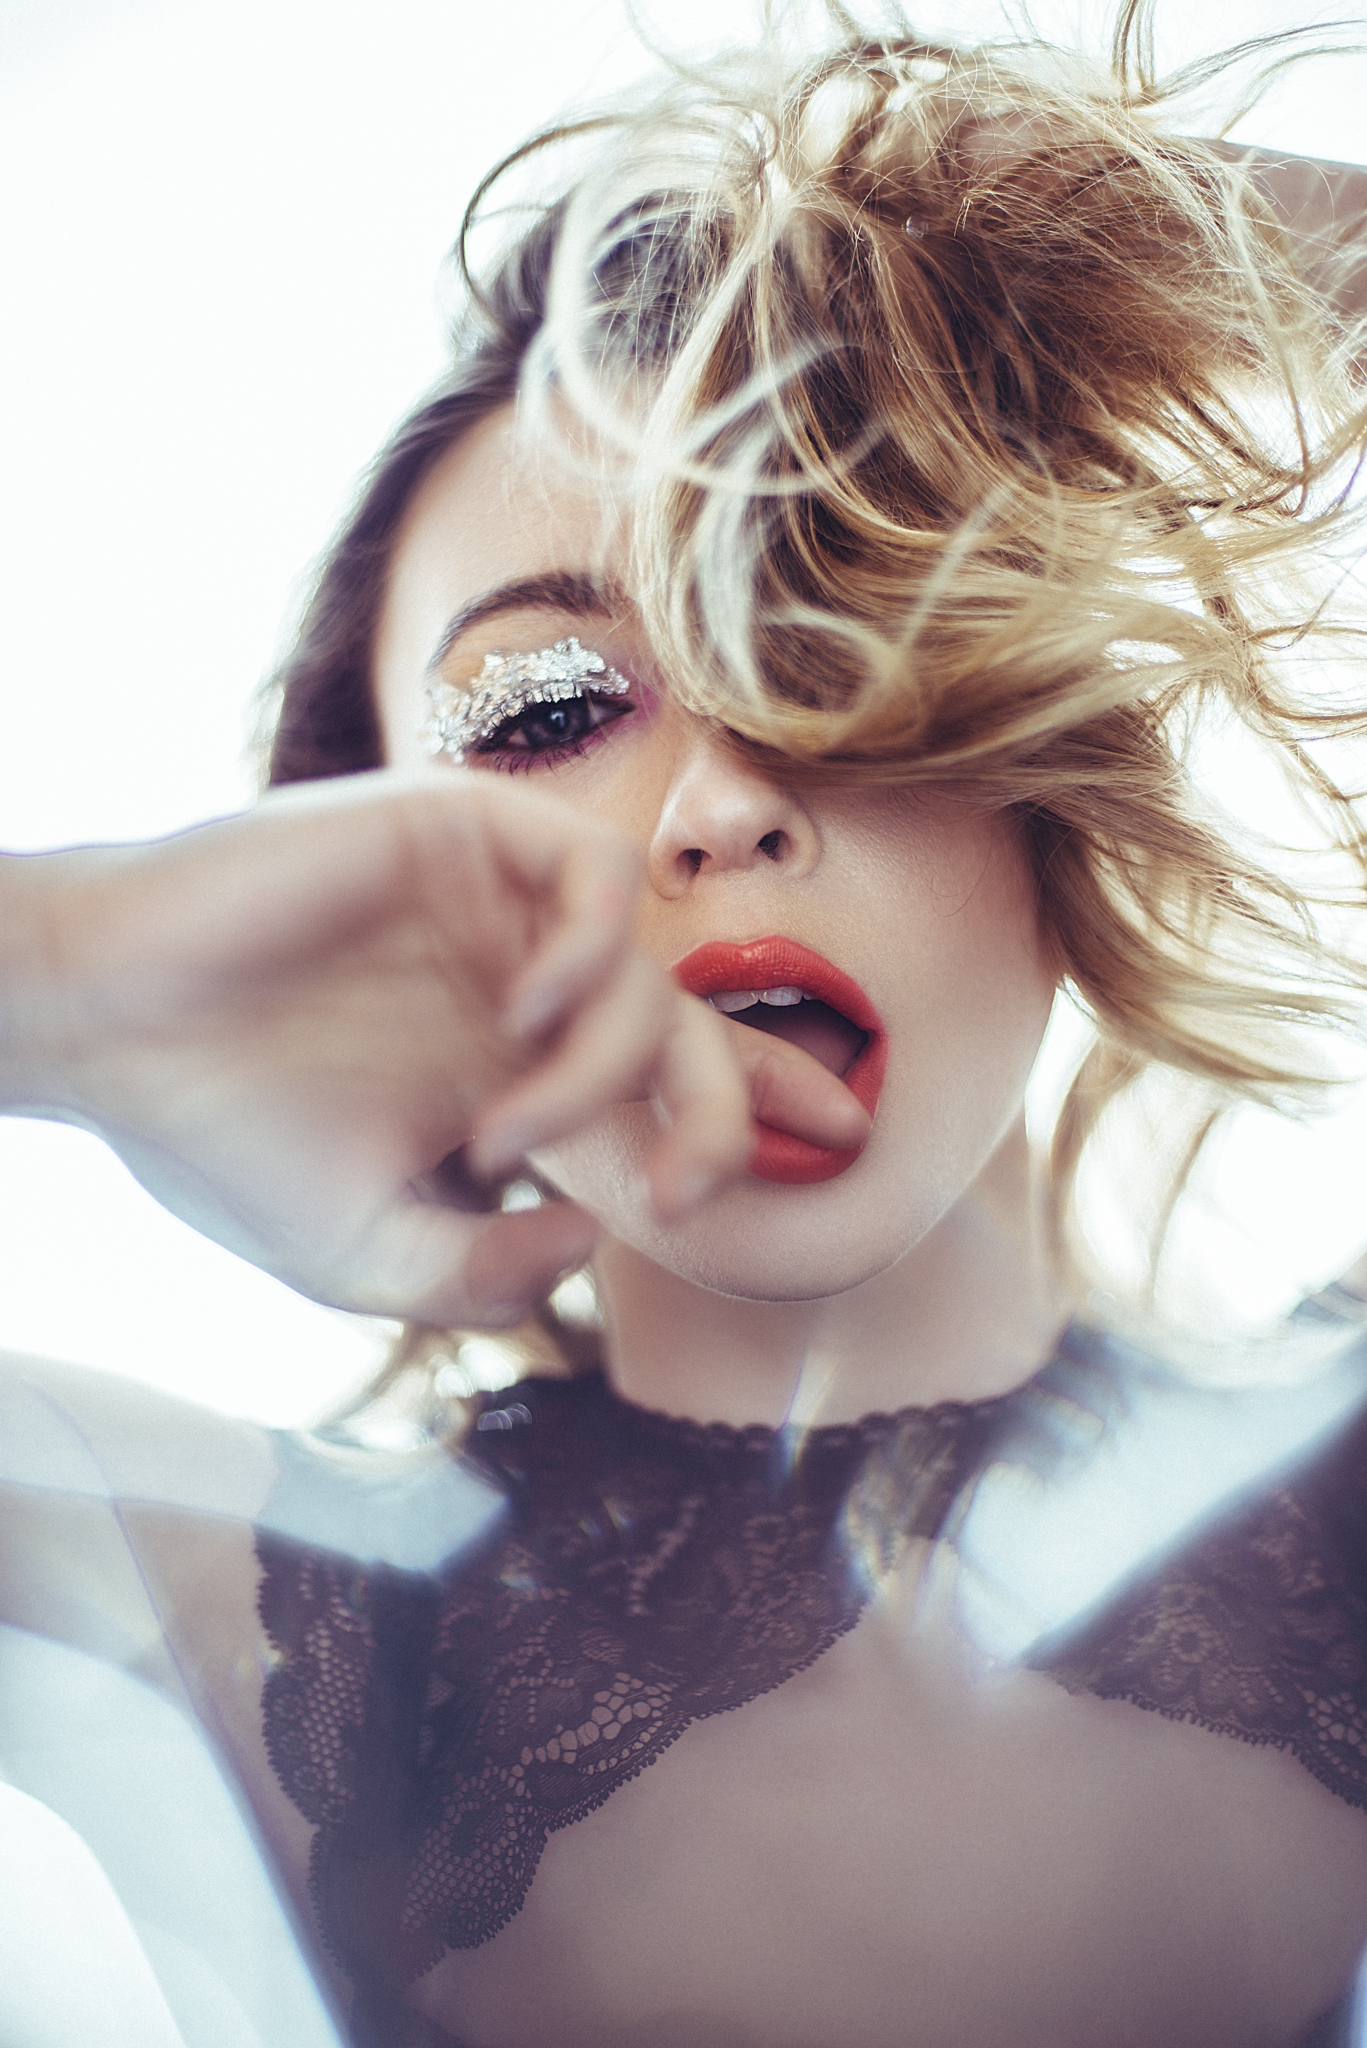
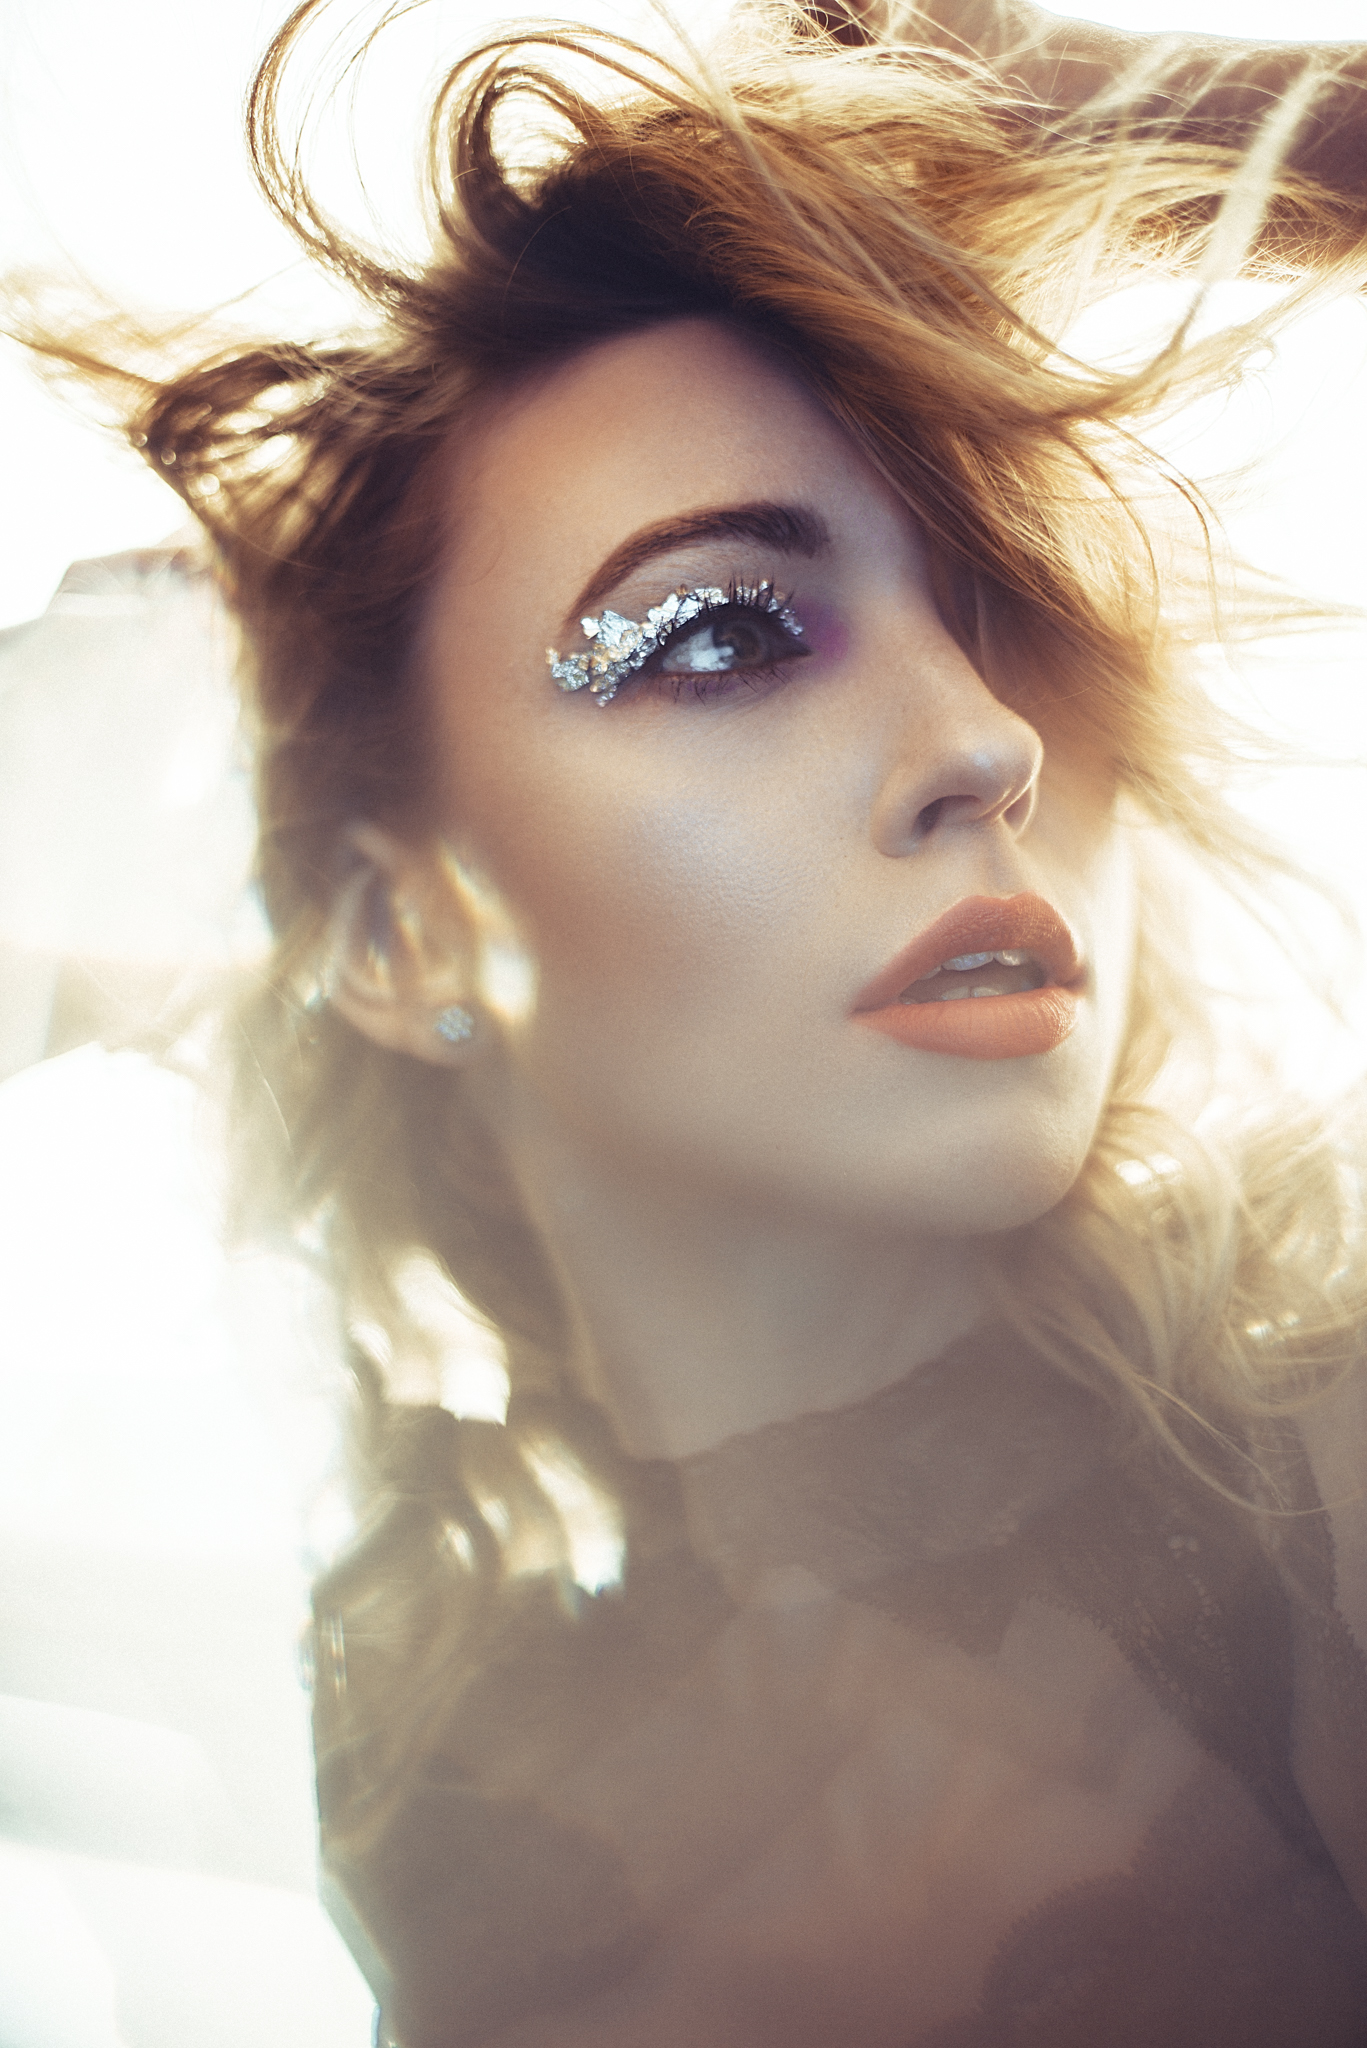
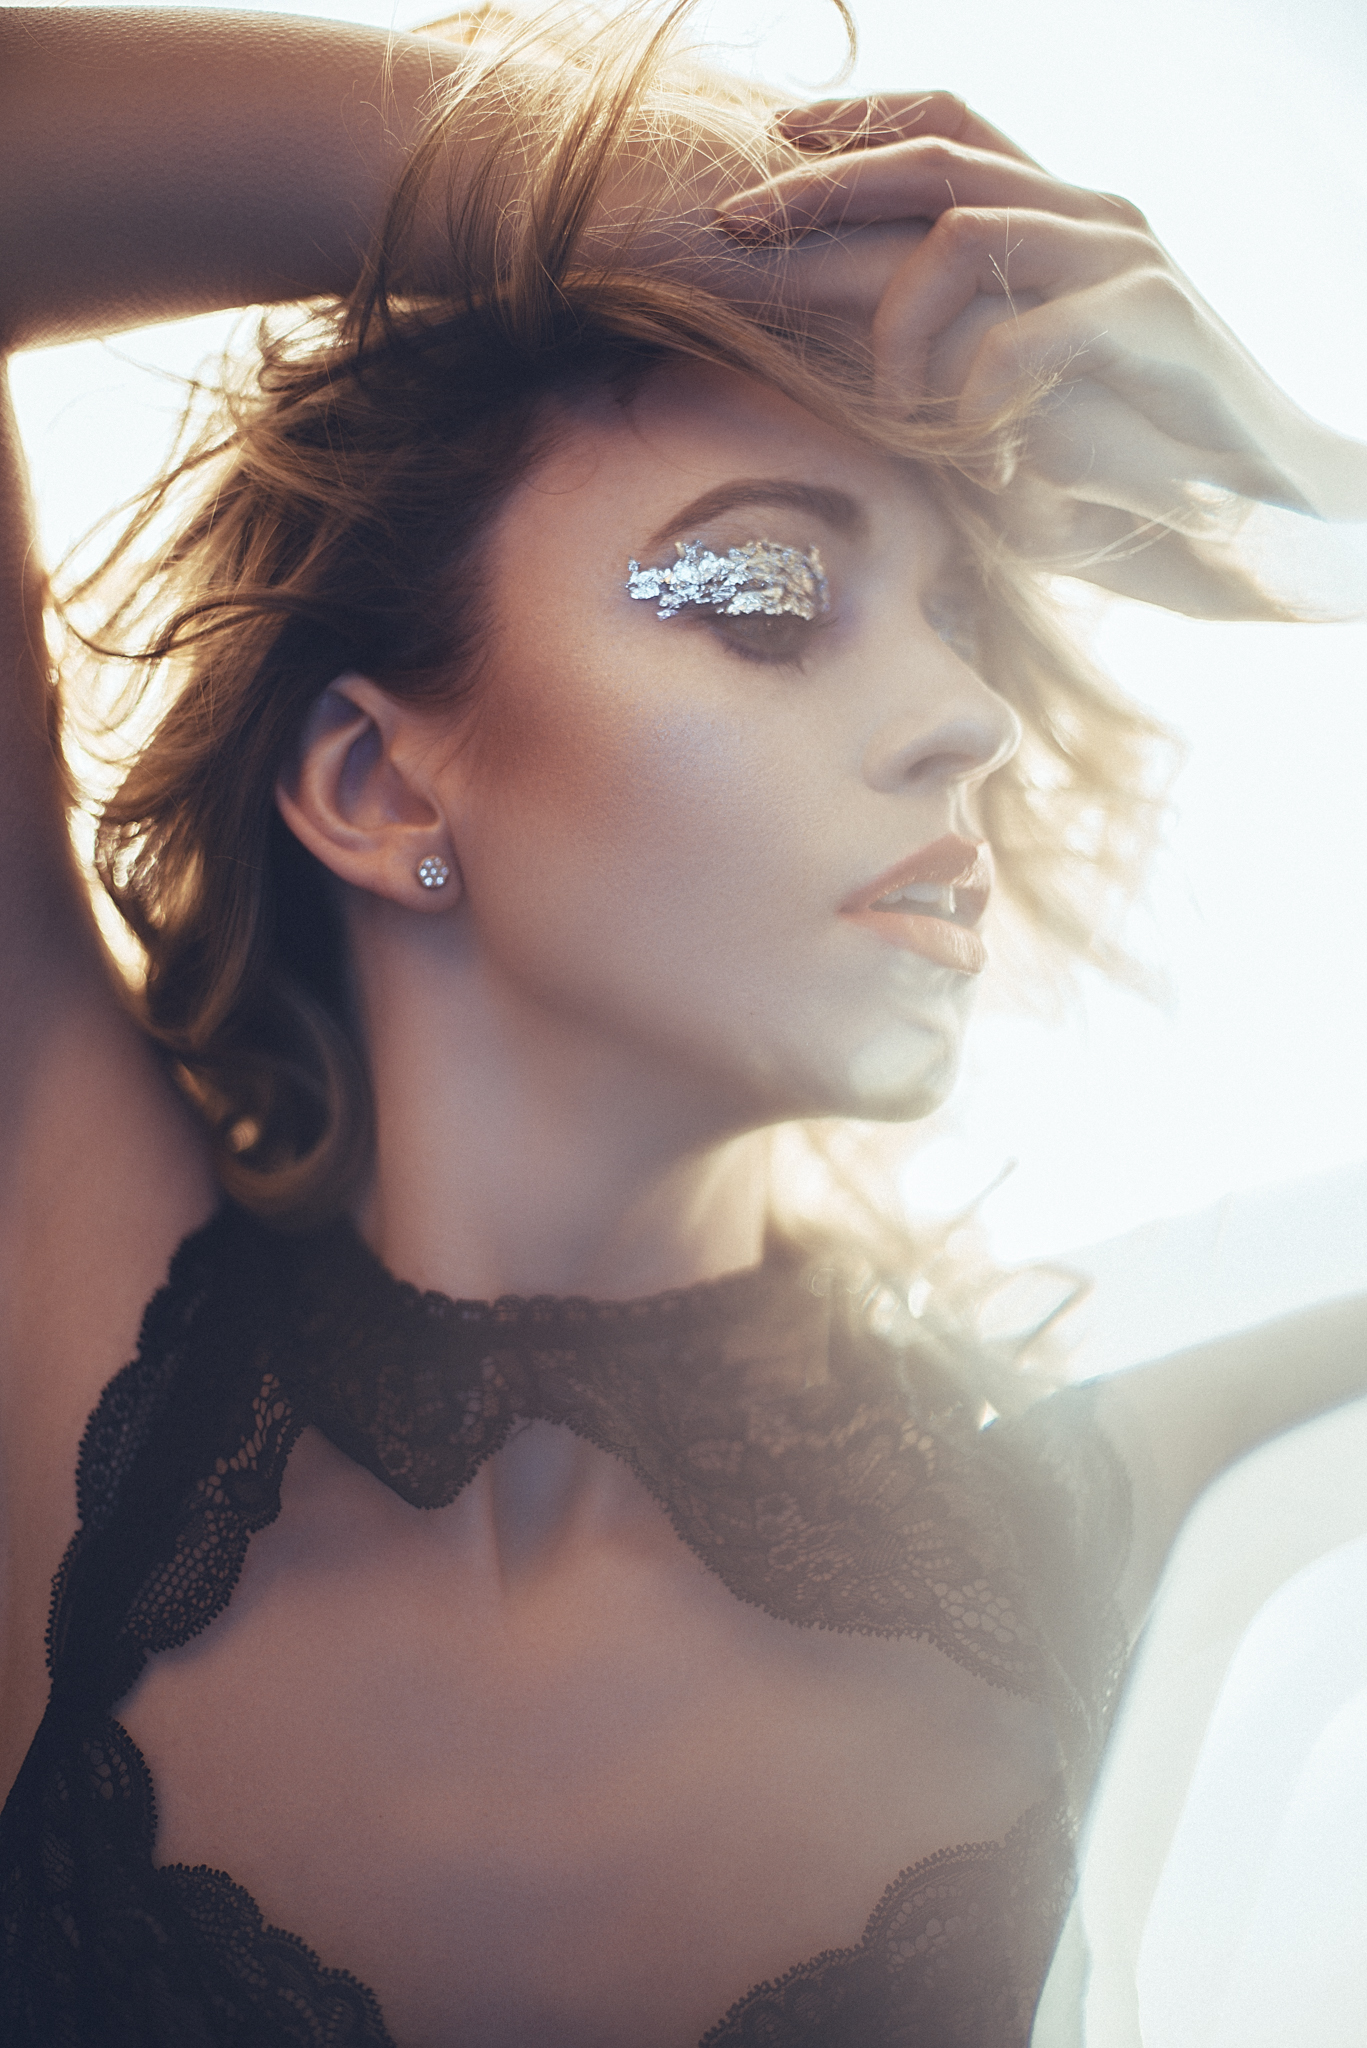
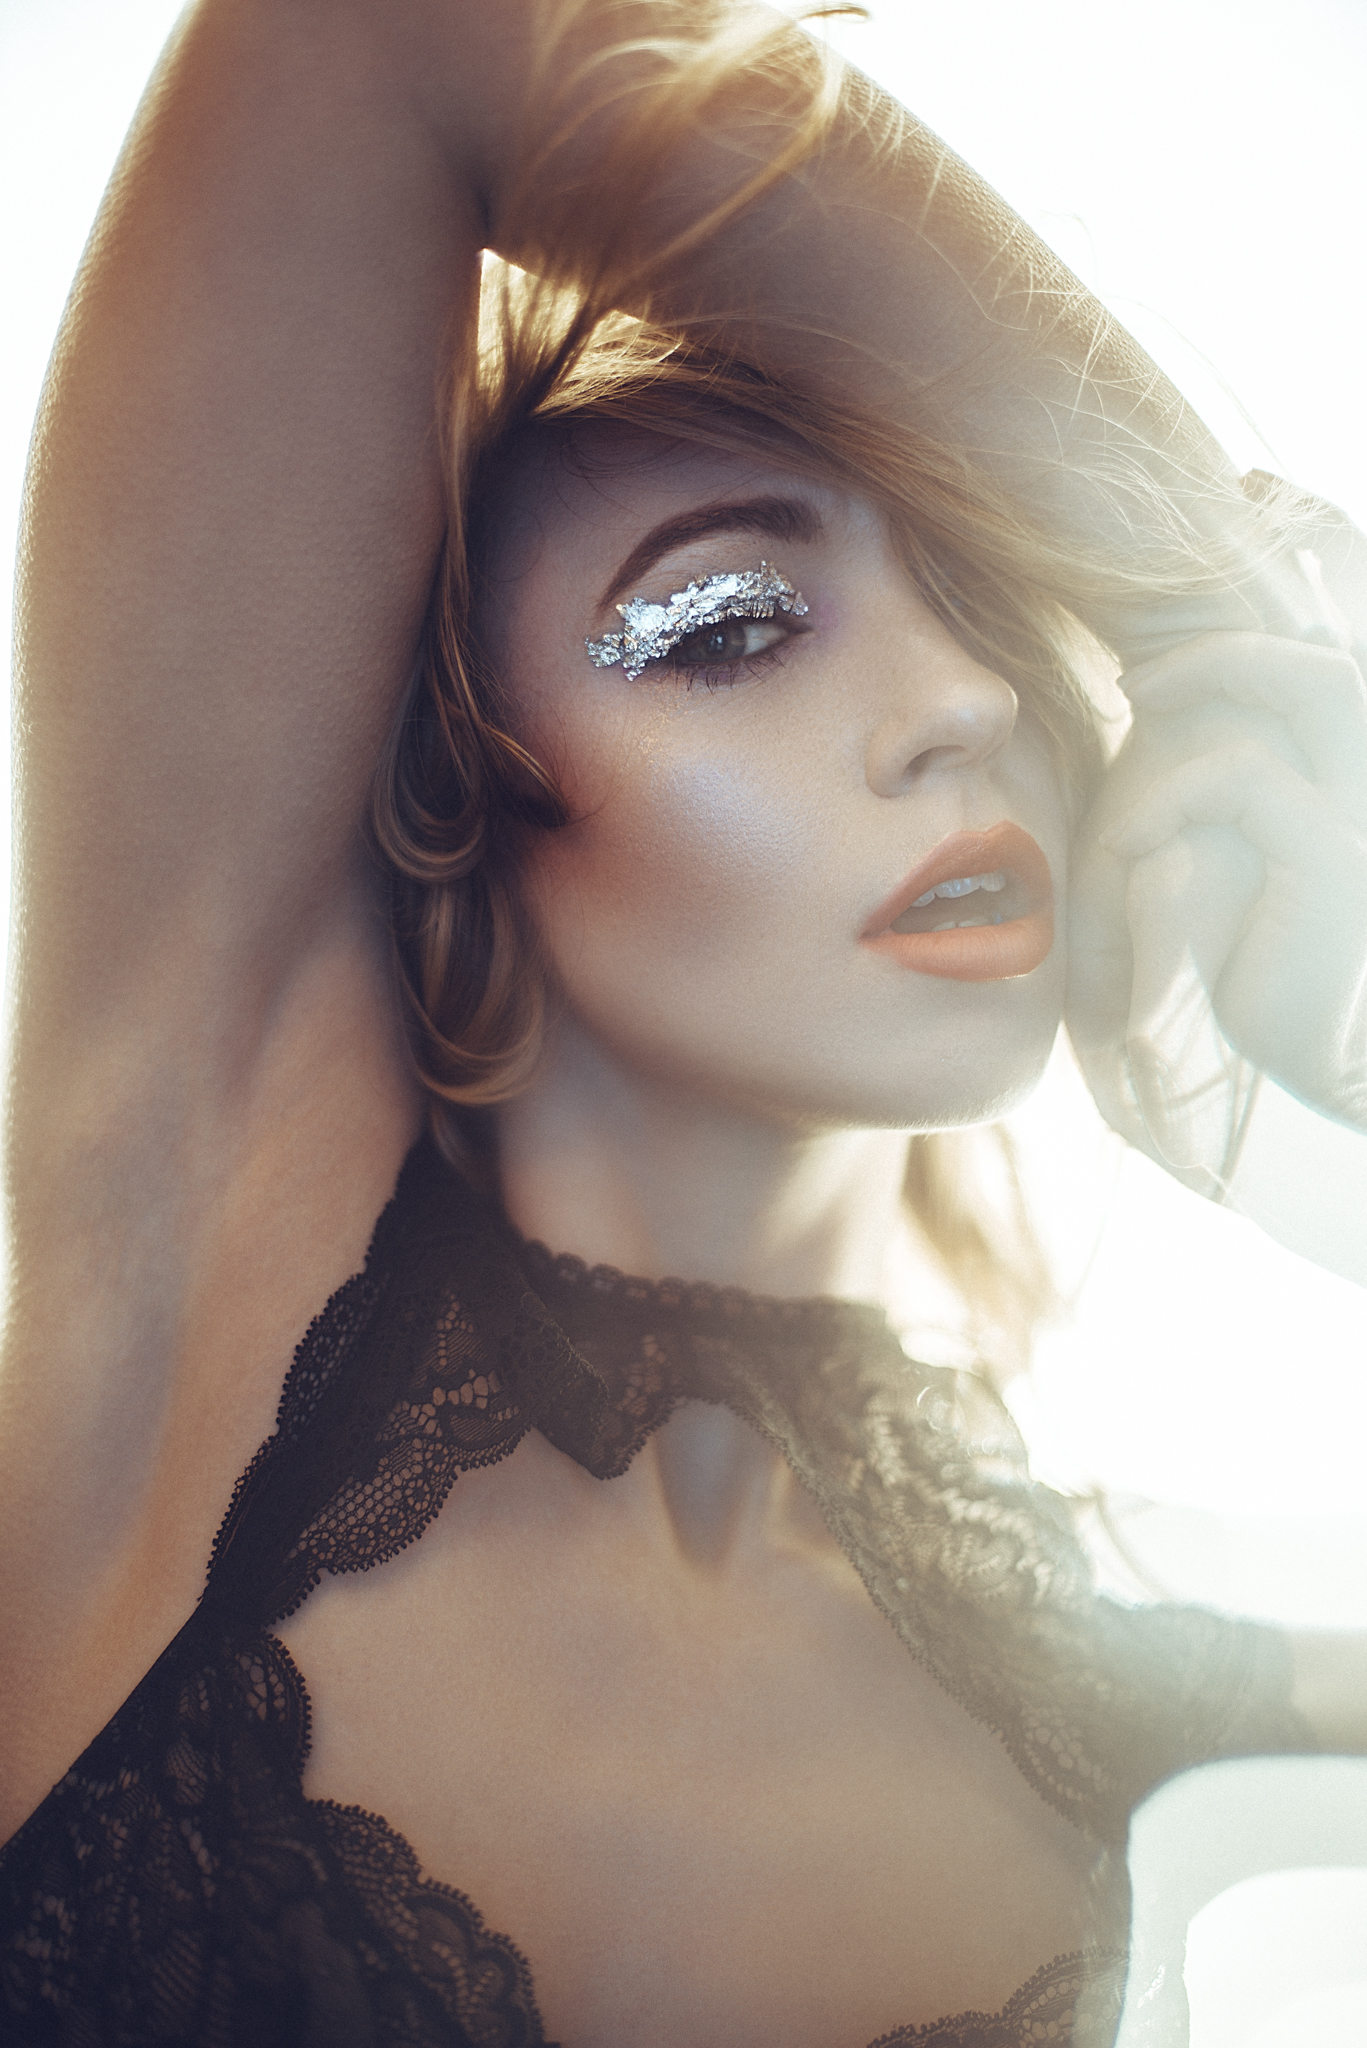
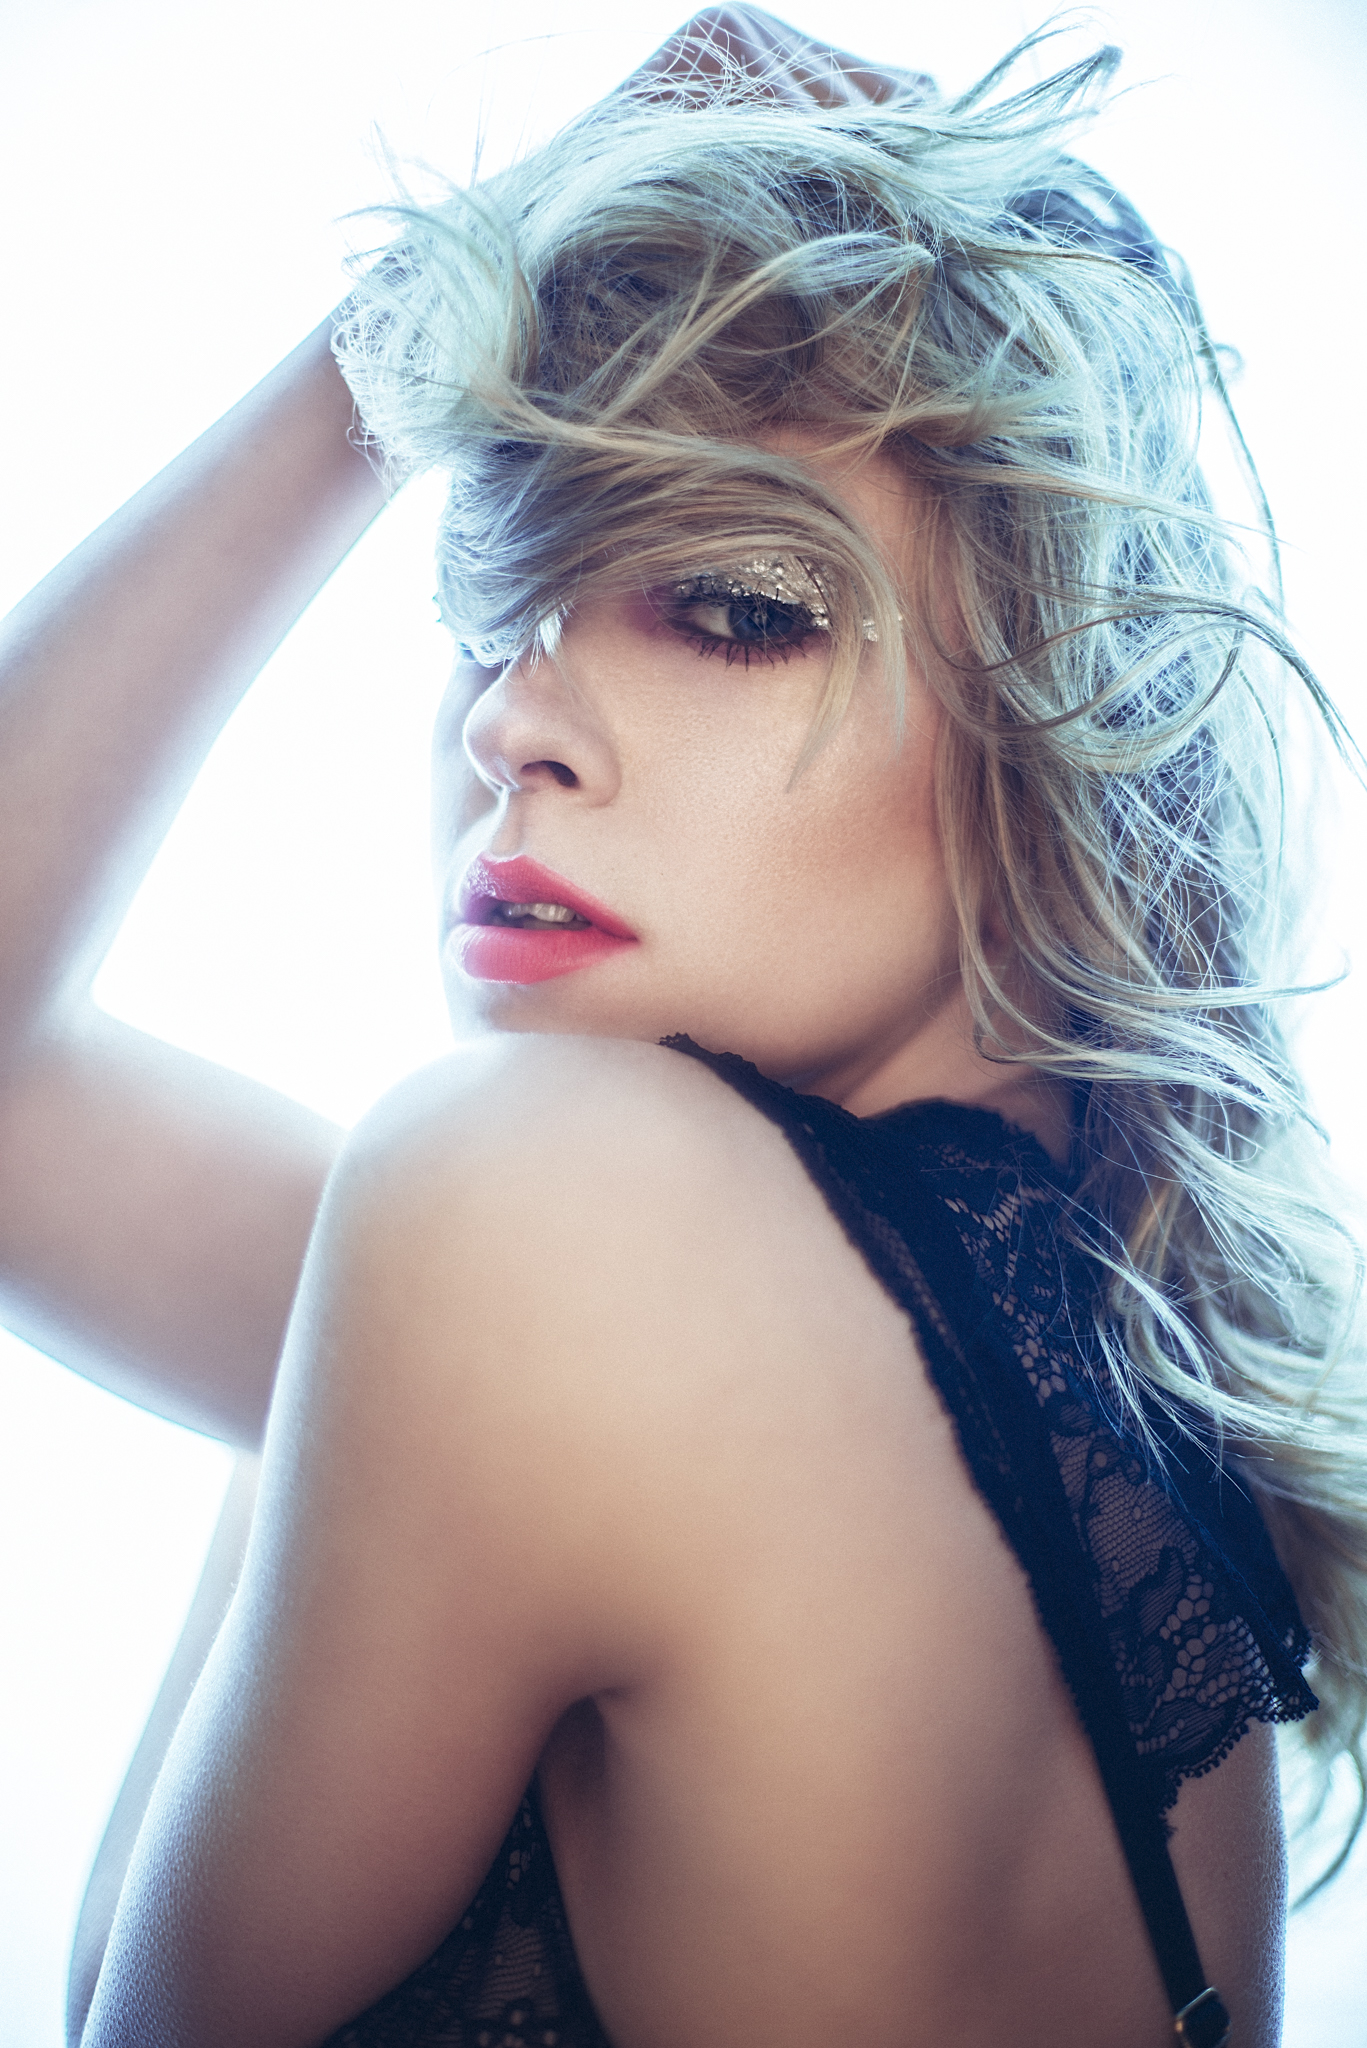

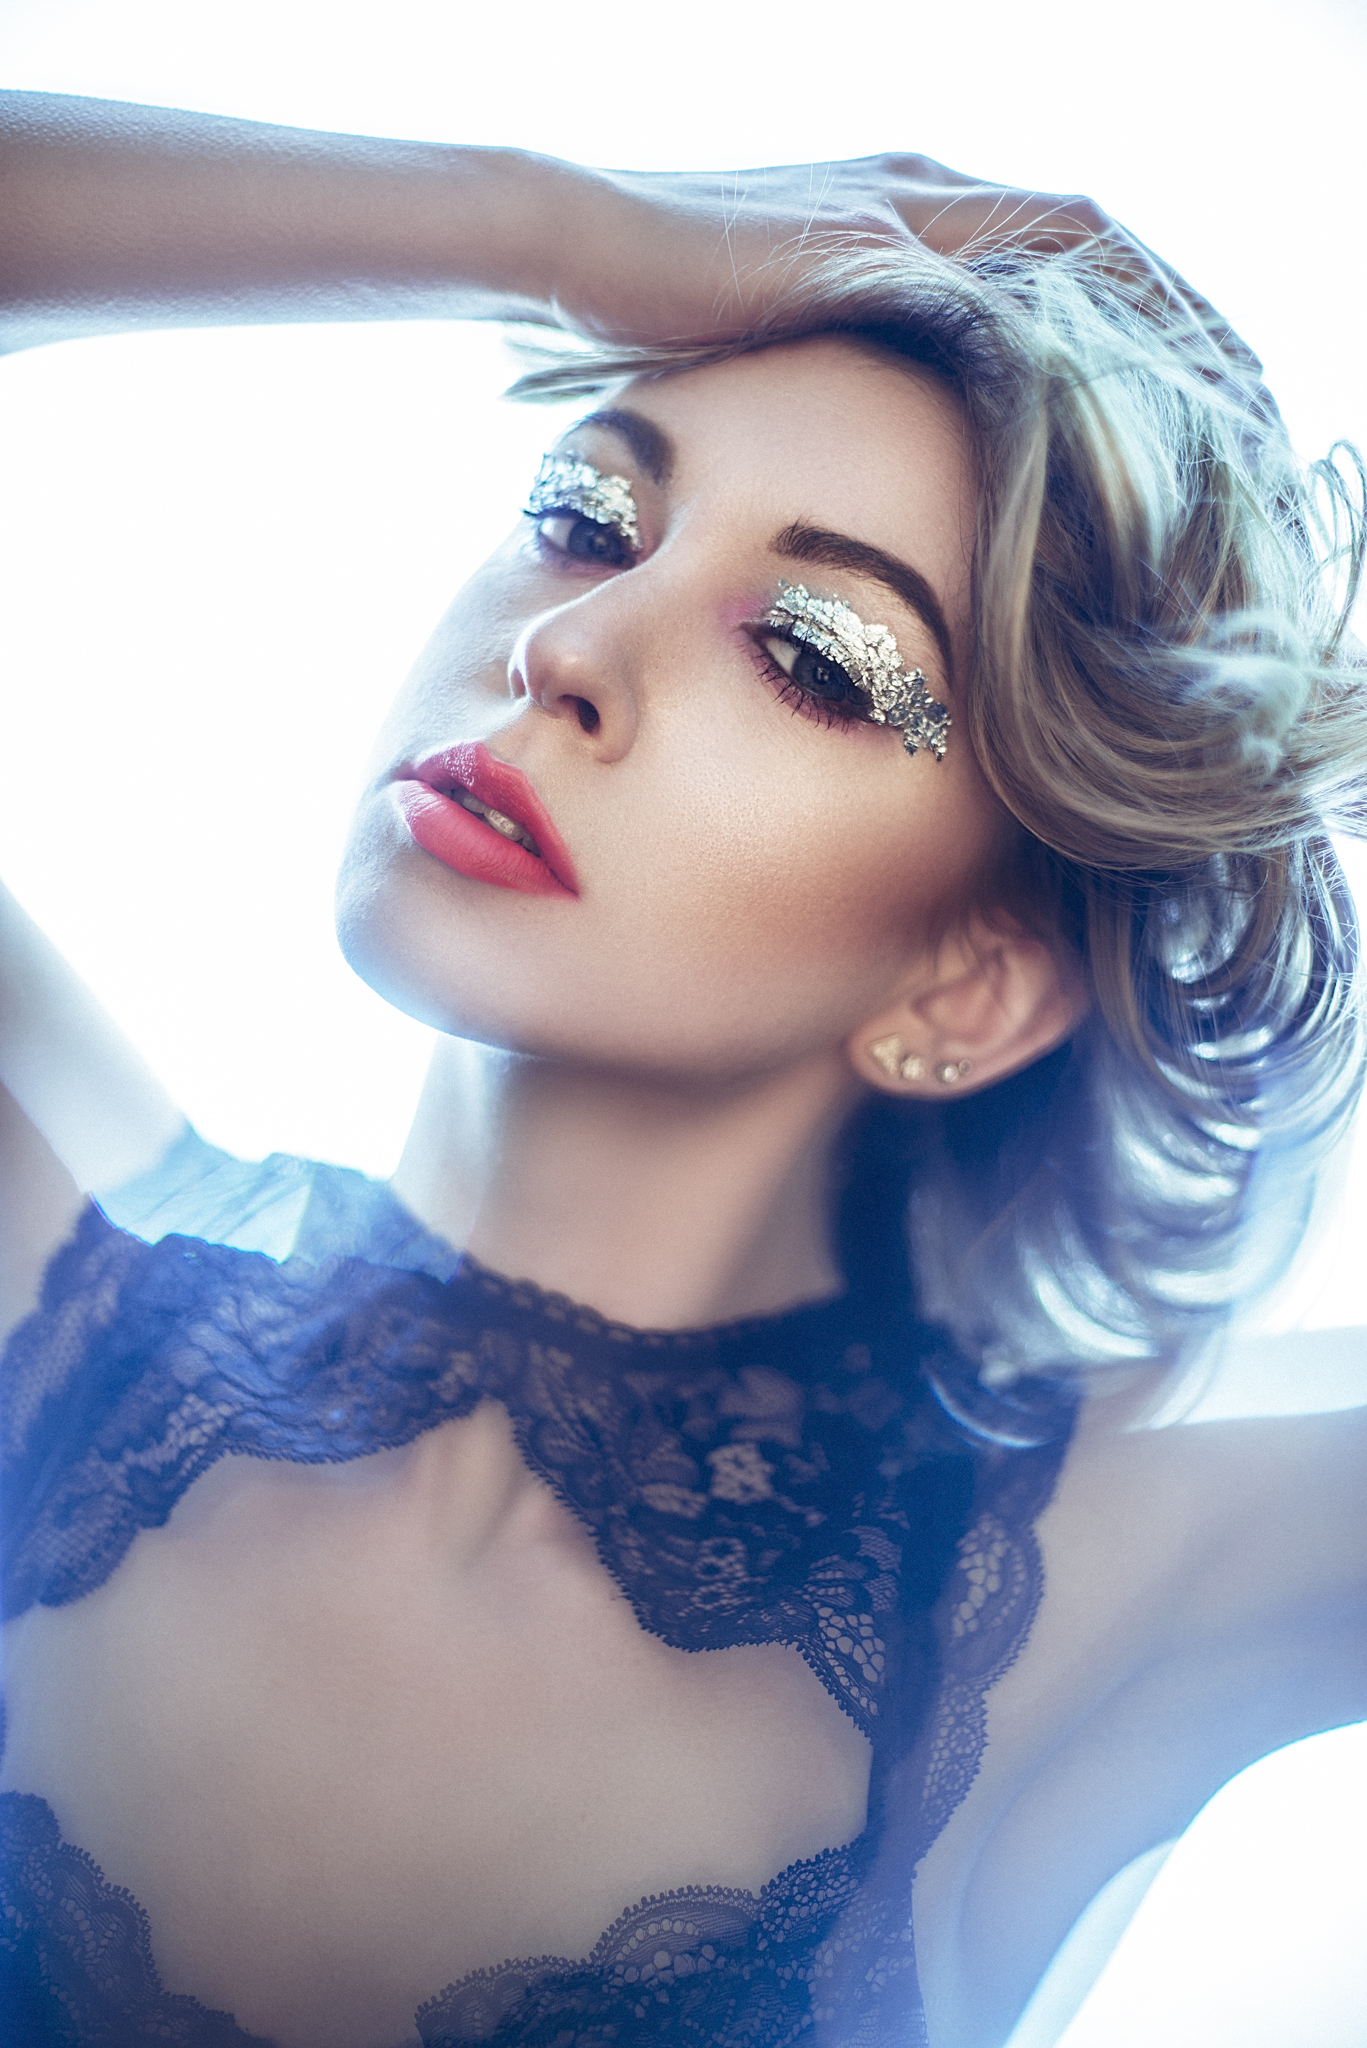
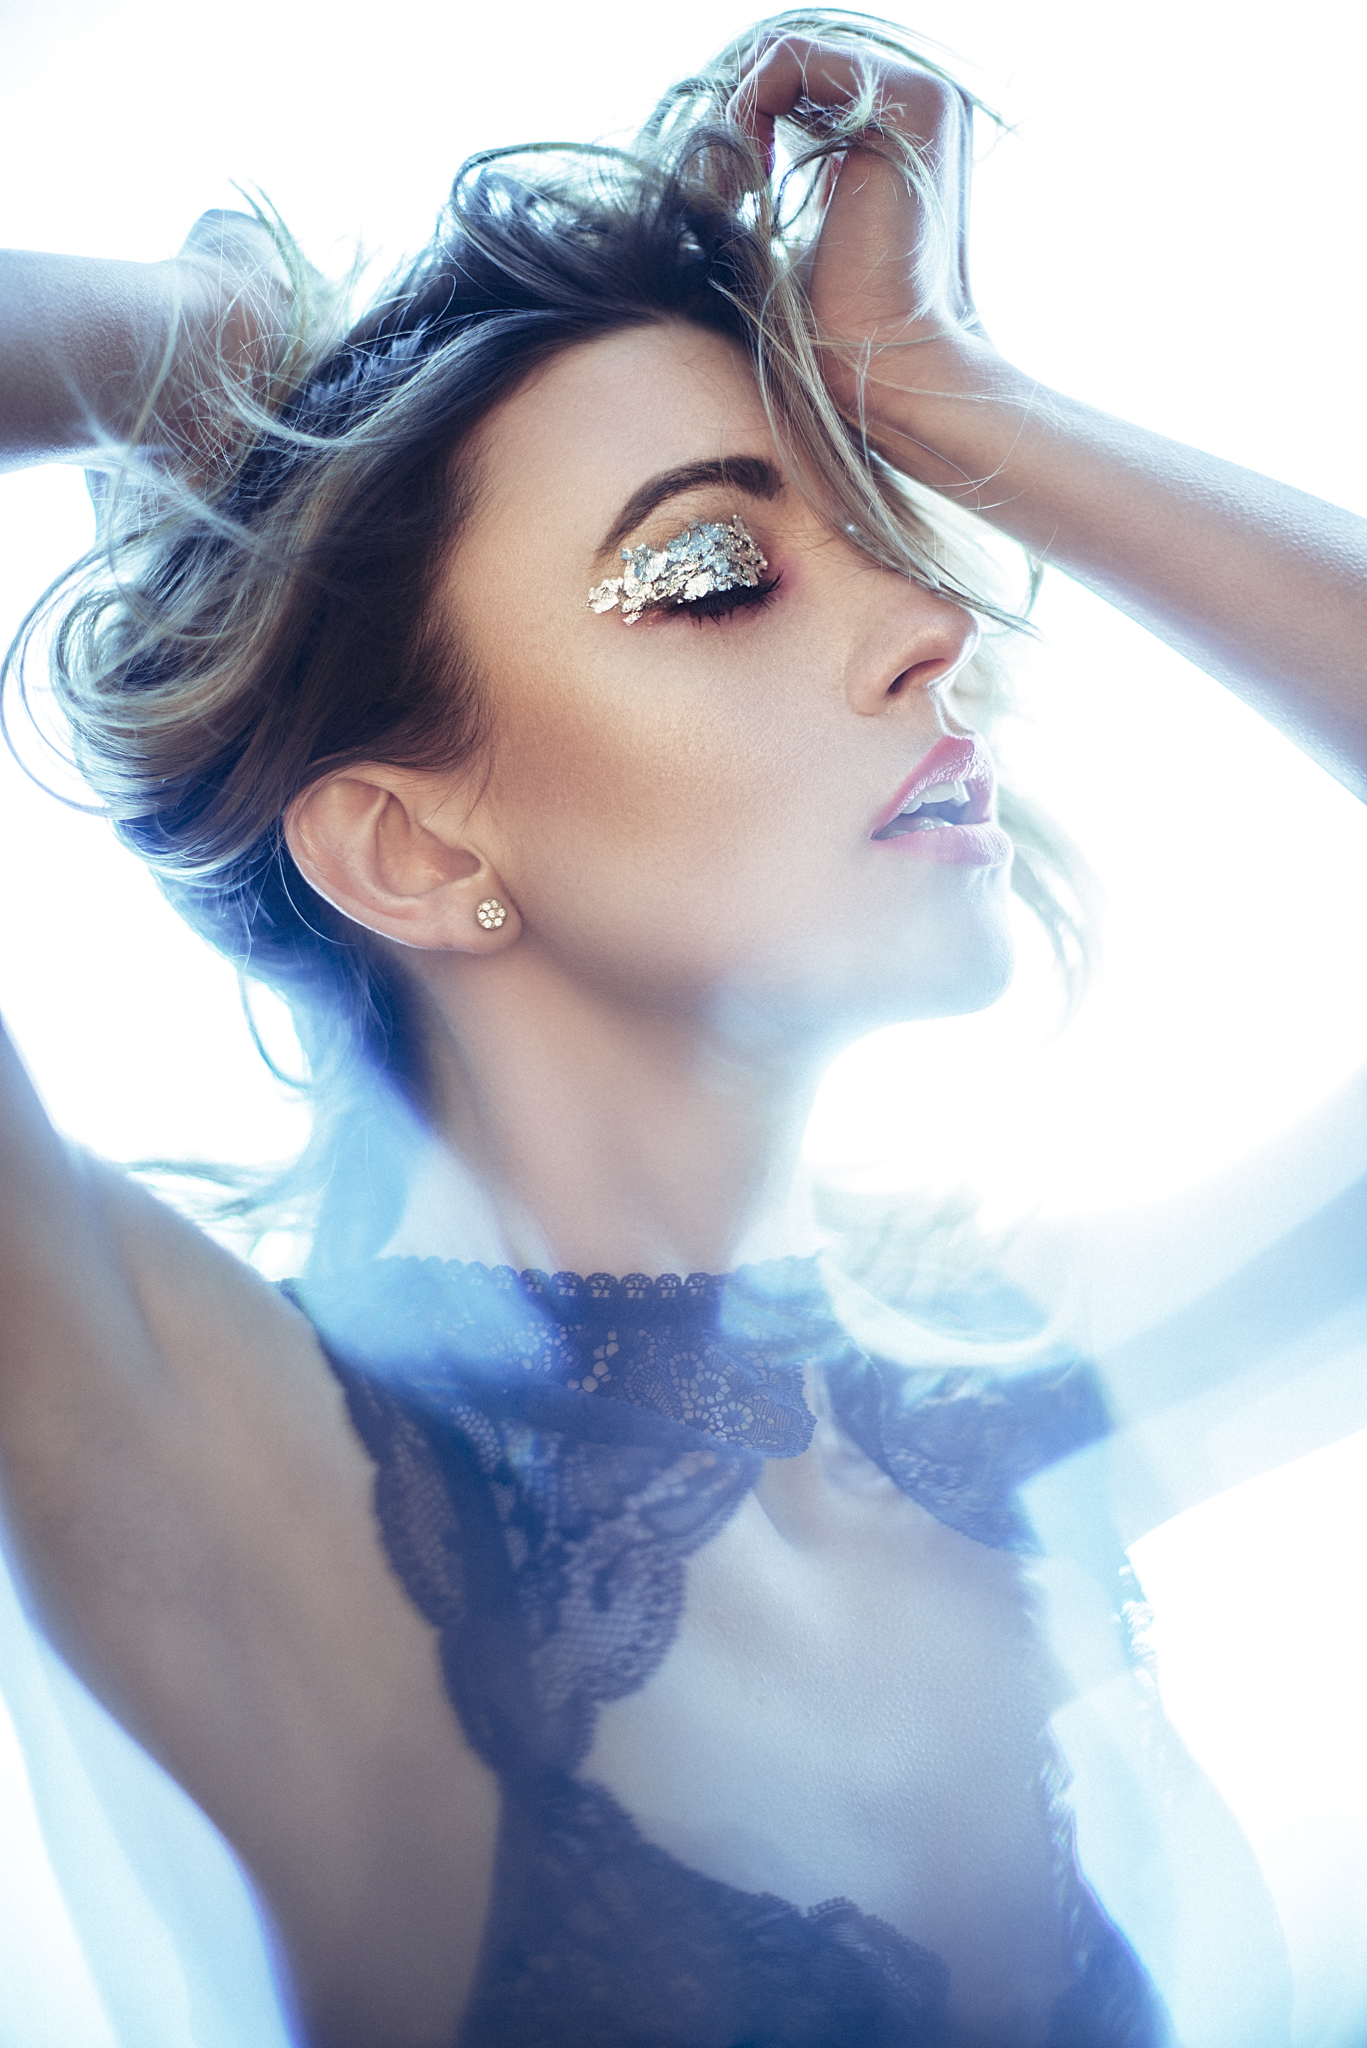
Because I know some peoples screens can't accommodate the format of my website, clicking on the thumbnails above will automatically enlarge and resize the images to fit your window.
Featured Model: Colleen Deary
Makeup and Hair: Rose Forest Makeup
At first this seems like a tricky idea to get your mind around but trust me, once you set it up and start playing with it you'll see how it works very quickly. But don't stop with this simple setup, look at other ways you can employ the same principles in other ways. Try still-life setups with reflective surfaces, try adding more lights and gels and also replace your softbox for a window. Remember, it's the Kelvin adjustment that changes the colour not the light source.
Questions
As always, I'd love to hear your questions and comments. If there's something that doesn't make sense or needs further explanation, just let me know below and I will answer them as quickly as I can :) Also if you give this technique a go, don't hesitate to let me know and share the results my way as I'd love to see what you come up with.
If you're interested in getting some coloured gels of your own and would like to take a look at the ones I sell then please feel free to take at my 'Coloured Gels' page for more info :)
:WARNING: Potential sales opportunity ahead.....for me :D
If you're interested in any of my work and would like to know more about how I created some of my shots then why not check out my workshops. Here you can find out everything there is to know about Gelled Lighting, Long Exposure Flash Photography and my entire Post-Pro Workflow. Jake Hicks Photography - Workshops
I've also just released a brand new 22 hour complete Gelled Lighting Tutorial video. I go over everything from studio lighting setups with gels to being on location with gels plus I also go through my complete retouching and post pro workflow. For more details and complete breakdown of everything that's include check out my Coloured Gel Portraits Tutorial
I also offer comprehensive coloured gel packs. These collections of gels are what I use day to day to create some of the most highly saturated colours around. If you're looking at getting into gelled lighting or need to get stronger and richer colours in your coloured gel work why not check out my Jake Hicks Photography Gel Packs


