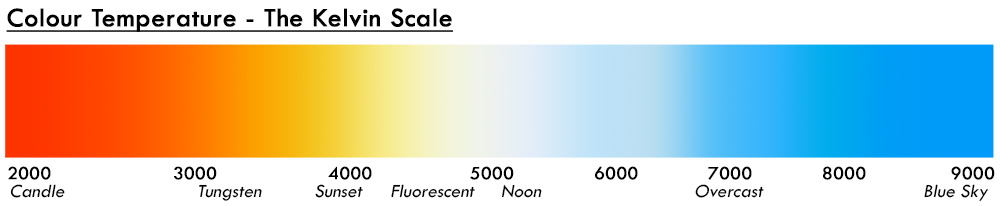
The title of the article may be a little opinionated regarding "refining" a classic lighting setup because I'm fully aware that there is a time and a place for every lighting technique; but for me this little addition to an old technique improved the final image.
So first off what's the "classic" setup that I'm referring to? It's simply a softbox in front, and a softbox behind technique that creates a wraparound lighting effect. It has its place and it's incredibly quick and easy to setup: you place the model in front of a large softbox, then you set up another softbox/beauty dish/umbrella in front of them and take your shot. Simple.

This is a very simple setup to achieve as it's super quick and requires very little kit.
Like I mentioned at the start, there's nothing really wrong with this setup and the images produced are perfectly usable. In fact when I worked in a commercial portrait studio we would sell a lot of these exact images because to the client, they looked a little different to the normal portrait, plus the wraparound lighting is very flattering.

Here's a quick example of the aforementioned setup. Softbox behind and key light in front.
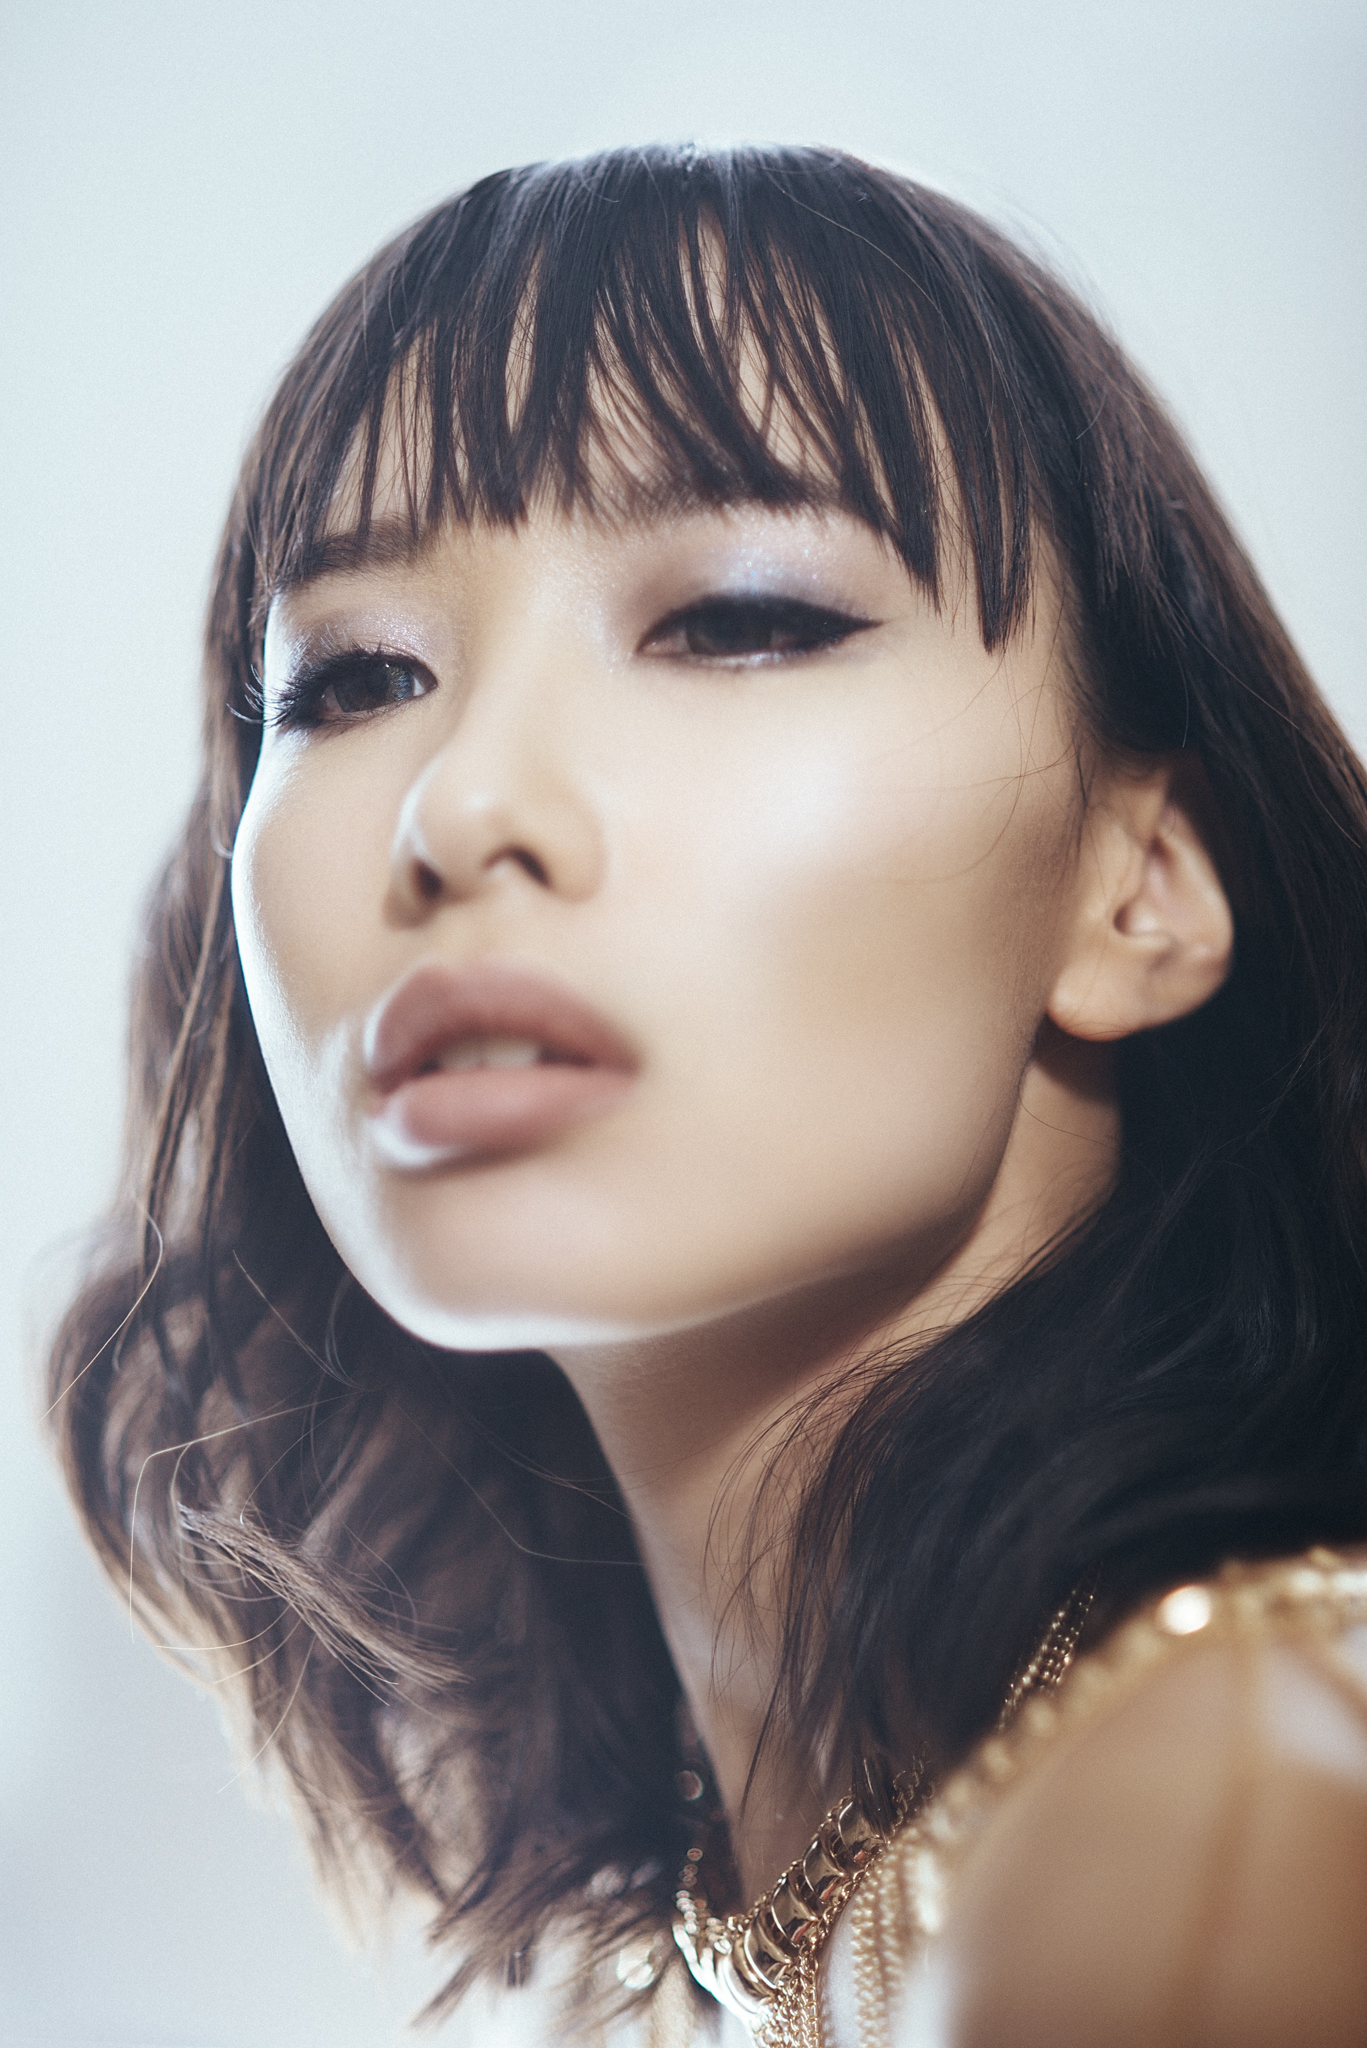
As I've just mentioned there are a couple of plus points to using this setup: it's easy to set up, but mainly the wraparound lighting has a "thinning" effect on the subject. This effect is really only a byproduct of the softbox being behind the model and blowing out the highlights around the model's skin. Any time you blow your highlights in an image is far from ideal so I wanted to look at making some refinements.
I had a beauty shoot lined up and I liked the idea of this wraparound glow surrounding the model, but I really didn't want to blow out highlights anywhere as much, so I looked at modifying it with that in mind.
My first stop was to look at product lighting techniques that I've used in the past. The lighting technique that I'm referring to is called "dark field illumination" and I wrote an article many years ago that goes into the details of it (read the article here for those that are interested - Dark Field Illumination).
Essentially the basics of the setup are exactly the same as above; the only addition is that you include a black sheet/board or similar between your model and the softbox behind them. This allows for the light to still wrap around the subject but with the added contrast that a darker background can provide. See below for the quick-and-dirty version.

Here you can see the "dark field illumination" setup in it's simplest form. I wanted some quick and interesting looking product shots for an article so I simply used my T.V. as a replacement softbox behind the subject. I placed a black piece of card between the product and the T.V. and in two minutes I have a useable setup without the fuss of setting up my lights. PRO TIP: The blue edging seen here is a result of my white balancing to my tungsten lounge light ;)
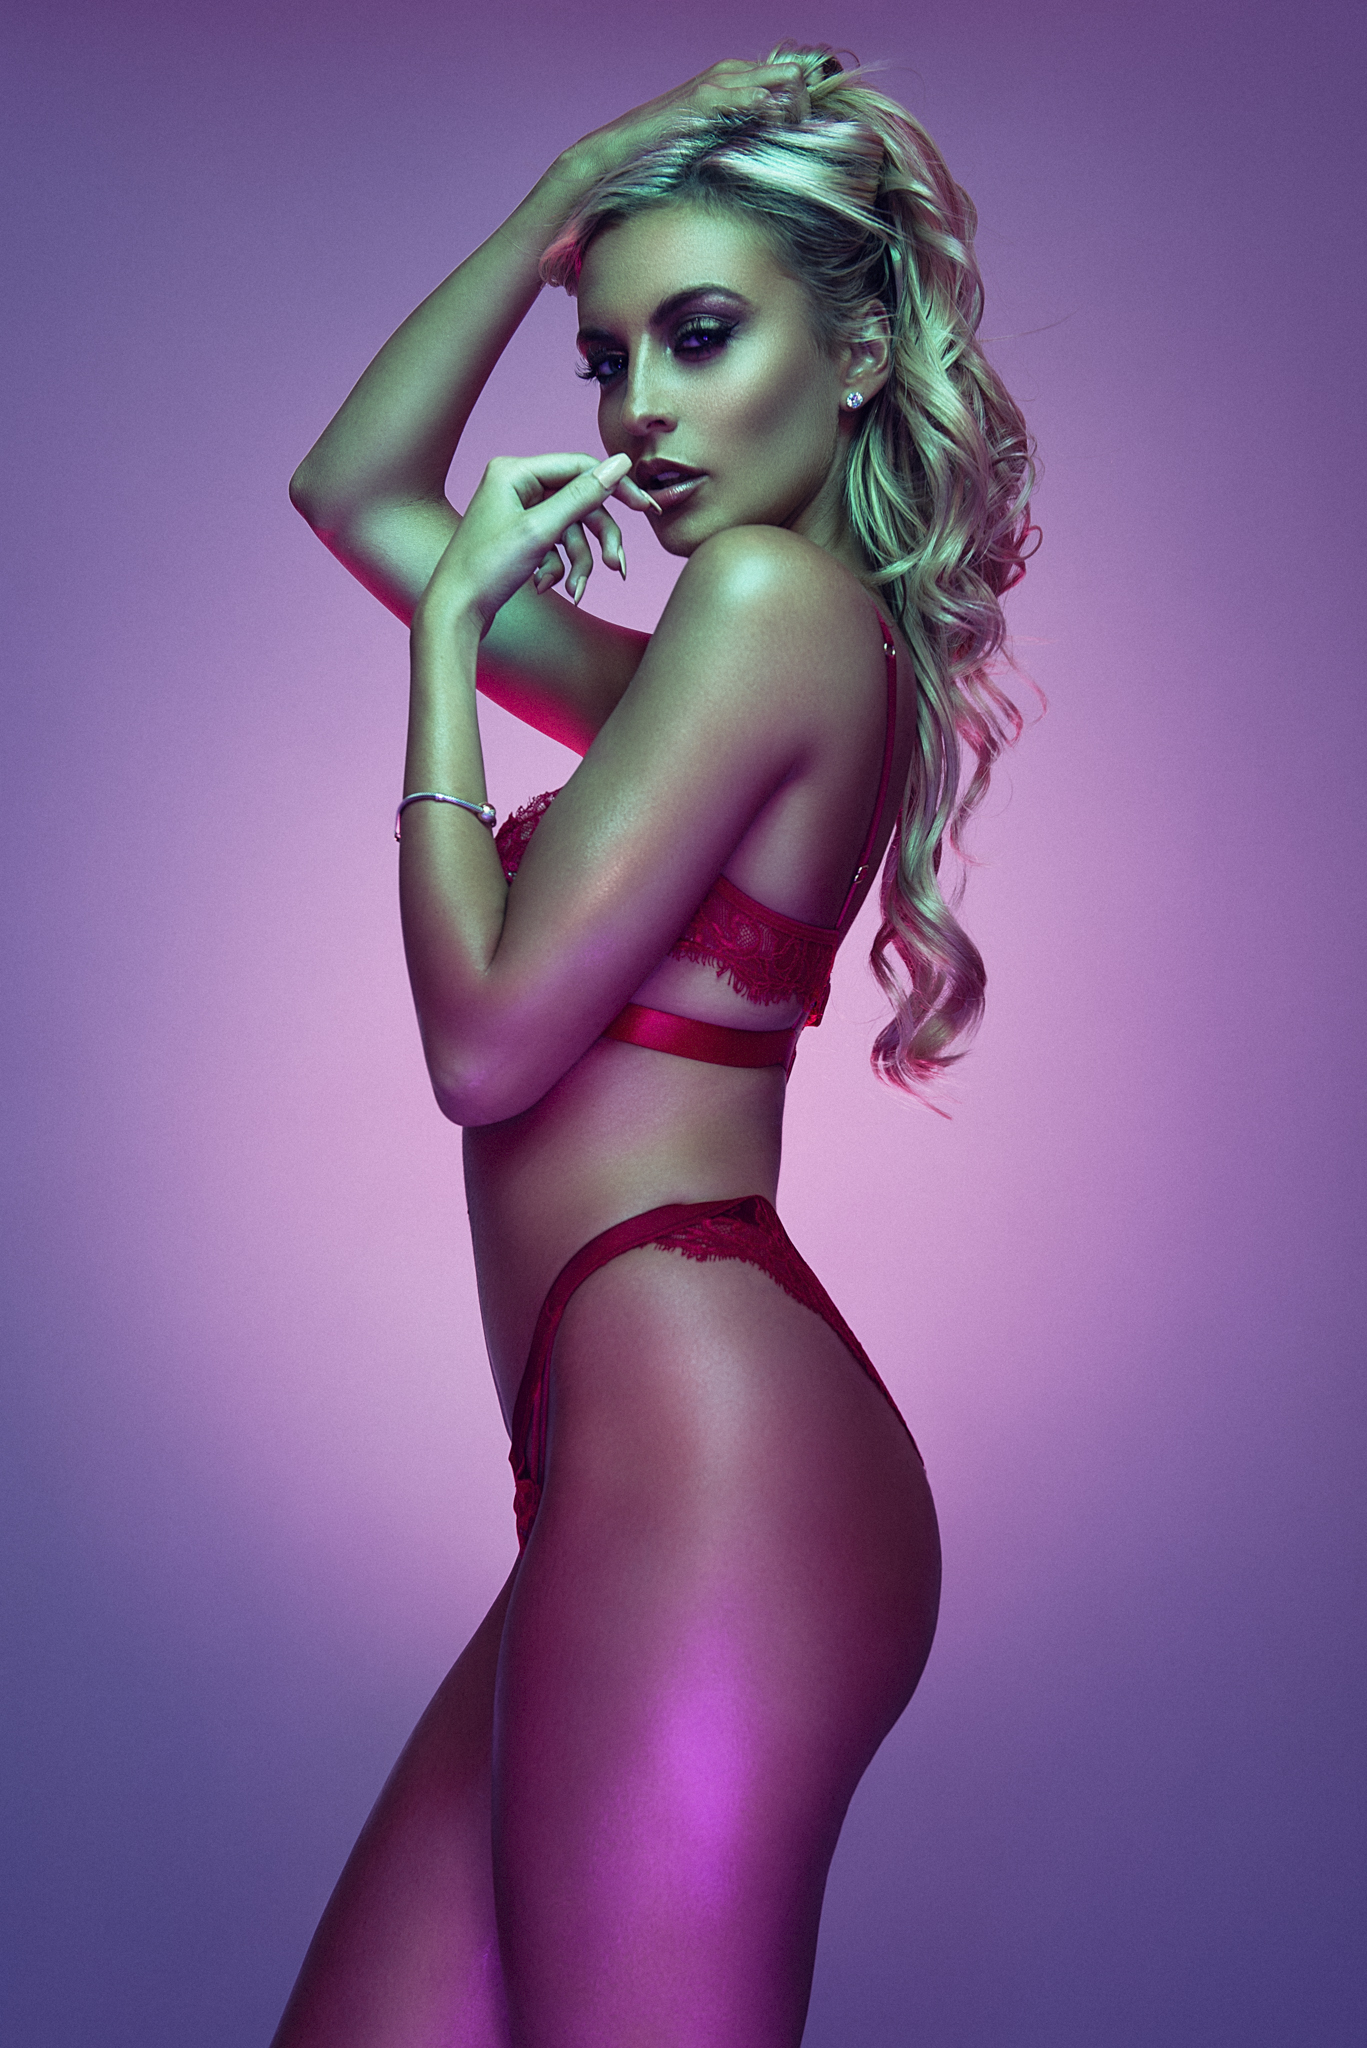
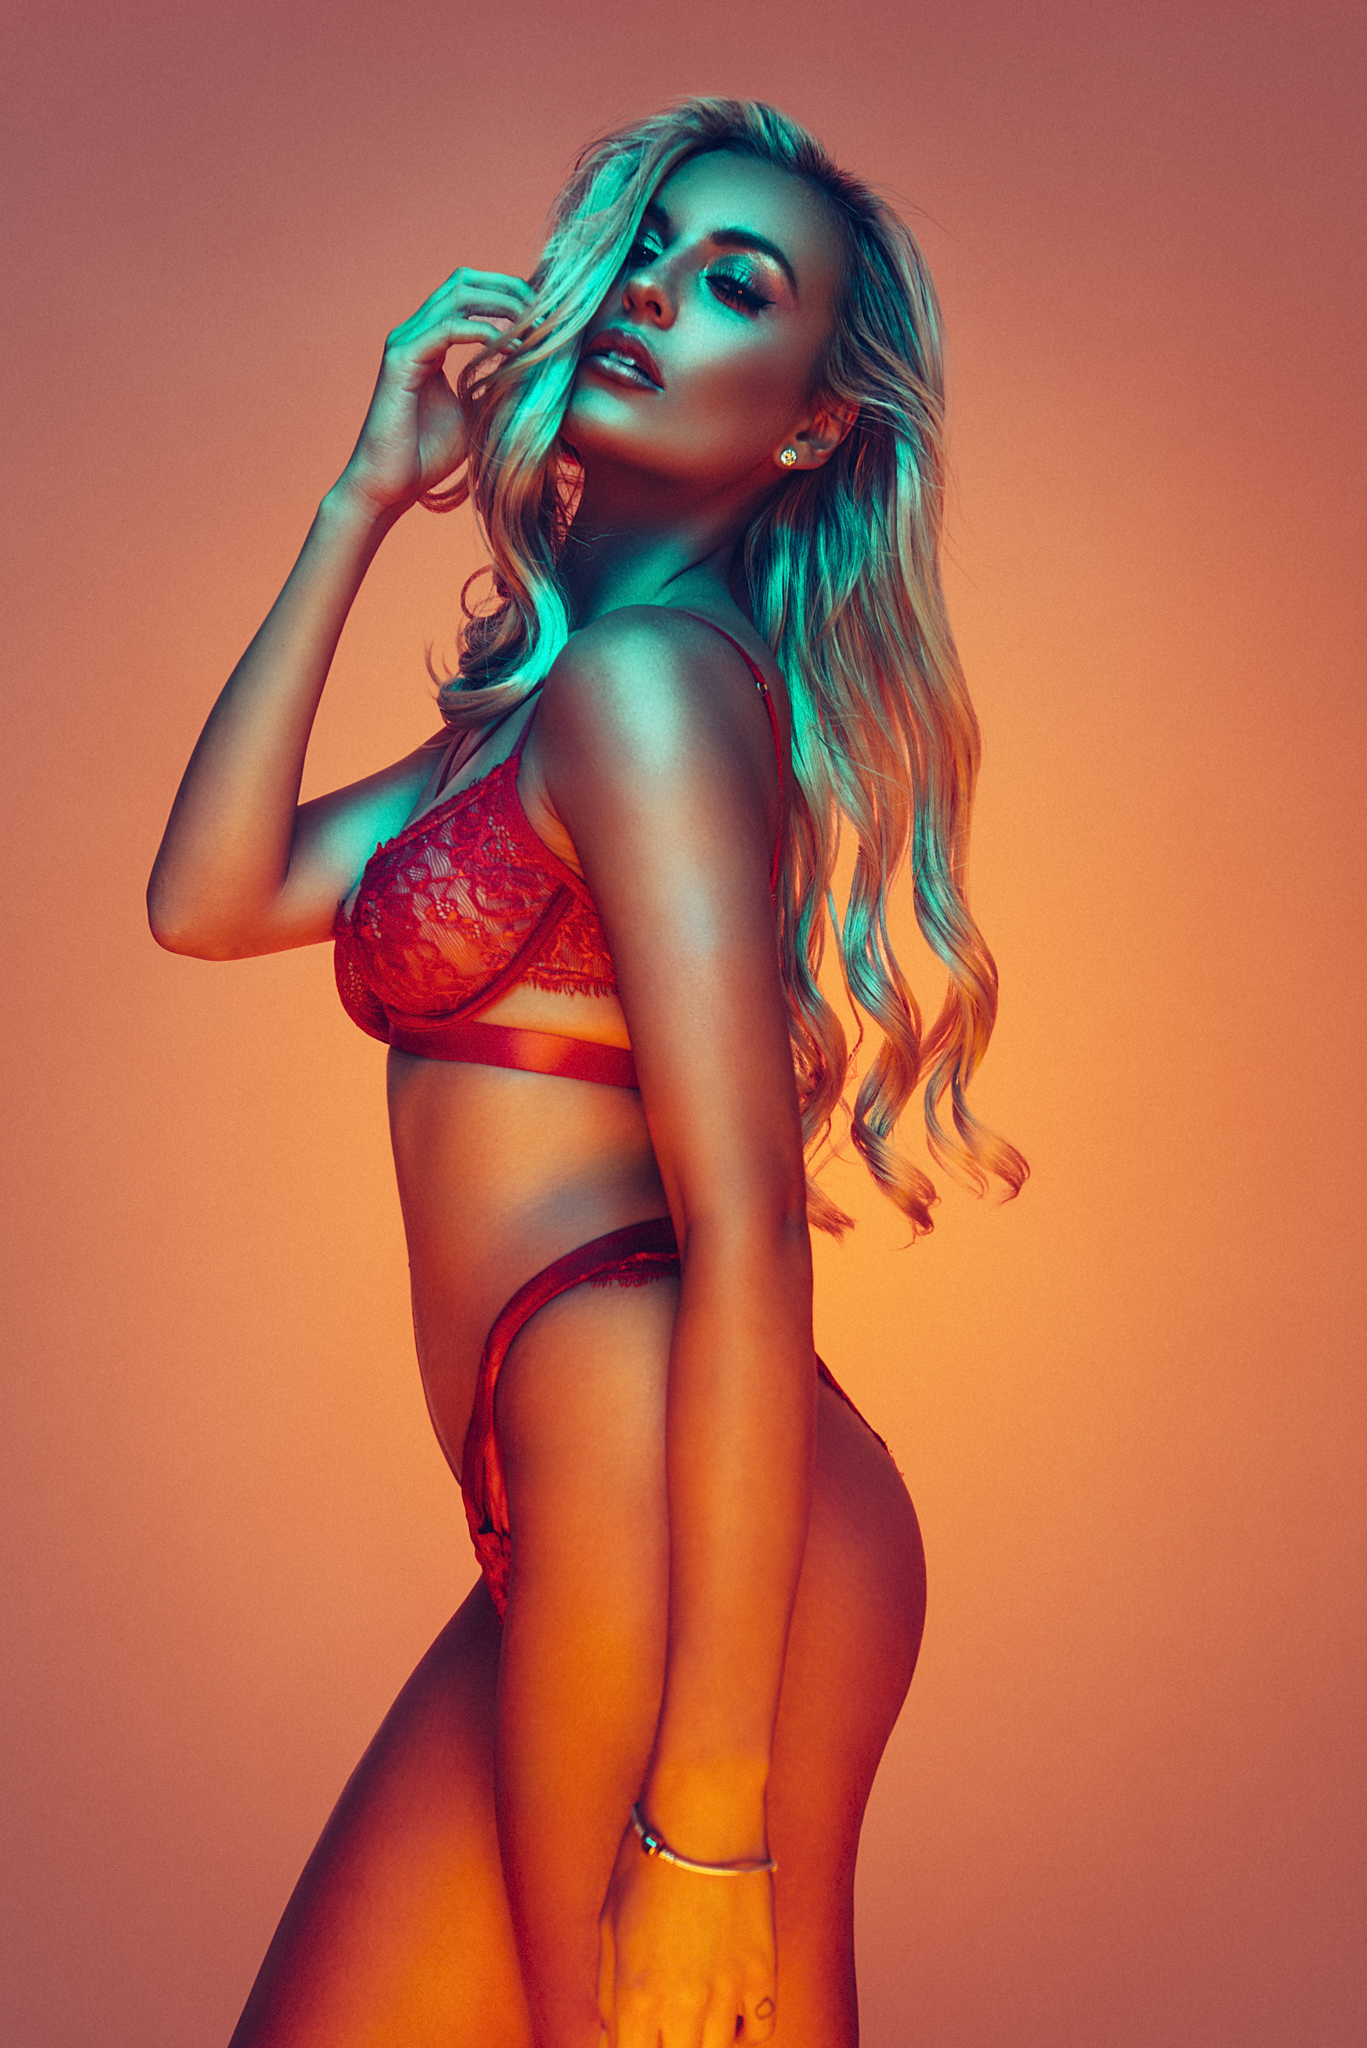
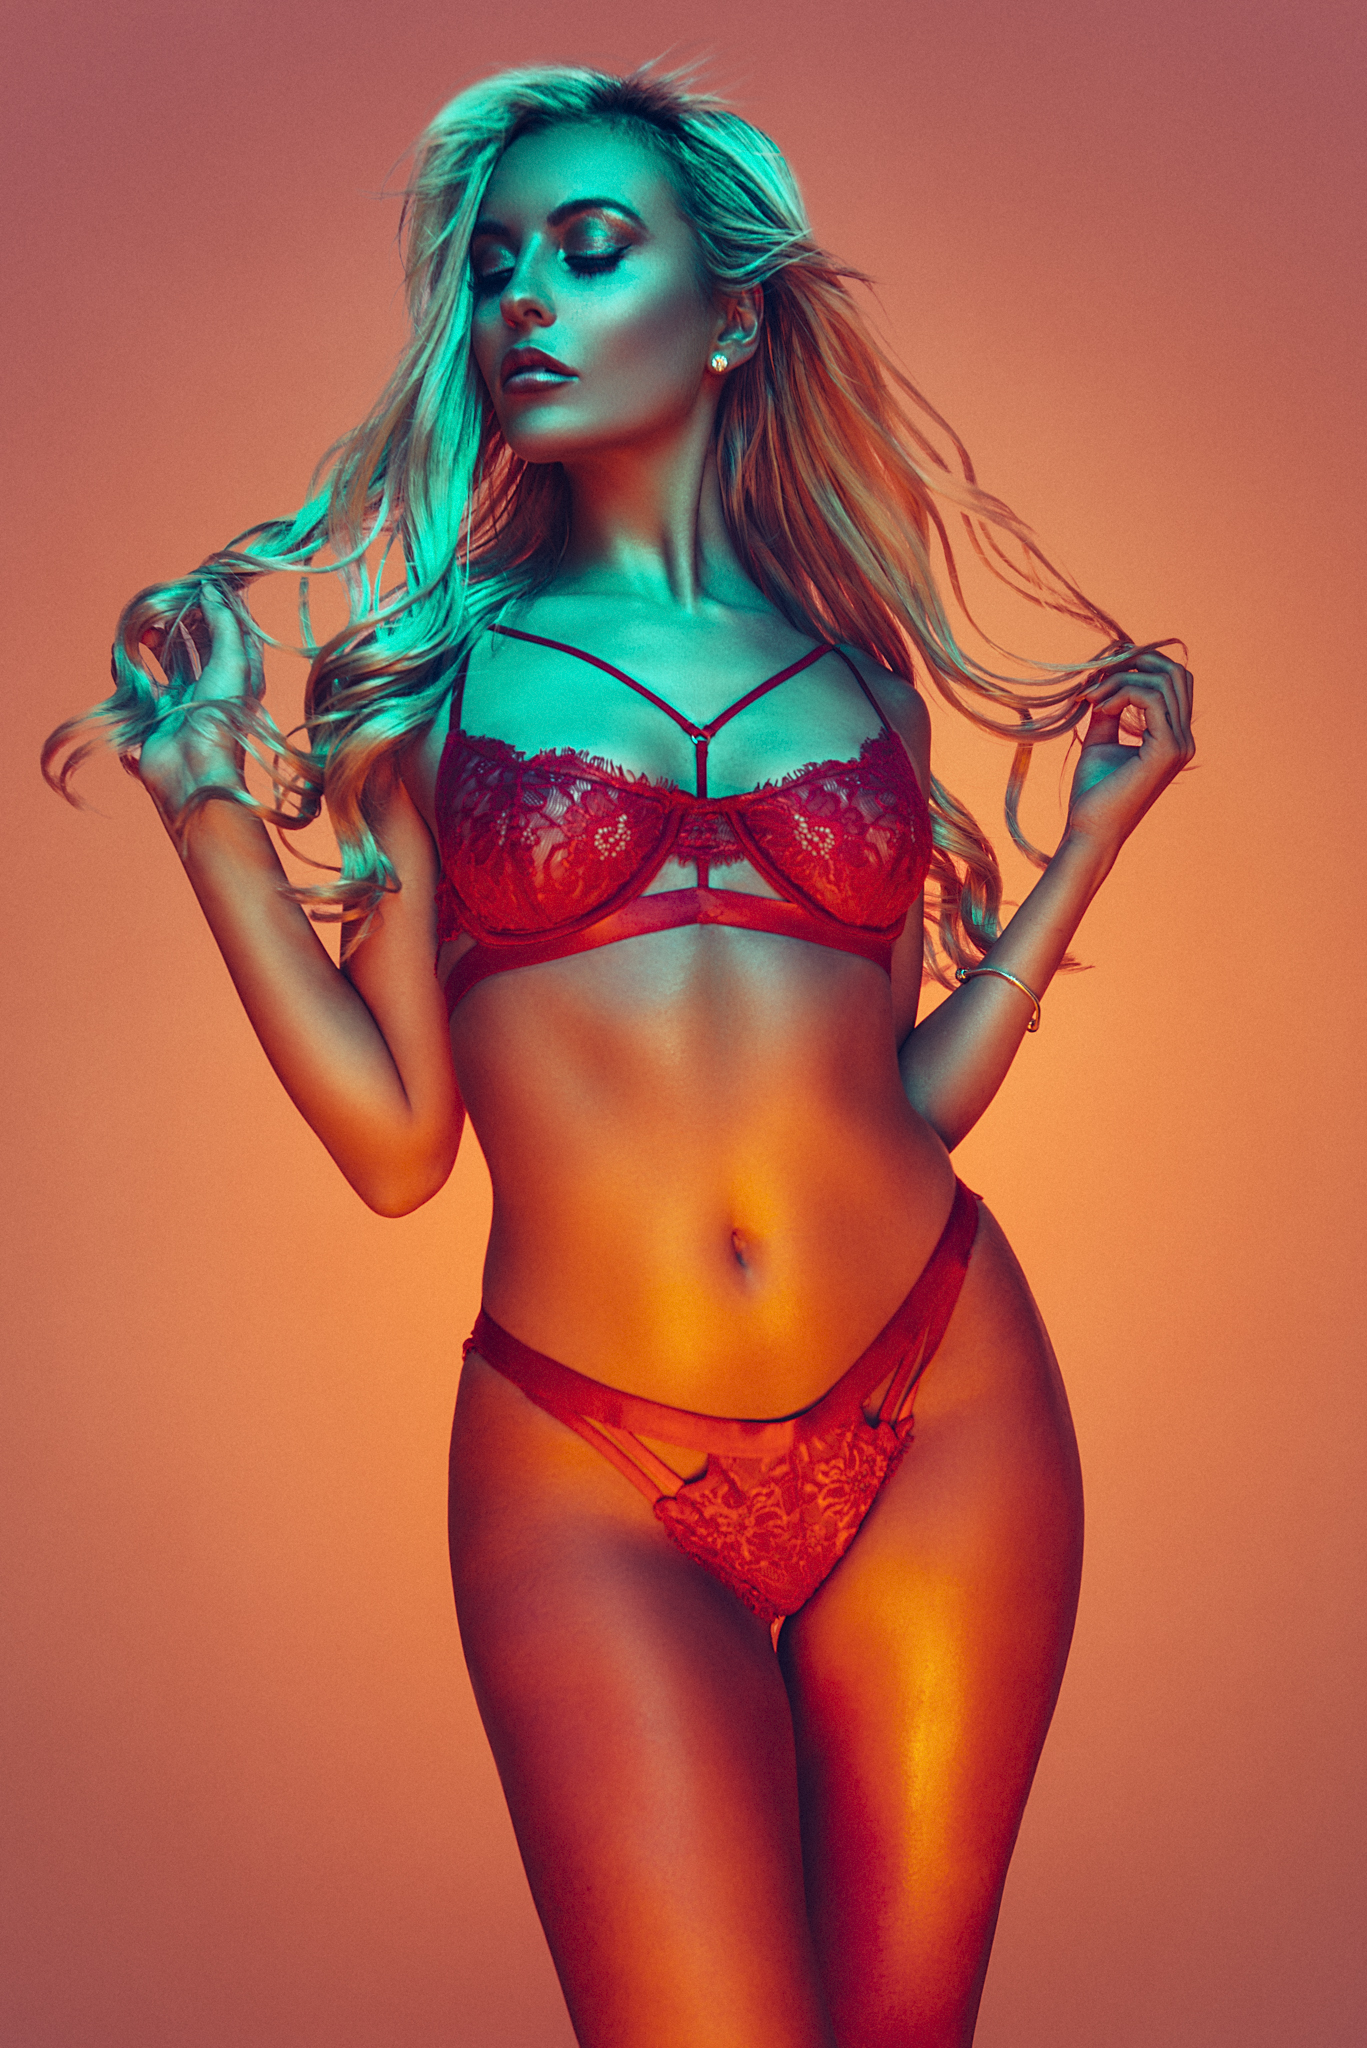
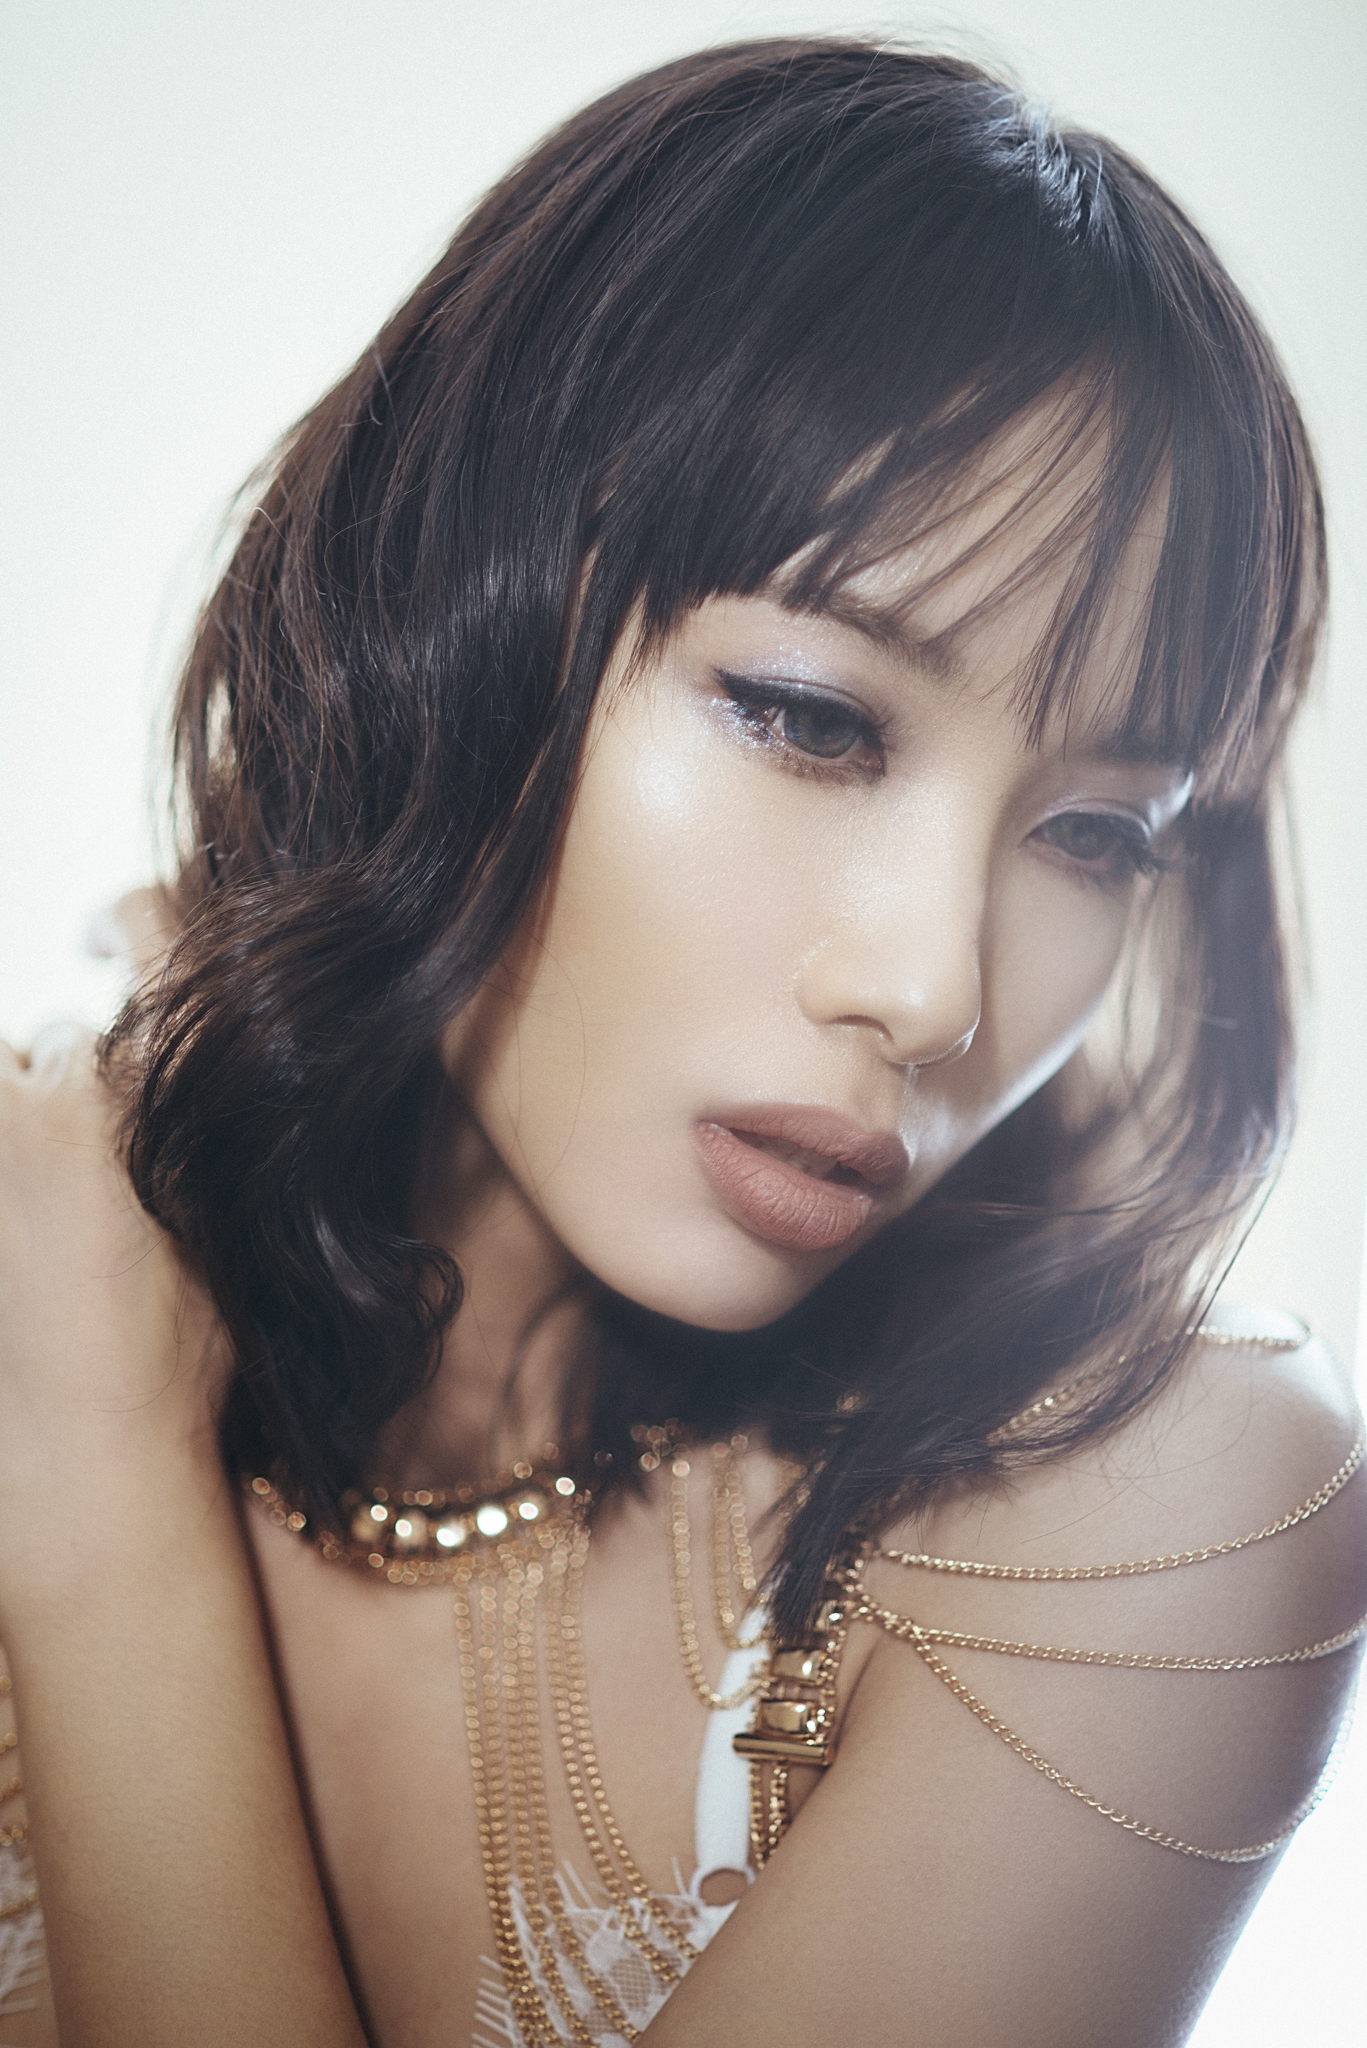
As much as I like the dark field illumination setup I still wanted a white background behind my model, but I didn't want to sacrifice the highlights as much to achieve it. The seemingly obvious solution in hindsight was to simply replace the black board for a white one - that's it: set up the dark field illumination and replace the black board for a white one. As a simple solution goes it's perfect because it gives you so much more control over the backlight power now with the addition of white board in front. It allows light to wrap around the model but if you don't want it to, you can reduce the amount the light that "eats" into the model's skin that blows the highlights out.

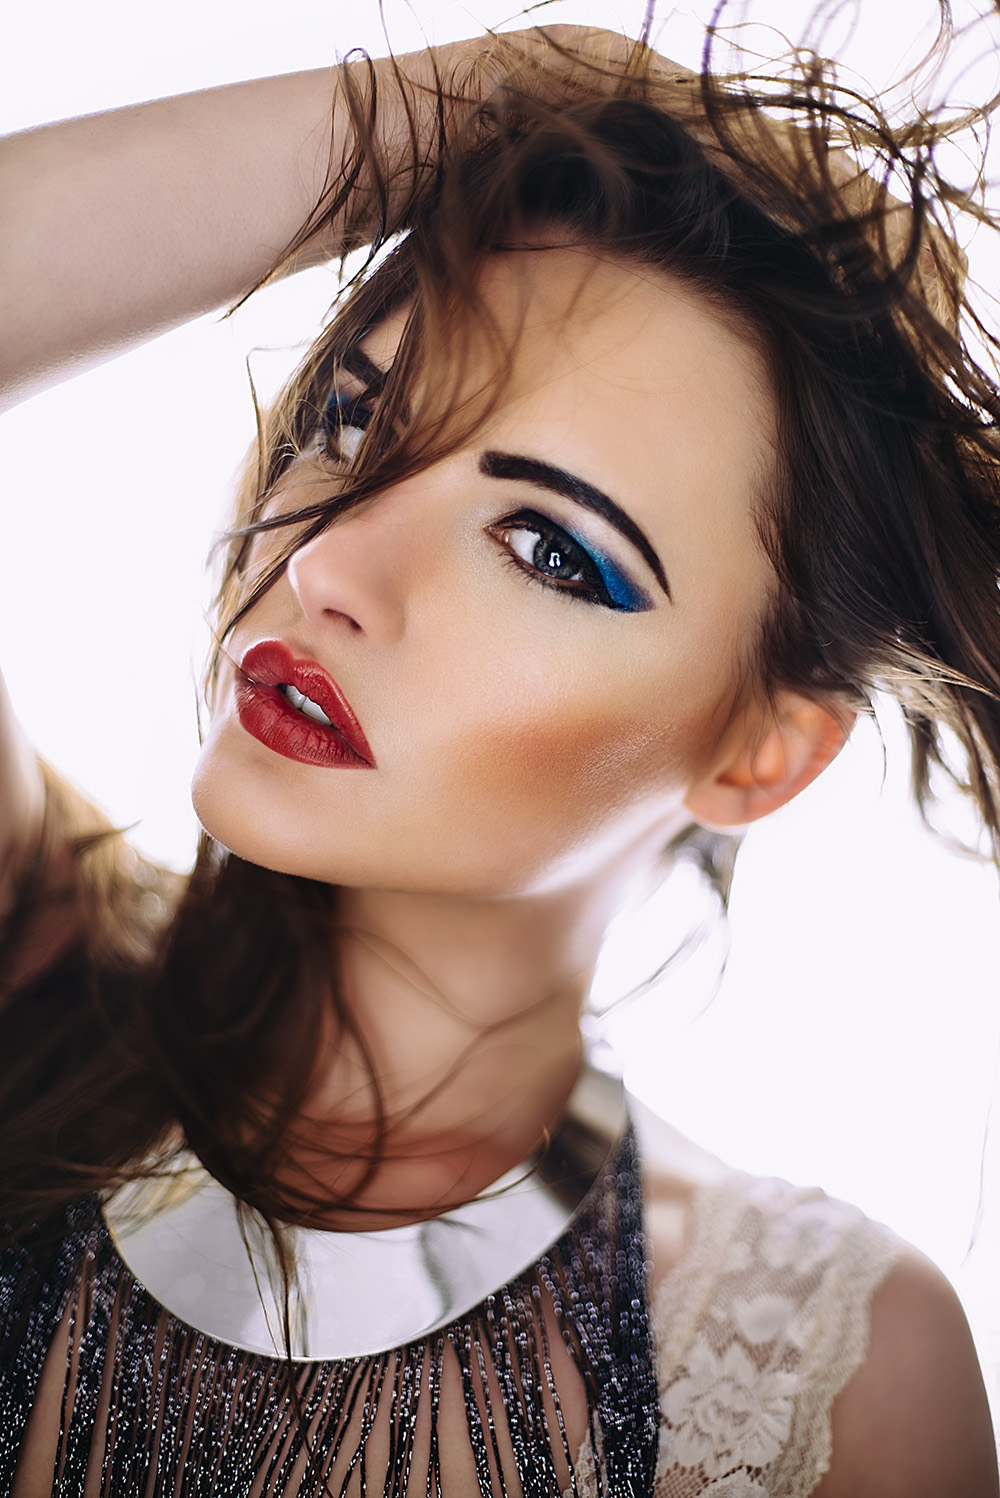
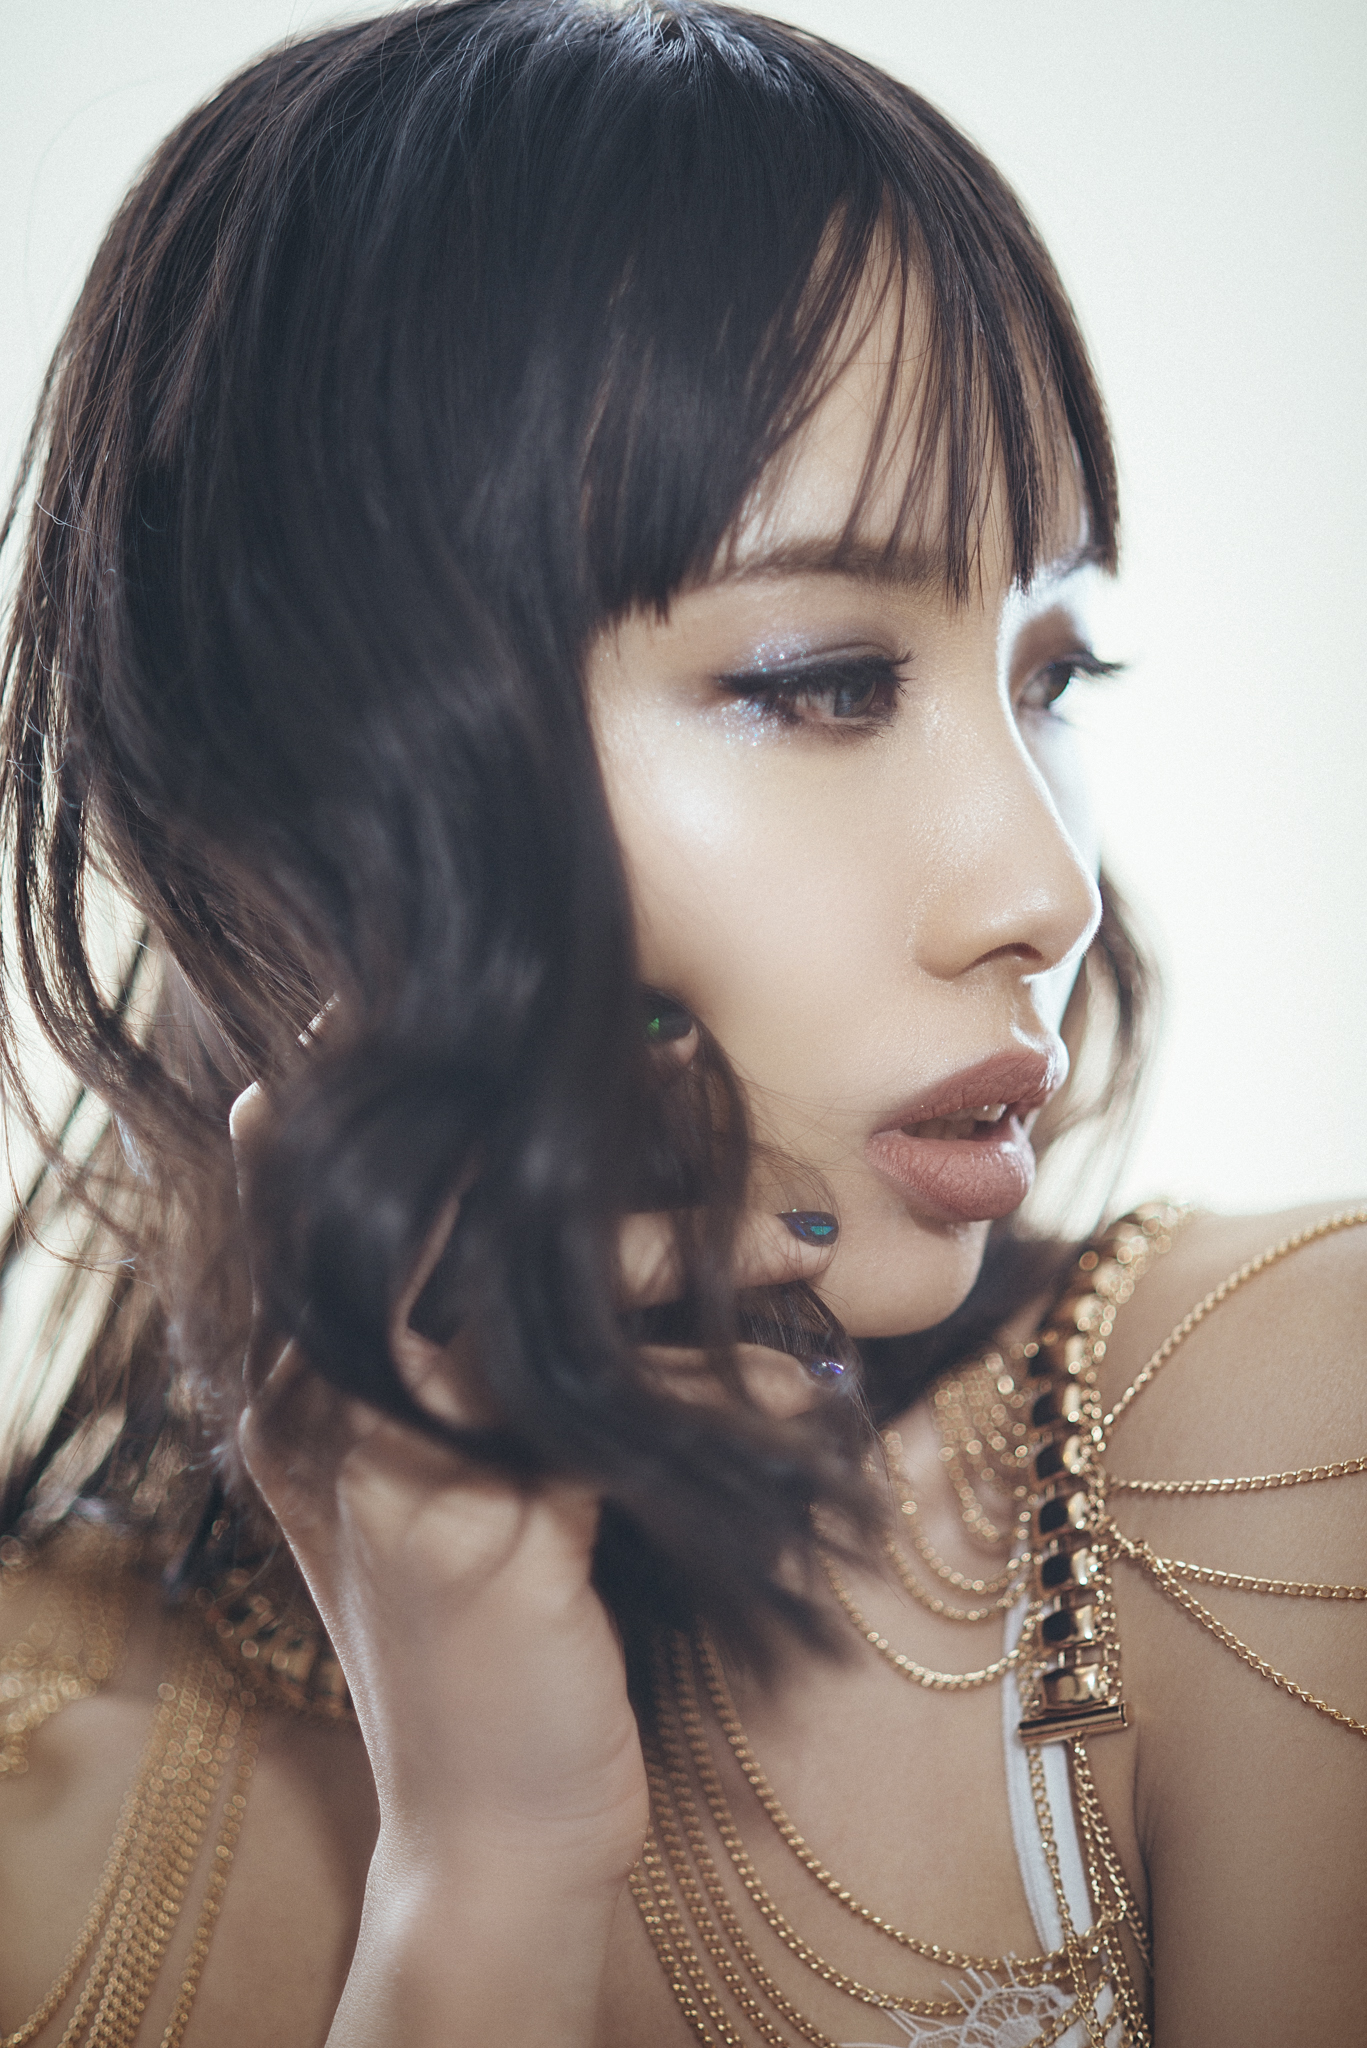
With the addition of a white board between the model and the softbox behind, we can gain a lot more control over how much of the highlights are blown on the model's skin.

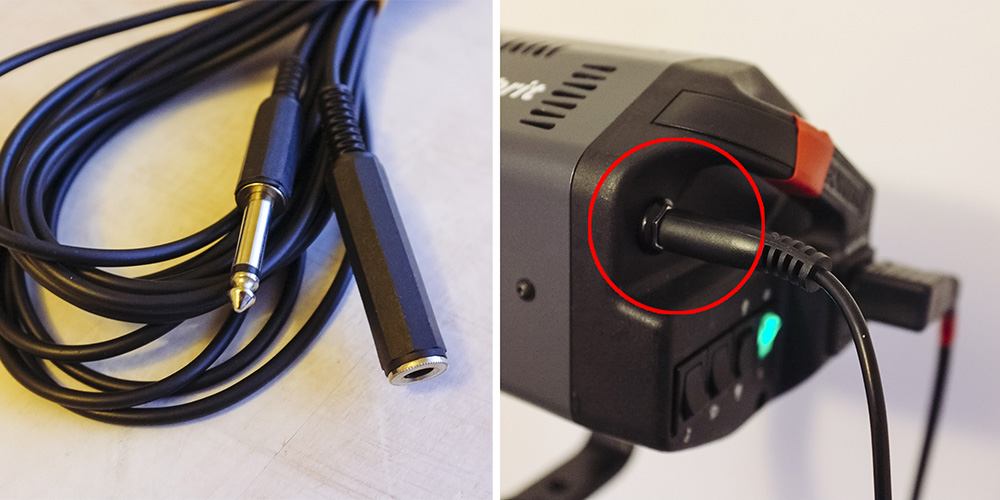
Here's a photo of my setup behind the model. I simply used a white sheet of acrylic and clamped it to the top of one of my light stands behind the model. You could use anything white but this acrylic sheet was sturdy enough to support it's own weight when clamped upright like this so made it perfect for the job.
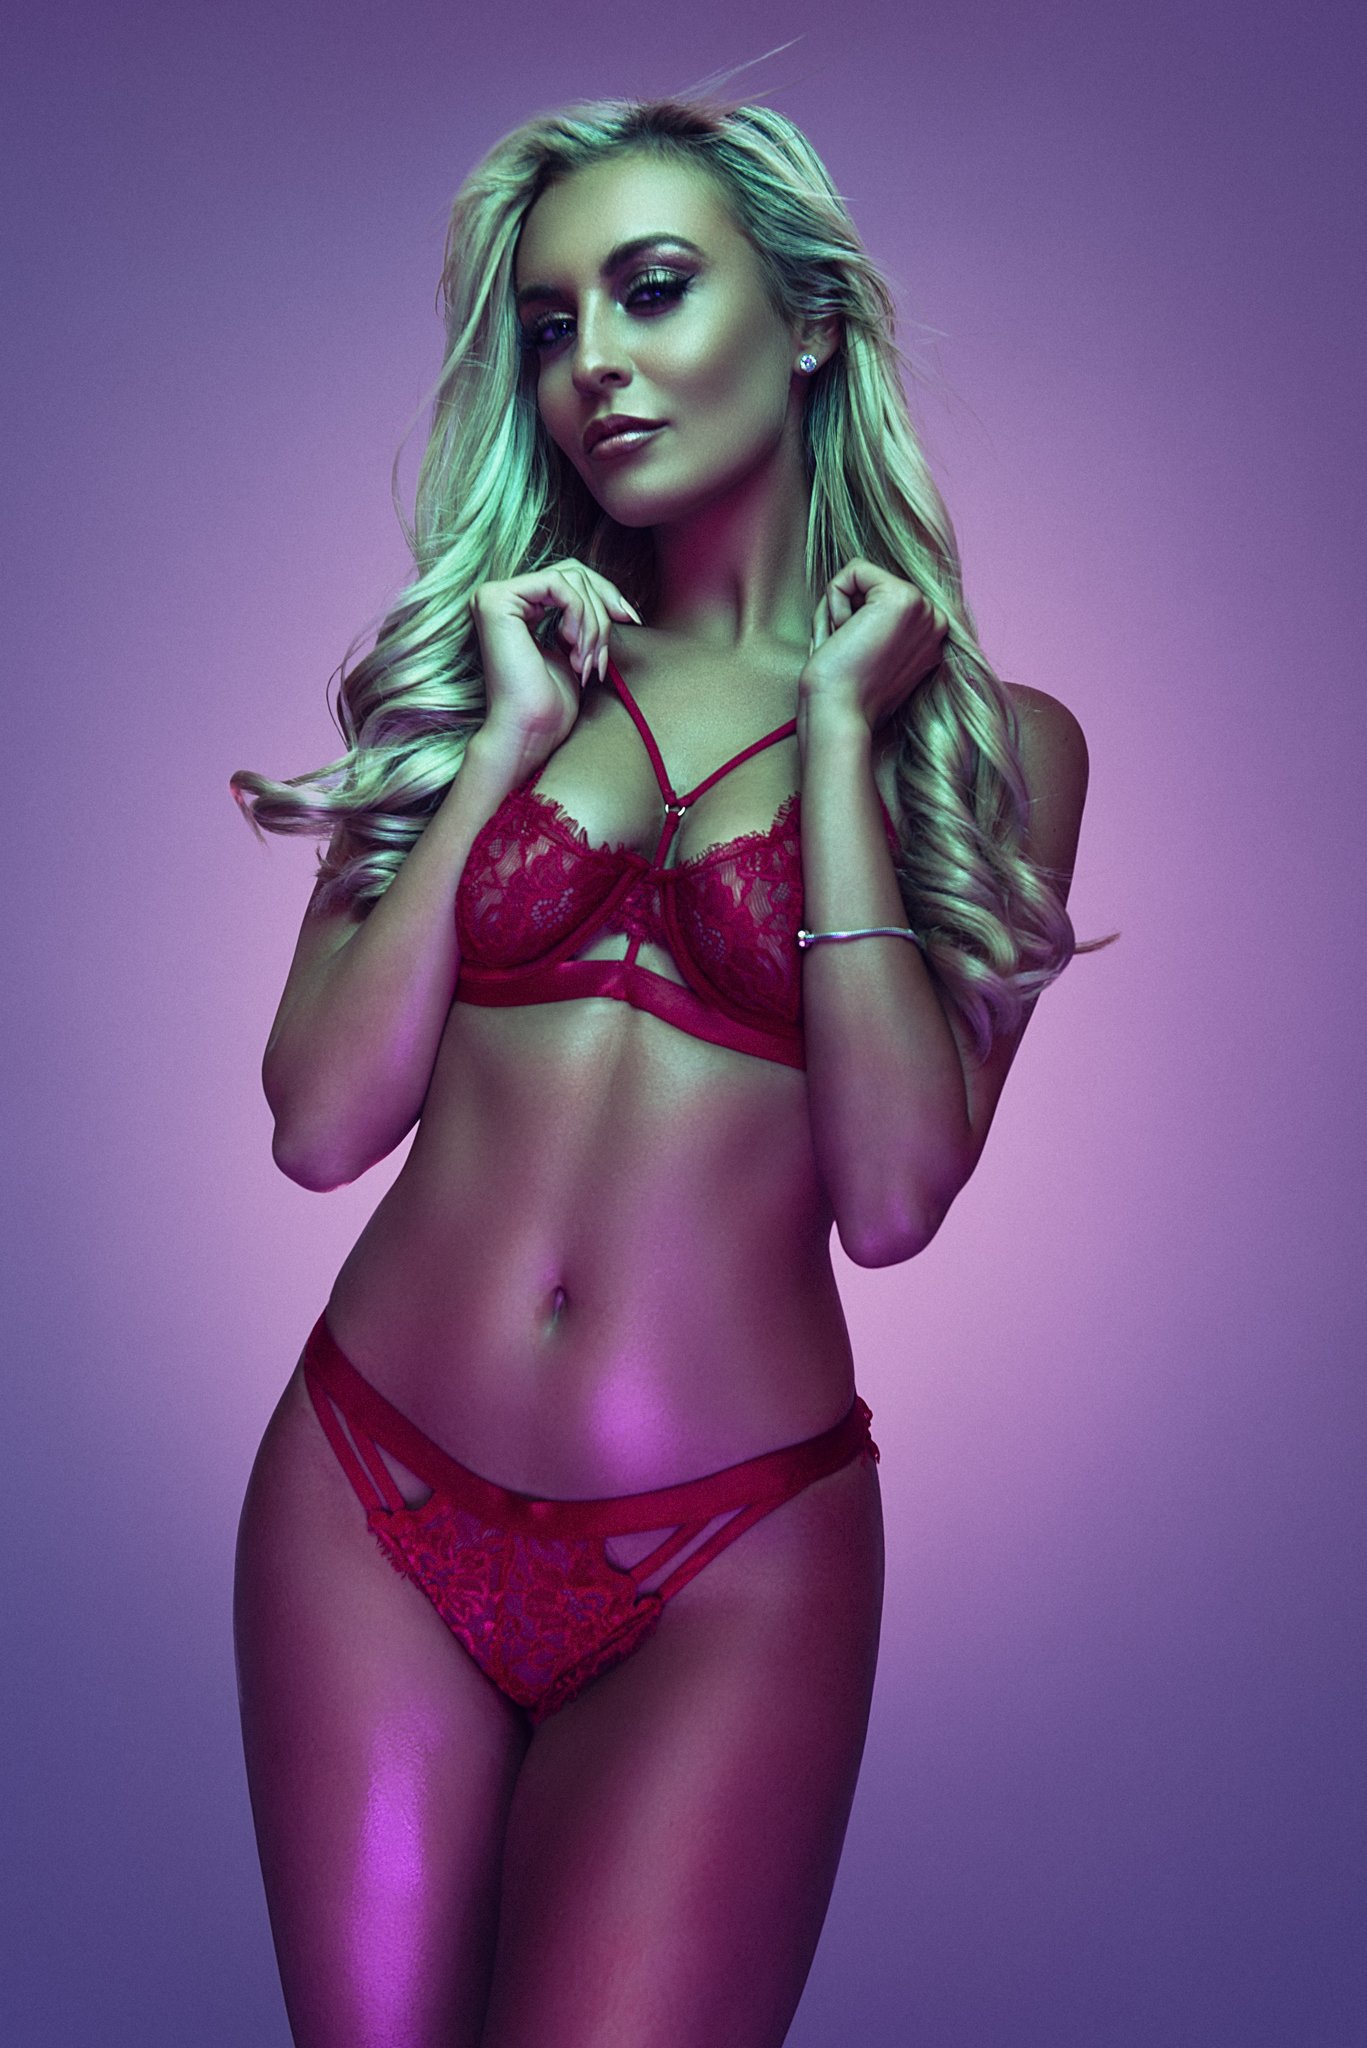
So there you have it, I guess you could call it my "light-field illumination" technique.
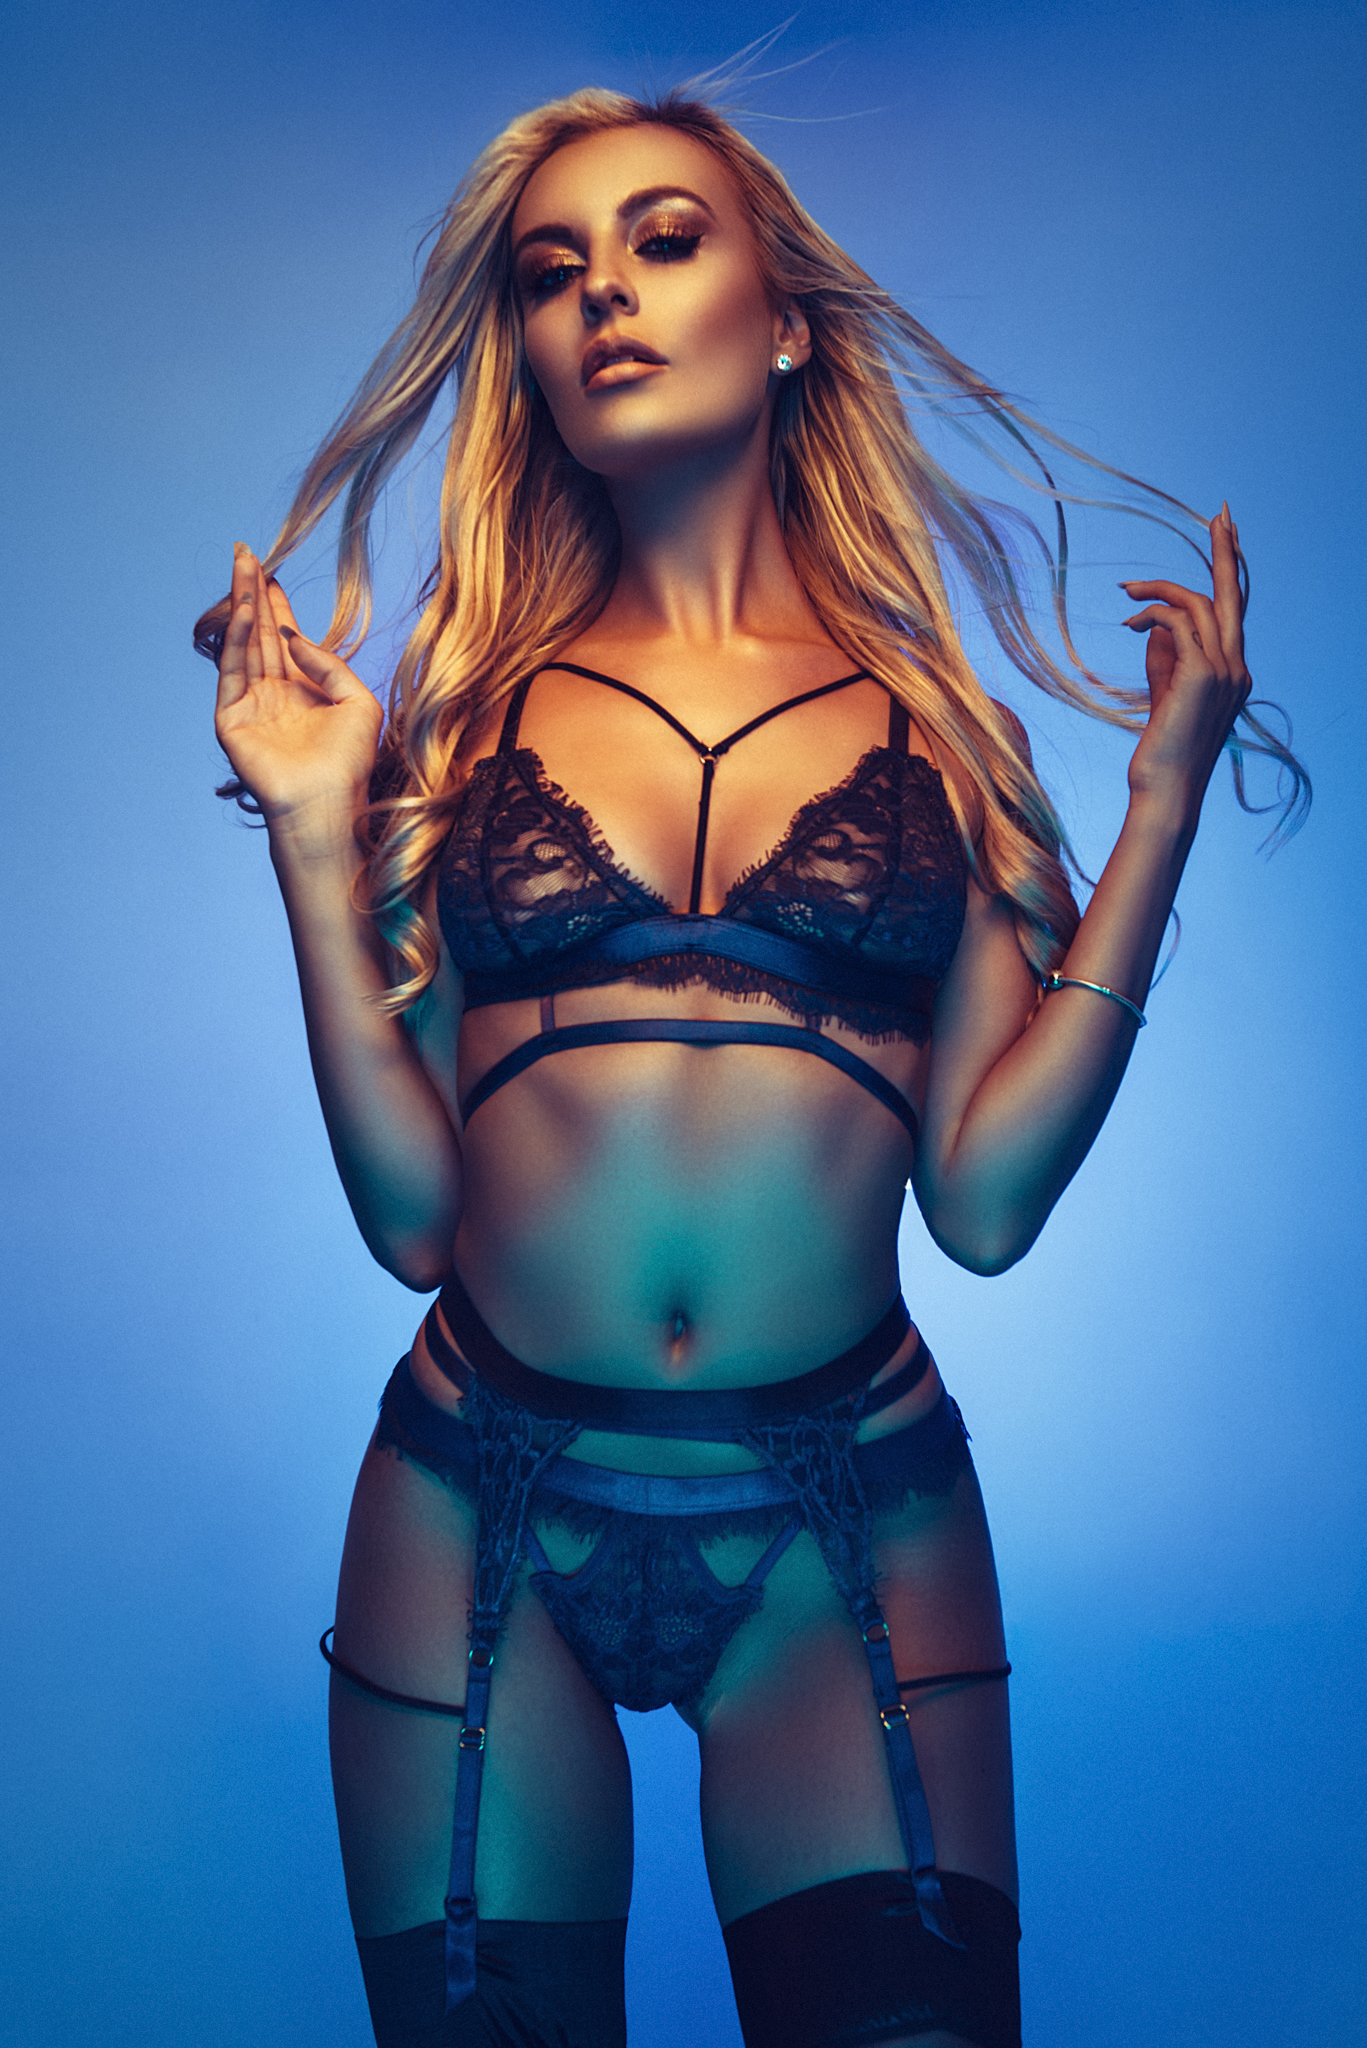
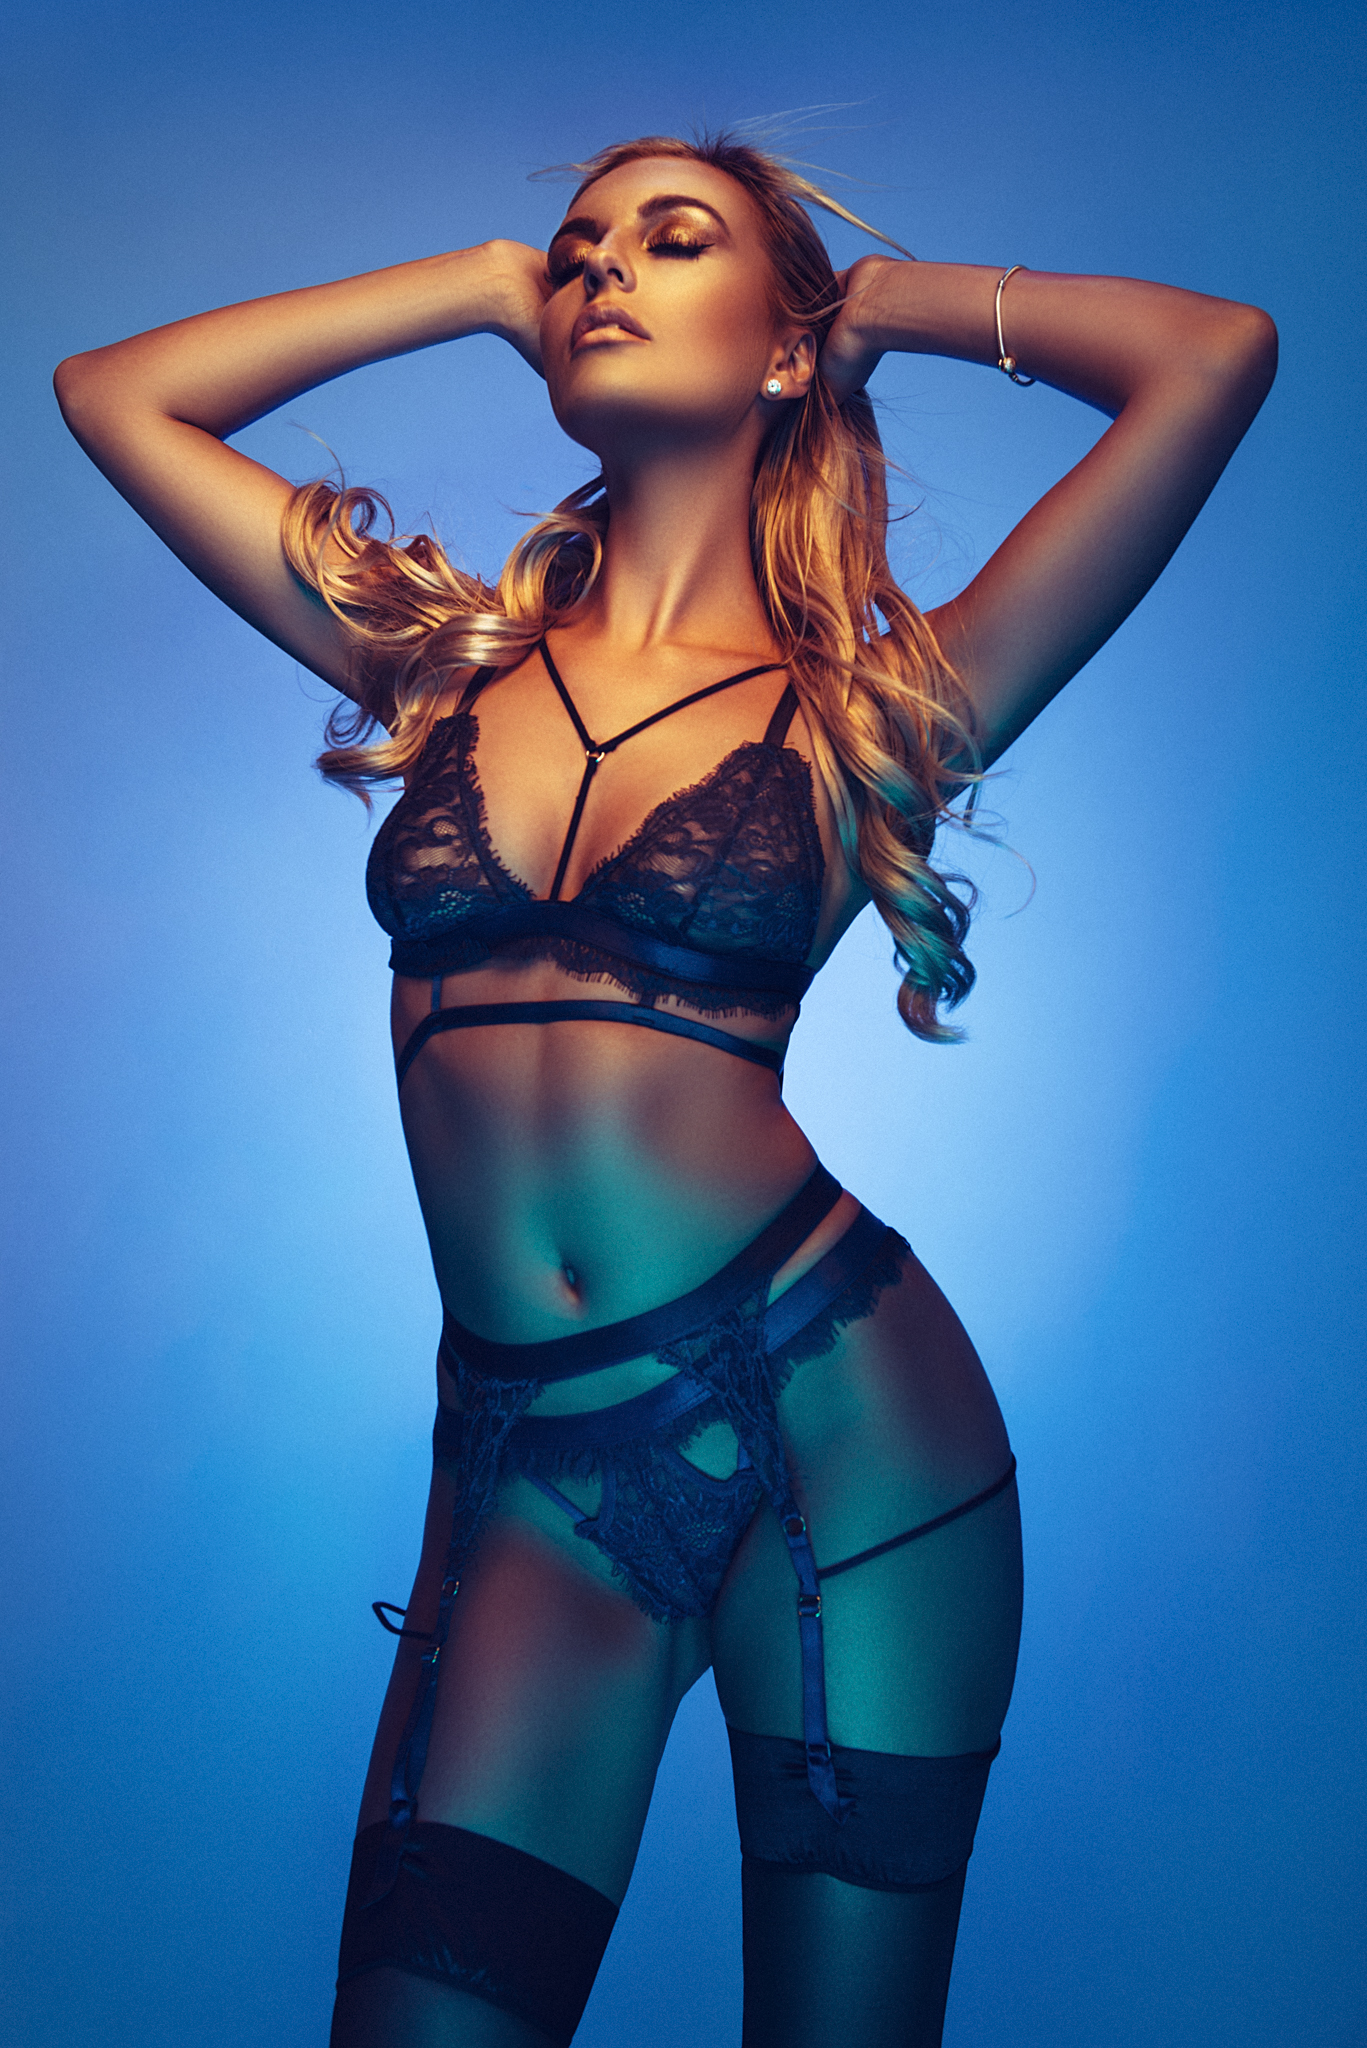
As I mentioned at the start, although I claim this to be a "refinement" for a classic lighting technique, and I will certainly be using this approach for these types of shots in the future, it doesn't mean that if you don't have that white board there it's going to look awful. This is simply an alternative that brings back a little more of the detail to the shot; in fact if you look at some of the above shots you'll see that I have still burned out the highlights on some of the edges, but the detail is there if I wanted it.
PRO TIP: If you're going to play with this technique, remember that you'll still be aiming your lens straight at the softbox behind the model; as a result you will also start to get some flaring into the lens. I personally love this effect and that is why I wanted to use this technique to begin with. One important note on that though and that's that not all flare is created equal. Meaning that different lenses will produce completely different looks without changing anything at all in the setup. I personally tried three different lenses on this setup before I decided which one I would proceed with.
Let me know what you think: have you tried the regular softbox behind the model technique before? Will you try the addition of the white board? Or have you previously used the dark-field illumination technique and think you'll give the white-field illumination a whirl instead?
If anybody has any questions on any part of this setup then please feel free to fire away below and I will try to answer them as soon as I can.
Thanks so much for reading and if you give this setup a go, then let me know as I'd love to see your results :)
:WARNING: Polite reminders of JHP sales opportunities ahead :D
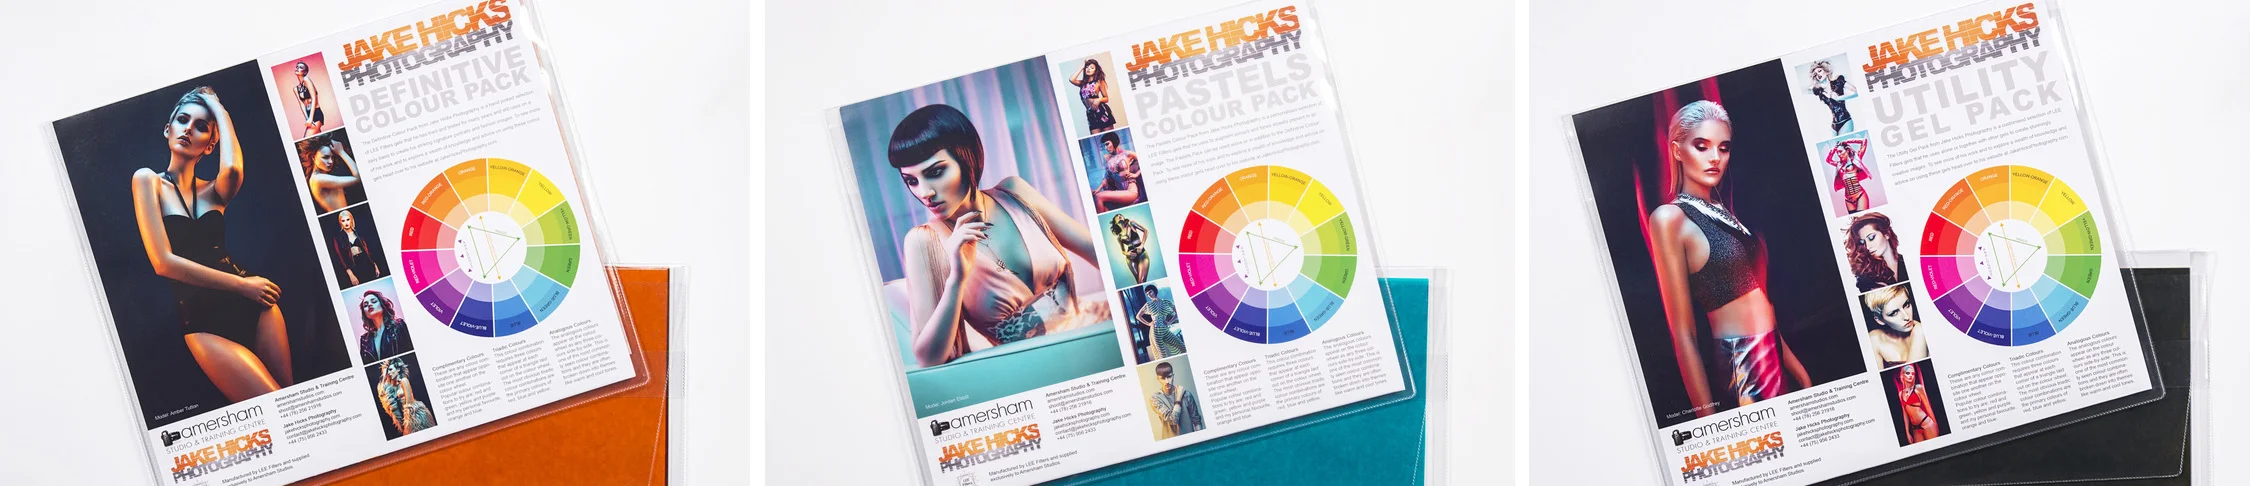
If you've seen more of my work elsewhere online and would like to know more about how I create some of my more brightly coloured gel photography images then feel free to check out some of lighting workshops. I currently have several available so feel free to follow the link provided to find out more about what I do Jake Hicks Photography - Workshops

I have also just released a brand new 22 hour complete Gelled Lighting Tutorial video. I go over everything from studio lighting setups with gels to being on location with gels plus I also go through my complete retouching and post pro workflow. For more details and complete breakdown of everything that's include check out my Coloured Gel Portraits Tutorial

I also offer comprehensive coloured gel packs. These collections of gels are what I use day to day to create some of the most highly saturated colours around. If you're looking at getting into gelled lighting or need to get stronger and richer colours in your coloured gel work why not check out my Jake Hicks Photography Gel Packs