
I've always wanted my photography education on here to be free, so although there is no paywall to any of my -Technique Tuesdays-, any and all support is greatly appreciated. ❤️
PLUS: Donate any amount and I’ll send you a link to the hi-res print version of my studio lighting book.
||
PLUS: Donate any amount and I’ll send you a link to the hi-res print version of my studio lighting book. ||
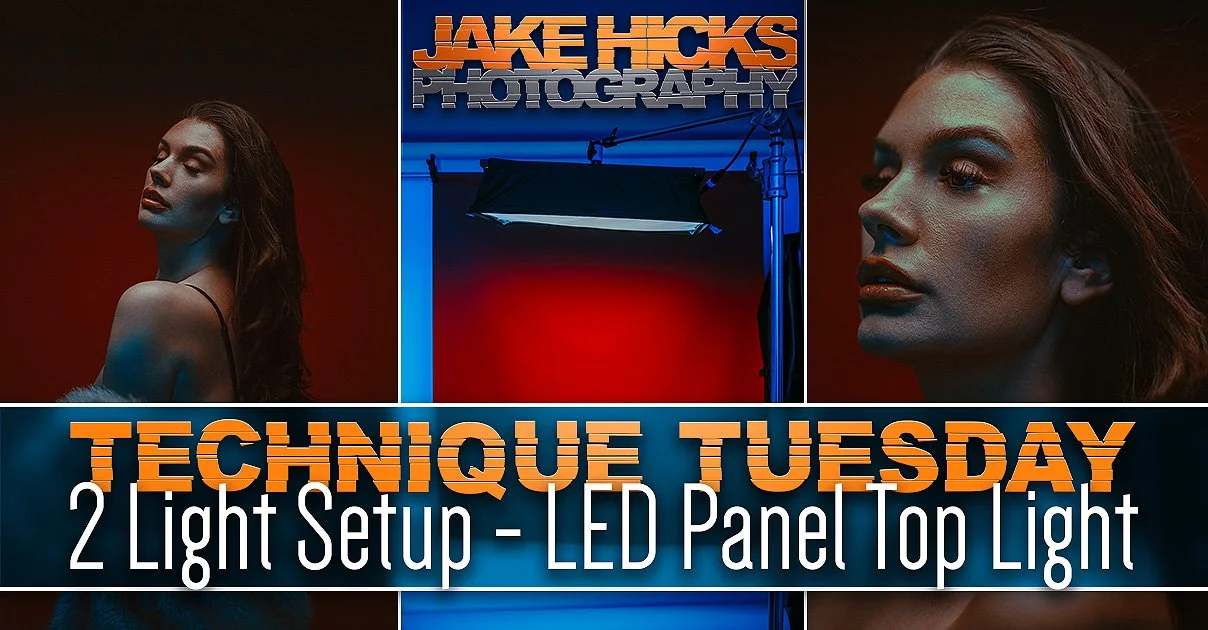
This isn’t your typical two-light ‘beauty’ setup, but it explores a different way of lighting to not only give you a different look, but it also utilises the unique properties of modern LEDs to allow you to achieve this look anywhere, even in low-ceiling home studios.
For those of you who’ve been shooting for a while, one of the biggest challenges you've likely faced is space. I assure you that you're not alone in this, but I’ll also add that there’s seemingly never enough space to shoot everything you want, so it’s better to just come to terms with that now and learn a few tricks to help you work within the limitations you have.
One of the biggest pain points with space is often a low ceiling. This is more of an issue in certain countries than others, but whether you encounter a low ceiling every day or just once in a while, there’s sadly no working around it, and a low ceiling can dramatically change the way you approach a shoot.
In the past, low ceilings were a death knell for top lights, AKA lights that are suspended above the model. The reason for this is that we were using strobes, and although strobes aren't huge on their own, it’s the addition of a lighting modifier on that strobe that severely limits the space above a model. Plus, that strobe and modifier combo needed to be high enough to be out of shot as well.
In the example shots above, you can clearly see what I mean. It’s not just the strobe that makes these top lights so difficult to use in smaller spaces, but the addition of a modifier that really makes it almost impossible in traditional home-studios.
So why not use a smaller modifier?
I’m sure the immediate response to this modifier size problem is to use a smaller modifier. Problem solved. In theory, yes, but strobes work by emitting a lot of light from a single, centralised point. That big flash of light has to be given time to spread so it can cover a larger area first, which is why those big umbrellas and softboxes are as deep as they are; it's not a stylistic choice. The modifier needs to be that deep to actually work and ultimately produce that soft, even spread of light.
A new way to spread the light
As I’m sure many of you are aware by now, LED lighitng is starting to dominate photography for a number of reasons, but these new lights are not simply a like-for-like replacement to strobes. For one, strobes can produce far brighter light than most LEDs, so to compensate for this lack of power, LEDs spread many small, low-powered LEDs across a wider area, which is the LED panel many of you are likely very familiar with.
There are pros and cons to this lighting design, for one, LED panels can’t be modified like regualr strobes can. You can’t attach a spotlight or beauty dish to a panel. But the panels do have one very important advantage: how they spread their light. As I mentioned above, they generate power in numbers; they have hundreds of smaller bulbs spread across their surface, which means the light is already spread out and very, very soft as soon as it leaves the actual light. Panels don't need any lighting modifiers to produce soft light, and this unique feature makes LED panels so incredible for top lights in small spaces.
In many European homes, the ceiling height is around 2.4m, leaving very little room for a top light and modifier with a regular strobe. In fact, in the example above, I used the smallest soft box I could find, as anything larger would have hit the model. Alternatively, as you can see here, the LED panel is far thinner and far easier to use in small spaces like this.
The Setup
Now that I’ve spoken about just one of the benefits of LED panels like this in smaller spaces, let’s show you a quick example setup of how you could use a panel like this as a top light for a portrait.
As you can see from the BTS above, even with a low ceiling inside a standard room, the Nanlite Pavoslim LED panel I have here is so slim that I still have plenty of room above the model.
Camera Settings
Camera - Fujifilm GFX 50SII
Lens - Pentax 6x7 Takumar 105mm
Shutter Speed - 1/125th
Aperture - f2.4
ISO - 200
Kelvin - 4500K
Focal Length - 105mm (~92mm 35mm equivalent)
TL;DR/ADHD/Artist Setup Explanation
Set up backdrop behind model
Place LED panel above models and just high enough to be out of shot
Place large umbrella behind you and attach blue gel
Kit Used
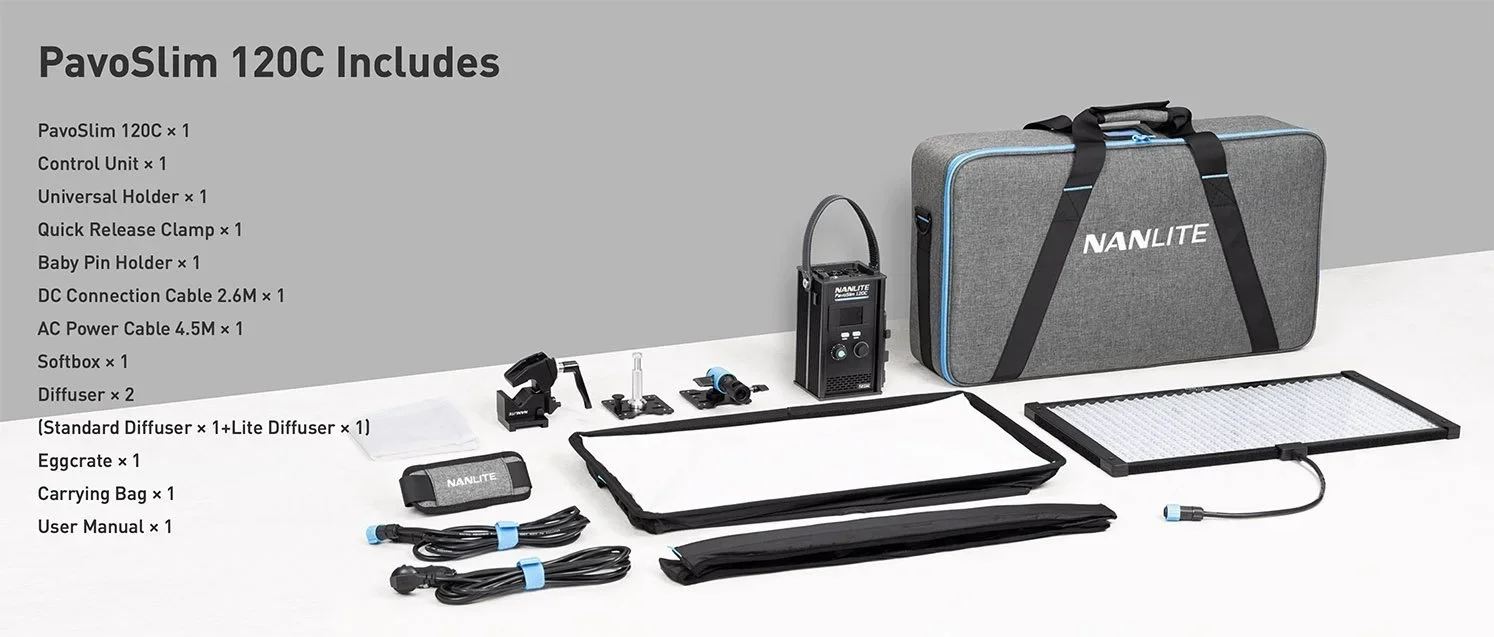
Nanlite PavoSlim 120C
Nanlite FC-500C
Large Umbrealla
Cheap Window Blind
The Final Shots
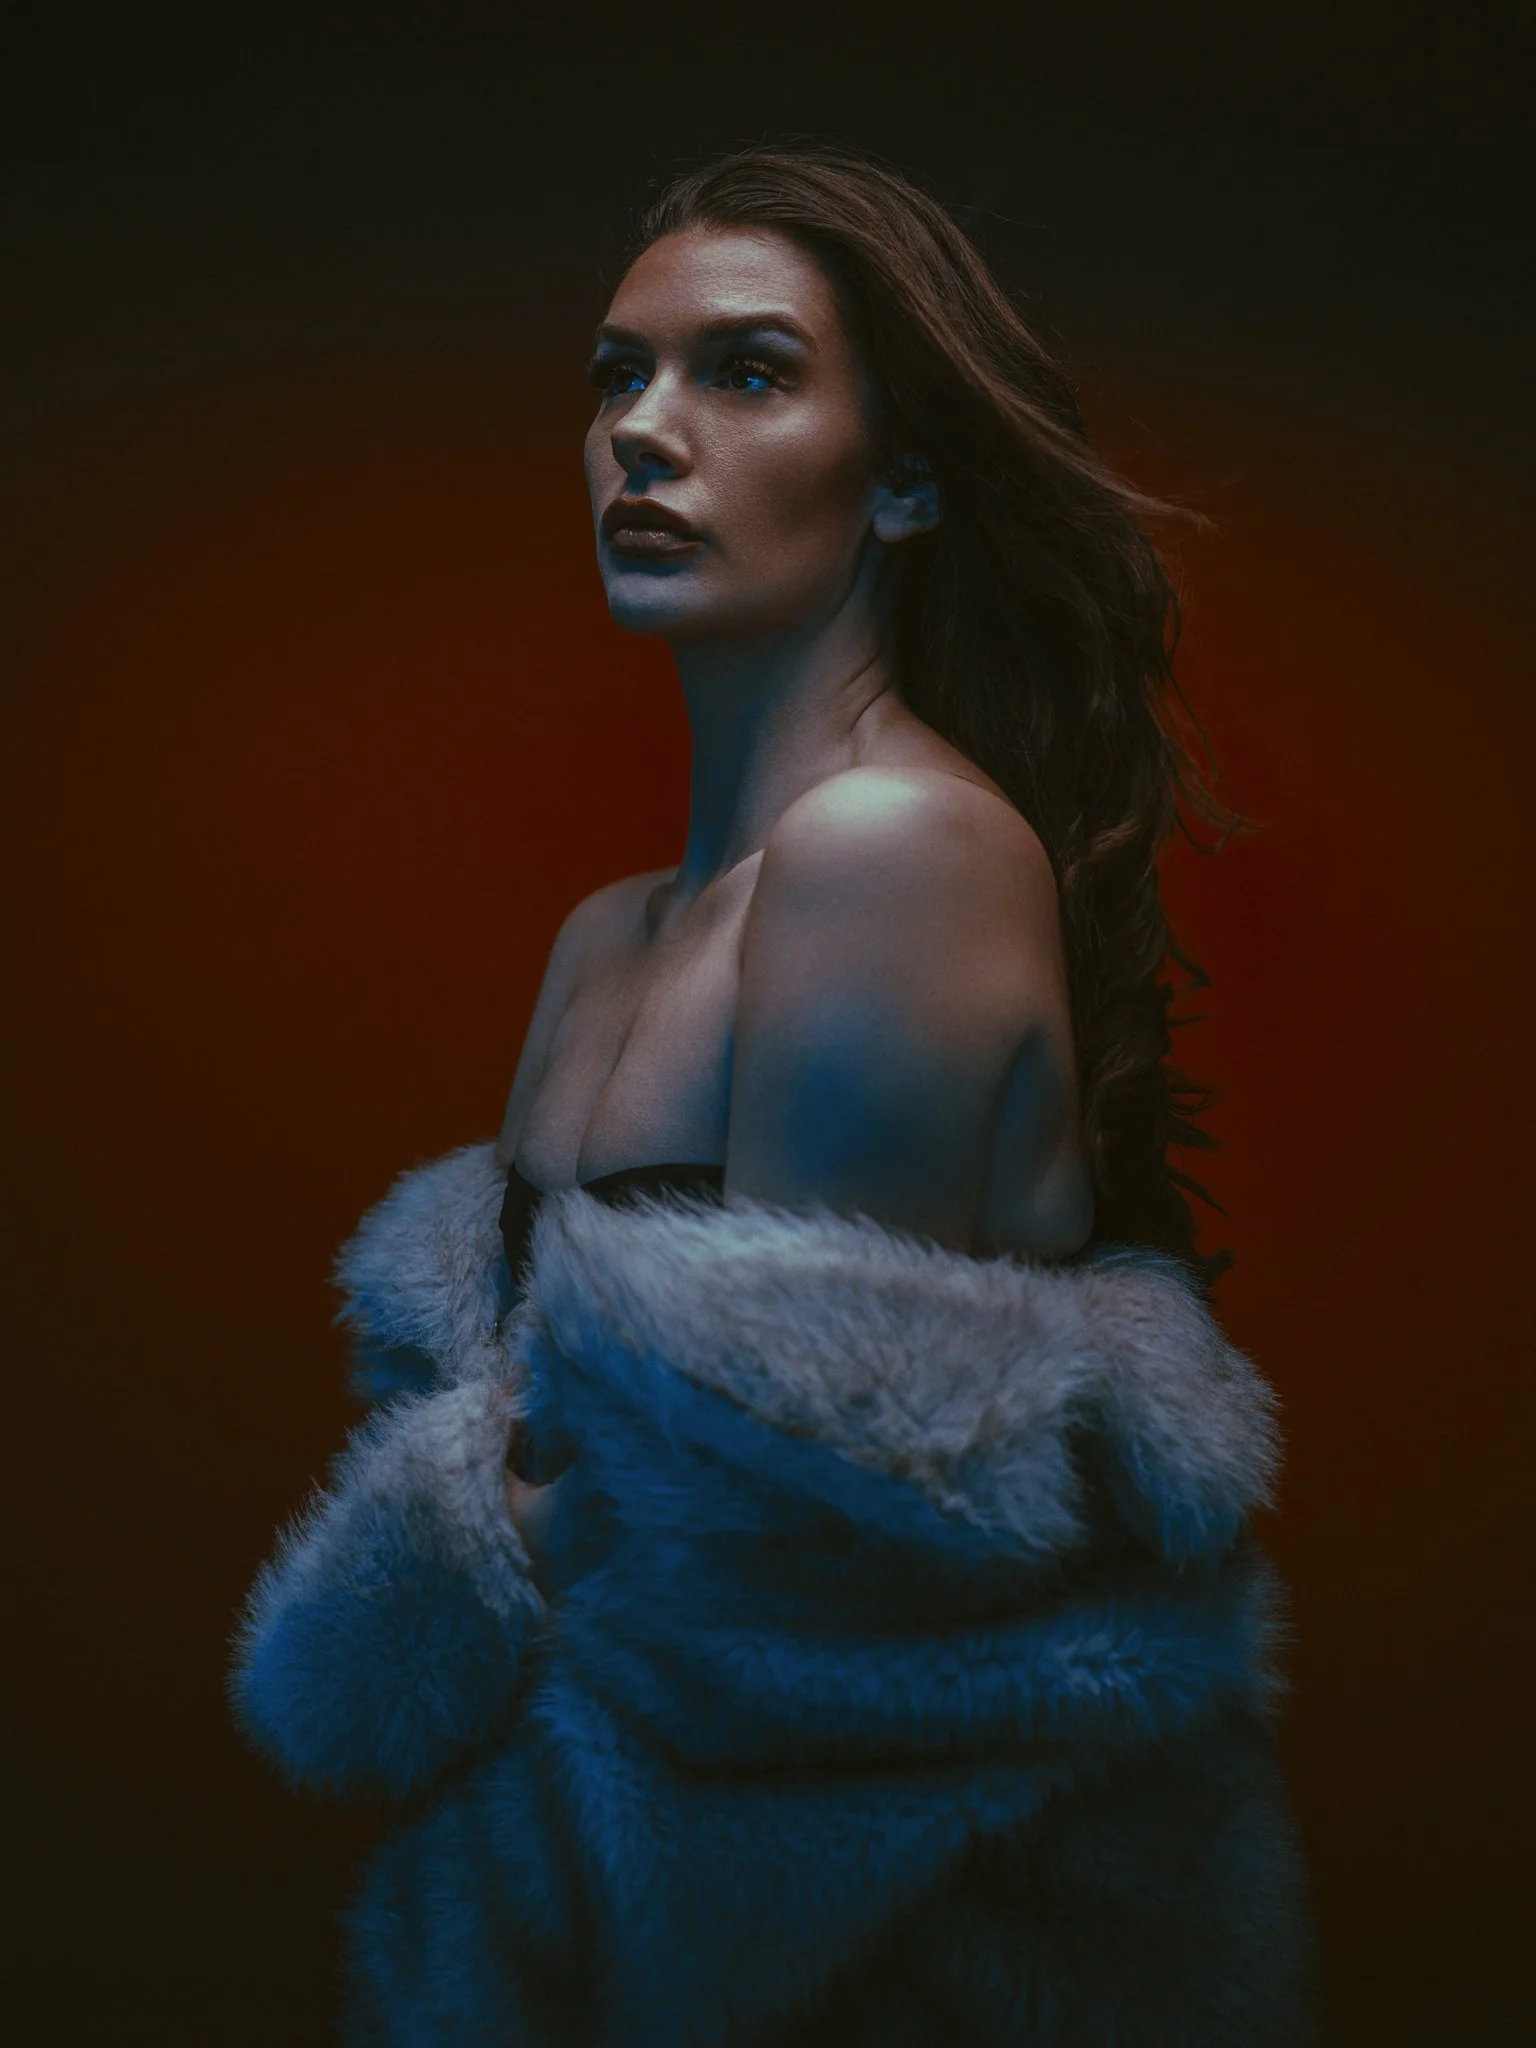
Model: Alexandrashnx
Final Points to Remember
Pavo-VERY-Slim
I mentioned at the top that LED panels in general are far slimmer than a standard strobe and softbox combo, but most panels are still thicker than 10cm in my experience, which, although slim, is still pretty chunky when compared to the wafer-thin Nanlite Pavoslim 120C I’m using here.
In fact, the Pavoslim has three thicknesses: the fully extended softbox version, and it can also compress the softbox to the face of the panel, which, although still a super-soft light, doesn't quite offer as much light control as the extended version. Plus, if you absolutely need every mm of space you can get, the Pavoslim can go as thin as 18.6mm with the softbox removed!
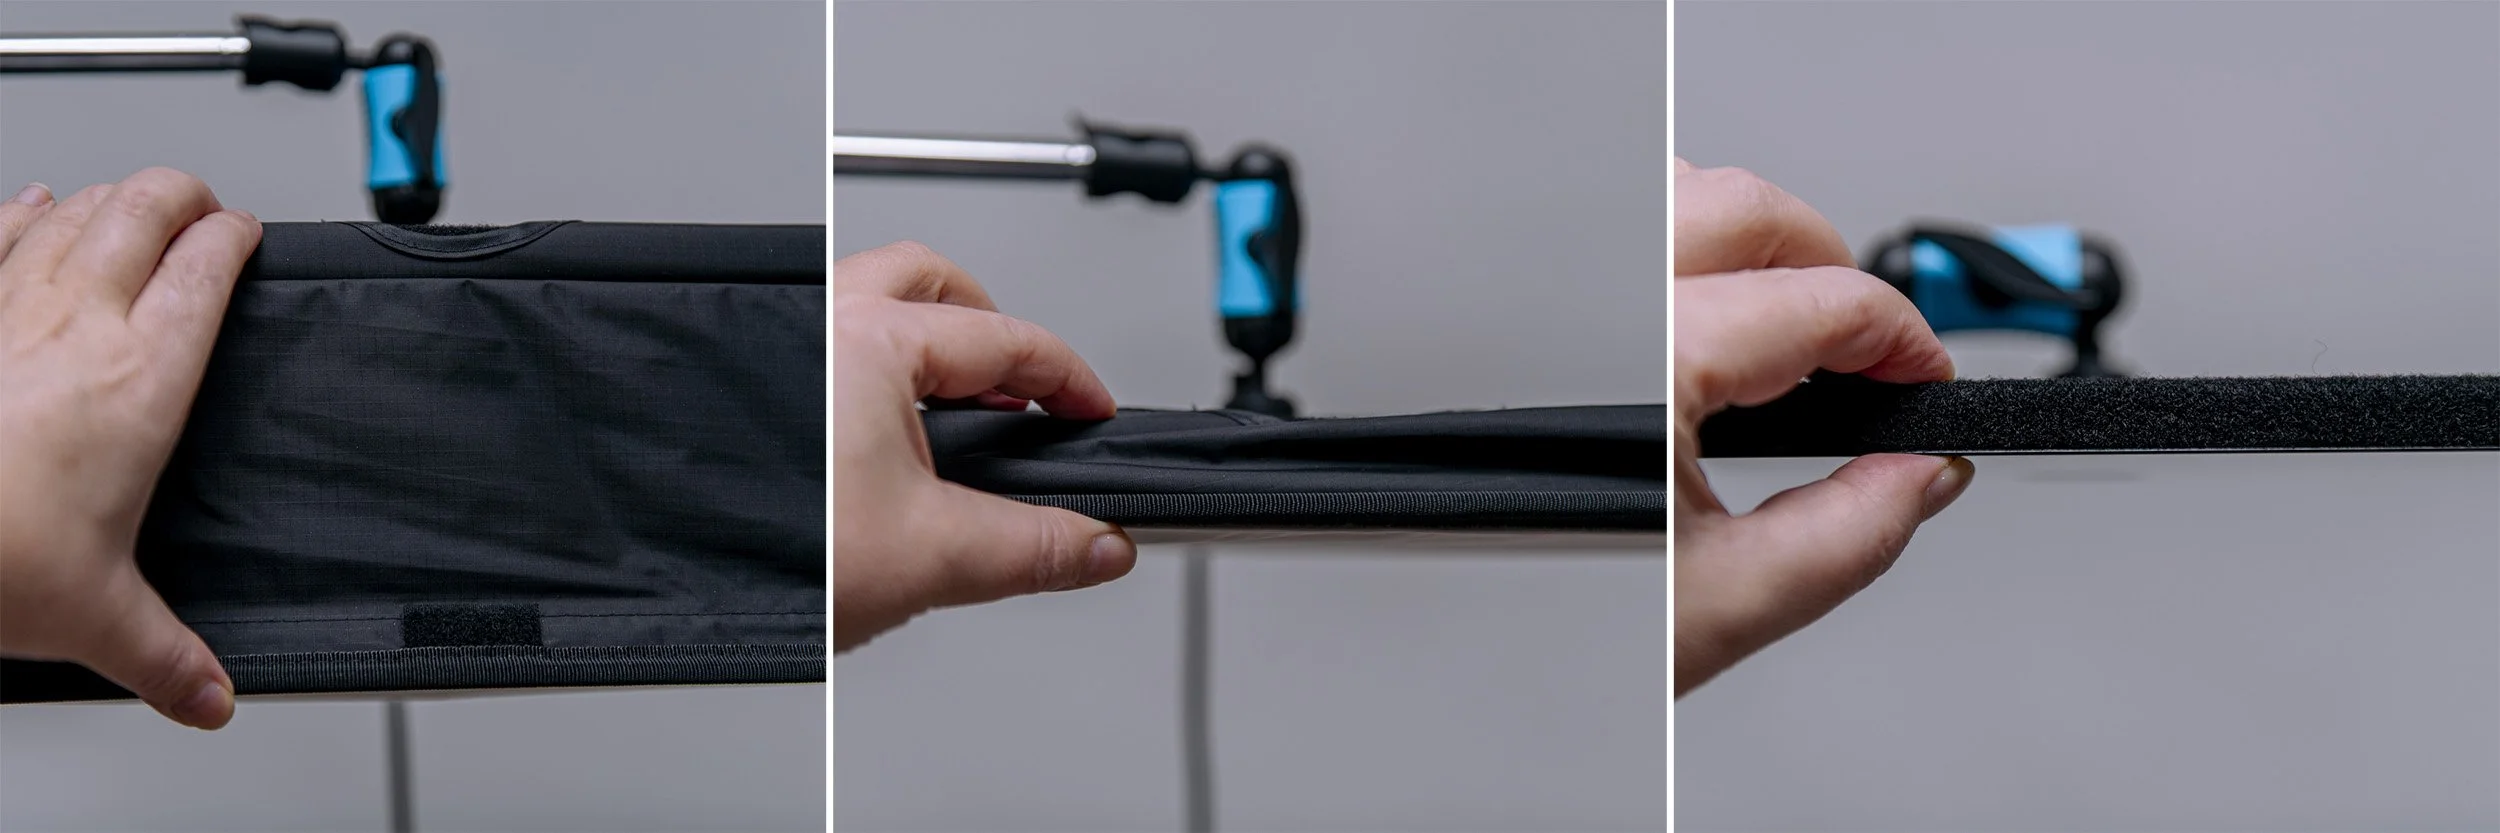
In the example shots above, you can see the three thicknesses of the Nanlite Pavoslim 120C. With the soft box attached and fully extended, it’s around 15cm deep. With the soft box attached and compressed (this is done via velcro straps on either end), it’s around 6cm thick, and lastly, with no soft box attached, the bare panel is less than 2cm thick.
Of course, you need to include the attachment point for the panel if hanging from above, but even then, it can be laid flat (you can see it lying flat in the background of the far right image above), and even with that in place, the whole light is extremely low profile indeed.
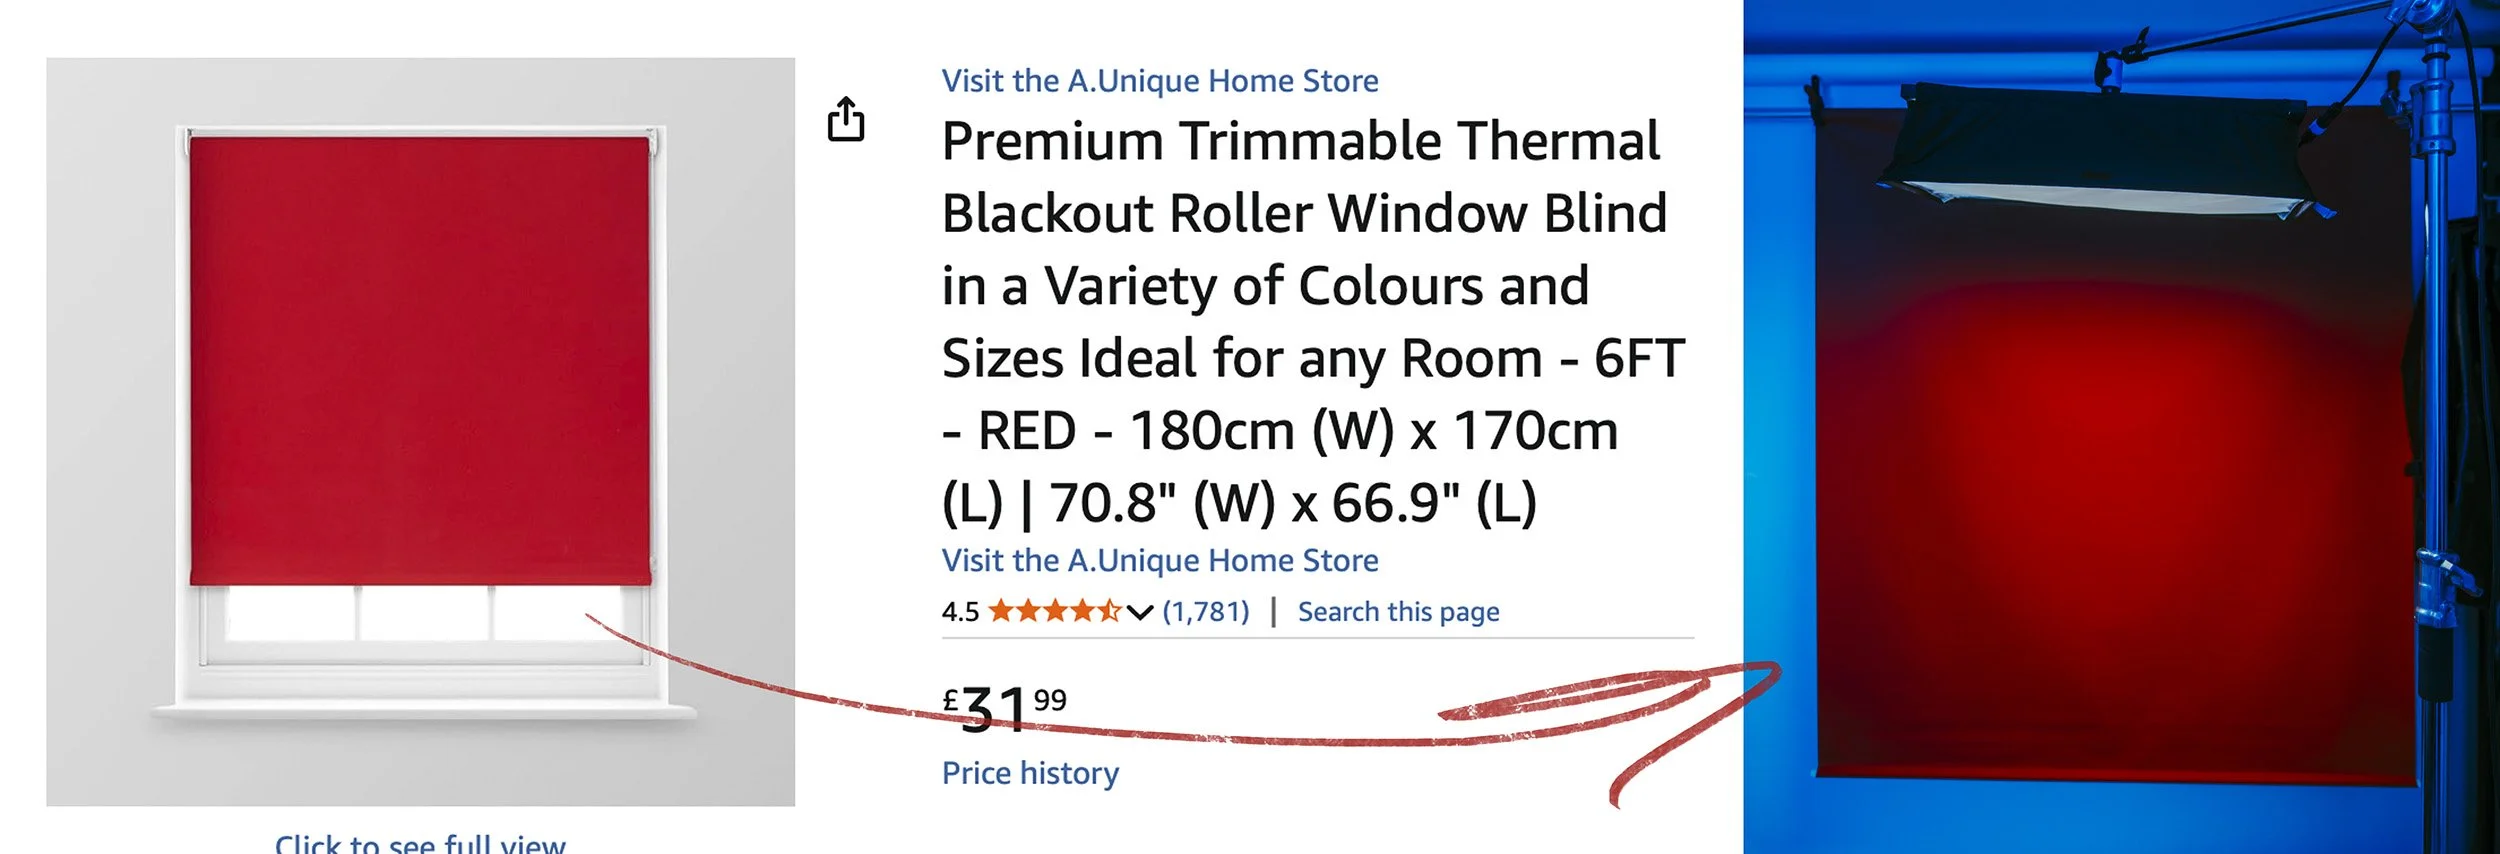
Cheapest Backdrops for Tight Spaces
I’ve been using window blinds as backdrops for over 20 years, so many of you will have already heard me preach about how good they are for the price. Again, for this shoot, I dug out my deep-red window blind and used it. These roller blinds can be as cheap as £20 - £40, they roll up small, hang straight, are thick enough to block the light from behind, aren’t shiny so won’t give you ugly reflections, aren’t made of paper so can be spot cleaned if needed, and they aren’t even heavy and are easy to transport. Plus, they come in tons of colours! If you need a bunch of variety for headshot backgrounds, the roller blinds are a surprisingly good choice.
Products Used
Note: These are not affiliate links; I do not earn anything from you using these links, they are purely there for your convenience. These links take you directly to Nanlite’s website for further info.
Nanlite PavoSlim 120C
Nanlite FC-500C

I've always wanted my photography education on here to be free, so although there is no paywall to any of my -Technique Tuesdays-, any and all support is greatly appreciated. ❤️
PLUS: Donate any amount and I’ll send you a link to the hi-res print version of my studio lighting book.
||
PLUS: Donate any amount and I’ll send you a link to the hi-res print version of my studio lighting book. ||

JHP Livestreams…
I livestream every other Tuesday night via YouTube and there I answer your questions, critique your shots, take community images into Photoshop to work on them and discuss all manner of lighting tips and techniques. I look forward to seeing you and your work there real soon. Jake Hicks Photography - YouTube
