That’s right, you knew this was coming so it’s best to close your eyes and let it happen. Each year I find it useful to look at what was popular over the previous 12 months. I’ll always continue to write articles on topics which I find interesting, even if nobody else reads them, but I’d be foolish if I didn’t also look at what you all find interesting too.
The top five articles of 2023 are based on the number of page visits throughout the year and although this isn’t the most accurate way to rank these due to articles at the start of the year having longer to accumulate views, it does give a rough idea at what’s popular and what’s not.
Number 1
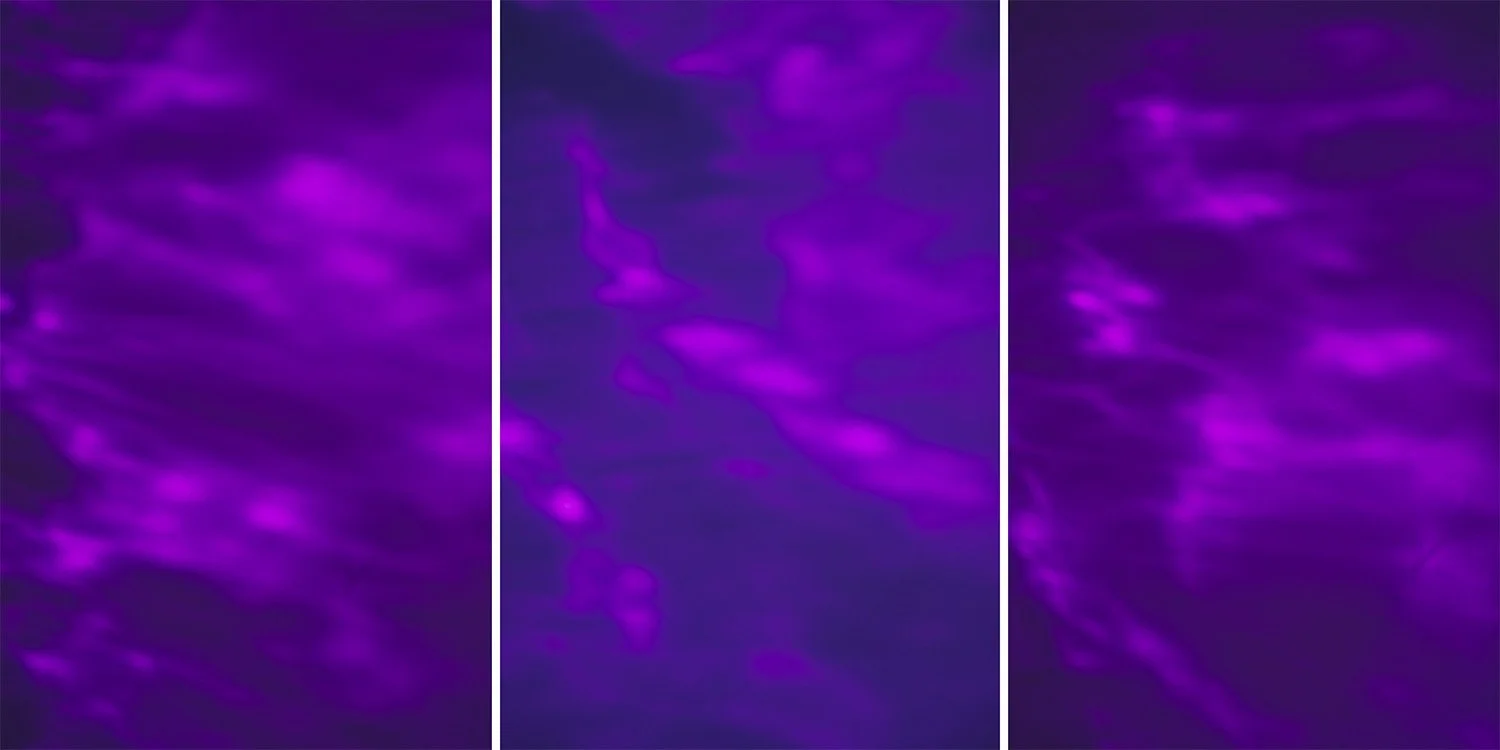
Lighting Setup: Projection Backgrounds
This being number 1 actually surprised me a lot. Why? Well, firstly this is a very niche setup that requires a decent amount of kit before you can even begin to play with it. Secondly, this is a very creative setup. Broadly speaking, you get far more views on very basic articles as that encompasses most readers' skills. For example, my all-time most popular article by a mile is one on whether 50mm or 85mm is better for portraits. So to have this very creative and slightly trickier setup at number 1 is amazing. My best guess as to why it comfortably made it here, is due to the rise in projector usage. Even though I’ve been using and recommending people to use projectors for years, there’s still very little info on how to use them in more creative ways.
If you missed this article the first time around, definitely give it a look as I walk you through a shoot where I worked with a singer to capture a ton of variety in a short space of time thanks to the versatility of using a projector on set.

Number 2
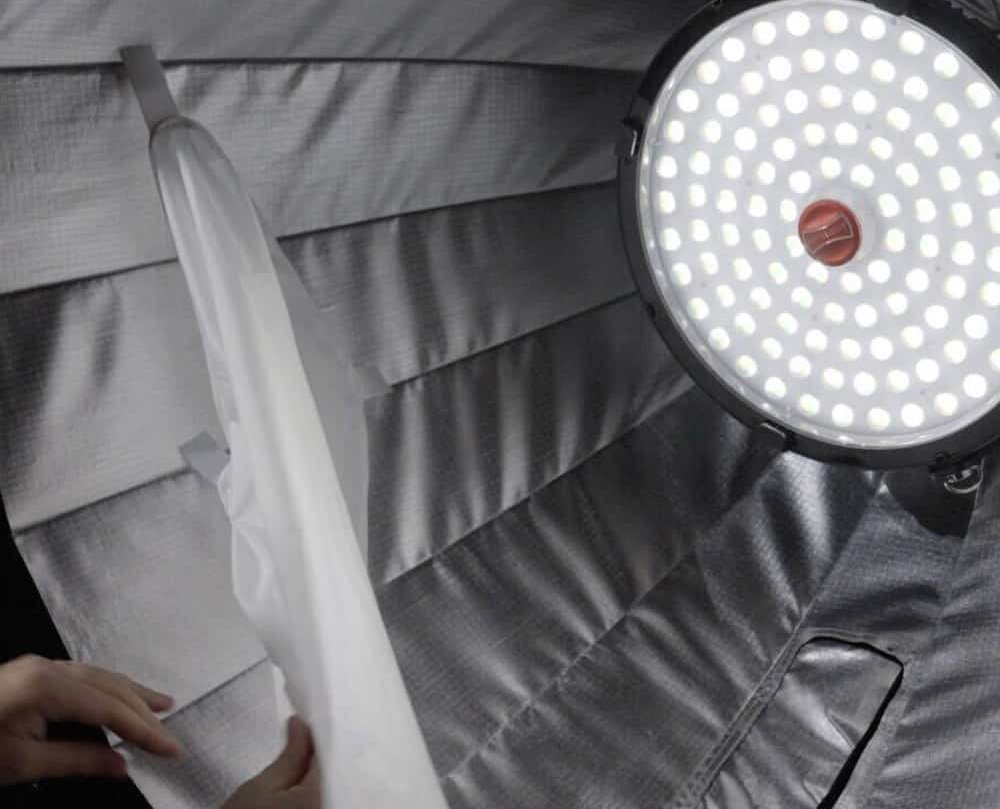
Lighting Setup: Affordable LED Tubes
Long-time followers of my work will know that I’ve shot with these LED tubes a lot in the last year and although I’ve used them on several shoots since this was first published, this article talks you through how I went about problem-solving how to work with lights in frame and provide some DIY solutions on how to secure them in shot.
Plus this article also looks at how affordable these LEDs are. Many LED tubes are extremely expensive and although we sacrifice a little brightness and white light quality with these more affordable ones, there are some further benefits beyond actual cost savings too.
If you missed this very popular article from last year, definitely check it out as along with the actual setup, I also share my thoughts on the LED light drop-off versus flash too.

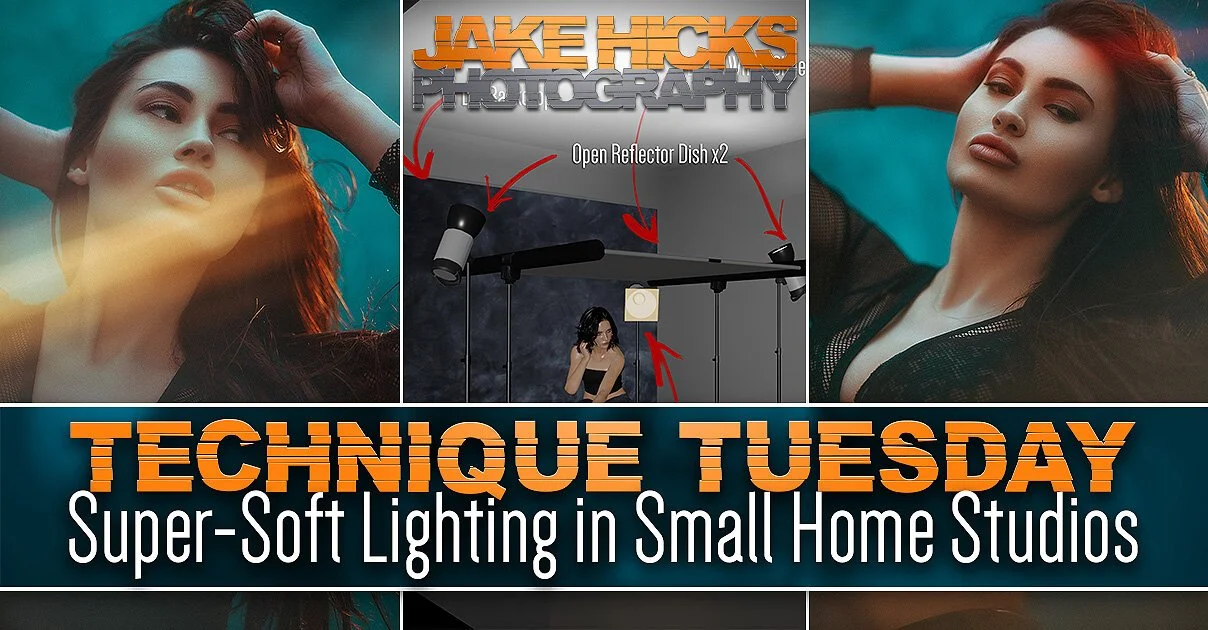
Number 3
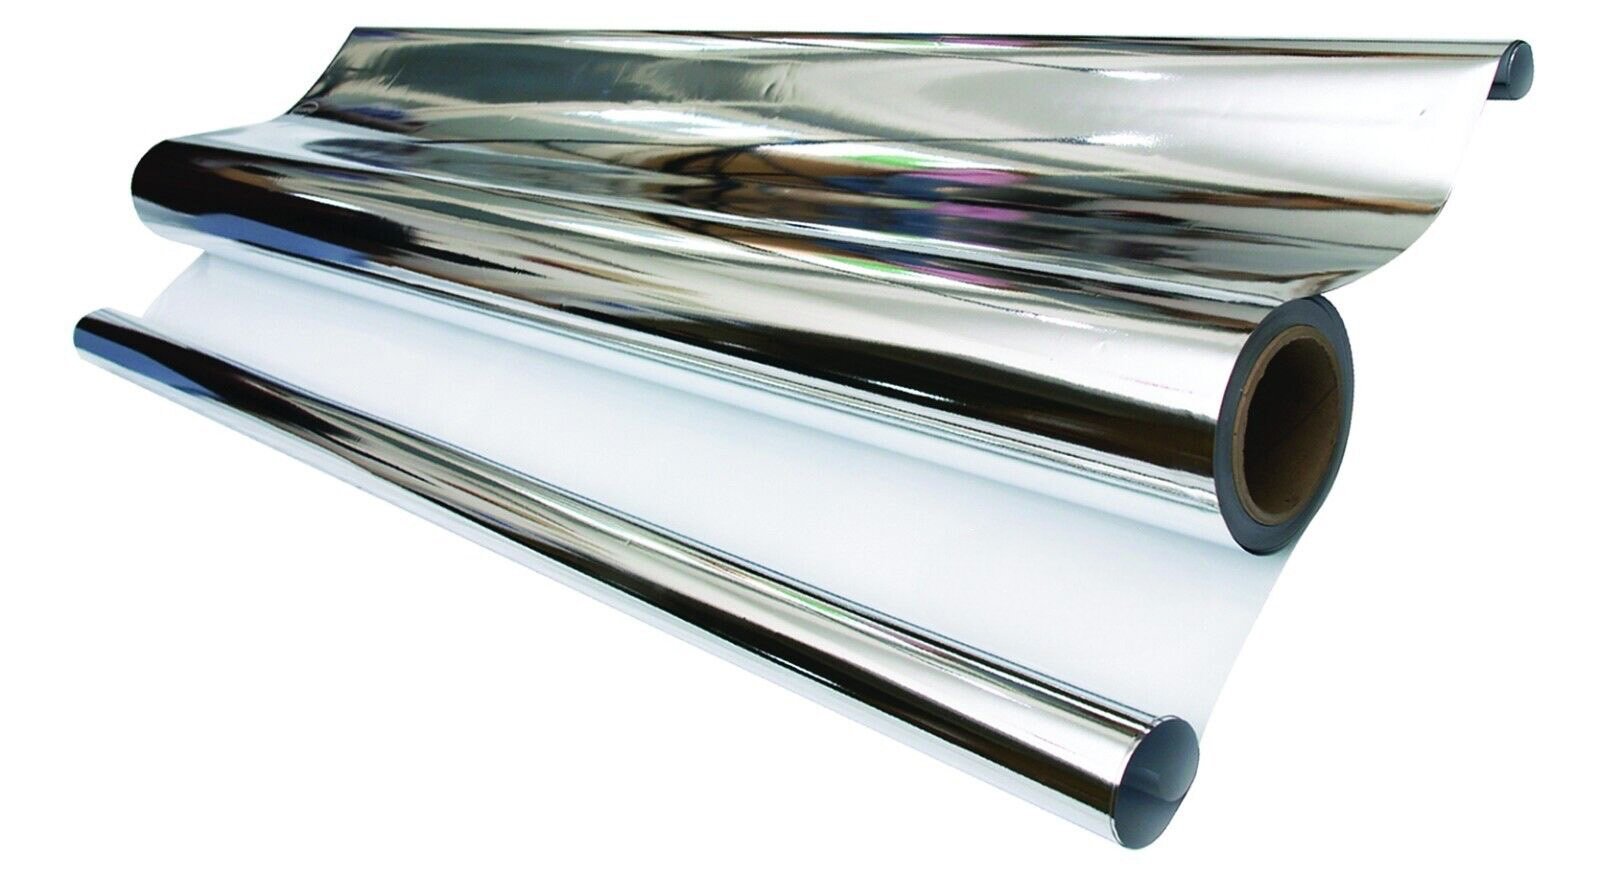
Lighting Setup: Using a DIY Scrim in the Studio
I think if you were an aspiring writer and wanted some quick tips on how to grow your article's popularity, one of my top tips would absolutely be to include ‘DIY’ in your title! Photographers LOVE to spend tons of money on camera gear, but when it comes to lighting and lighting modifiers, they’ll happily break out the toilet rolls and washing-up liquid bottles to save a few quid!
Last year's number 3 article isn’t quite that ‘Blue Peter’ (1980s kids rise up), but it showcases a few setups that use a DIY scrim to soften the key light along with diagrams and examples of what and where to buy your money-saving modifier, this article demonstrates just how much a scrim can change the quality of light in your portraits. If you’ve never used a scrim before, definitely check this one out.

Number 4
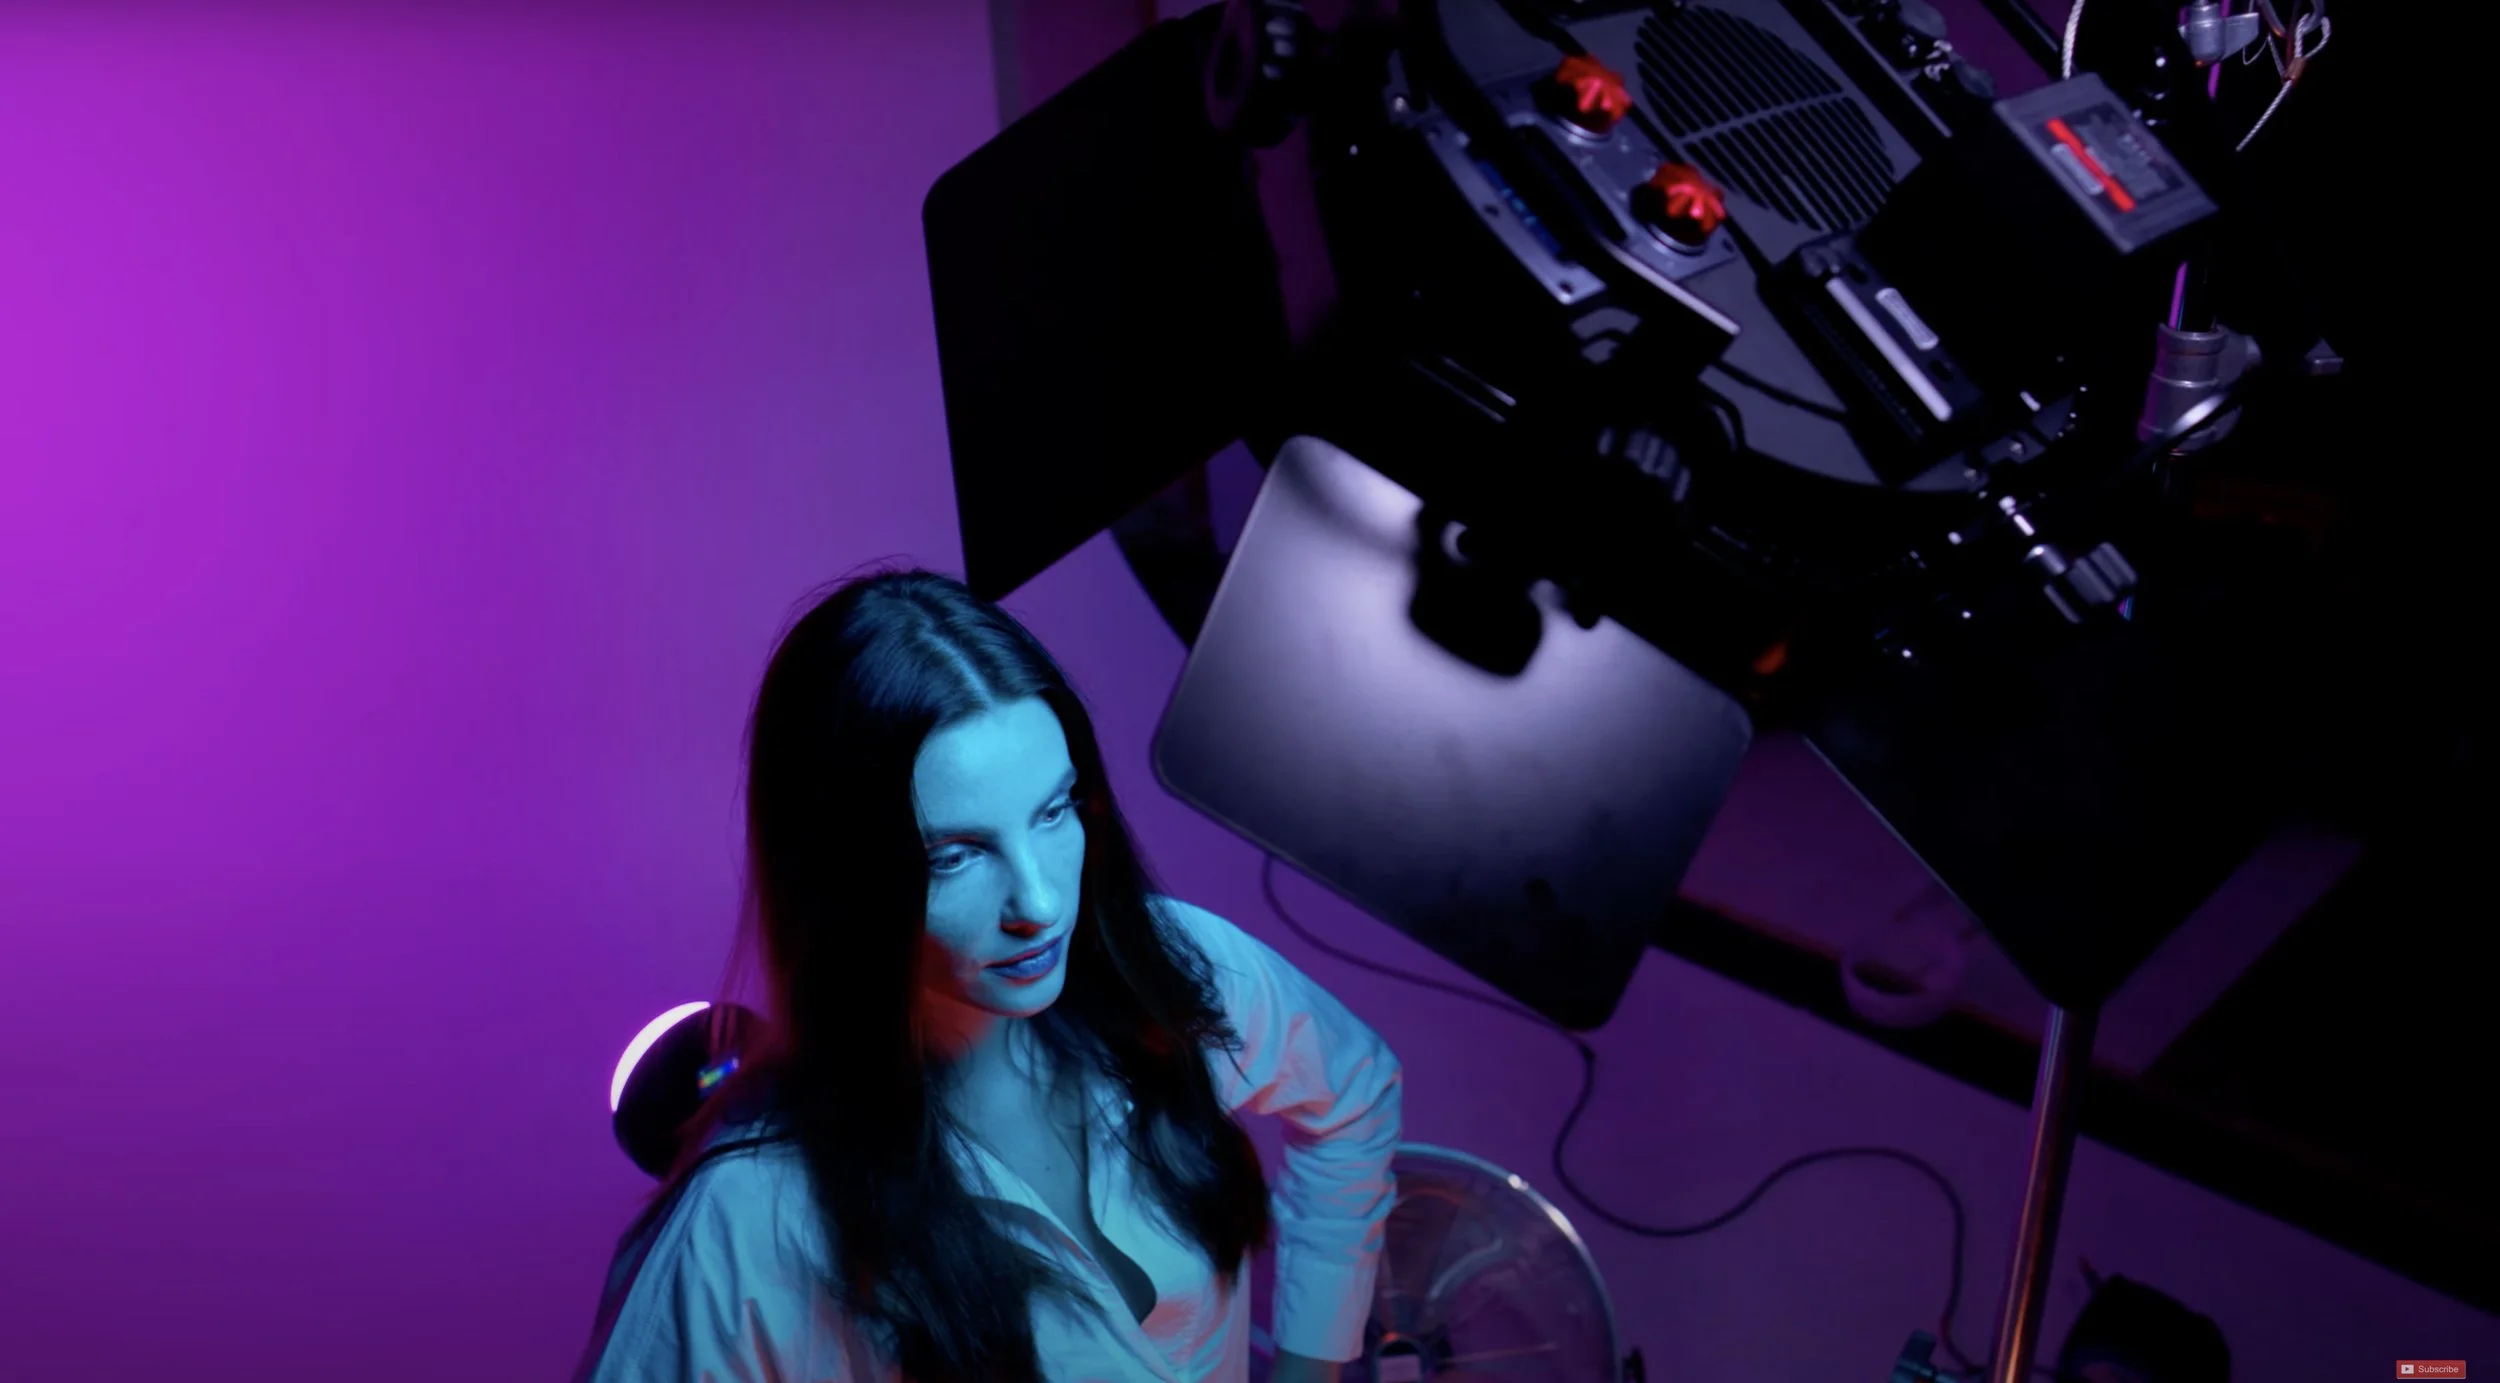
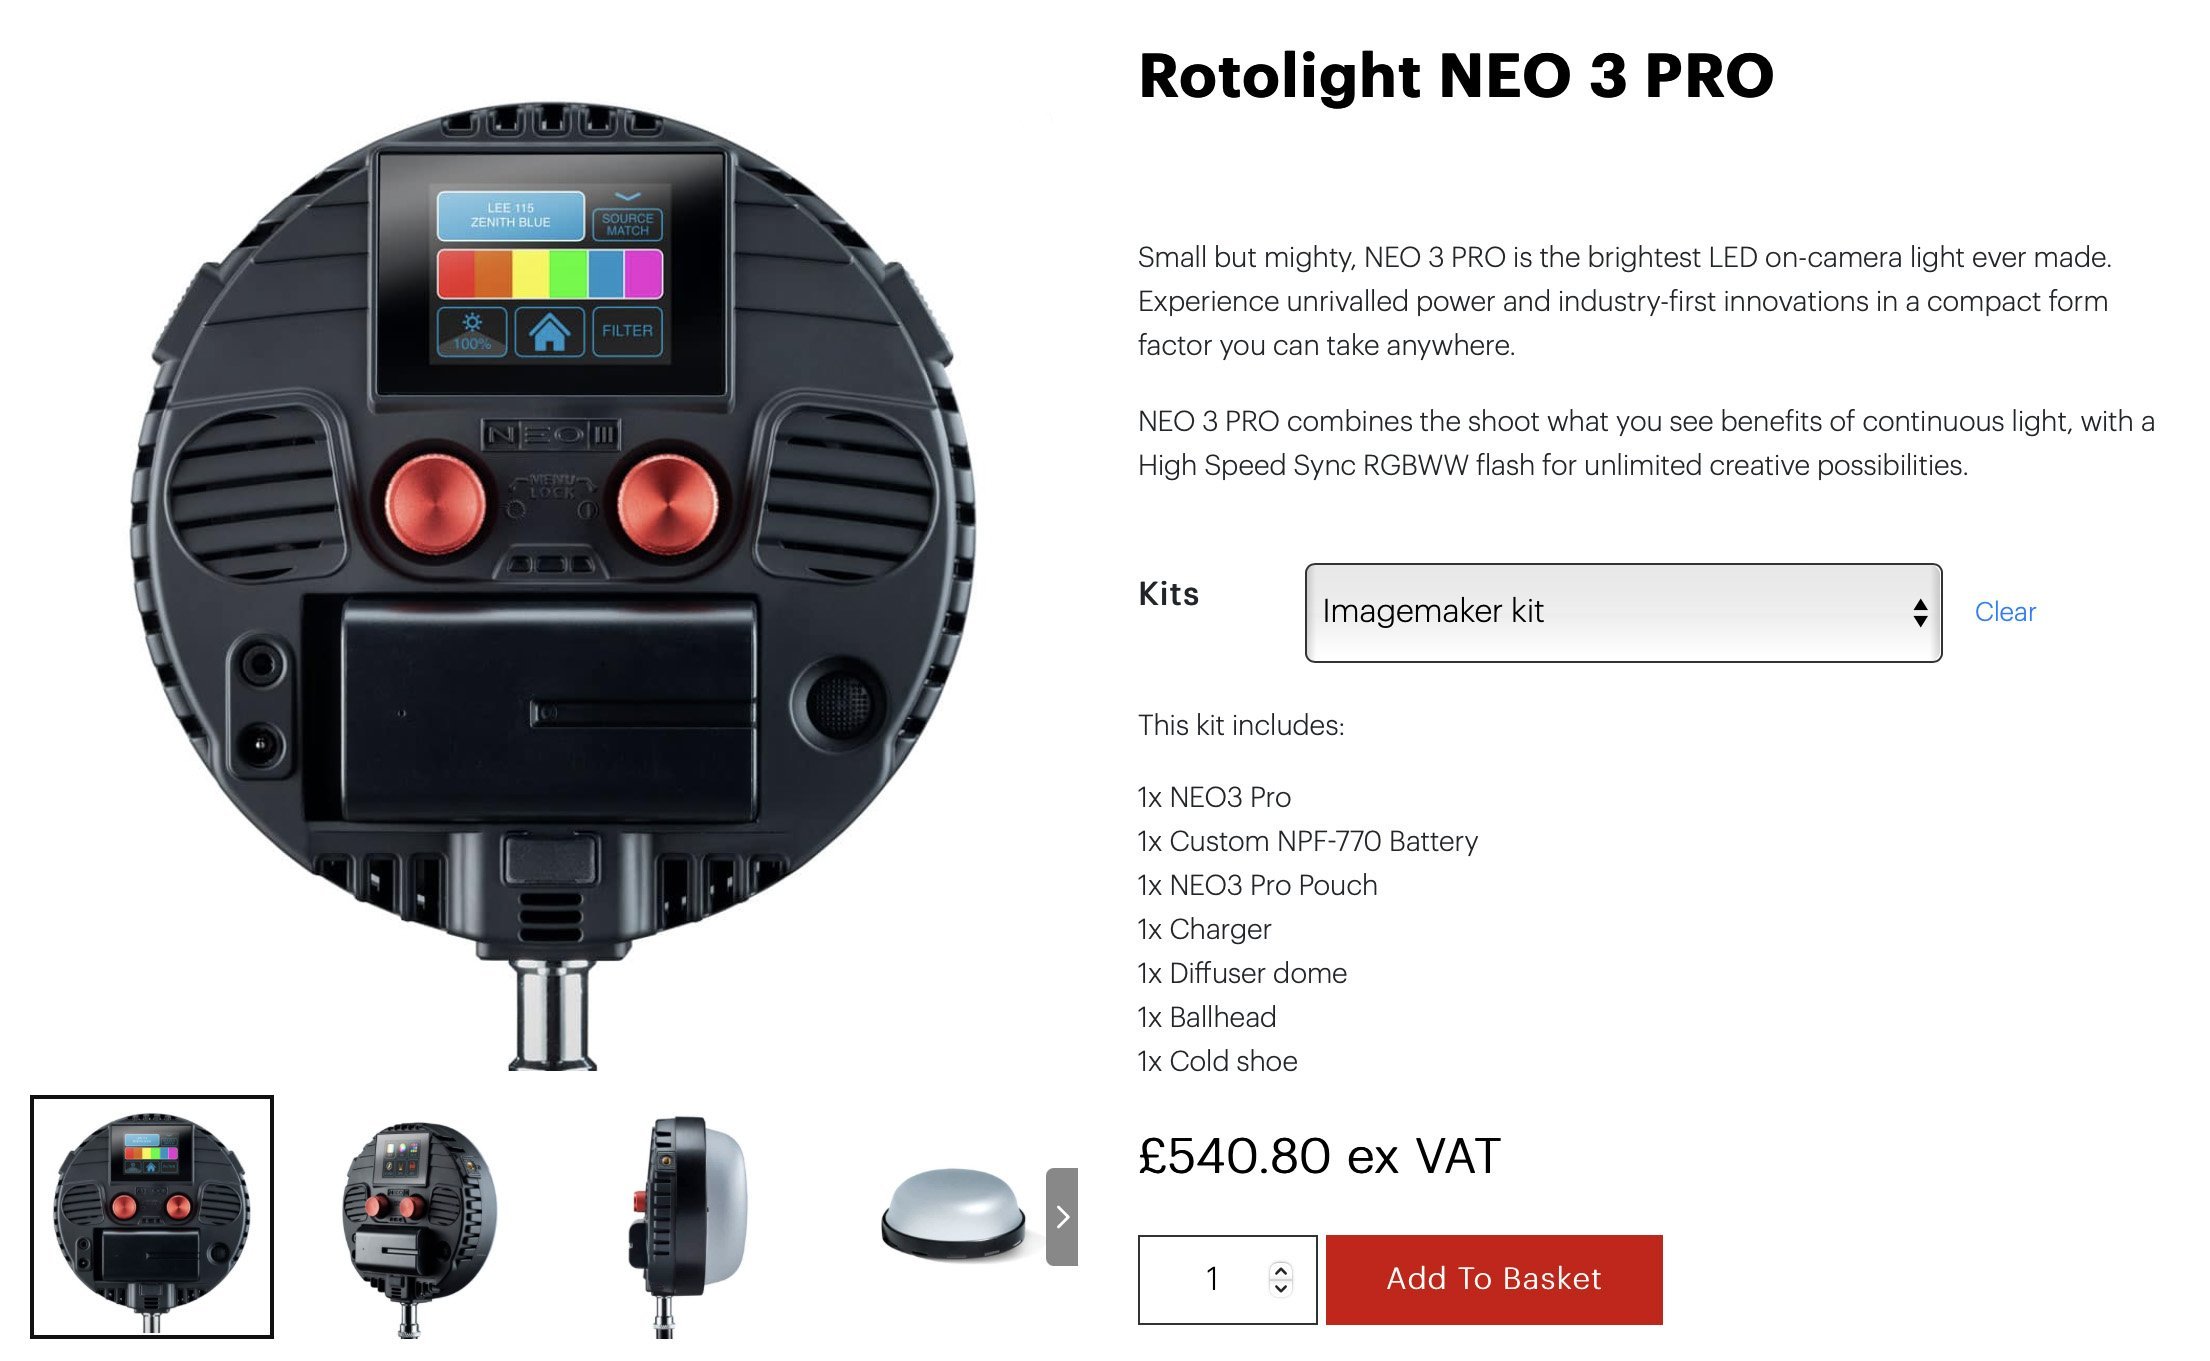
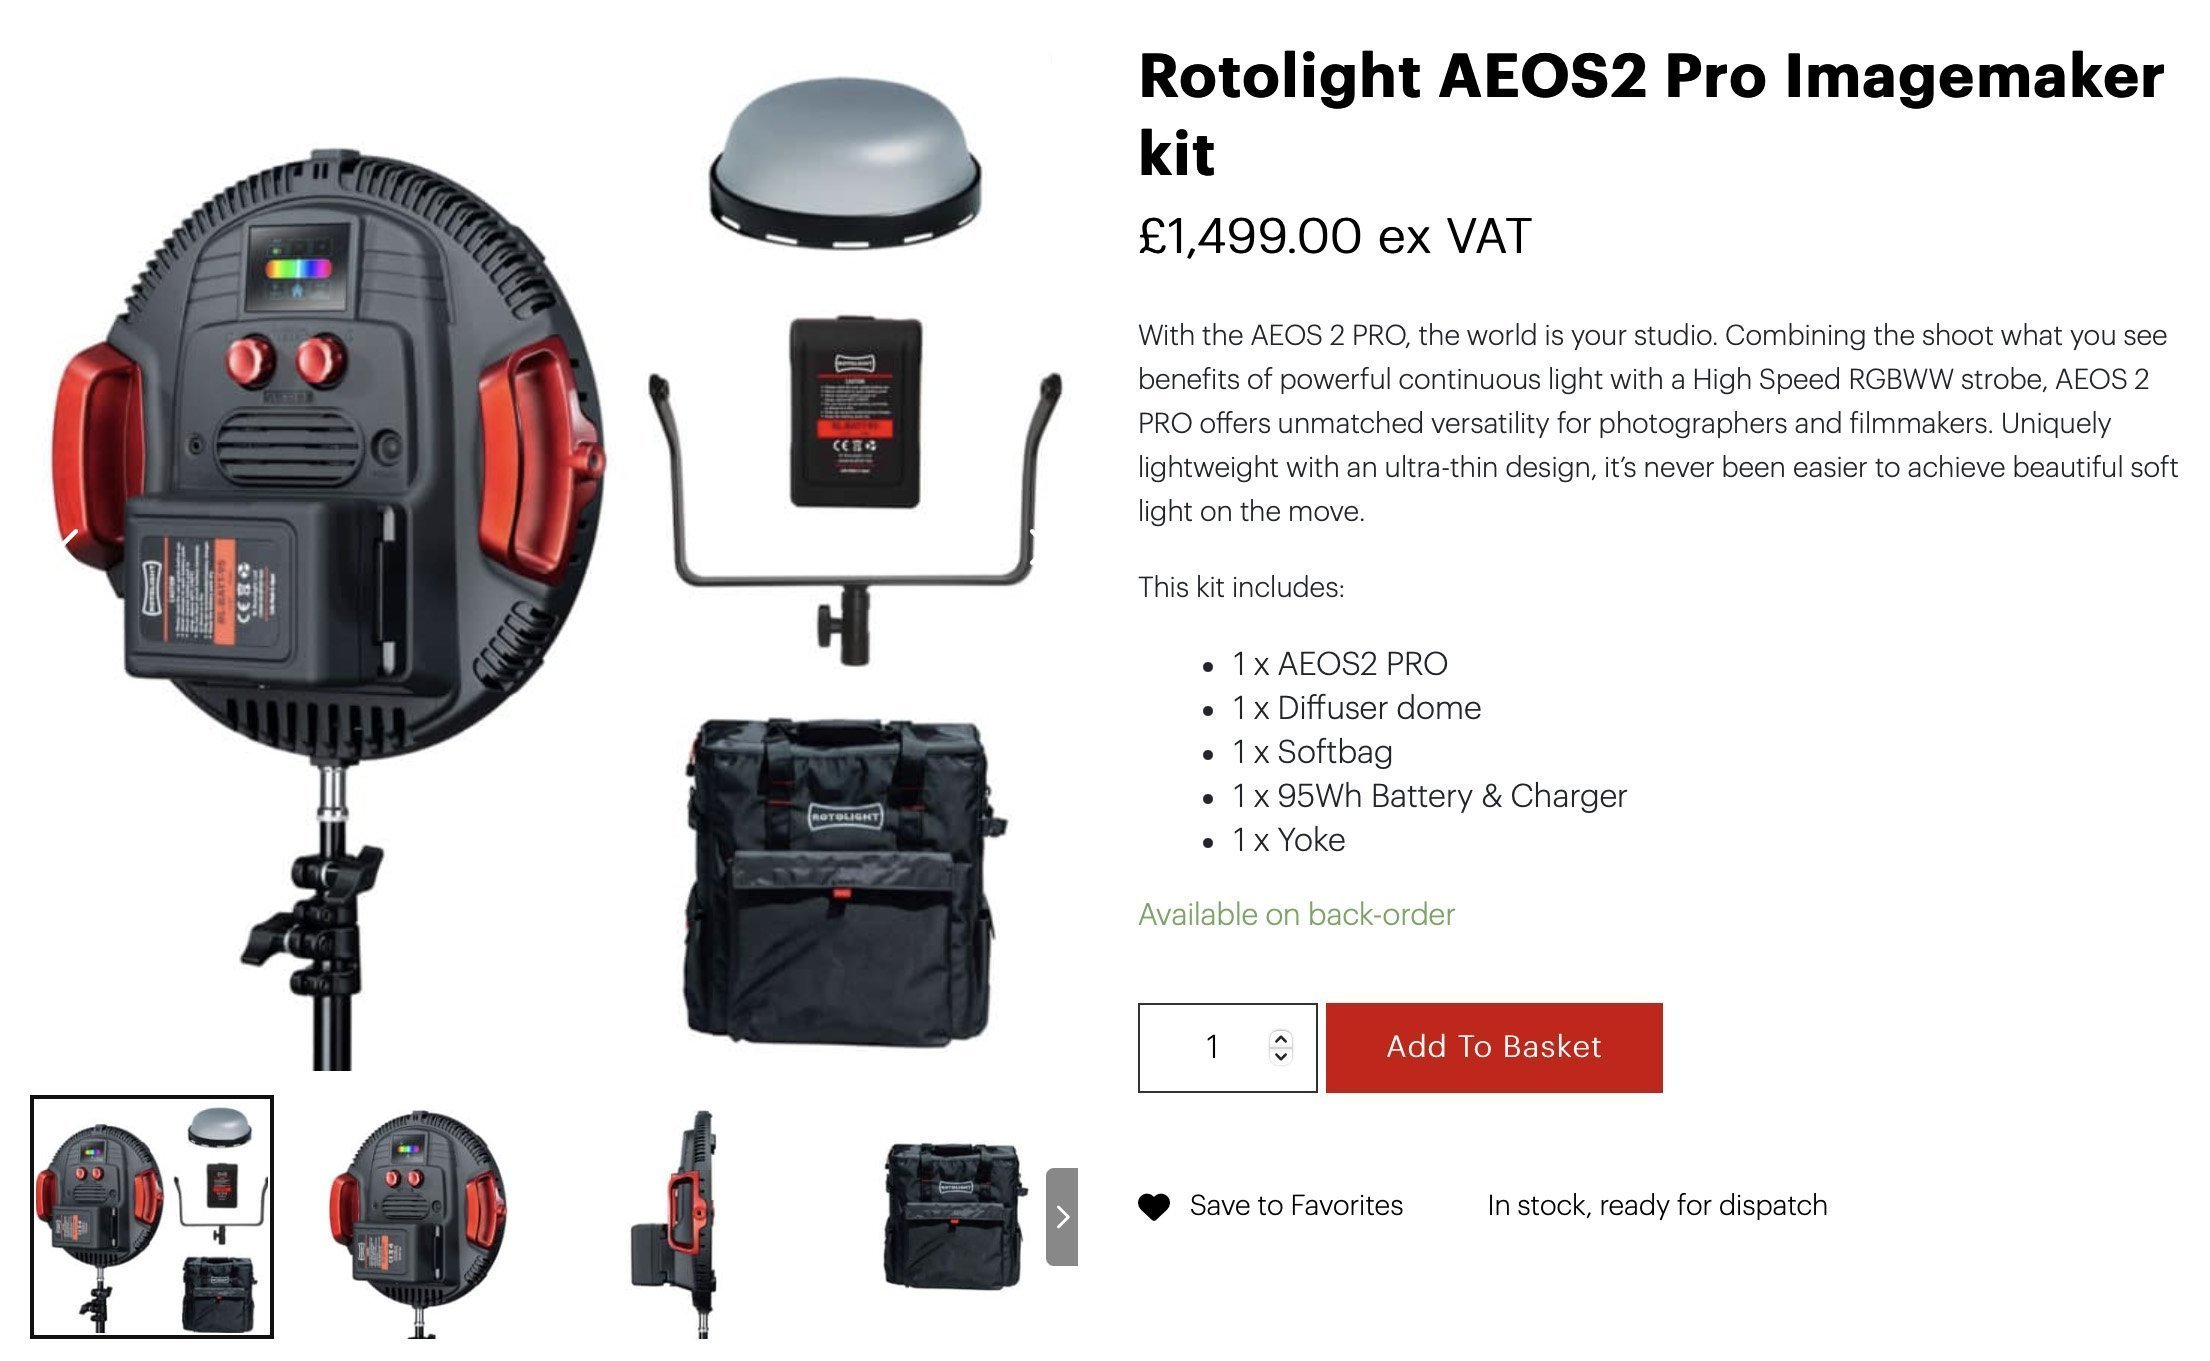
Rotolight's LED Flash Duration
As a more ‘mature’ gentleman myself, there has been a very rare occasion where I wasn’t completely up to speed on the latest and greatest technological innovations of our fine art form. Putting aside the fact that I still use a DSLR for a moment, one area where I have been hugely interested in its future advancements is lighting. Spoiler alert, that future is not flash.
Along with many of you, I’ve progressively been switching a lot of my lighting from flash to LED. But this switch wasn’t as simple as you might think. Yes, LEDs offer a ton of benefits, but there are also many aspects of that switch that we need to consider. For example, with LED panels, the inverse square law principle that we’ve all lived by for decades is completely turned on its head. Another very interesting aspect that’s changed with LEDs, is flash duration. I think it’s easy to assume that flash happens instantaneously, but that’s far from the truth. What happens to flash when we no longer need to ignite gas to create that bright burst we’re used to, how do LEDs do it?
This article looks at the flash duration of LEDs and I try my best to explain exactly what happens when you ‘flash’ an LED light. If you’re even remotely interested in the science behind photography AKA a nerd like me, then you should absolutely check this article out if you missed it originally.

Number 5
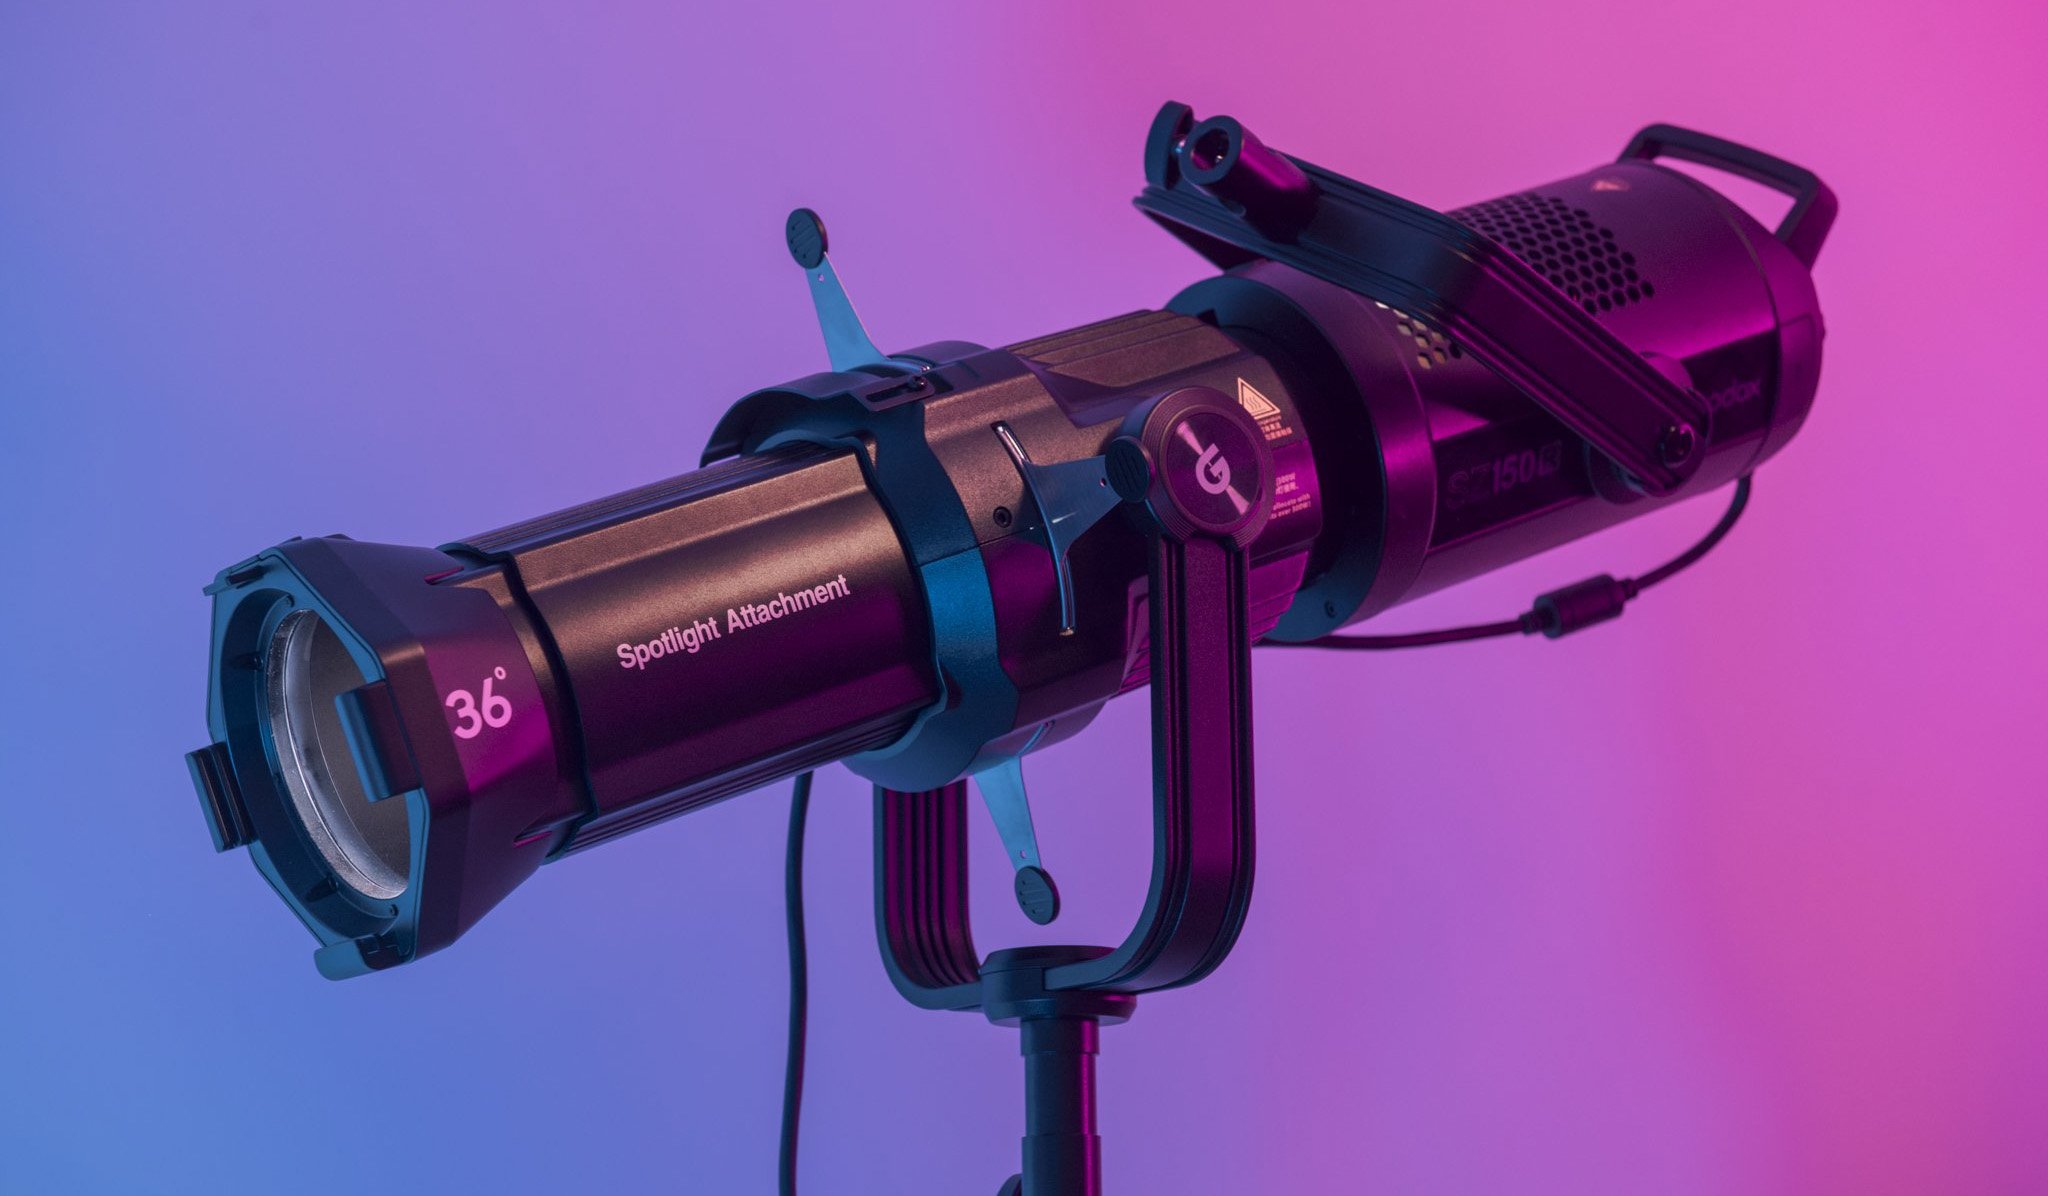
Godox Spotlight - It's in my top 5 best lighting modifiers of all time!
I’m very happy this article squeezed into the top 5 last year as although it was first shared later in 2023, I’m glad to see it gained some traction. Why am I happy this made it in? Simply because this Godox Spotlight modifier is truly remarkable and likely one of the most versatile modifiers I’ve ever used. And as the title suggests, this modifier is easily in my top 5 favourite modifiers of all time!
If you know anything about this type of modifier, you’ll know that it's an extremely hard-light modifier, how on earth can it be versatile? This is where the article was interesting for me, as although there are scores of people talking about what this can do to channel and carve very defined hard-light looks, this modifier can also produce some of the softest light I’ve ever had the privilege of using. If you’re somewhat suspicious of how that’s even possible and missed this article when it was first published, be sure to take a look at the full article as I share tons of setups for both very hard-light light shots as well as super soft-light shots.

Closing comments…
Did you recognise any of those articles? Miss any of them when they were originally posted? Either way, this is a nice little catch-up on some of my more popular posts from the previous year and not only is it a handy reminder for you guys, but it’s also a useful process for me to see what type of content is more popular than others.
More often than not, these annual reviews see some surprises for me in the Top 5. Not articles that shouldn’t be there, but more often I’m surprised at certain articles that didn't make it, articles that I thought would be popular, but weren't. This year didn’t see me surprised at what didn’t make it, but I was still very surprised to see that number 1 article being taken by that very creative projector setup. Maybe that’s a sign I should be sharing more of those types of arty-farty setups! :D
Were there any surprises in there for you? Are there articles from last year that you thought should have been here? Also, do you have any suggestions for future articles this year? Let me know and as always, thank you for checking them out.
Never miss a killer article again!
Never miss a cool tip, technique or lighting setup again. Sign up to my newsletter and I promise to spruce up your inbox with only the best creative ideas for you to try and test out. I promise not to spam you though as I really only send out the updates a couple of times a month to keep you in the know.

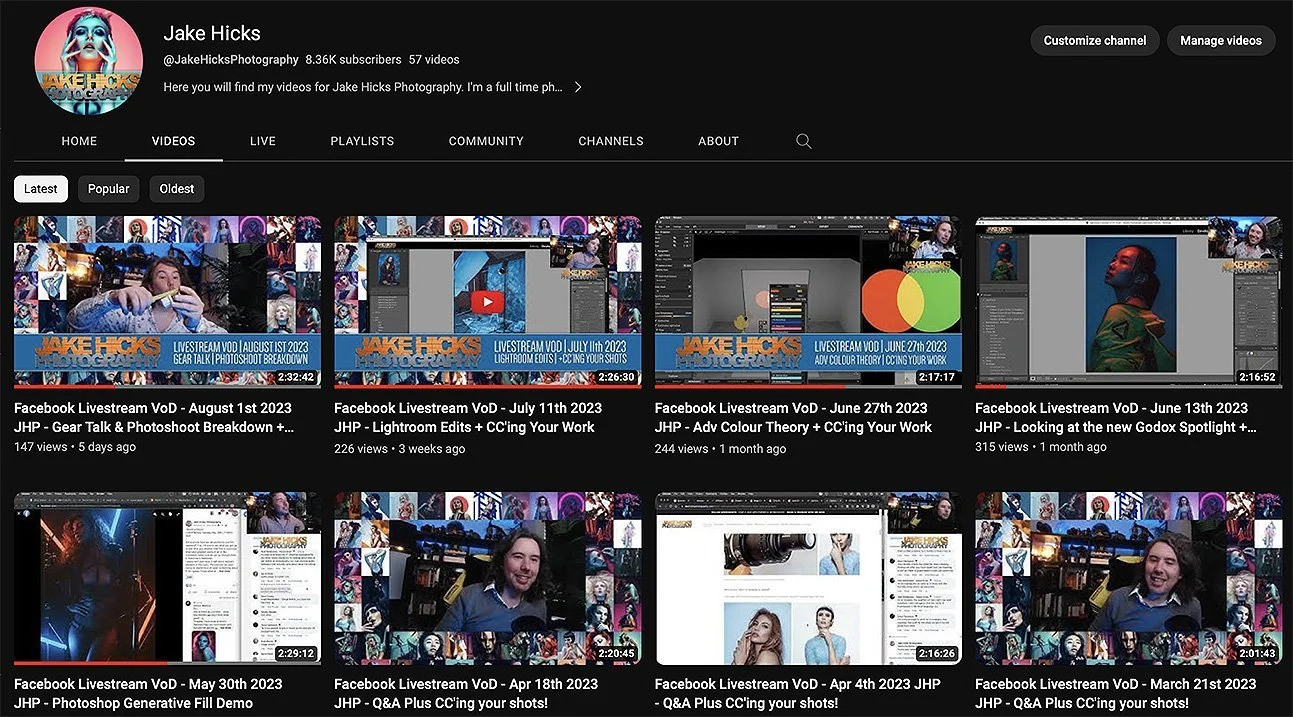
JHP Livestreams…
If you give any of these setups a go, I’d love to see how the shots turn out, so feel free to share them my way. One way to do that is via my livestream. I livestream every other Tuesday night via my YouTube channel and there I answer your questions, critique your shots, take community images into Photoshop to work on them and discuss all manner of lighting tips and techniques. I look forward to seeing you and your work there real soon. Jake Hicks Photography on YouTube