With Rotolight announcing their latest powerhouse LED light the Anova Pro 3 (check it out here), they asked me to share some of my lighting setups and techniques that showcase what this new light can do.
As anybody who has taken even the most cursory of glances at my portfolio will know, I love colour and what originally drew me to Rotolight was exactly that, a LOT of colour! I’ve spent a very long time using coloured gels on my strobes and although I’ve been collecting gels for well over a decade, I’m still a long way off collecting the 16+ million colours that Rotolight has packed in every light!
Colour is great and a wide variety of them is even better, but all the colours in the world are only as good as the light that produces them. If the quality of that light is patchy, inconsistent and plagued with uneven brightness like hot-spots, it’s never going to look good. But again, the quality of light from the Rotlights is exceptional and from the very first test shot I ever took, I knew that they had something special.
So with all that gushing aside, let’s look at how these qualities combine in one of my all-time favourite coloured light setups, my triadic portrait light technique.
The Setup
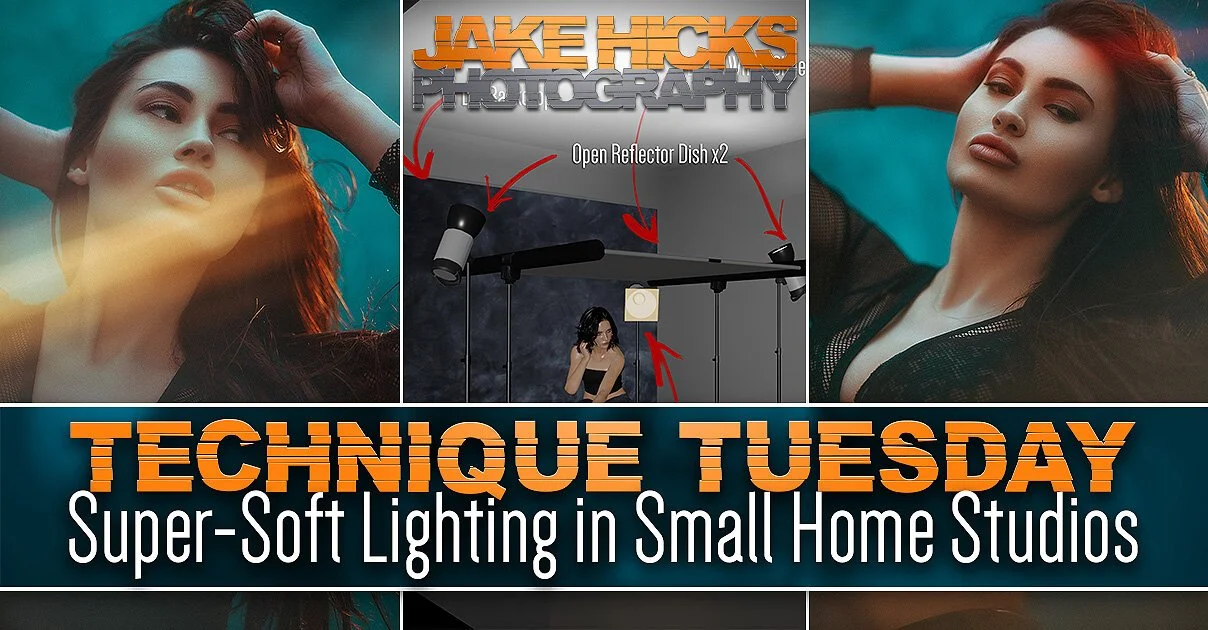
At its core, this is a very simple setup to achieve. No fancy modifiers are required, no specialist kit is needed to support the lights and it can all be achieved in smaller spaces like home studios. All you need is 3 lights and a white wall or background. That really is it, but don’t let its simplicity fool you as this setup certainly packs a punch.
Click to enlarge
TL;DR/ADHD/Artist Setup Explanation
Place/hide the smaller Neo 3 Pro behind the model and aimed back towards to white background
Position your Anova Pro 3 key-light in close and up above the model
Bring in your AEOS 2 Pro on the floor as a fill light
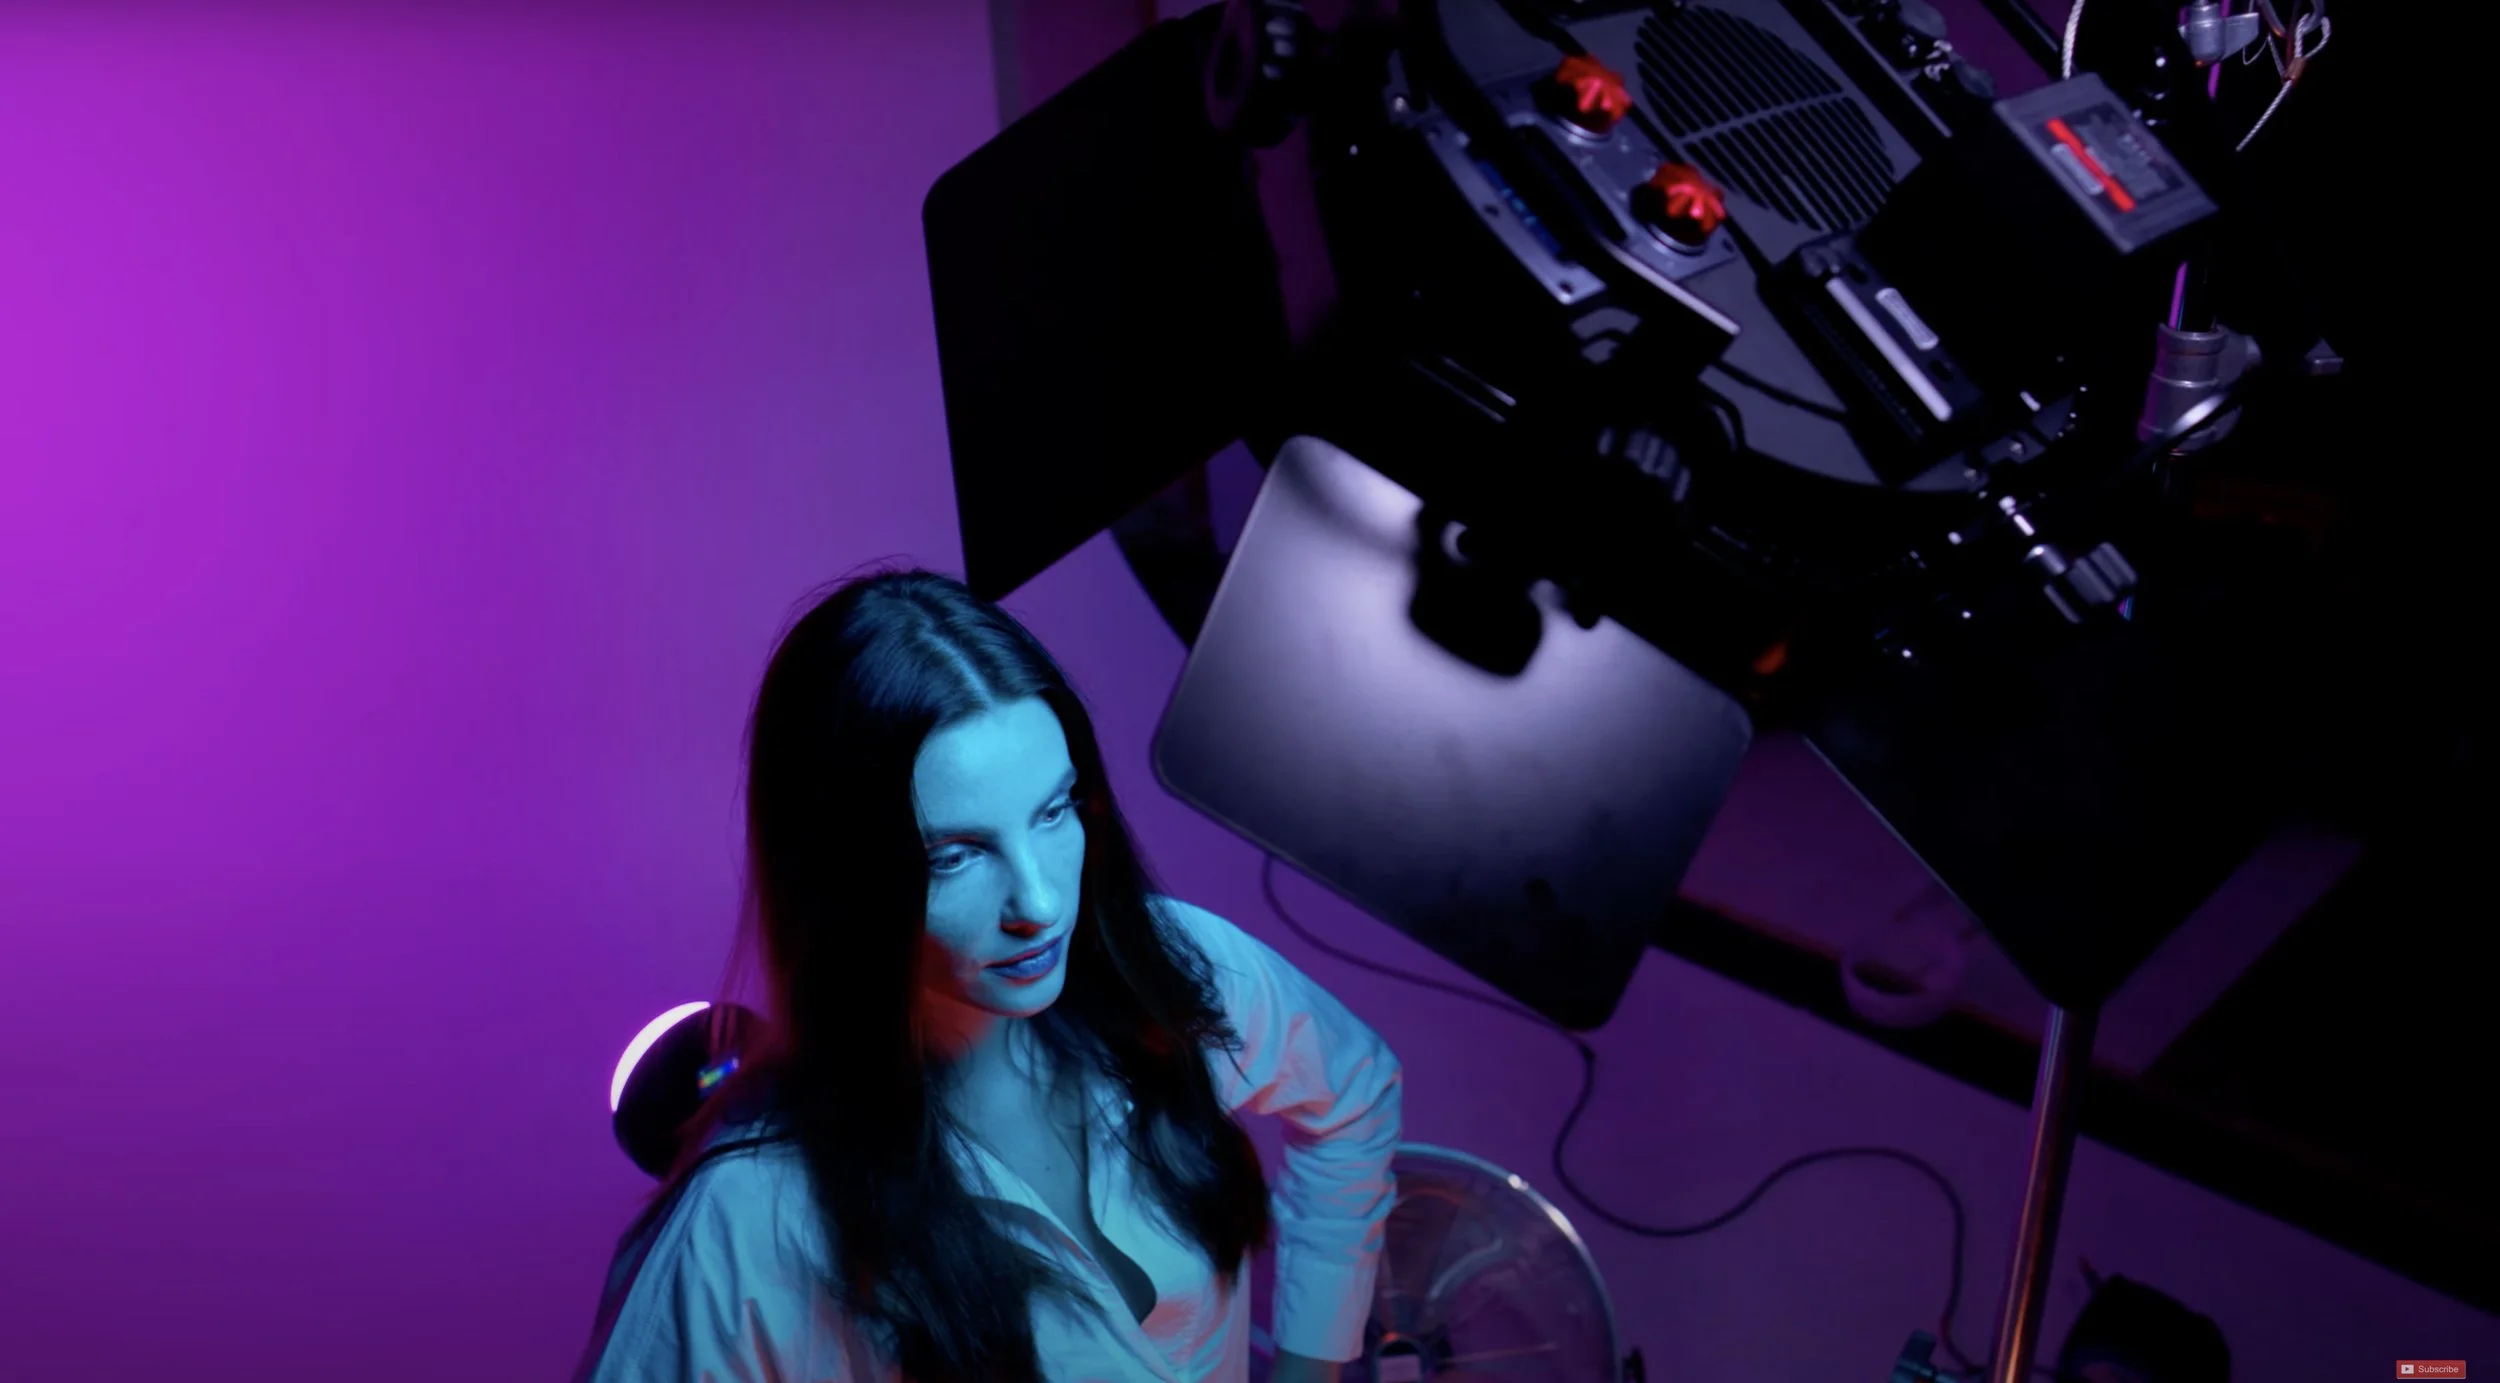
Watch the Video
This setup was filmed as part of a video showcasing some of the new features of the new Rotolight Anova Pro 3 light. To see the complete breakdown of how everything was shot, check the video below.

What You Will Need
3 Lights - As I mentioned above, 3 lights are all you need for this setup and ideally one of those needs to be small like the Neo 3 Pro as this makes it far easier to hide that light behind the model.
White Background - This needn’t be complicated and a simple, clean white wall will be fine. Failing that, I’ve achieved this look with a plain white window blind behind the model. Remember that we’re not shooting full body, so we can get away with far shorter backgrounds if needed.
Modifiers… if you want - Typically when I shoot this setup, I simply don’t need any modifiers. Yes, I use the diffusion domes that come with my Rotolights (they actually never come off the lights), but you really don’t need anything when the quality of the light is this good straight out of the box. If you wanted to use some modifiers though, this particular set was shot with a small 55cm softbox on the fill-light and a Smartsoft box on the key-light. The background light simply had its diffusion dome attached.
Camera Settings
Camera - Nikon D850
Lens - 24-70mm f2.8
Shutter Speed - 1/125th
Aperture - f2.8
ISO - 400
Kelvin - 4800K
Focal Length - ~48mm
The Results…
Click to enlarge any of the shots below.
Breaking it Down
Background Light
When setting this up, I often start with the background light as once that’s in place, I can leave it and not touch it again. Here I’m using the smaller Neo 3 Pro to hide it behind the model and I simply have its standard diffusion dome attached. Remember that you can adjust the amount of vignette (dark corners) on the background by bringing that background light closer or further away from the background. In this shot, I had the Neo 3 Pro very close to the model to limit some of that vignetting. For reference, the background light was set to 16% power.


Key-light
For this shoot, I was using an Anova Pro 3 as my key and attached to that I had the ingenious Smartsoft box. If you’re not aware of what that does, then it’s a brand-new modifier from Rotolight that allows you to dial in the exact amount of diffusion you want, down to individual percentages! I placed the light up high and angled it down at about arm’s reach away from the model. On this shoot, I was using a boom to hold the light above, but if you don’t have one, simply place the lightstand just out of shot to one side and the setup will still work just as well. The key was set to 70% power.


Fill-light
For my fill-light, I was using an AEOS 2 Pro in a brand-new R55 Softbox. In fact, the softbox is so brand new, that I don’t even think it’s available yet. Expect an announcement very soon though. Essentially it’s a 55cm softbox with either 1 or 1/2 stops of diffusion. One nice feature of this new softbox is that it’s very deep which results in it being very directional, yet soft. I’m using it here to only light the bottom half of the model with that orange light, but you can still achieve this look with the standard AEOS 2 Pro diffusion dome too. Again, the light is brought in very close to the model and angled up slightly. The fill was set to 45% power.


Points to bear in mind…
Keep the key light up high and angled down. This minimises the spill onto the area where the fill light is aimed.
Be sure to manage the spill of the fill light by bringing it in close to the model’s feet.
Play around with how far from the background you position the background light as that affects the vignetting.
Be sure to set these lights up one light at a time to ensure light aren’t spilling onto another one.
I’ve used a triadic colour theory here, but be sure to play around any number of 3 colours you like.
Products Used
Although I am sharing my own personal thoughts and findings about the lights mentioned in this article, many of you will want to know that I am now a ‘Master of Light’ for Rotolight. As such, I have been given a discount code to share with you when purchasing any of their products via the Rotolight website. Use my code ‘JAKEHICKS10’ when purchasing and you’ll save a bunch of money. I’ve never earned a penny of commission on this though, so if you find a better deal elsewhere, go for it.

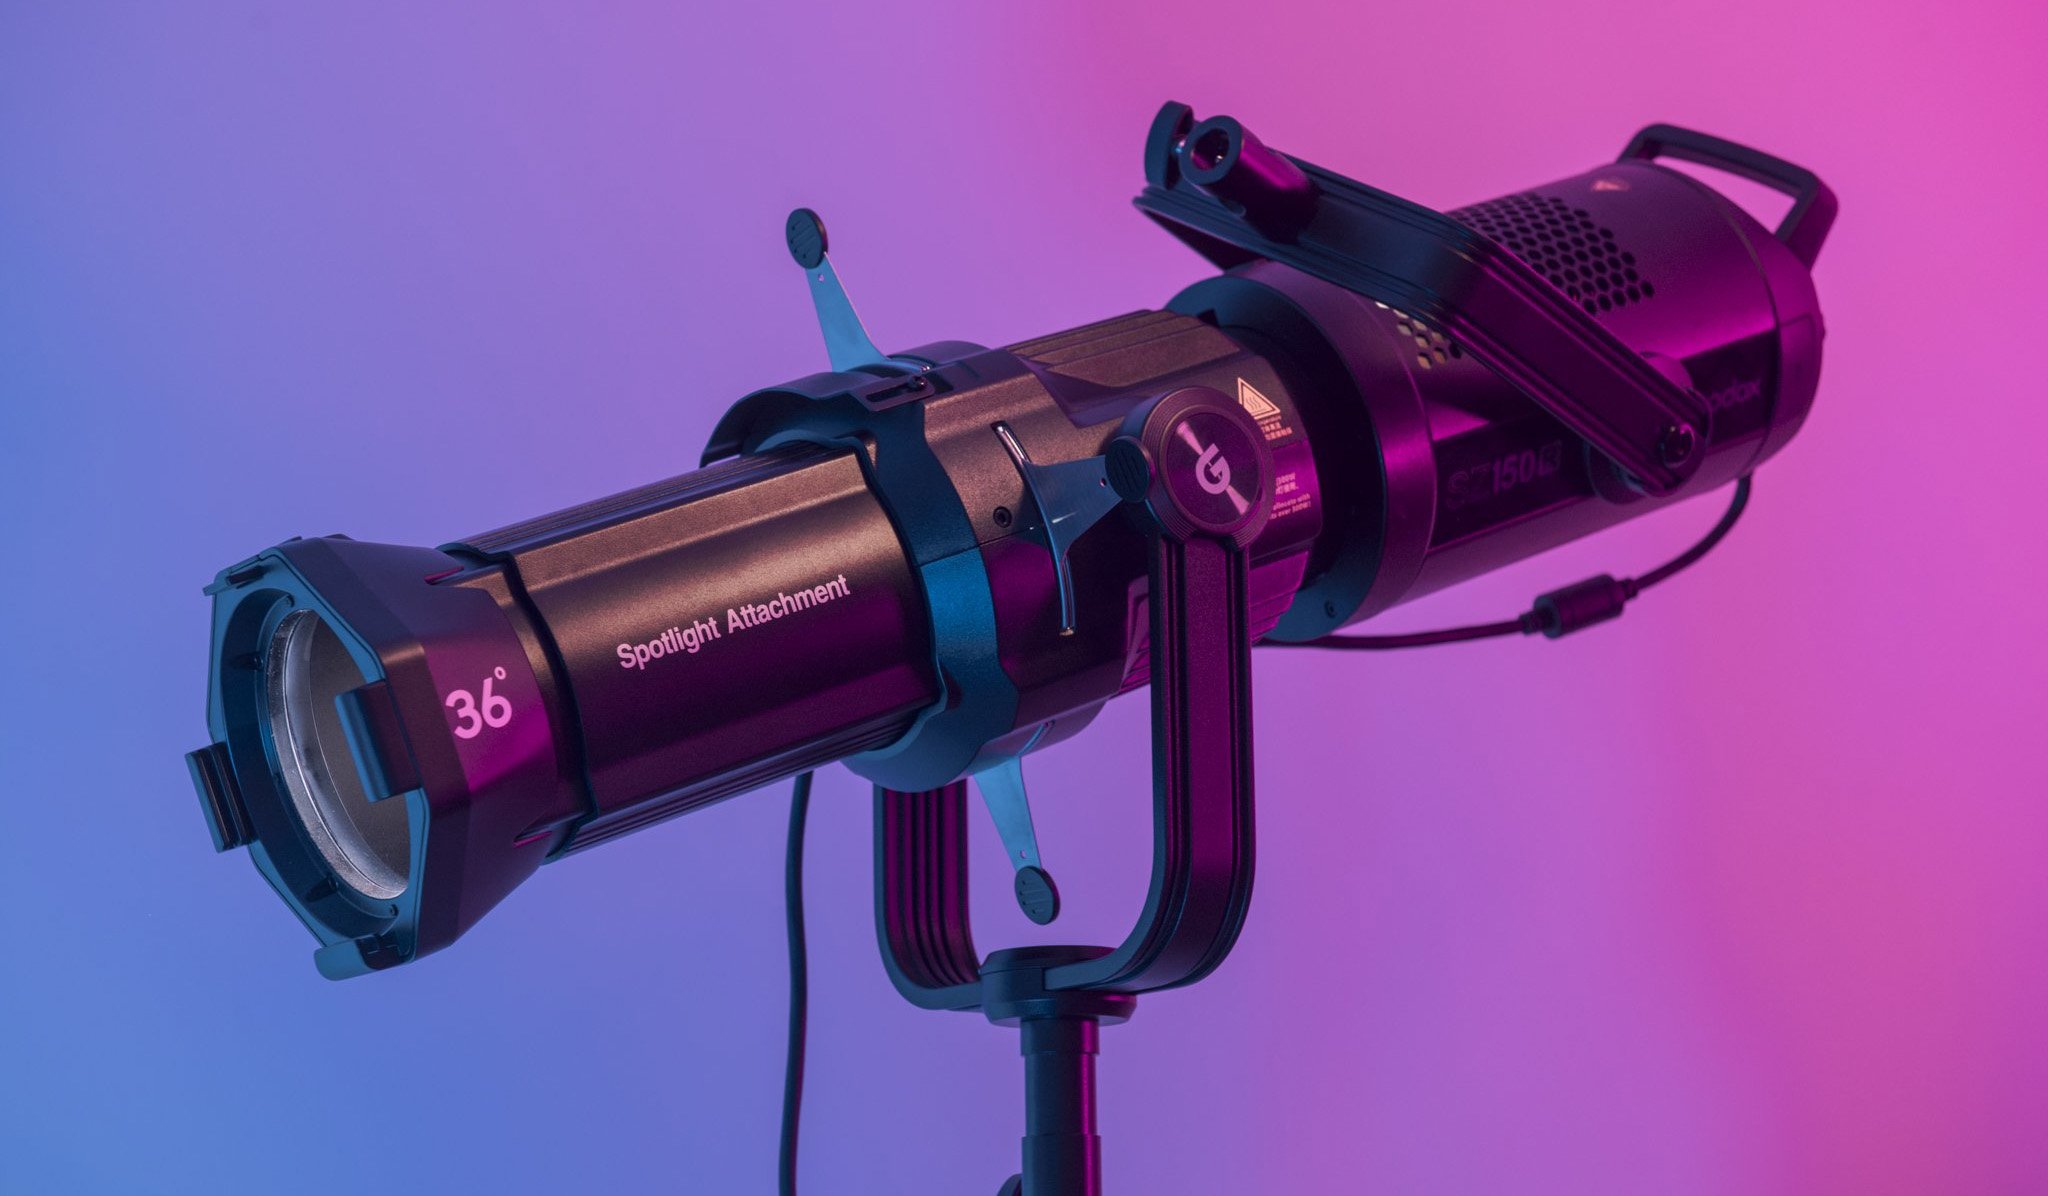
Anova Pro 3
The star of the show on this shoot was clearly the brand-new Anova Pro 3. This is the latest powerhouse light from Rotolight and it ships with a mountain of features that Rotolight customers are already used to, but this light is twice the brightness of AEOS 2 Pro, can be used in any weather condition including heavy rain, dust, sand and snow, plus it also comes with in-built Magic Eye technology to match any light and colour instantly. To learn more, check it out on the Rotolight website now.
Get it cheap - Back it on Kickstarted here

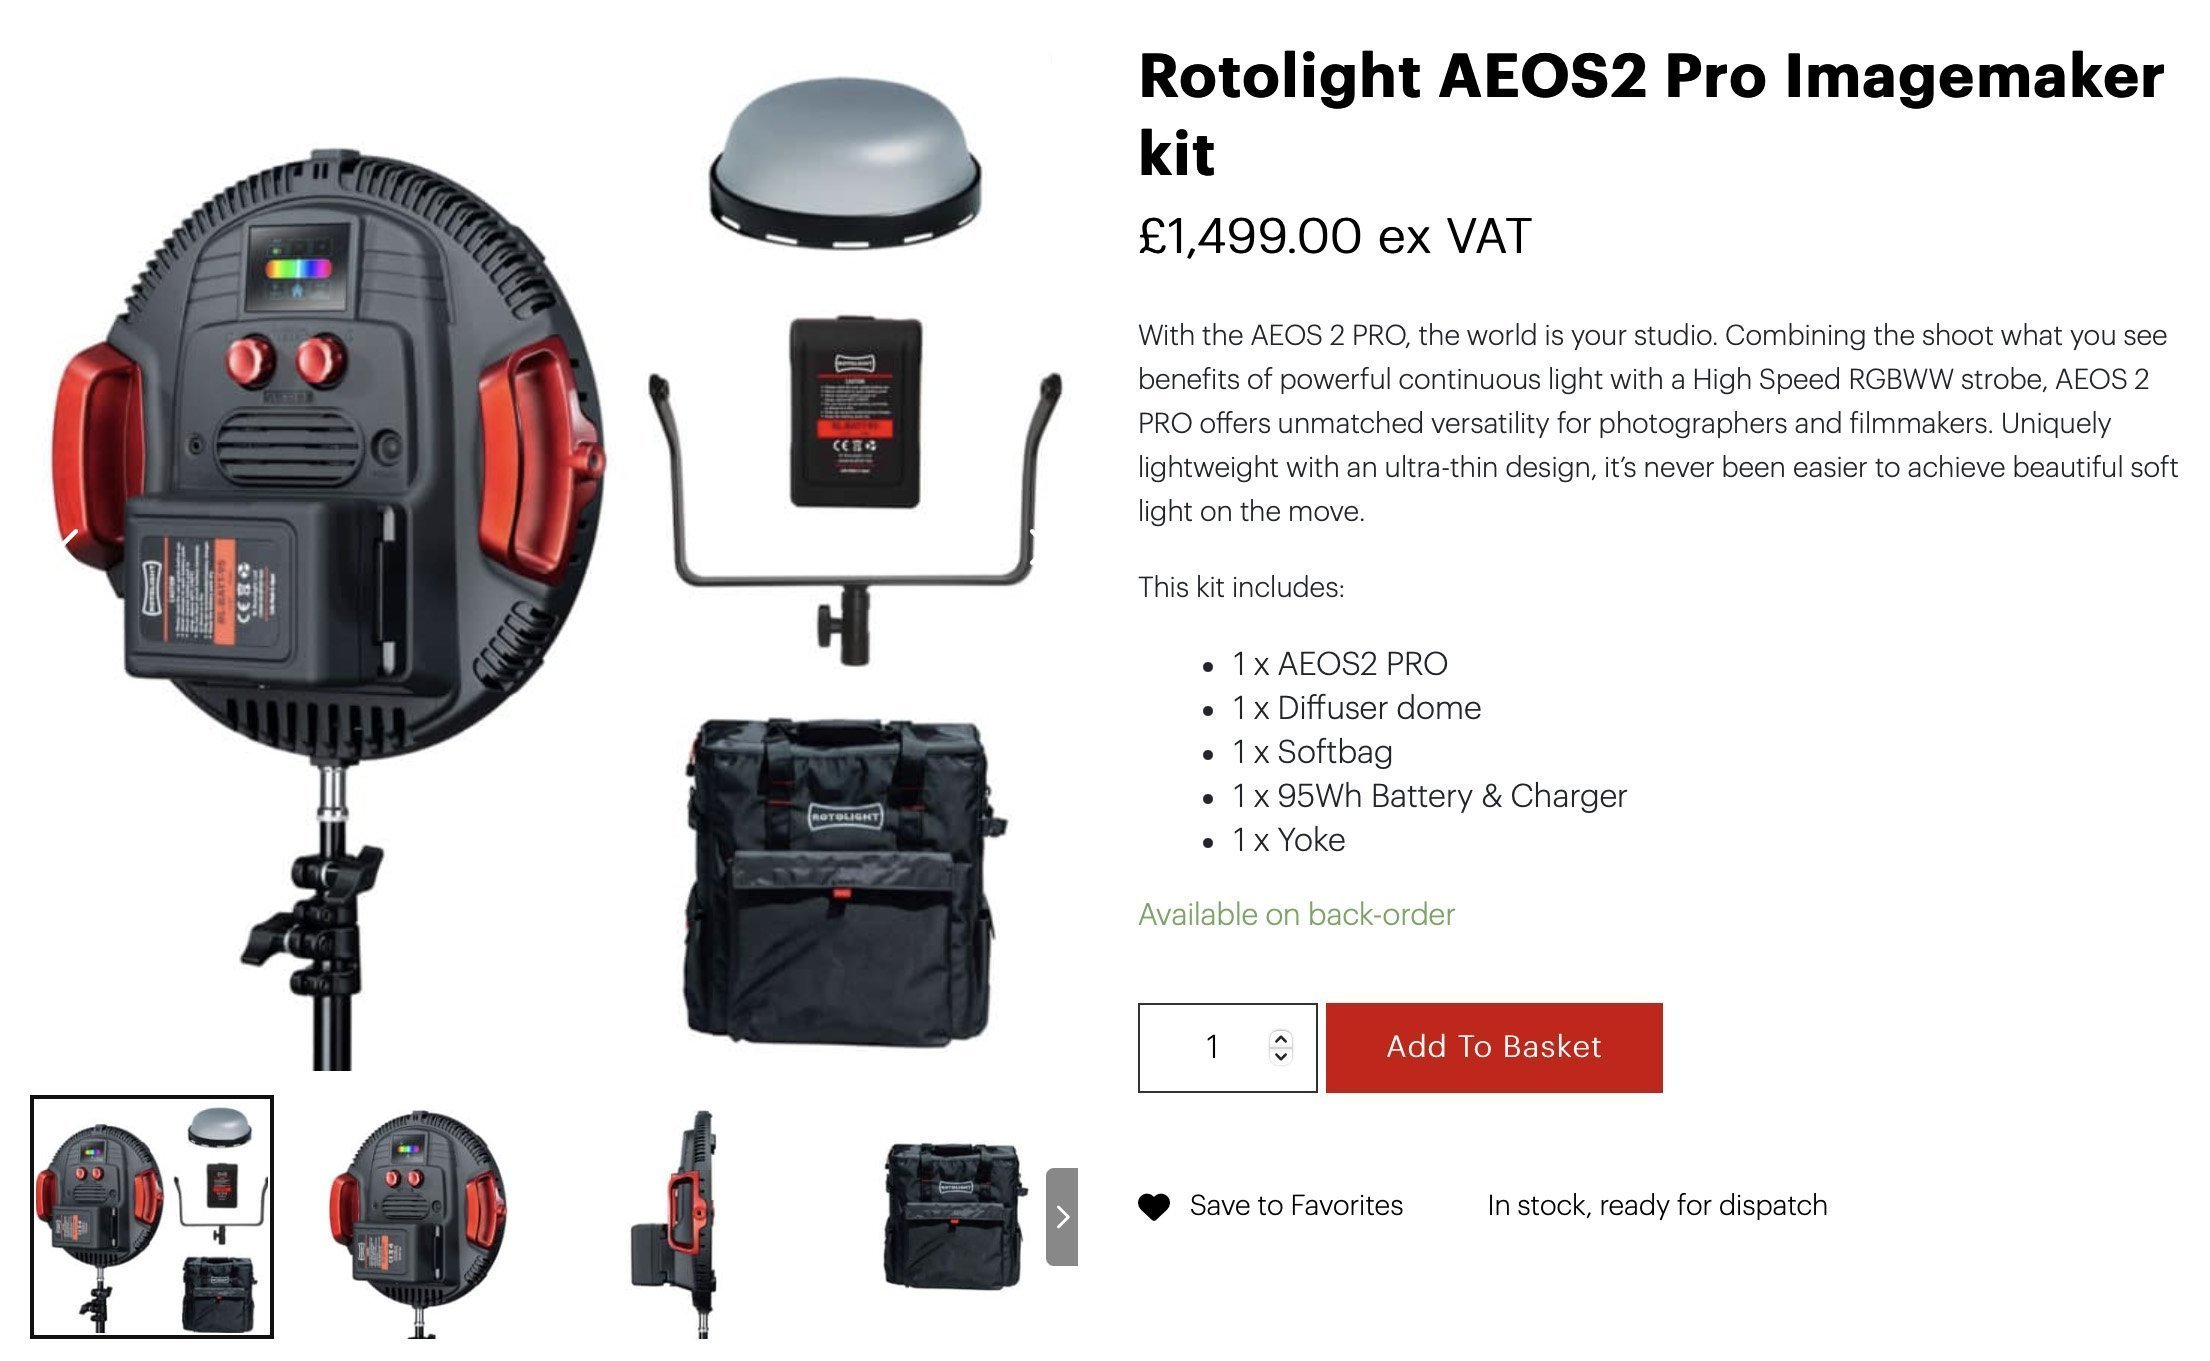
Rotolight AEOS 2 PRO
With the AEOS 2 PRO, the world is your studio. Combining the shoot what you see benefits of powerful continuous light with a High-Speed RGBWW strobe, AEOS 2 PRO offers unmatched versatility for photographers and filmmakers. Uniquely lightweight with an ultra-thin design, it’s never been easier to achieve beautiful soft light on the move.
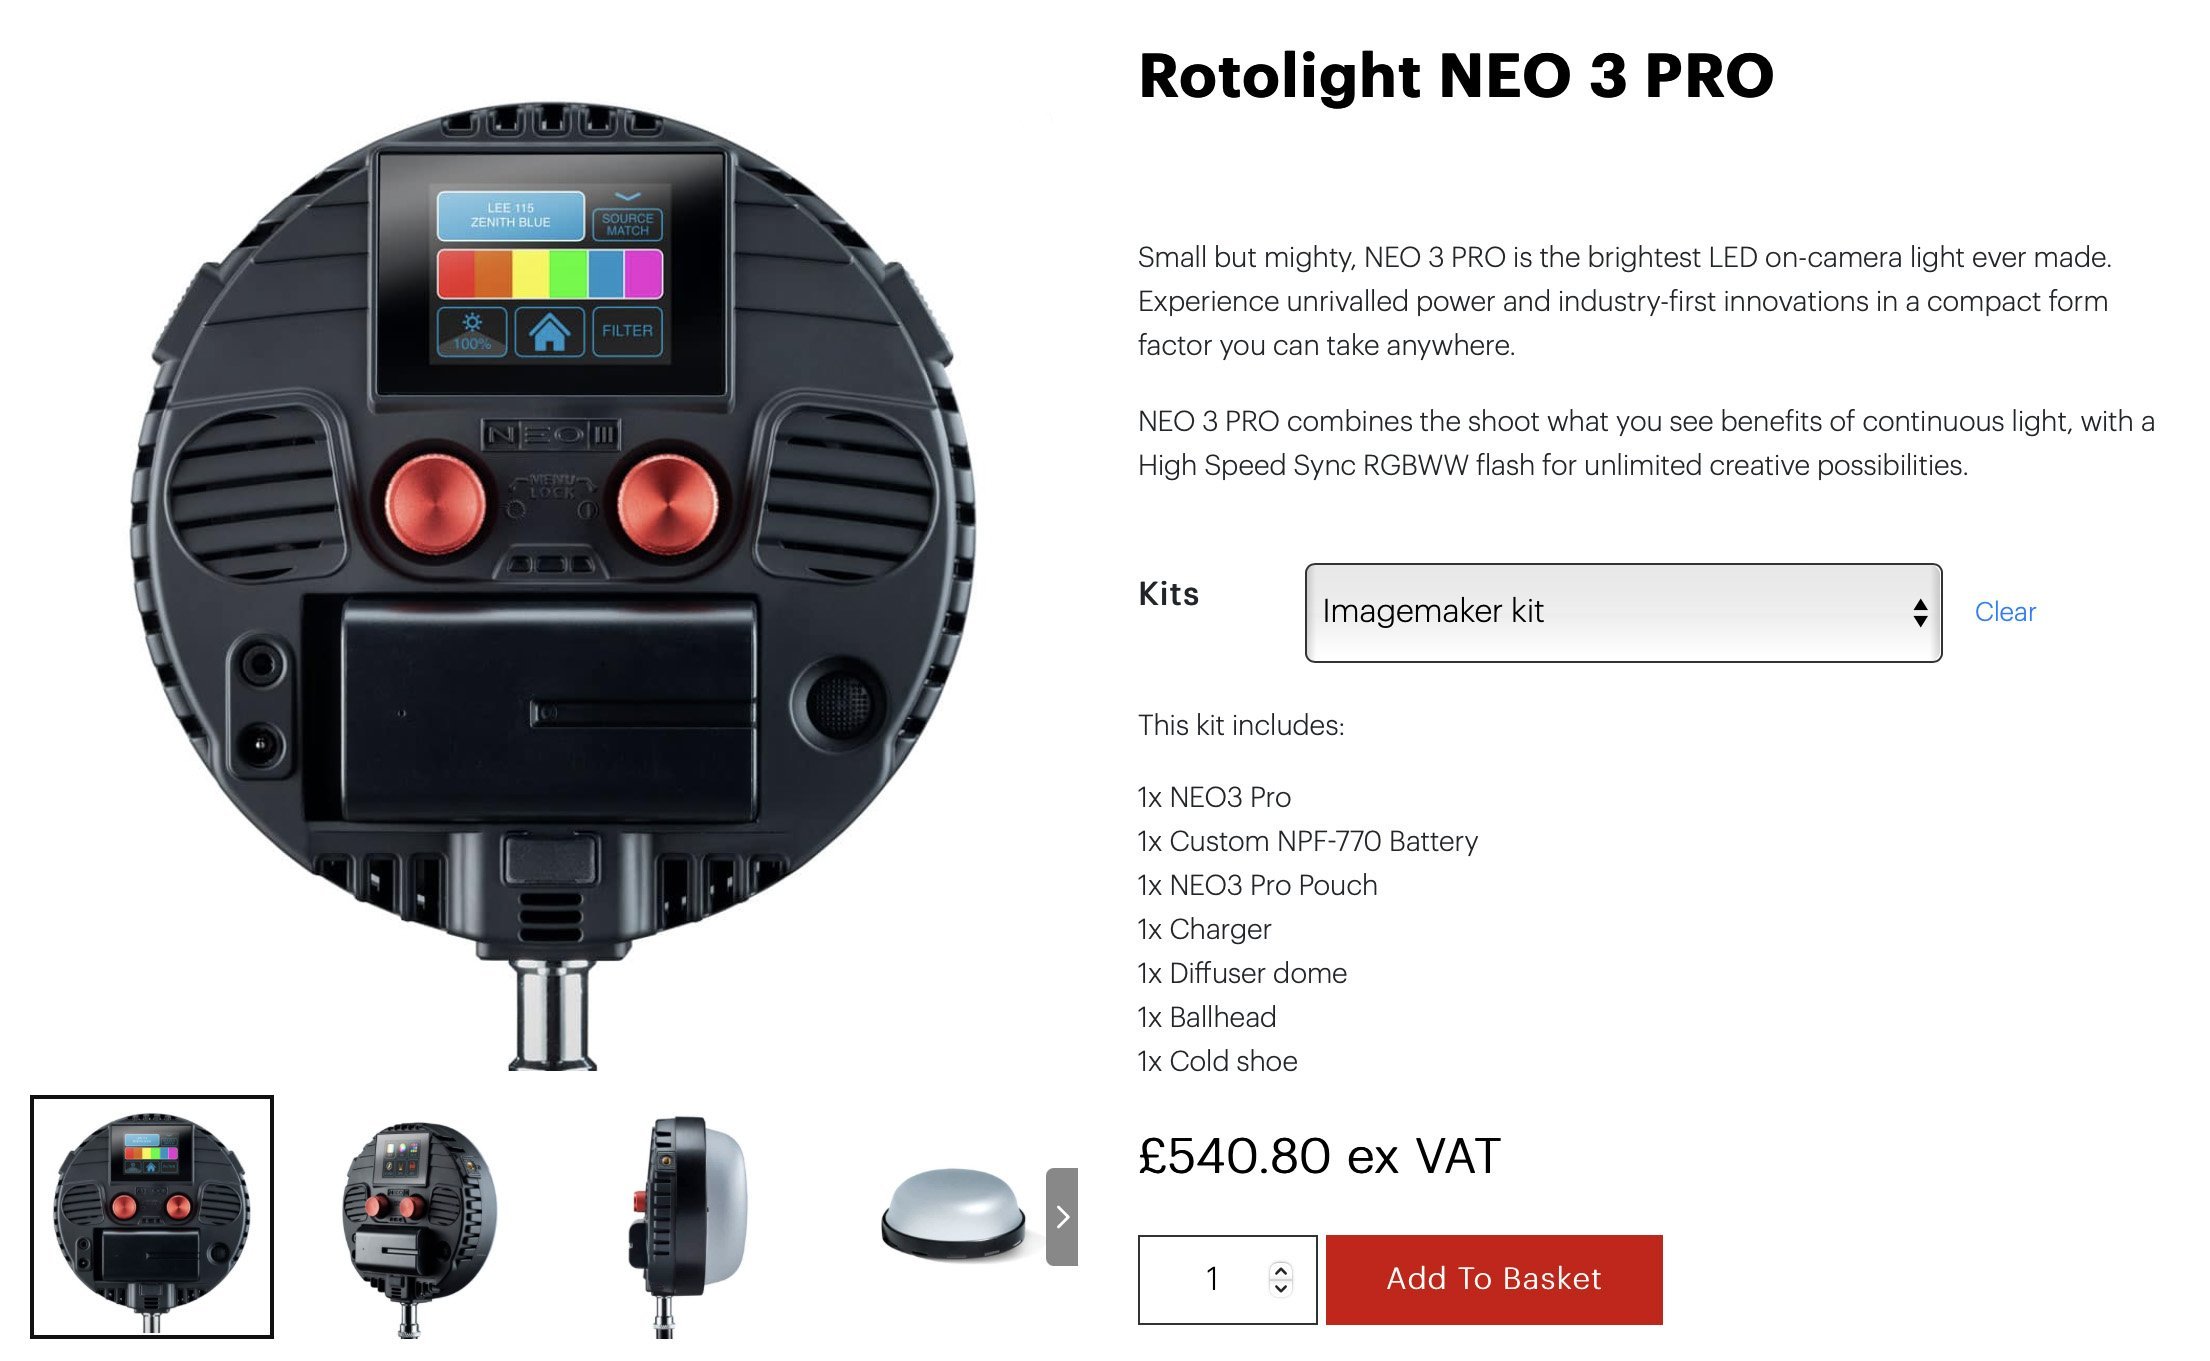
Rotolight NEO 3 PRO
Small but mighty, NEO 3 PRO is the brightest LED on-camera light ever made. Experience unrivalled power and industry-first innovations in a compact form factor you can take anywhere.
NEO 3 PRO combines the shoot-what-you-see benefits of continuous light, with a High Speed Sync RGBWW flash for unlimited creative possibilities.

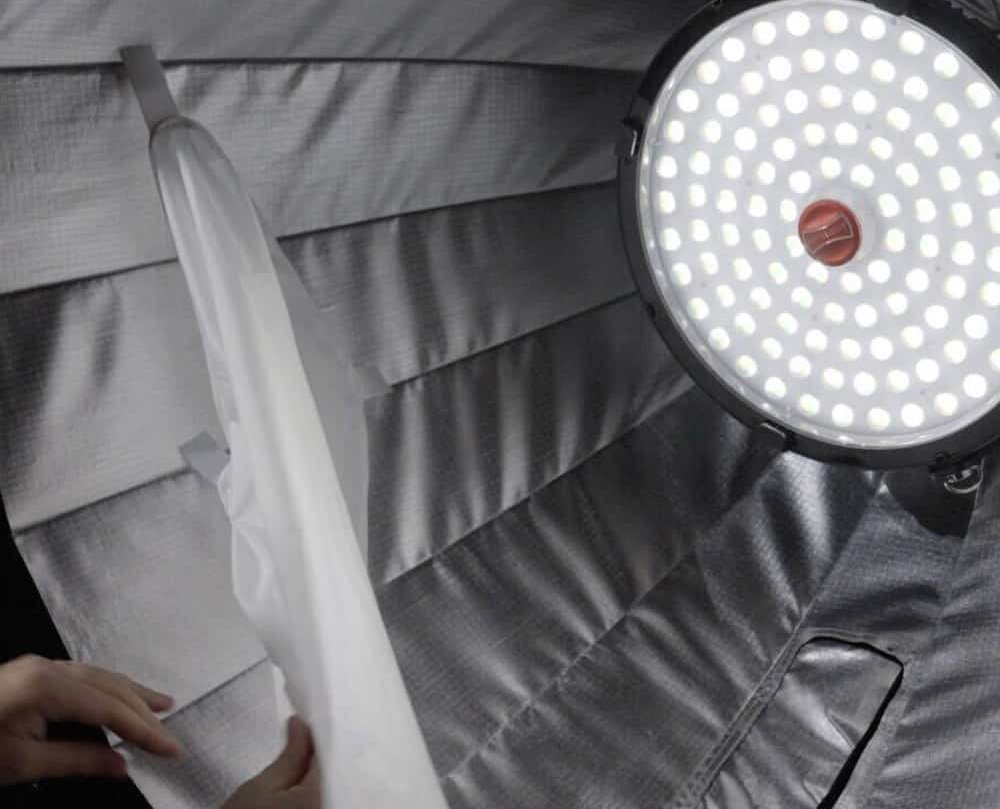
Rotolight SmartSoft Box
The ingenious SmartSoft Box allows you to dial in the exact value of diffusion you need and incredibly that can be done in increments as small as a single percent. This is a modifier that does two jobs and ultimately never needs to leave your light as you simultaneously have a hard-light as well as a soft-light modifier and both are just a dial turn away.
Rotolight R55 Softbox
The brand new R55 Softbox is so new in fact, that it doesn’t even have a release date as of yet!
I expect it to be officially announced very soon indeed though, so keep an eye out for when it does. That being said, I was very impressed with it due to it being a reasonably deep softbox for its size. This meant it had a lot of directional light control, even without a grid. Definitely one to watch.
Thank You
As always, thanks for checking out this article. Hopefully, you learned something new, but if you have any questions or if something didn’t make sense, just let me know and you can reach out via the comments below. See you in the next one and stay creative until then.

JHP Livestreams…
If you give this setup a go, I’d love to see how the shots turn out, so feel free to share them my way. One way to do that is via my livestream. I livestream every other Tuesday night via YouTube and there I answer your questions, critique your shots, take community images into Photoshop to work on them and discuss all manner of lighting tips and techniques. I look forward to seeing you and your work there real soon. Jake Hicks Photography - YouTube