We all know what long-exposure photography is right? I think we all have a rough idea, but long exposure shots can vary from half a second to show light trails from moving cars headlights, all the way to multi-hour exposures of galaxies in the night sky. But regardless of the content, the core premise of long-exposure is the camera's shutter being open for an extended period of time. But it’s this long shutter duration that often puts many photographers off.
As photographers we’re taught to keep that shutter as fast as light will allow to keep our subject sharp, failing to do this will result in a blurred subject, right? Well, not necessarily. We can have our shutter open as long as we like and still get a sharp subject, as long as we use flash to freeze them and this is where the creative possibilities of combining flash and ambient light are seemingly limitless.
Long-exposure photography can take many forms and even if we limit it to just studio portraits there are seemingly limitless possibilities.
As you can see from the images above, the technique of long exposure portraits in the studio can produce a multitude of looks, but there are a few rules we have to abide by to make sure that not only the subject is sharp, but also clearly visible and not obscured by the surrounding blurring.
To achieve this we need at least one light to flash, this freezes our subject, and one light to not flash. This light should be on continuously throughout the entirety of our shutter duration as it’s this light that produces the blurring effect.
As I mentioned, long-exposure portraits can take on many forms, but for this example, I want to keep it as simple as possible and provide you with a setup that only requires two lights.
The Setup
As I started writing this, I originally began with a section about why I love the ease of use that the Rotolight LED lights provide for long-exposure portraits. And although I think you may find my experiences of transitioning from regular lights to LED useful, I fully appreciate that many of you are already aware of these benefits, hence why you’re here. If you’re interested in hearing my thoughts then by all means continue reading until the end, but for now, let’s dive straight into the technique.
First off, let’s look at the setup…
Click to enlarge - Cut out and keep
What you will need
2 x AEOS 2 Pros*
1x Flash Trigger
1x Backdrop
1x Bounce-board/V-Flat/White Sheet/ Large Softbox
*The AEOS 2 Pros aren’t mandatory for this setup, but the new Pro versions will make triggering the flash a little easier. The older AEOS 2 can easily sync via an Elinchrom trigger (which is what I use on my Pros), but the new Pro versions will trigger via a Godox, Profoto, PixaPro and others.
TL;DR/ADHD/Artist Setup Explanation
Set up backdrop with model close to it.
Place light to camera left, up high and angled down to model - This light is set to flash & Ambient.
Note: Ensure that this light only hits model and not backdrop.
Place second light in front of model and either modify with a large softbox or bounce into a white sheet or V-flat.
Note: This light is set to flash only.
Camera Settings
Camera - Nikon D850
Lens - 105mm f2
Shutter Speed - 0.4 of a Second
Aperture - f2.8
ISO - 100
Kelvin - 4000K~
Focal Length - 105mm
The Results
Click to fit any of the shots below to your screen.
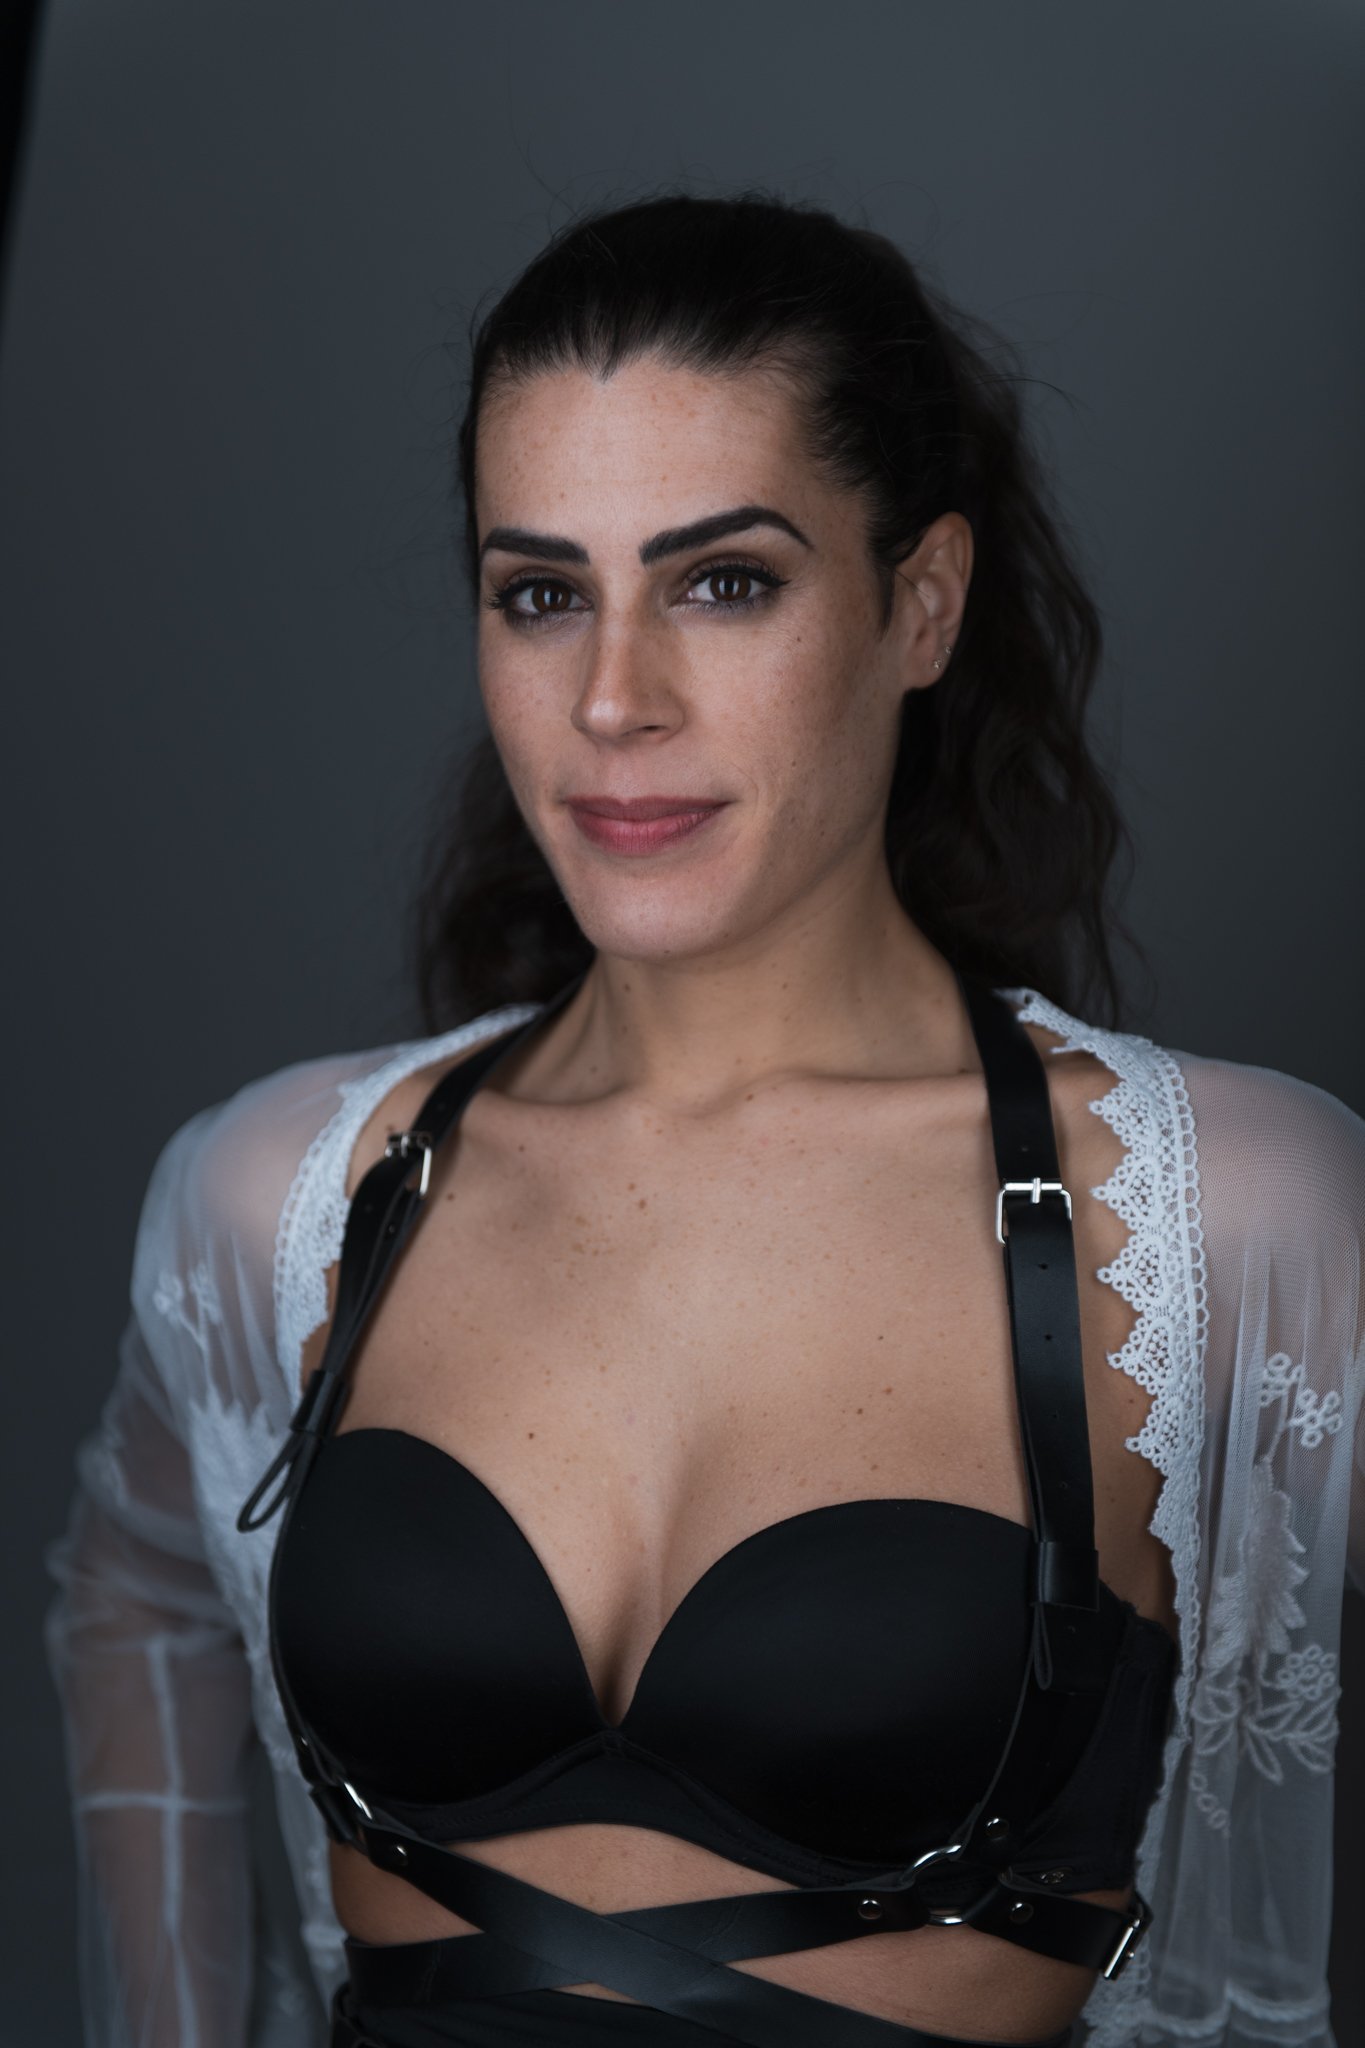
Featured Model: Hayley Mathews
Breaking it down
As I mentioned, this is only two lights, but its effect is certainly very eye-catching and couple that with the colour-shifts that we’re playing with and this can be a very powerful and visually engaging lighting technique indeed.
There are a couple of very important aspects to this setup that I want you to be aware of as failing to apply them will result in more of a visual mess than a stunning portrait.

The Long Exposure Light
In this setup, the ambient light placed off to camera left is the light that cuts across the set and it's this light that is creating the long exposure light-trails effect we see in the final images.
It’s very important that this light does not hit the backdrop and only illuminates the model. To keep the light where you want it, either flag it off like I did or use barn doors to direct the light where you want it.
The reason we only want this light on the model is simple; if that light was hitting the backdrop with the long exposure, the entire shot would be filled with movement. As it is, we only want to strike the model from one side and simply create the long exposure effects from that edge light highlighting the skin. For reference as to where that light should be placed, take a look at the attached image here as it shows what the light is illuminating.
It’s for this reason that most of the model poses will be positioned looking off towards this light. Obviously, if she was to look the other way, the flash wouldn’t hit her and she’d be left in darkness.
Note: This light should be set to ambient as well as flash so it’s this highlight on the skin you see here that will create the long exposure effect.
With the Rotolight lights, we’re able to individually adjust the brightness of both the flash and the ambient light independently, Use this feature to your advantage and play with varying brightnesses of each to find what works for you. More ambient light will produce more light trails which could look cool but it could also dominate the shot.

The Flash Fill
The second light in this setup is set to flash only. Make sure that this light is not producing any ambient light as it’ll overpower and ruin the image if it does.
This second light is a soft light and you can either use a softbox or bounce it into a white V-flat like I did, but even a white sheet will work. The reason this is a soft light is so that we can illuminate the entire scene with this light without it overpowering our long exposure light.
Take a look at the accompanying image here. In this shot, the flash from the model has not fired so you can clearly see what the soft fill light is doing without it. Note that the ambient light from that model light is still present so we still get the long exposure effect in this shot.
This image is a good example of how much that flash from the model light to camera-left is actually doing, as without it, the image is very flat and lifeless.
Are you new to Rotolight Flash?
If you’re new to the Rotolight flash function then there are a couple of things to bear in mind that may help you as the way these lights control flash power is very different to regular strobes.
First, let’s take a look at the new flash menu on the AEOS 2 Pro (this is the same menu as the NEO 3 Pro too)
On the touchscreen we can access everything we need from this one menu - This may seem minor, but I love the fact that we don’t need to go multiple menus deep to access things!
Flash Trigger - From here we can access what flash trigger we’re using to fire the Rotolight Flash
Flash Power - This controls the brightness of the flash
Ambient Brightness - This controls the ambient LED power, or modelling light if you’re coming from the strobe world
Flash Group - We can dedicate certain lights to specific groups and this can make adjusting the lights from the trigger easier if we have a lot of lights we want to change simultaneously
Flash Duration - This is a new feature for myself coming from strobes as with LEDs being an electrically controlled flash, we can dictate exactly how long we want the flash to be on during the exposure
Kelvin Value - Here we can control the Kelvin of the light - Note that this is also where we access all of the RGB colours too
Flash Triggers
If you were curious about what flash triggers are supported, here are the ones available as of the time of writing this. I only say that now as more have been added in firmware updates over time so there may be even more triggers supported when you read this.

Godox, Profoto, Pixapro, Photix, Neewer, Yongyuo and Raven …and no, I haven’t heard of a Raven Trigger either!
Flash Powers
This is one area that is a little different to many strobes, but certainly more common on speedlights. The flash power on the Rotolights is displayed in fractions… mostly.

From lowest to highest power; x16, x8, 1/2, MAX and MAX+. I’m assuming the x16 and x8 are fractions, but for space reasons, they wrote it like this…. and yes I double-checked and no there isn’t a 1/4!
Note: One extra point here is that if you have your ambient power set to 0%, the flash won’t trigger at the x8 and x16 values. I’m sure I was told a reason for this, but it escapes me now. This is never an issue though as we have a lot more flash power control with the flash duration function too.
Flash Duration
I feel like I’ve used a ton of different lights over the years, but this is a new setting for me. Flash duration does exactly what you might imagine and you can indeed easily select how long you want your flash duration to be. How is this useful? Well, it actually gives us a ton of extra control over the flash ‘power’.

The flash duration settings of the Rotolights range from 1/50th of a second all the way up to 1/2500th of a second and this gives us a ton of fine-tuning when it comes to power. How? Because depending on our camera's shutter speed, the duration with which the Rotolight is actually flashing its flash power will affect how bright it appears in our shot.
For example, I shoot most of my images with a camera shutter speed of around 1/125th of a second, which means that any flash durations above that setting (faster than 1/125th) will be caught in my exposure and I can use those settings to adjust the apparent brightness of the light in that exposure.
For example, let’s say I took a shot with my camera set to 1/250th of a second, but I set my Rotolight to have a flash duration of 1/500th. The Rotolight would only be producing light for half of my exposure time compared to if I’d set my light to the same as my shutter speed at 1/250th. This may take a bit of getting used to, but it's actually a very useful way to control power once you start playing with it.
TL;DR Rotolight Flash Settings
Set your Rotolight to the trigger you have. Make sure you have a flash duration that’s faster than your camera’s shutter speed and then set the flash power as required.
To achieve the brightest flash power from your Rotolights: Set your Flash Power to MAX+ and your Flash Duration to 1/50th
To achieve the lowest flash power from your Rotolights: Set your Flash Power to x16 (must have ambient brightness to set to at least 1%) and set your Flash Duration to 1/2500th.
Back to the Lighting Setup…
Adding the Colour
Some of you may have noticed a lot of blue light in these images and wondered where that was coming from. There’s actually nothing too complicated going on here and you don’t need to do this if you don’t want to, but I have my model flash light set to a different Kelvin value than my fill light - Take a look at the lighting diagram again to see which light is set to what Kelvin. In fact, if you just look at the two example images here, you’ll see that the flash one is more orange than the ambient one which is clearly very blue. This Kelvin mixing technique is something that I play with a lot, but again you don’t have to. If you do want to give it a try though, I’d suggest keeping the flash at a similar Kelvin value to your camera and then setting your fill flash to be a lot cooler.
Adding the Movement
Up until now, all I’ve done is explain where everything is placed and what settings to use. If you took a picture at this stage and did nothing else, you may be less than impressed by the results. Why? Well, it's because we’ve yet to add the movement as it's this movement that actually creates the long exposure ‘effect’ we’re trying to achieve.
If you’re still following along, then it’s the flash/ambient light to camera left pointed at the model that will be creating these effects, so how do we make them? At this stage, you could set your camera to 1/125th of a second and take some beautiful portraits, but if we want to add the long exposure effect, we need to increase the exposure time. To begin with, I’d recommend about half a second. You can increase or decrease that time based on preference, but that half a second will give us a very prominent effect for now.
Now that you’ve got a shutter speed of 0.5 seconds, you need to move the camera around once you hit the shutter. This will take some getting used to at first, but you simply compose the shot, press the shutter, the flash will fire, but then you immediately need to start moving the camera.
When that shutter is open for that half second, your camera will see the highlights on the skin created by the ambient light from your model light and it will start to paint light streaks across your frame.
It’s this aspect of the shot that is most creative and you’ll need to experiment with a variety of camera movements to get a look that you like… just don’t ever expect to get the same effect twice.
Points to Remember
Make sure that ambient light only falls on the model - Failing to do this will result in a blurry mess all over where you really only want the light trails from the shine on the skin to be visible.
The light trails will be most visible on highlights - As you can see from the shots I took, the light trails really pop on shiny skin. Consider this when setting up the shot and adding shiny jewellery is also a great way to add extra effect too.
Experiment with camera movements - I’ve been doing this technique for a while so I kinda know what works best, but I recommend you try a bunch of camera movements with shutter open to see what works for you. Consider small movements as well as large movements, zoom in and out, up and down etc.
Don’t stress about the colour shifting to begin with - I’ve shown you how to add a bit of colour via Kelvin shifting in this technique, but if you’re doing this for the first time, I wouldn’t overcomplicate things. To start, I’d recommend you just stick to all the lights and camera being the same Kelvin value and somewhere around 4000K-5000K is a good spot.
Rotolight and Me
Below are some of my thoughts on what these new LED Rotolights are bringing to the table and I know many of you already know this, but if you’re new here then I’ll add my disclaimer that states that I’m currently a Master of Light for Rotolight. That simply means that Rotolight deem me good enough to use their lights to their fullest potential and that I have the ability to share my thoughts on them via socials and in-person training.
Older long exposure shots like this one were obviously possible with tungsten lights, but when you have to layer multiple gels to first colour correct the orange tungsten to flash before you can then gel the light with a different colour, it was a real pain. Not to mention extremely likely that your multiple gels would overheat and melt. LEDs that can flash simply make all this obsolete!
Lighting Revolution
This long exposure technique is far from new and I was doing something similar to this 25 years ago at art college. However, in previous years I would use a studio strobe to flash, but then I’d need an alternative light to produce the ambient light. Historically these were always tungsten lights and they were a real pain to use. In case you aren’t aware, the old tungsten lights produced light by passing a current through one of the strongest metals available to us, tungsten. The current passing through this metal would literally make the metal glow bright orange and this is what created the illumination. This seems simple enough and we used tungsten lights for many, many years, but there were significant downsides to these lights. Firstly, if you’re passing power through metal with enough force to make it glow extremely bright, that metal is going to be extremely hot as a byproduct. This made operating these lights a nightmare for obvious reasons, but the other major issue of super-heated metal is its bright orange glow!
Remember that this orange glow is very different to the cool blue tone of flash, so to make these ambient lights look good in shot alongside flash, you’d often have to neutralise that orange colour like you see me doing in the shots above. This meant placing colour-balancing coloured gels (thin sheets of plastic) in front of the lights. As you may well imagine, these sheets melted extremely quickly and were just a pain to work with for extended periods.
Are you starting to see why long-exposure studio photography isn’t very popular yet?
LED Revolution
Unless you’re relatively new to planet Earth, you’ll likely be aware that LED lighting has been dominating the photography scene for a while now. Sure, flash still has its place, but LEDs bring an awful lot of convenience to the table and especially when it comes to long-exposure photography.
Firstly, LEDs are infinitely cooler to run than tungsten and you can have a decently powered LED on for hours and it still be cool enough to touch. Secondly, seeing as you’re not forcing lightning bolts along thin strips of metal, you’re no longer producing bright orange light as a result. Just these two things alone now make long exposure photography a breeze, but there are yet more benefits to be had with the right lights.
Rotolight and RGB
For the last year or so I’ve been using the new Rotolight LEDs and as someone who uses an awful lot of colour in their photography, these lights are a dream-come-true. Why? Because the Rotolight LEDs can offer me a full 16 million colour RGB spectrum at the twist of a dial! So now I have cool running lights that won’t give me third-degree proxy burns AND they aren’t producing an egressive orange glow that would make a TOWIE girl blush in the process!
Are you starting to see why this will make our long exposure life extremely easy now?
But wait, there’s more…
Ordinarily, most people purchase LED lights to escape the nightmares and difficulty that flash can provide. But if we want to shoot some cool-looking long-exposure portraits, sadly we still have to use flash to freeze the subject. Once again Rotolight has us covered though as not only do their lights provide full RGB spectrum ambient lights, but those same lights can flash in the full RGB spectrum too! To my knowledge, I think this is the only LED light on the market to actually flash in any colour you want.
Now look, I appreciate this sounds like I’m overly gushing over these lights and although I’d ordinarily let our American counterparts do the uncouth work of telling you that these lights are ‘the greatest things ever made and you need to buy them immediately’, let me put my British stoicism on hold for a moment and just add that these lights are quite simply ‘lighting on easy-mode’!
If you’ve ever fused flesh-to-bulb or melted a box of gels on tungsten lights in the past (firstly, welcome to being old like me), then you’ll appreciate just how easy these LED lights make your life today. So yes, I’m very impressed with these lights, but you have to also remember what we had to use in the past. You young-uns don’t know how easy you’ve got it!
Many of you have been following my work on here for over a decade and in that time you’ve seen me working with all manner of lights. When I originally started working with these Rotolights over a year ago, I actually had no intention of completely dropping my old studio strobes….. but truth-be-told, I barely use them anymore.
Products Used…
Although I am sharing my own personal thoughts and findings about the lights mentioned in this article, many of you will want to know that I am now a ‘Master of Light’ for Rotolight. As such, I have been given a discount code to share with you when purchasing any of their products via the Rotolight website. Use my code ‘JAKEHICKS10’ when purchasing and you’ll save a bunch of money. I’ve never earned a penny of commission on this though, so if you find a better deal elsewhere, go for it.

Rotolight AEOS 2 PRO
With the AEOS 2 PRO, the world is your studio. Combining the shoot what you see benefits of powerful continuous light with a High Speed RGBWW strobe, AEOS 2 PRO offers unmatched versatility for photographers and filmmakers. Uniquely lightweight with an ultra-thin design, it’s never been easier to achieve beautiful soft light on the move.
Thank You
As always, thanks for checking out this article and spending a little bit of your day with me here. I hope you found it useful and if you left with a little more knowledge than when you arrived, it’s been worth it.
If you have any questions or comments, or if something doesn’t make sense, by all means, fire away in the comments below and I’ll do my best to answer what I can. Thanks again and I’ll see you in the next one.
Don’t forget to sign up to my newsletter to be sent all of these photo tips and techniques articles every month in case you miss one.

JHP Livestreams…
If you give this setup a go, I’d love to see how the shots turn out, so feel free to share them my way. One way to do that is via my Livestream. I Livestream every other Tuesday night via my FB Page and there I answer your questions, critique your shots, take community images into Photoshop to work on them and discuss all manner of lighting tips and techniques. I look forward to seeing you and your work there real soon. JHP Facebook Page

Missed the Livestreams? Check the VODS!
This year I’ve also been uploading my Facebook livestreams to my YouTube channel for those that missed them… or never want to touch Facebook again.
Watch my livestream VODs here: Jake Hicks Photography YouTube