This was another of my lighting demos recorded live at ‘The Photography Show’ earlier this year. TPS is held at the NEC in Birmingham and this year I was invited to the show to run several live demonstrations for PixaPro using their strobes and modifiers.
In the video below, you’ll see me explaining a couple of creative lighting setups that not only require very little space, but only need a couple of basic modifiers too. I explain what modifiers to use and why, plus I’ll explain where each light should be placed, but more importantly why they should be placed there. What to look for, where the shadows should be and where to position yourself to get the best look.
Also, be sure to scroll down, as below the video I’ll include the kit list, camera settings and a lighting diagram too.
As always, if you have any questions, let me know.
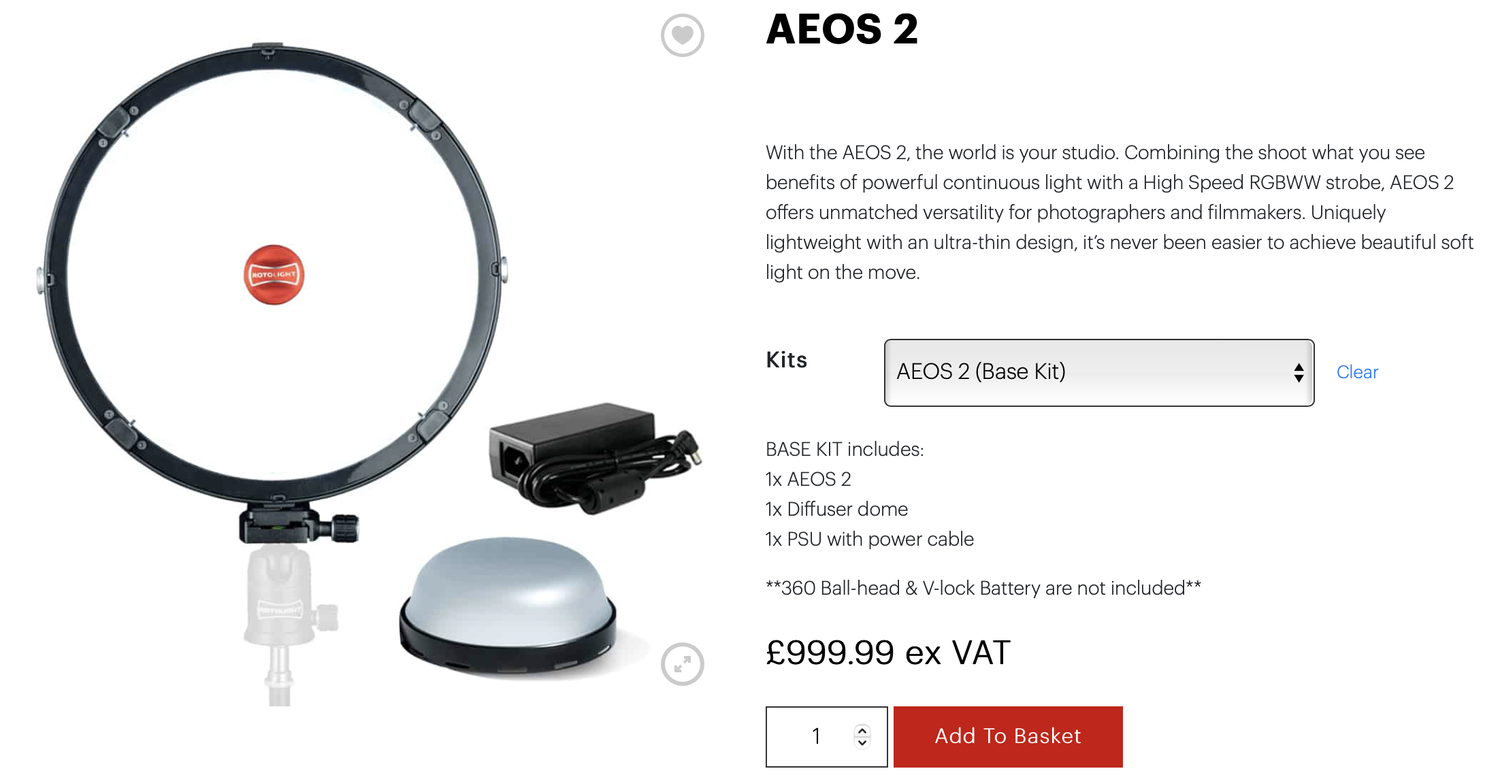
Kit List
Please note that I’ve included affiliate links below and I will benefit (albeit minimally) from the sales of any of these products should you purchase them. To that end, please feel free to use my discount code ‘HICK5-OFF’ at Essential Photo to receive a discount on any purchase via their site.

Colour Gel Packs
As always, my colour gel packs are still available. The saturated colours I used in this shoot all came from the Definitive Colour Pack and the CTO gels came from my Utility Gel Pack.
Lighting Diagrams
Click to enlarge - Cut out & keep
Click to enlarge - Cut out & keep
Camera Settings
Camera - Nikon D850
Lens - 24-70mm f2.8
Shutter Speed - 1/125th
Aperture - f5.6
ISO - 100
Kelvin - 4500K
Focal Length - 70mm
Final Shots
Click to enlarge
Click to enlarge
Featured model: Jaye Hicks
Thank You
As always, thanks for checking out this article and spending a little bit of your day with me here. I hope you found it useful and if you left with a little more knowledge than when you arrived, it’s been worth it.
If you have any questions or comments, or if something doesn’t make sense, by all means, fire away in the comments below and I’ll do my best to answer what I can. Thanks again and I’ll see you in the next one.
Don’t forget to sign up to my newsletter to be sent all of these photo tips and techniques articles every month in case you miss one.

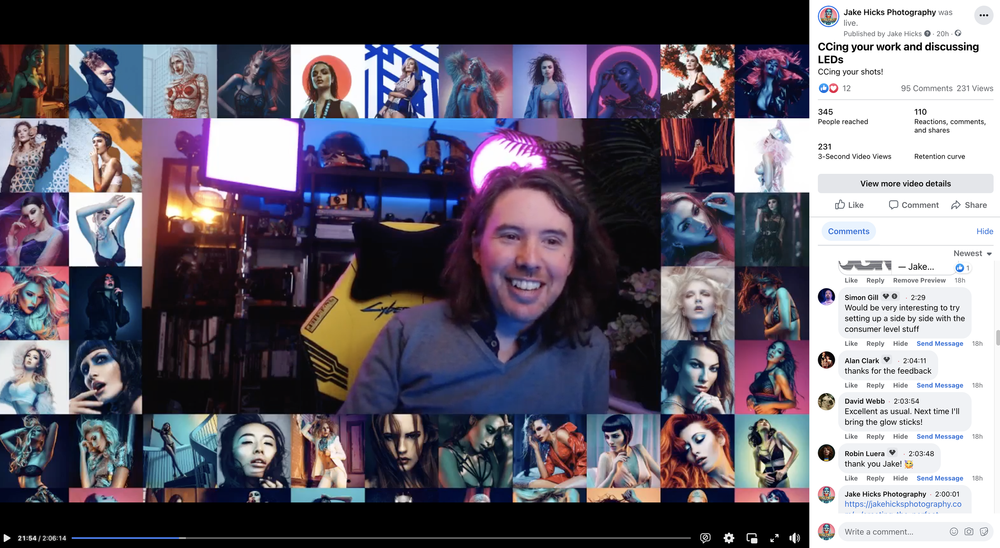
JHP Livestreams…
If you give this setup a go, I’d love to see how the shots turn out, so feel free to share them my way. One way to do that is via my Livestream. I Livestream every other Tuesday night via my FB Page and there I answer your questions, critique your shots, take community images into Photoshop to work on them and discuss all manner of lighting tips and techniques. I look forward to seeing you and your work there real soon. JHP Facebook Page