I've used diffusion filters for years but rarely for their intended purpose. If you don't know or haven't heard of them, then diffusion filters are transparent glass or plastic sheets that go in front of the lens and they diffuse the light as it enters the camera. The resulting images taken with a diffusion filter have an appearance of reduced contrast that ultimately looks hazy offering a slightly dream-like effect.
This soft-focus, hazy looking image was a more popular style many years ago and it was a way of making skin look soft and more flattering in a time before Photoshop and skin retouching. Now diffusion filters rarely get used as we prefer to take a clean looking image and retouch the skin ourselves later on in post-pro but I use them for creative lighting effects rather than to soften features and the effect is growing in popularity as we look for ways to introduce some interest into our shots via in-camera effects.
Why would you use a diffusion filter?
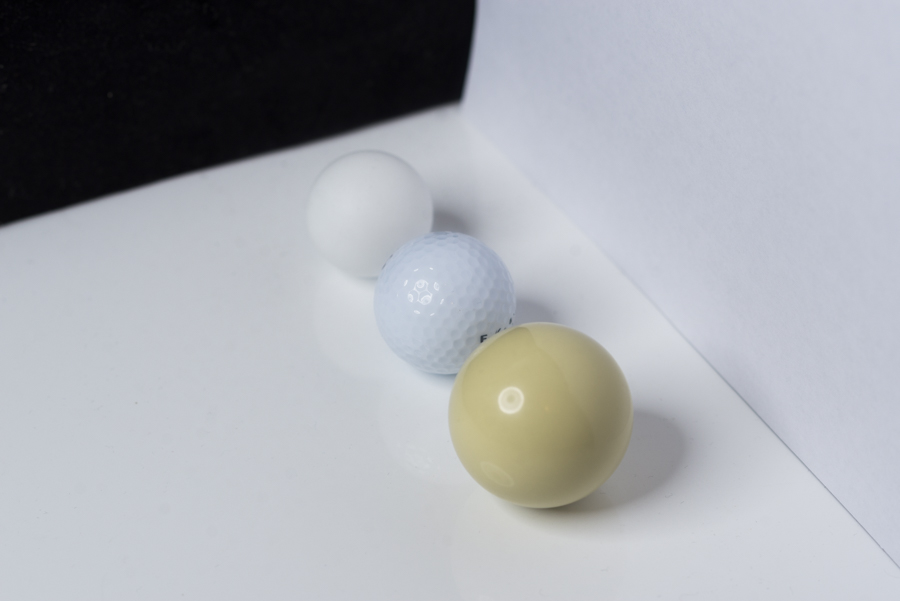
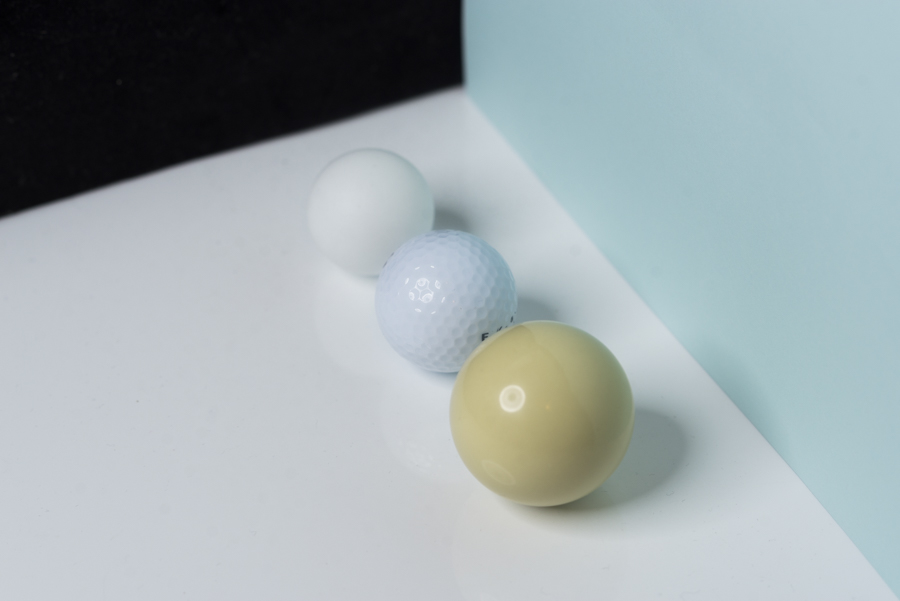
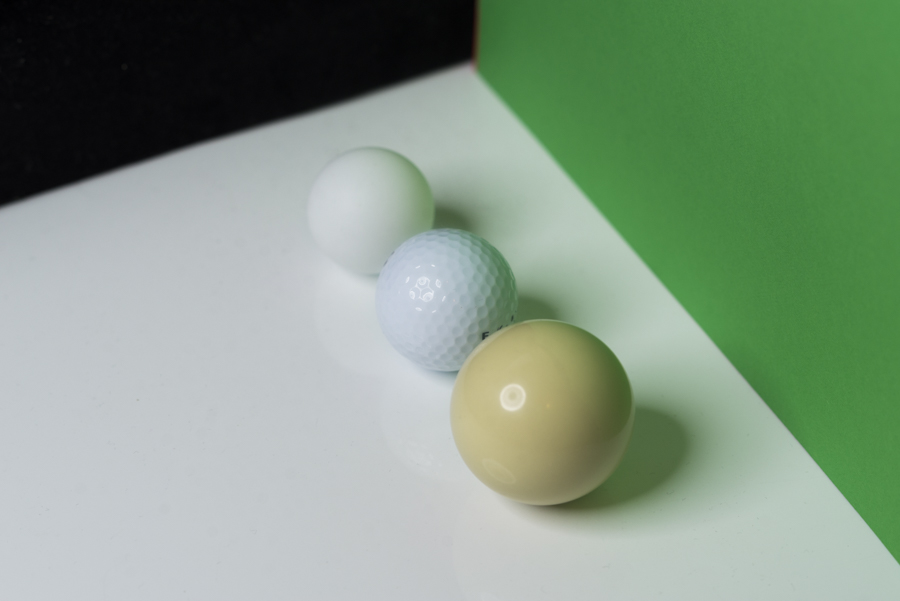
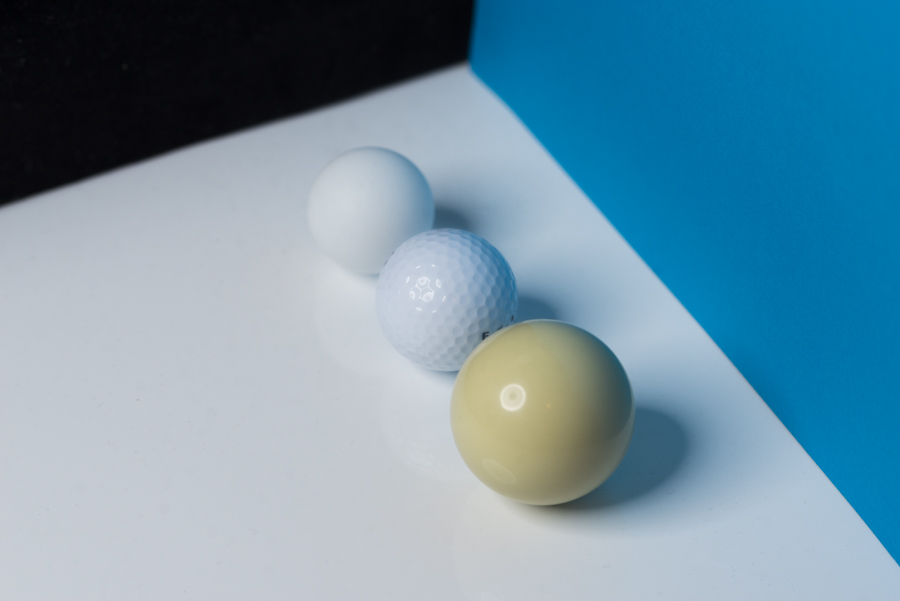
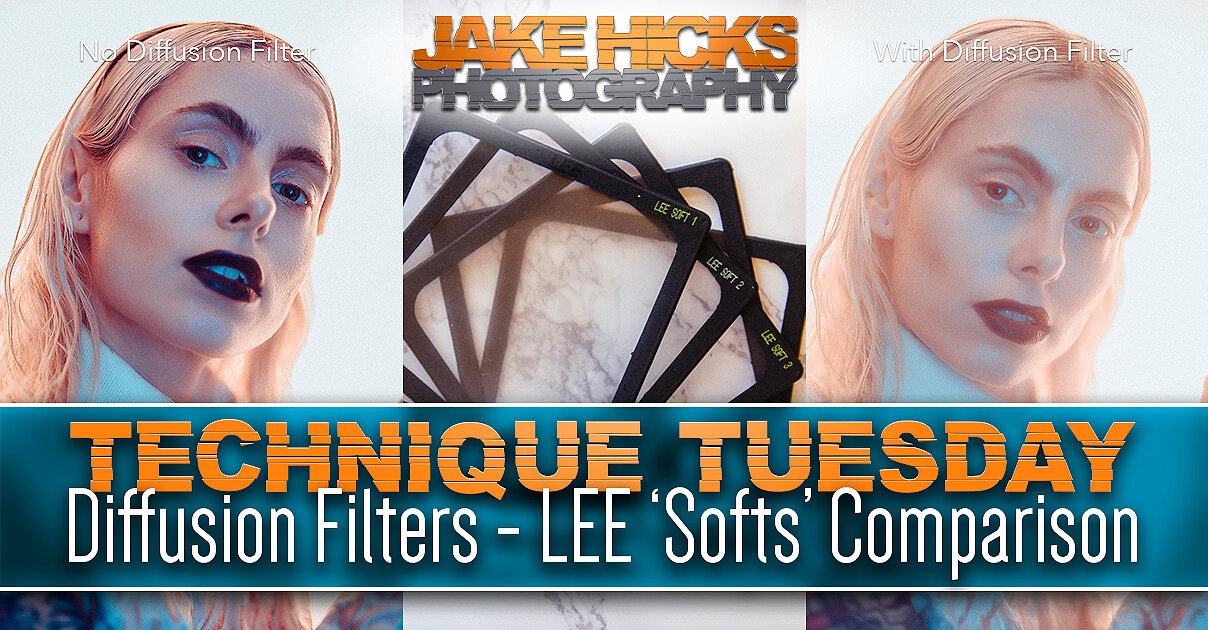
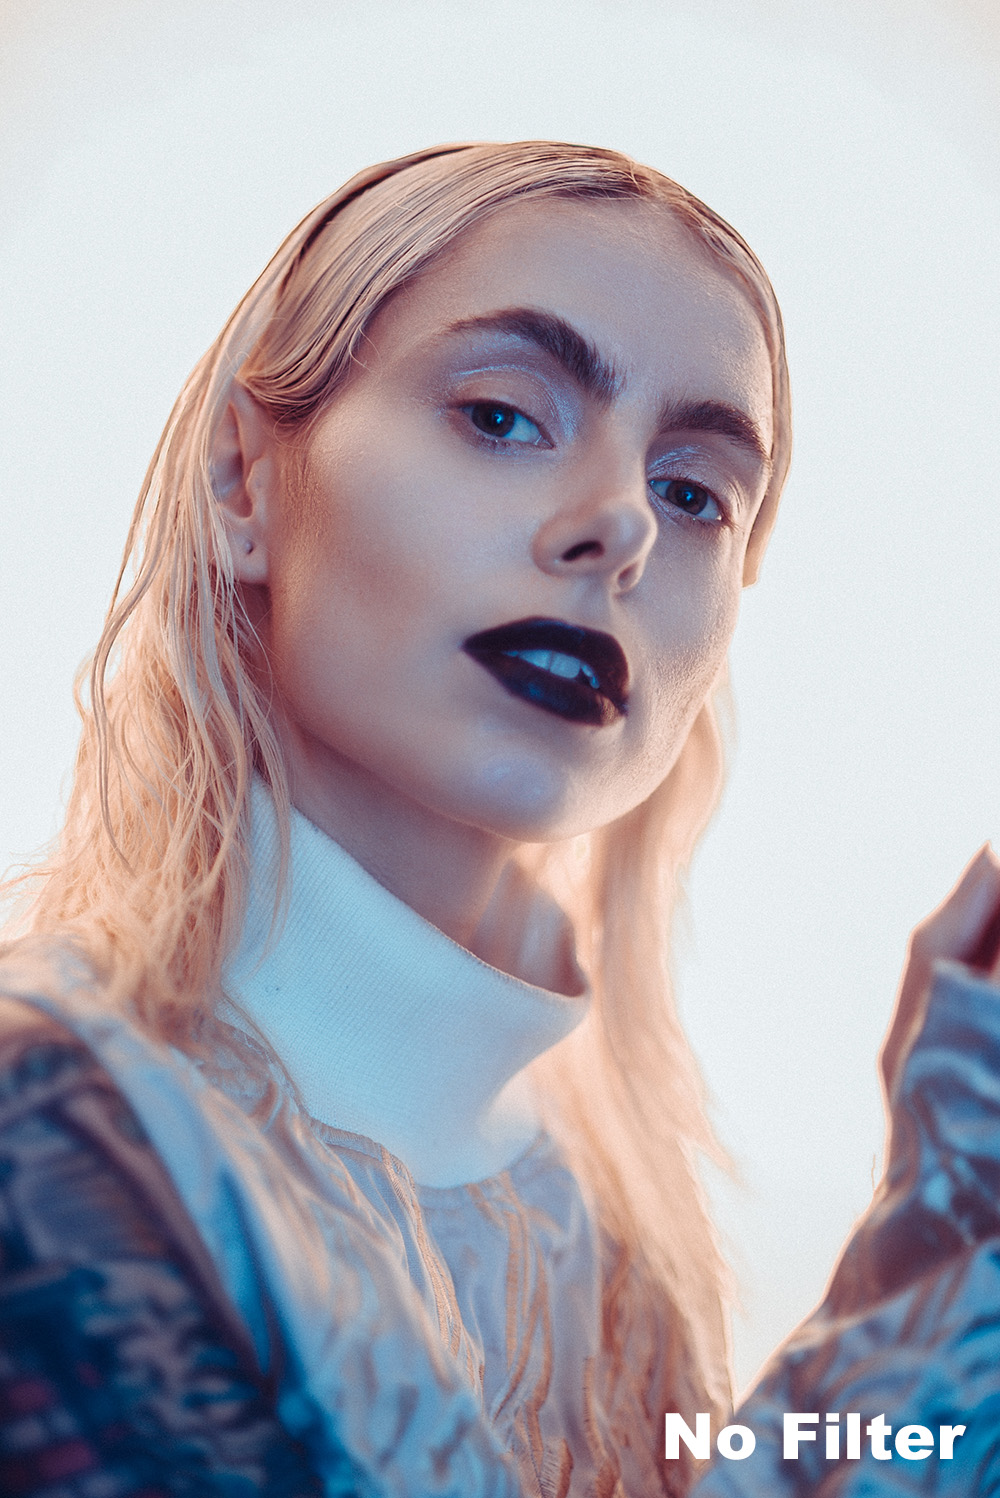
Well of course you can still use diffusion filters for their originally intended look and those photographers who love the old black and white Hollywood portraits of the 1950's love using diffusion filters to mimic that style. But I personally use them for a different reason and that is to create lens flare, and a lot of it. Take a look at the quick side by side shots below to see how much a diffusion filter actually does compared to not using one when they're used in conjunction with studio strobes.

The images above were taken moments apart and the only difference between them is the addition of a diffusion filter on the front of the lens.

The trick to using diffusion filters in portraits for me is to have lights positioned behind the subject. Here there is a white light pointed towards the wall behind the model in both shots but with the diffusion filter attached you clearly get a hazy, dreamy effect to appear.
There's still a few diffusion filters on the market but like I said, theyre not as popular as they once were so they can be a little tricky to come by. As a result I must receive at least 3 or 4 messages a week asking which one I use, where I got it, why do I use it etc, etc. So I thought I'd put this quick article together to answer some of those questions.
Which Diffusion Filter Do I Use?
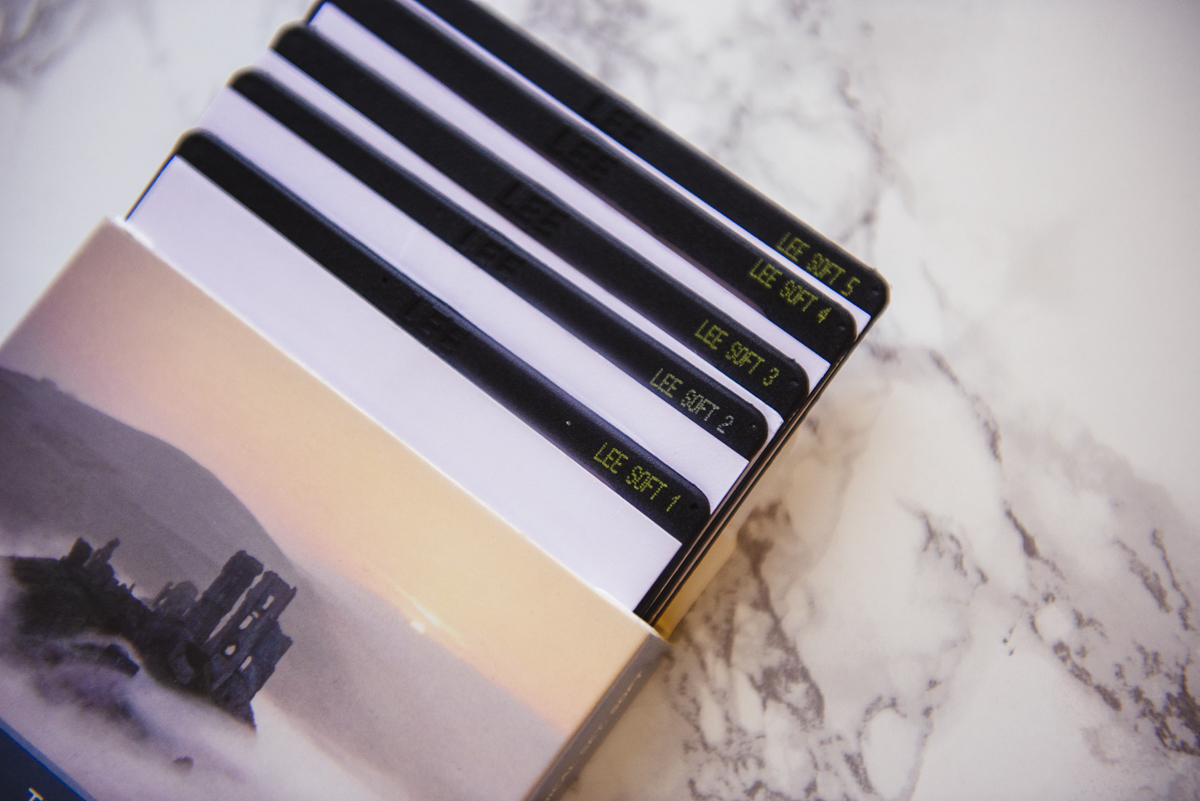
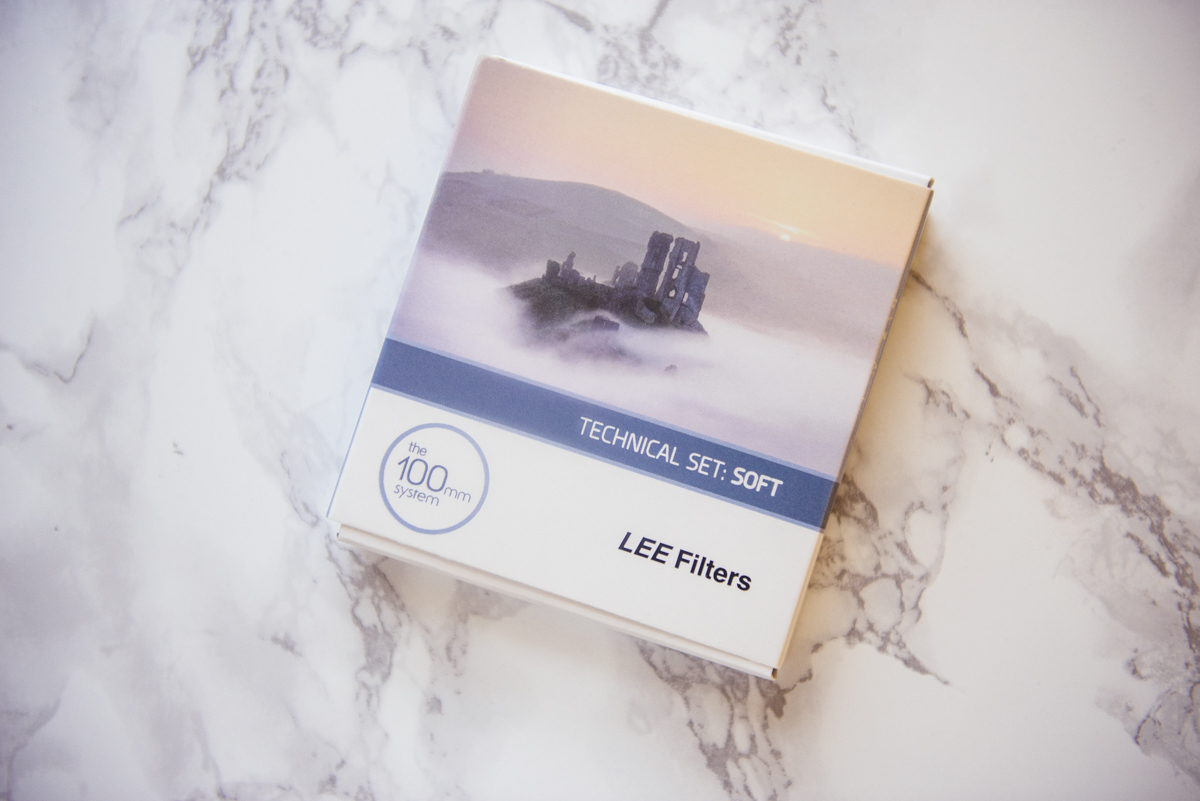
I have tried several over the years but the one that I'm currently using is by LEE Filters and their diffusion filters are actually called 'Softs'. Here's the link to their site LEE Soft Set
LEE don't distribute directly so you'll have to find them via your preferred seller but that's the set I use so just search that name on Amazon, WEX or B&H etc.
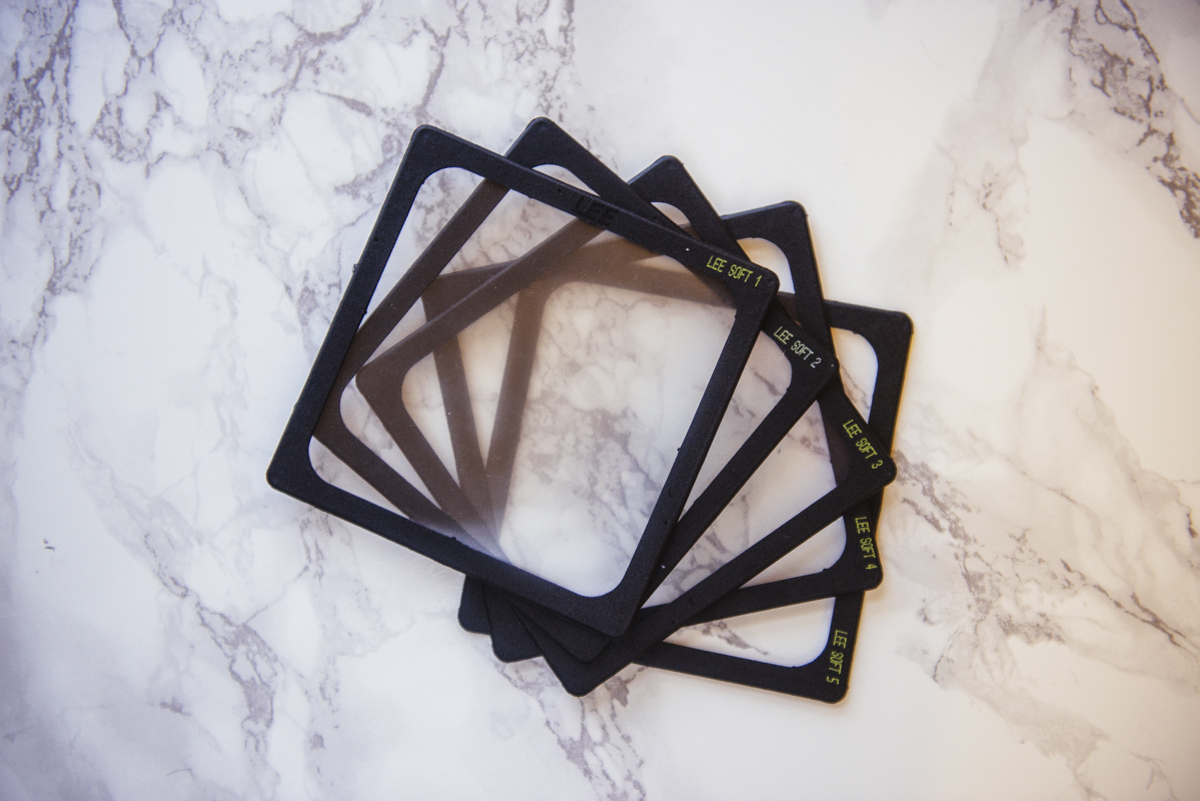
As you may have also noticed, these filters come in varying powers and the LEE Softs come in a pack of 5; Soft 1 providing the weakest diffusion effect all the way up to Soft 5 providing the strongest diffusion effect.
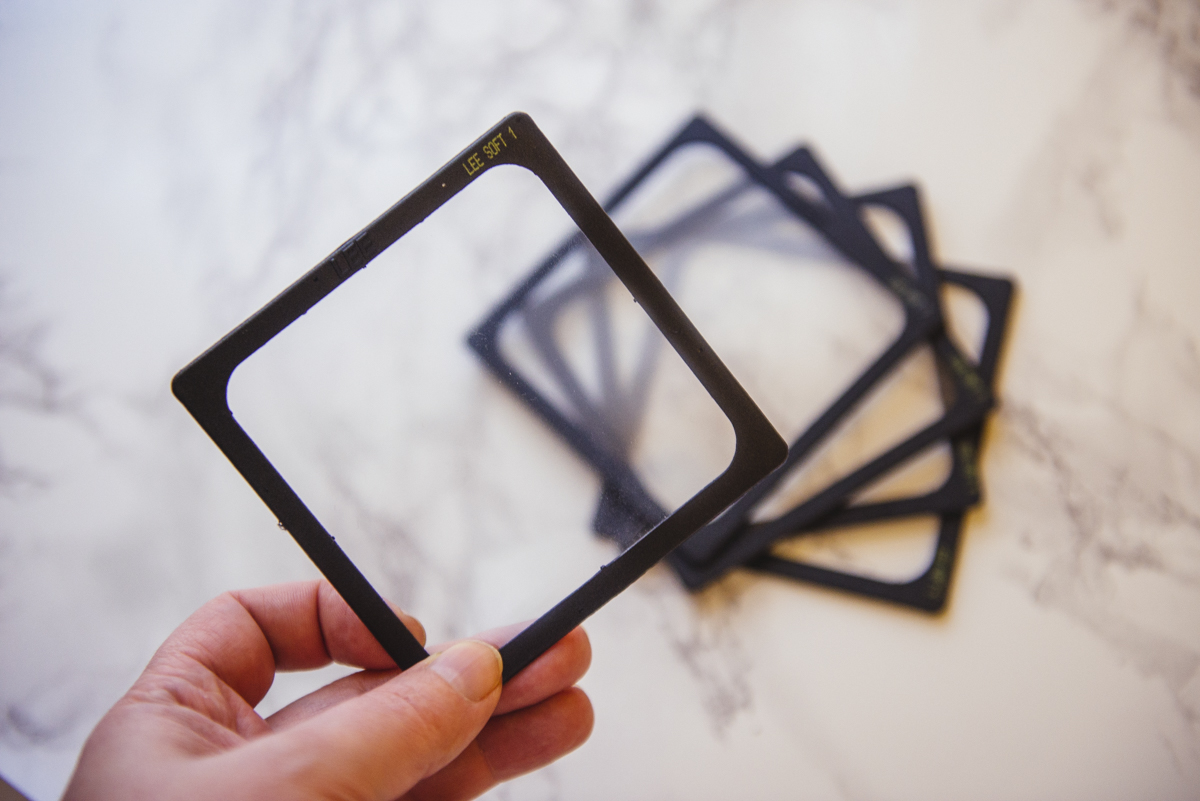
I personally find the LEE Softs provide the best flare effect for what I do but another key reason for me using them is that they come in those 100mm square panels. That means I can use any of them with all of my lenses compared to buying a set of screw on lens filters for each of my lenses.

What's the Difference Between Soft 1, 2, 3, 4, and 5?
The pack offers you 5 different options of varying powers so let's take a look at the difference between them all.
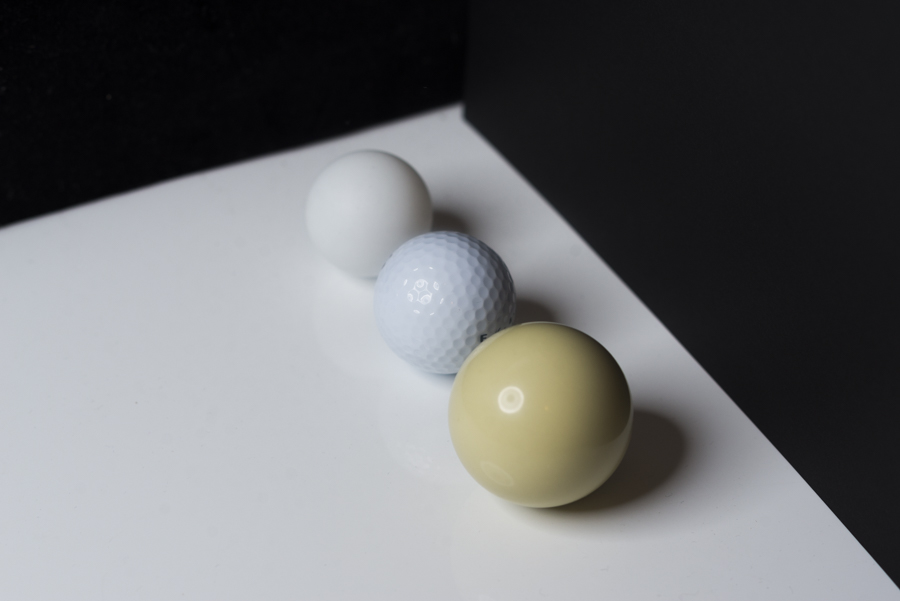
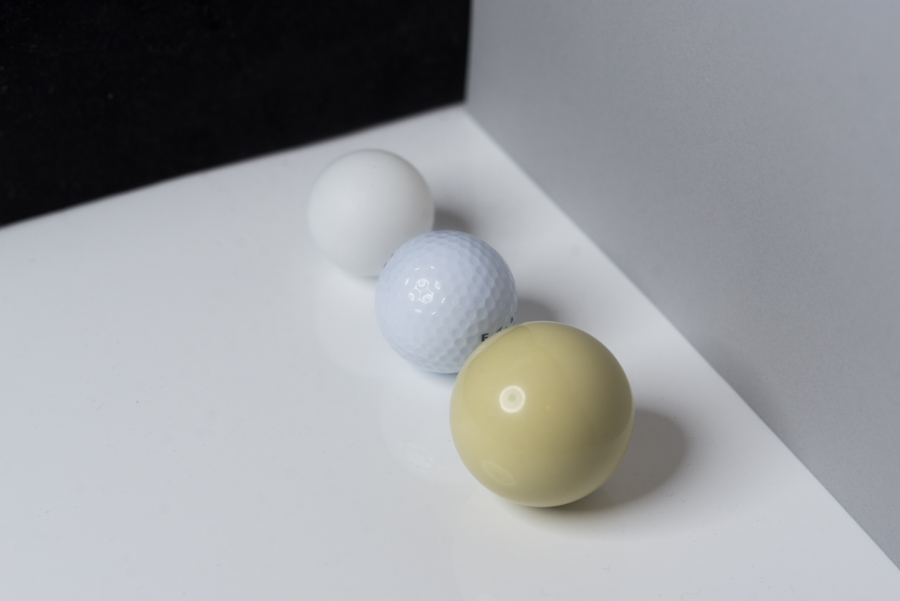
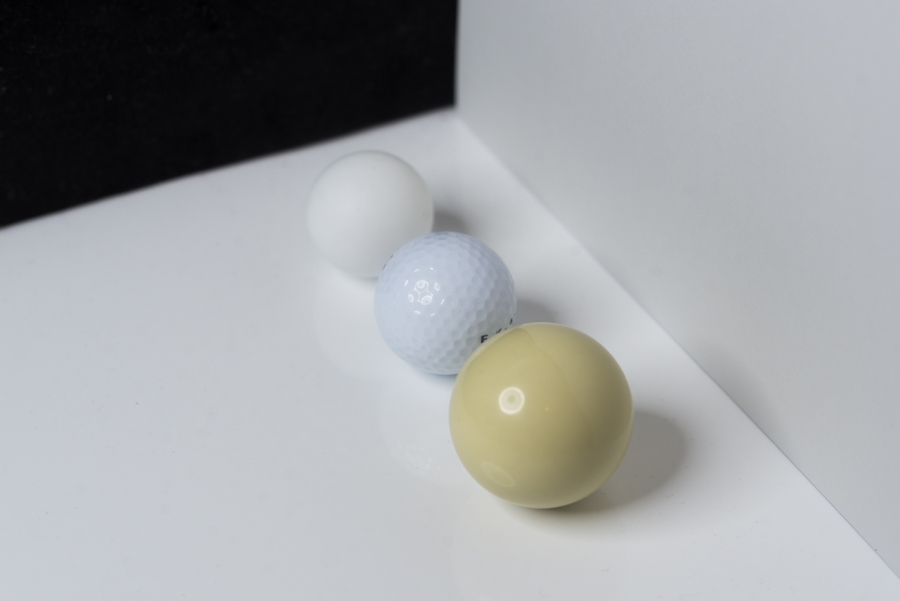
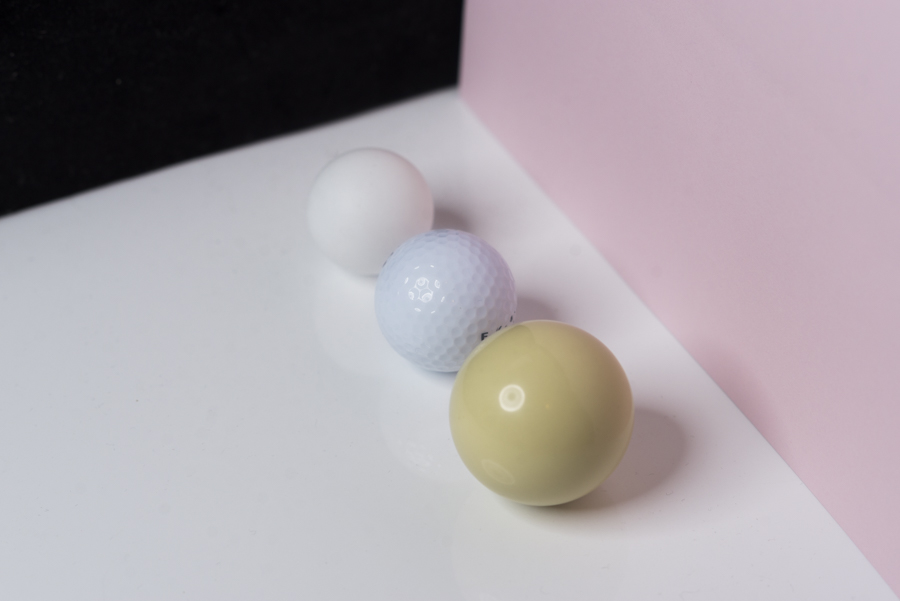
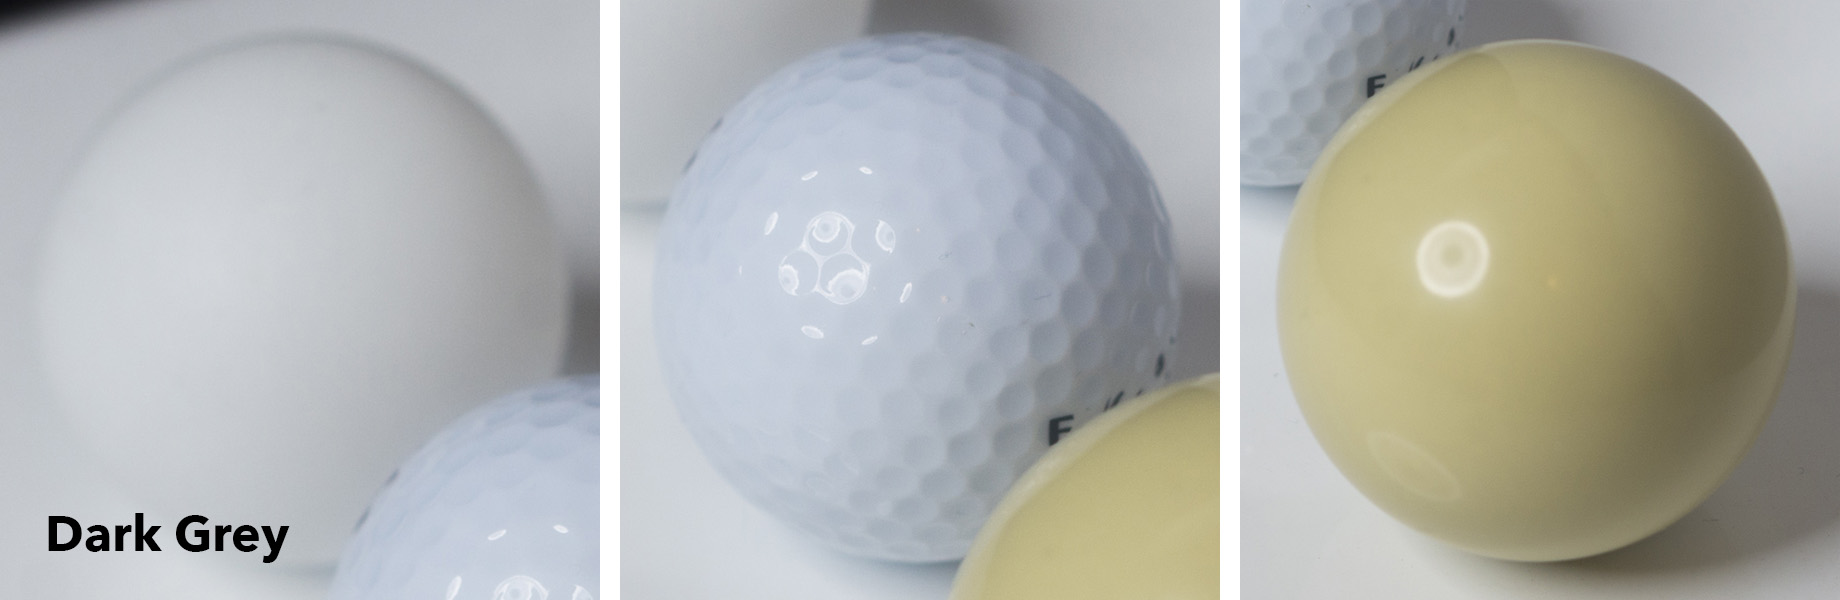
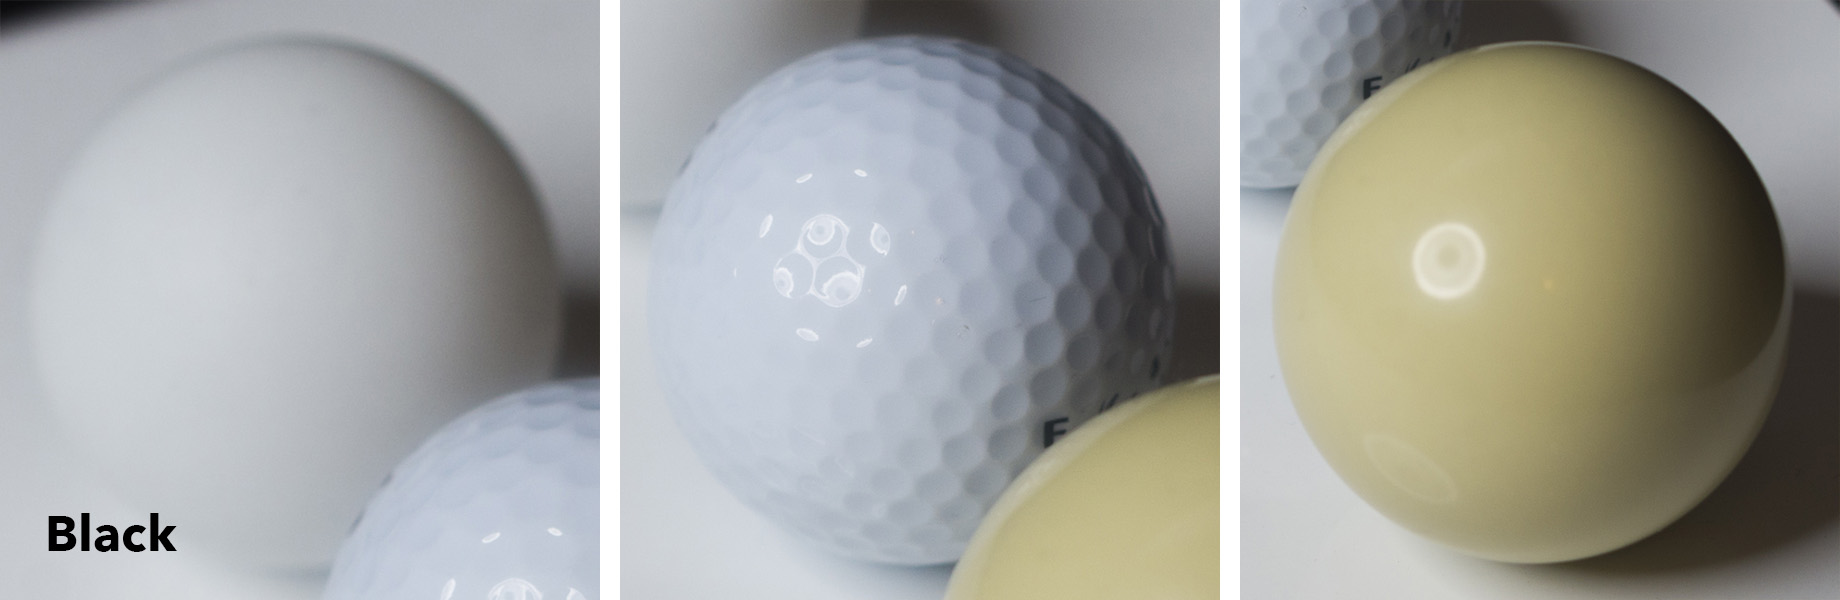
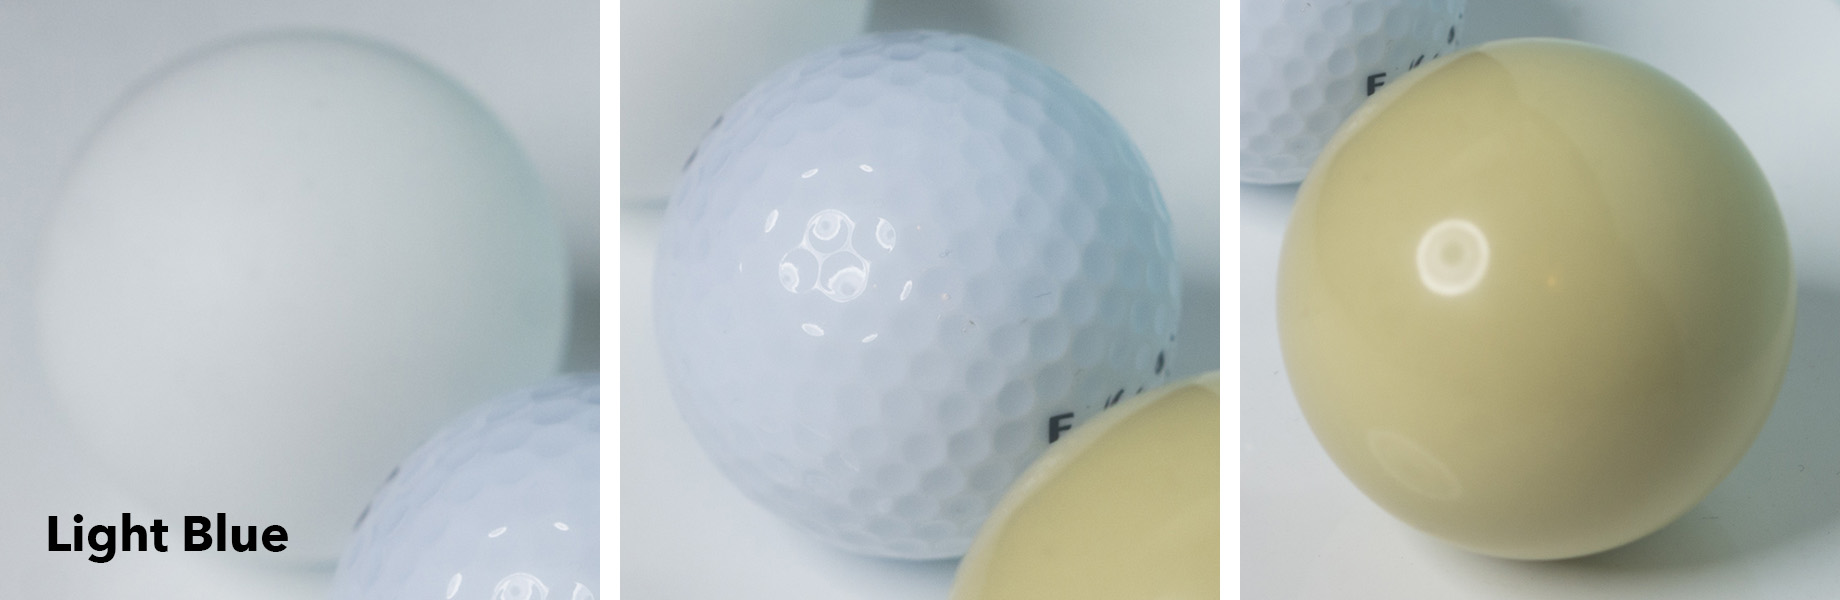
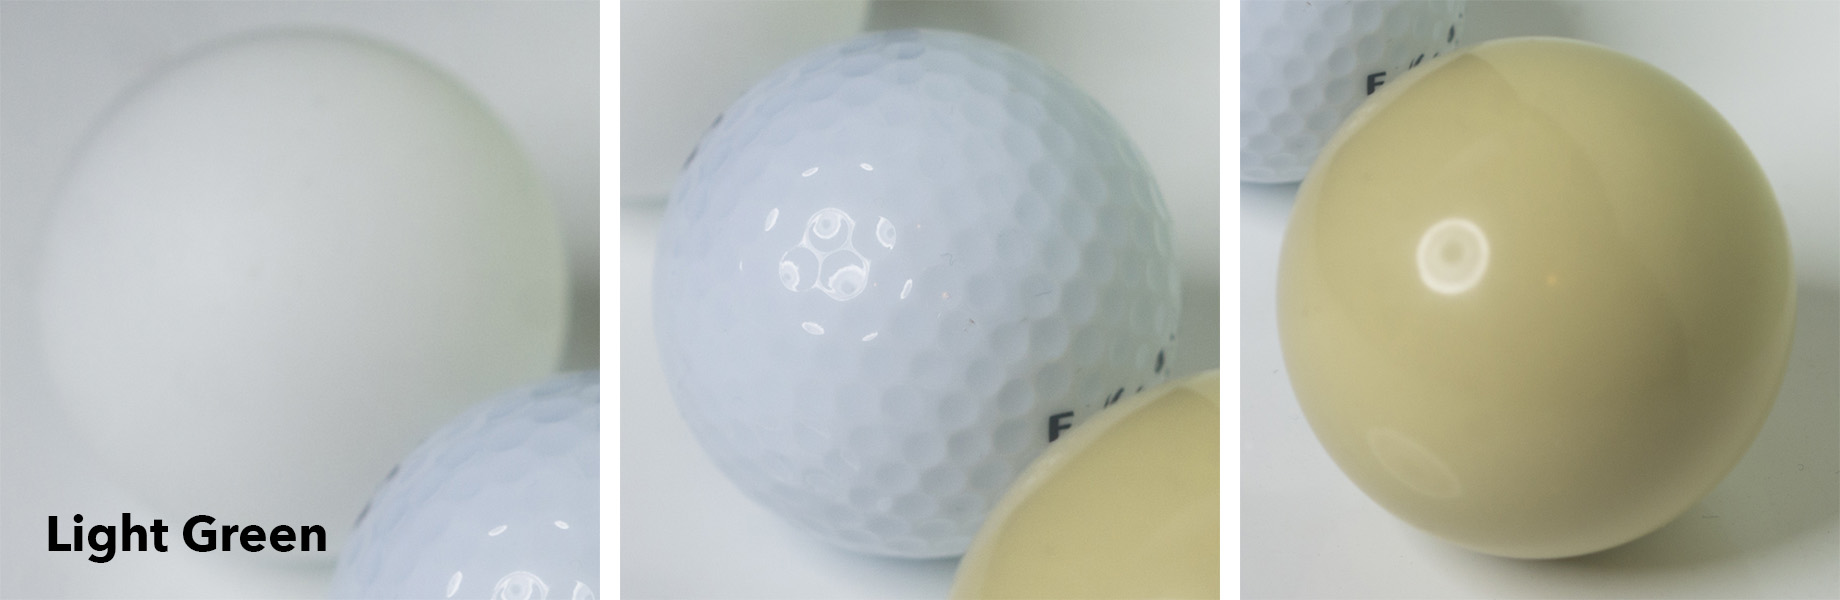
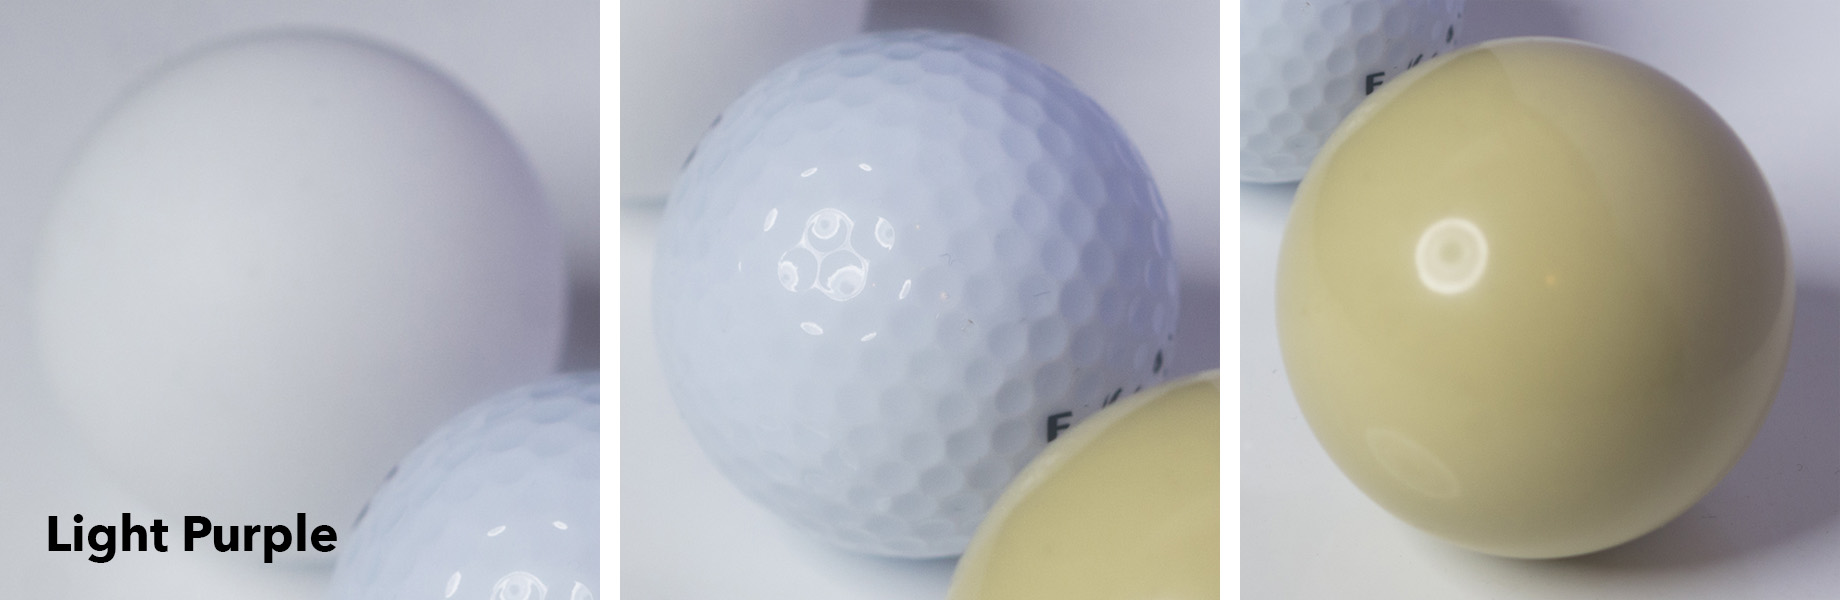
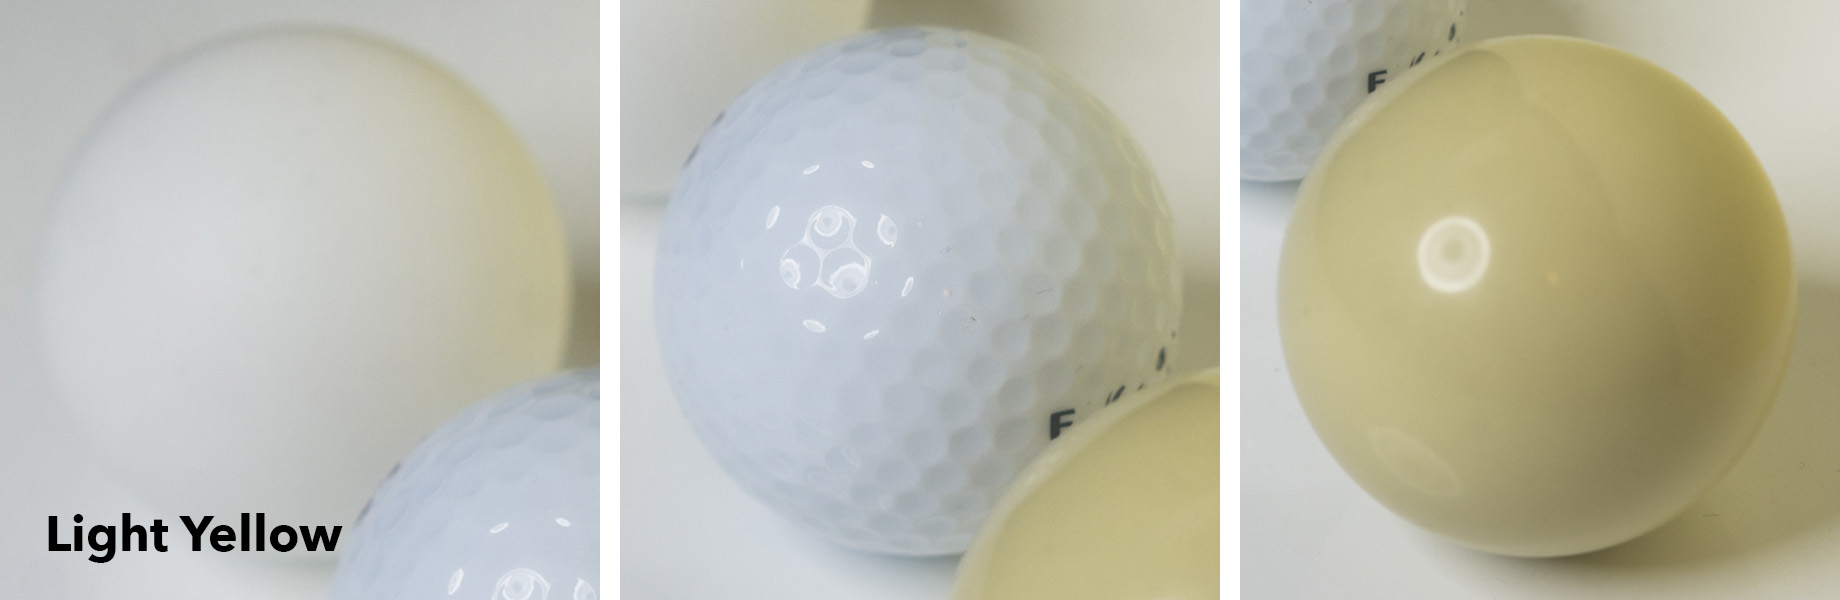
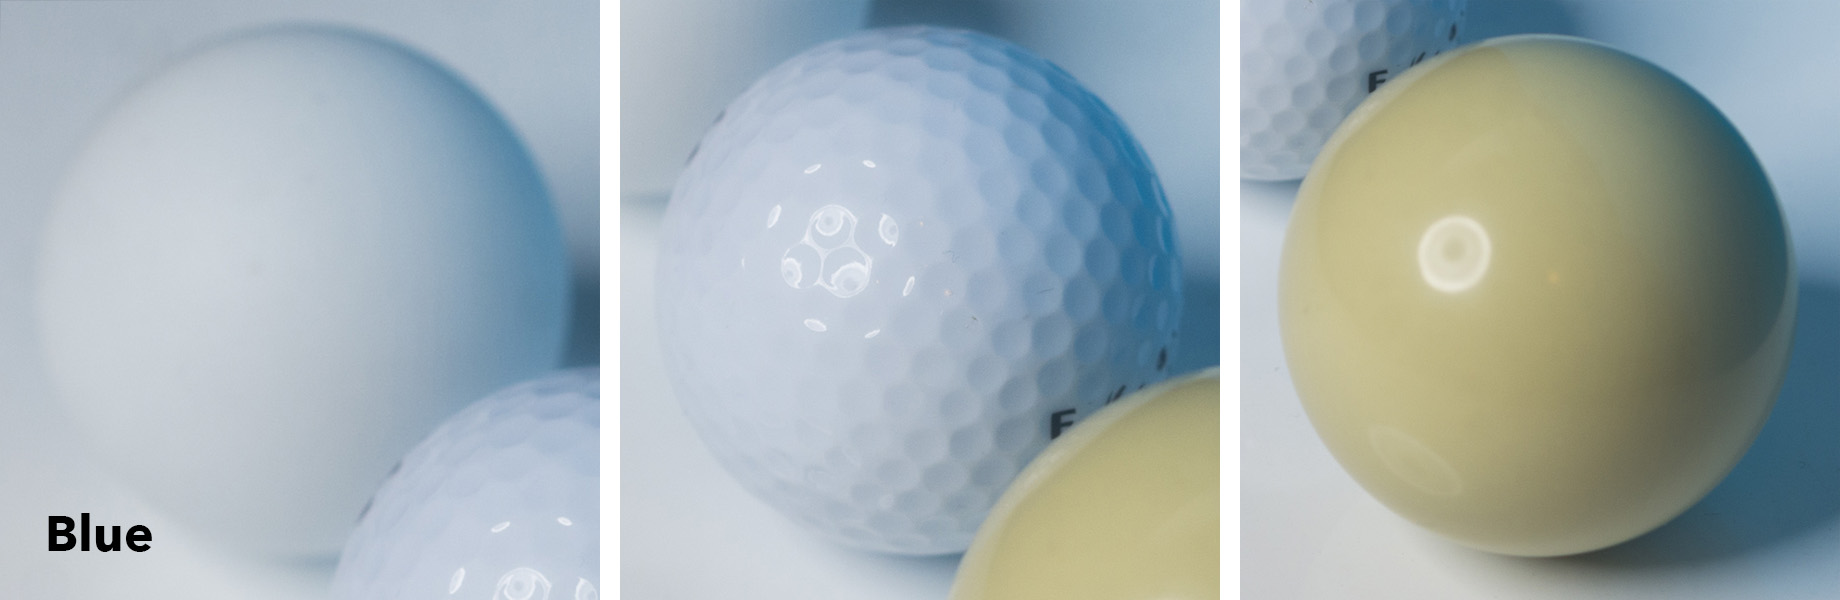
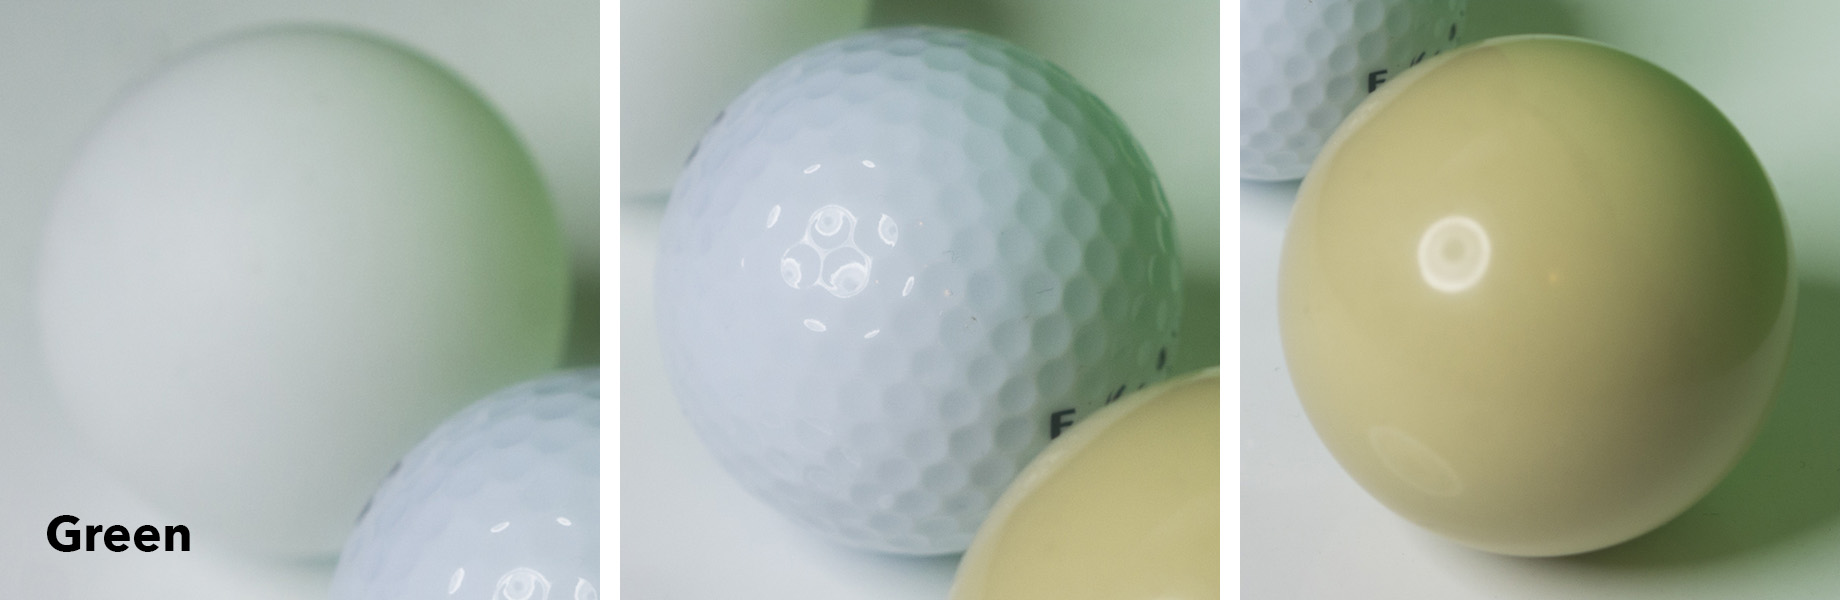
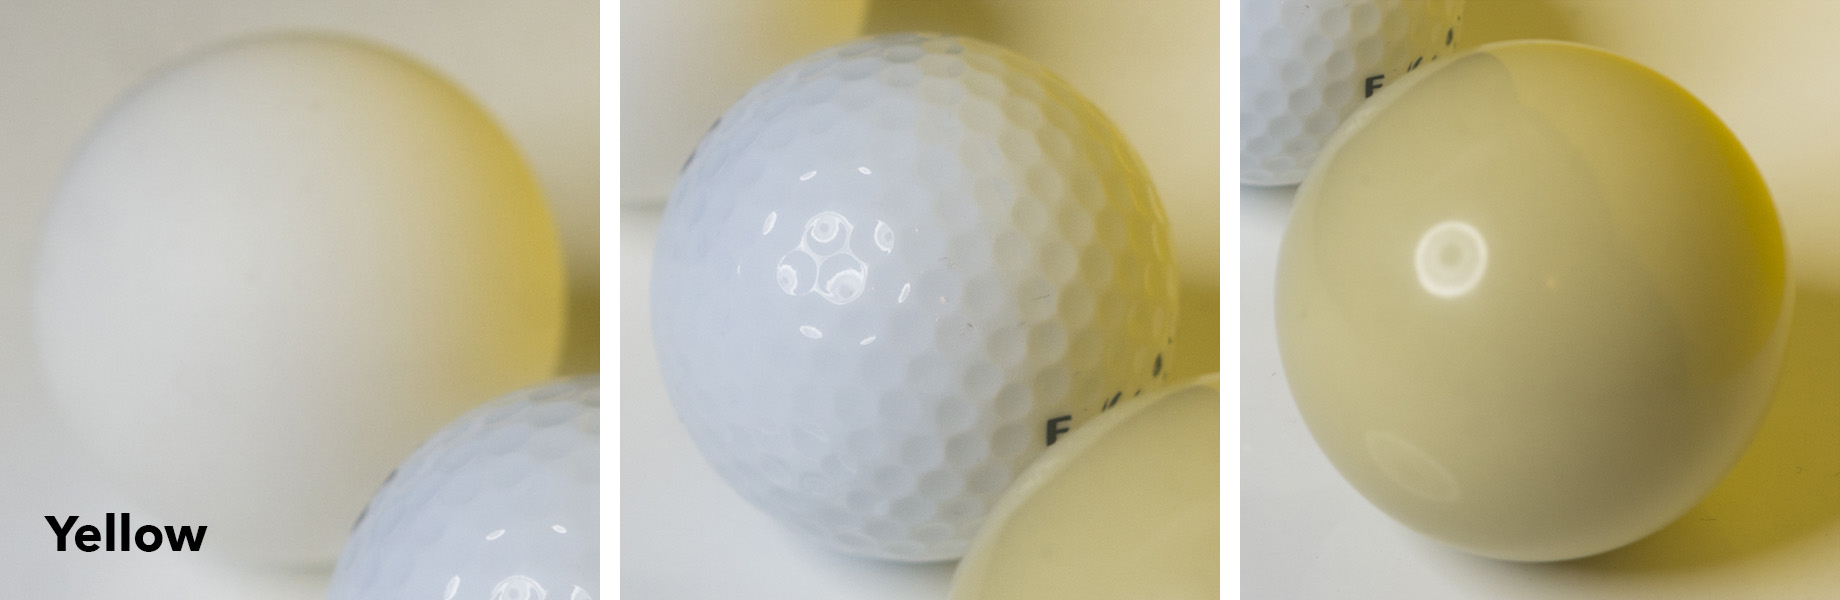
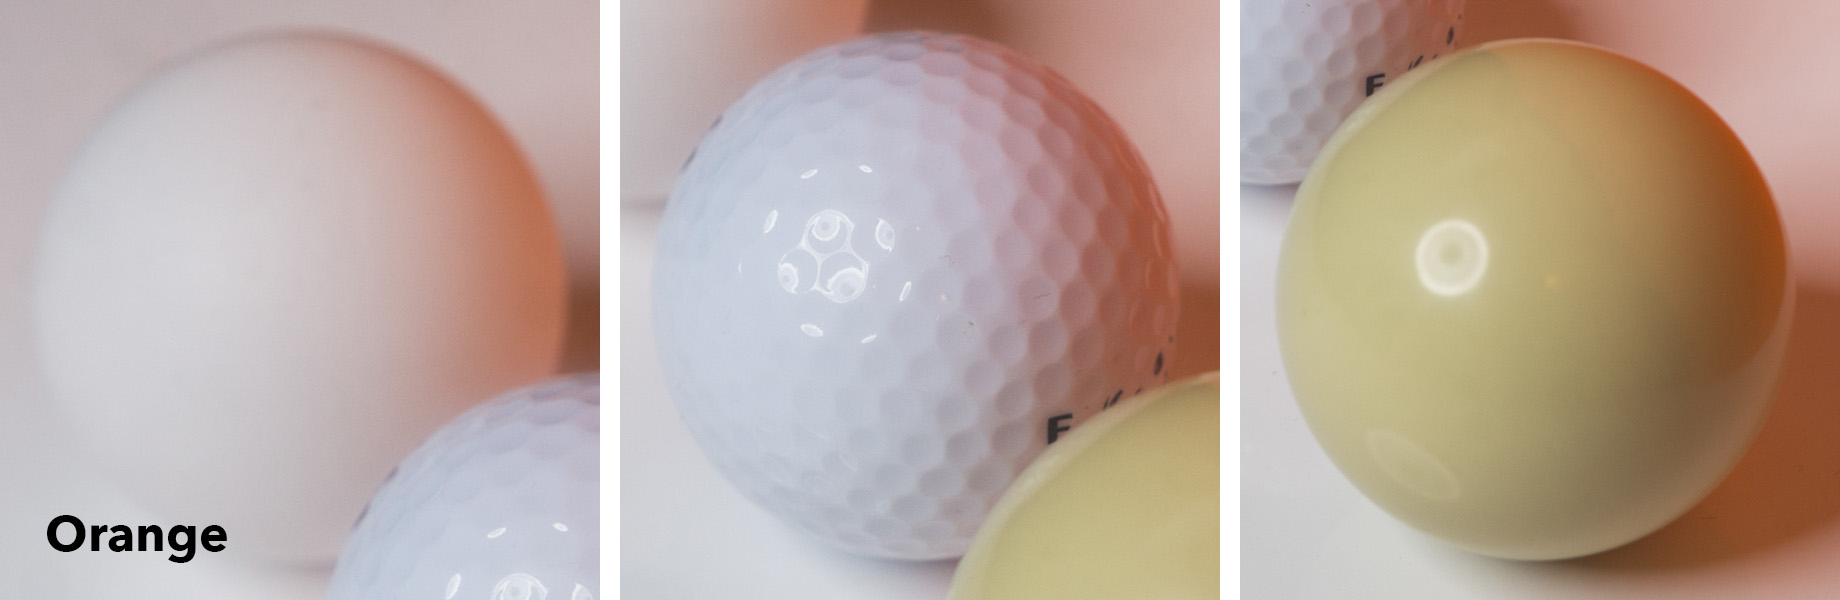
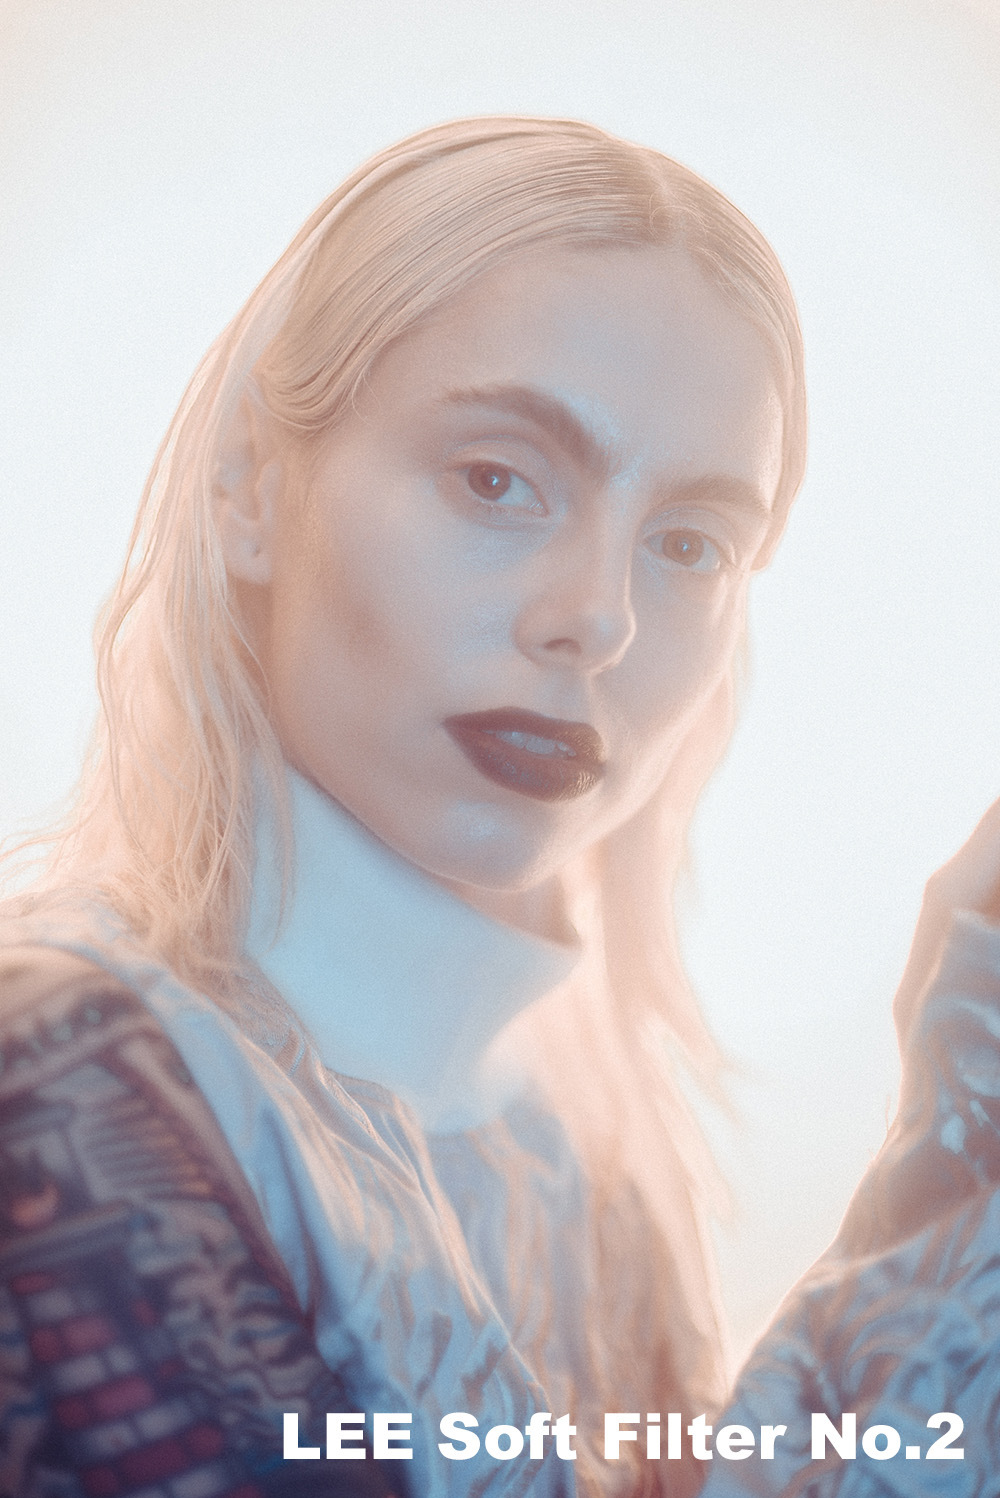
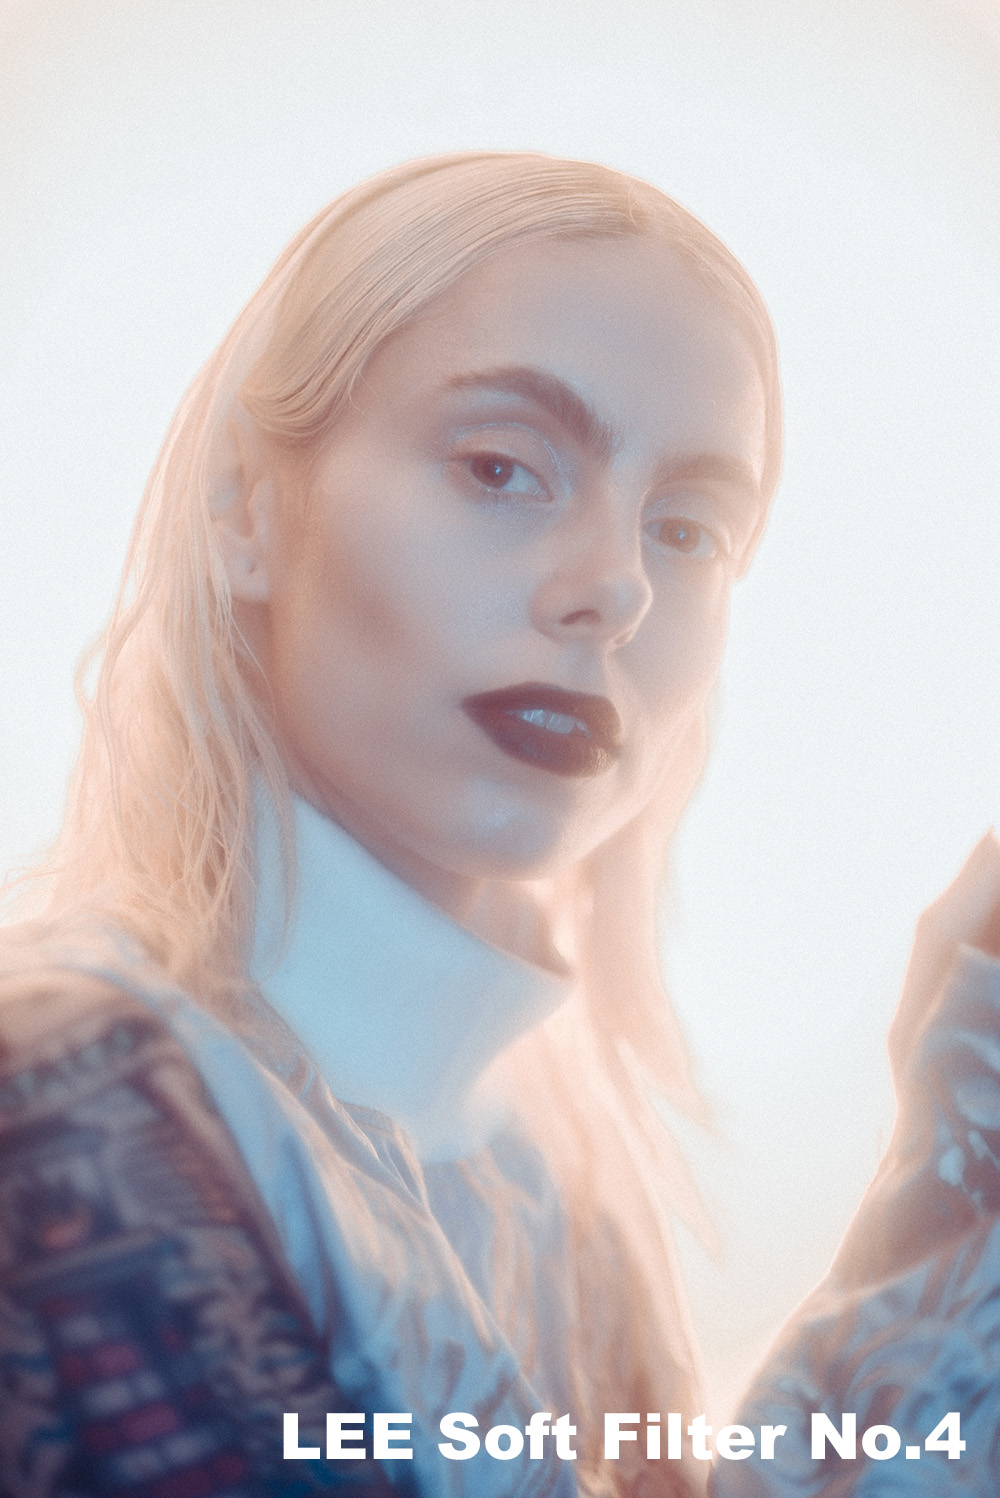
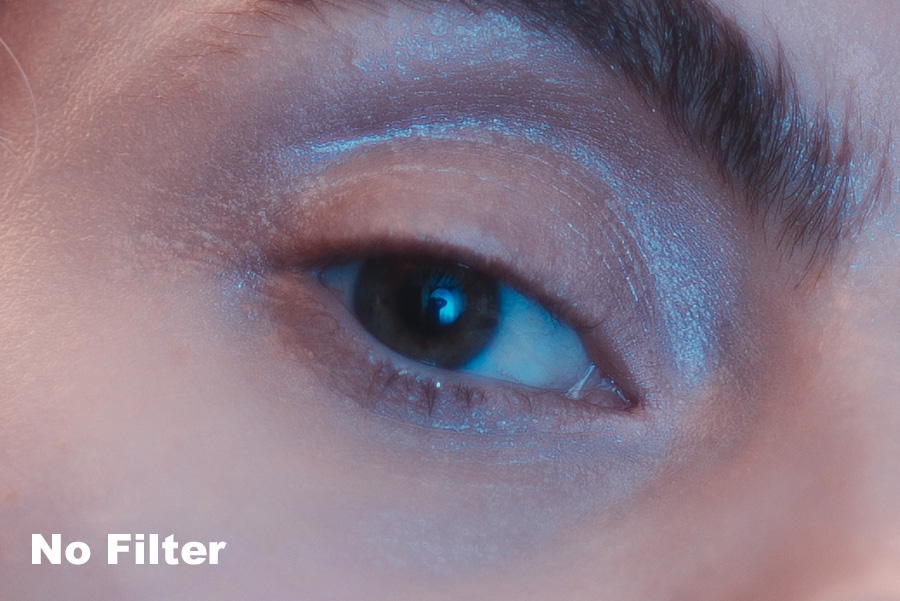
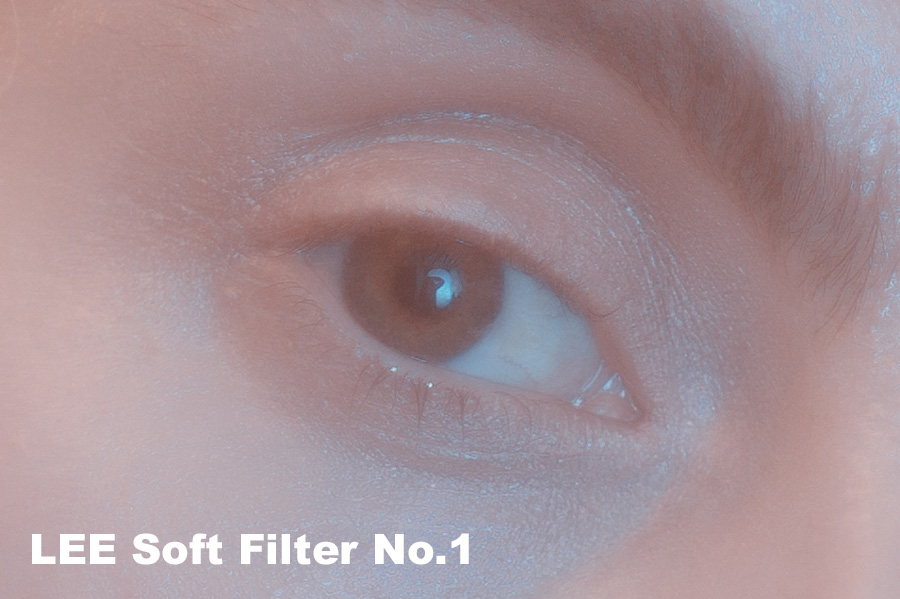
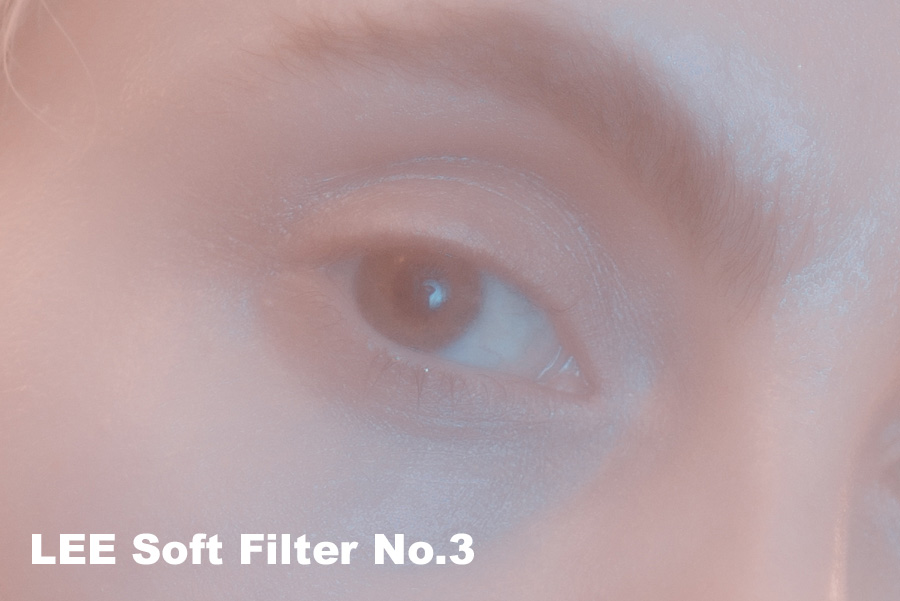
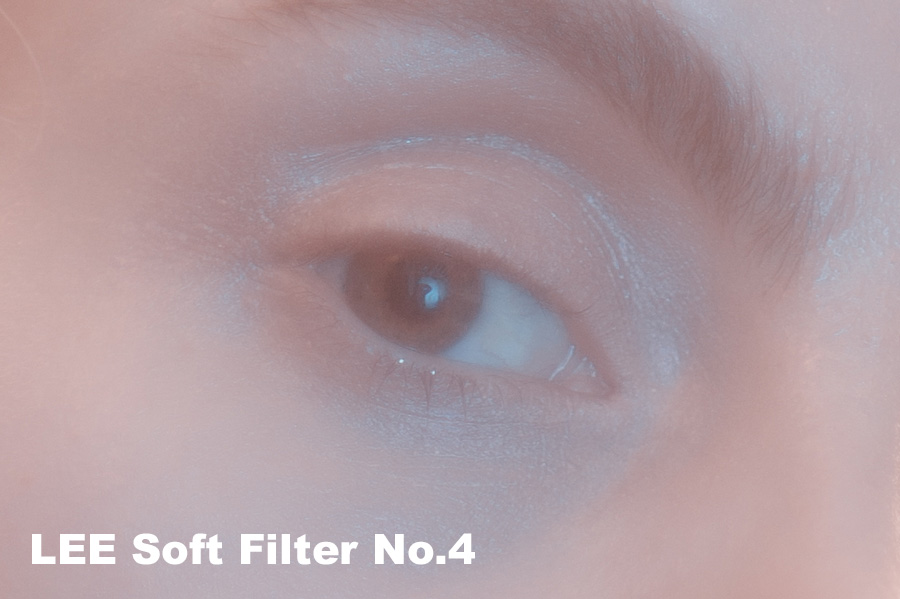
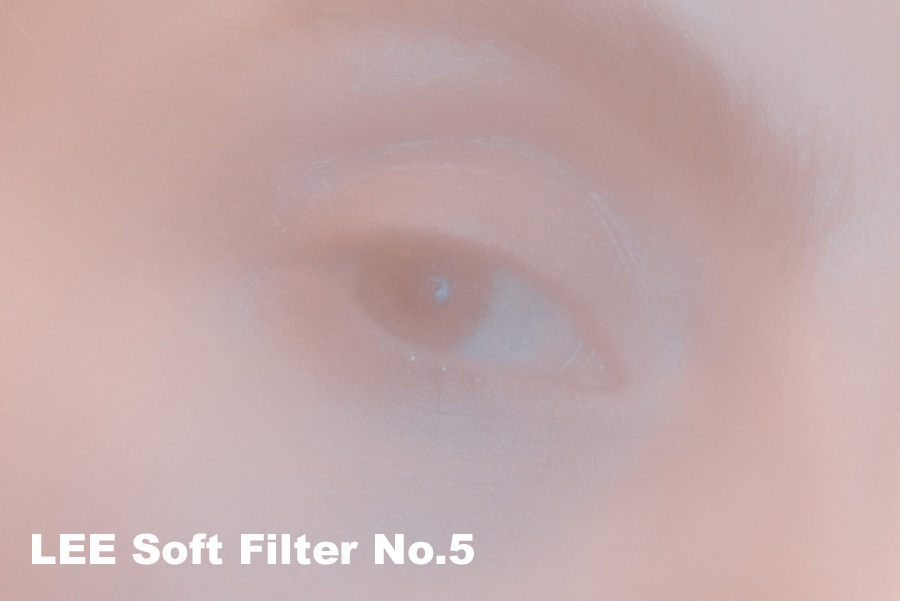
In the shots below I took six images; the first without any diffusion filter and then one shot with each of the various 'Soft' filters in front of the lens. Take a look at the images below to see the varying effect that the filters have.
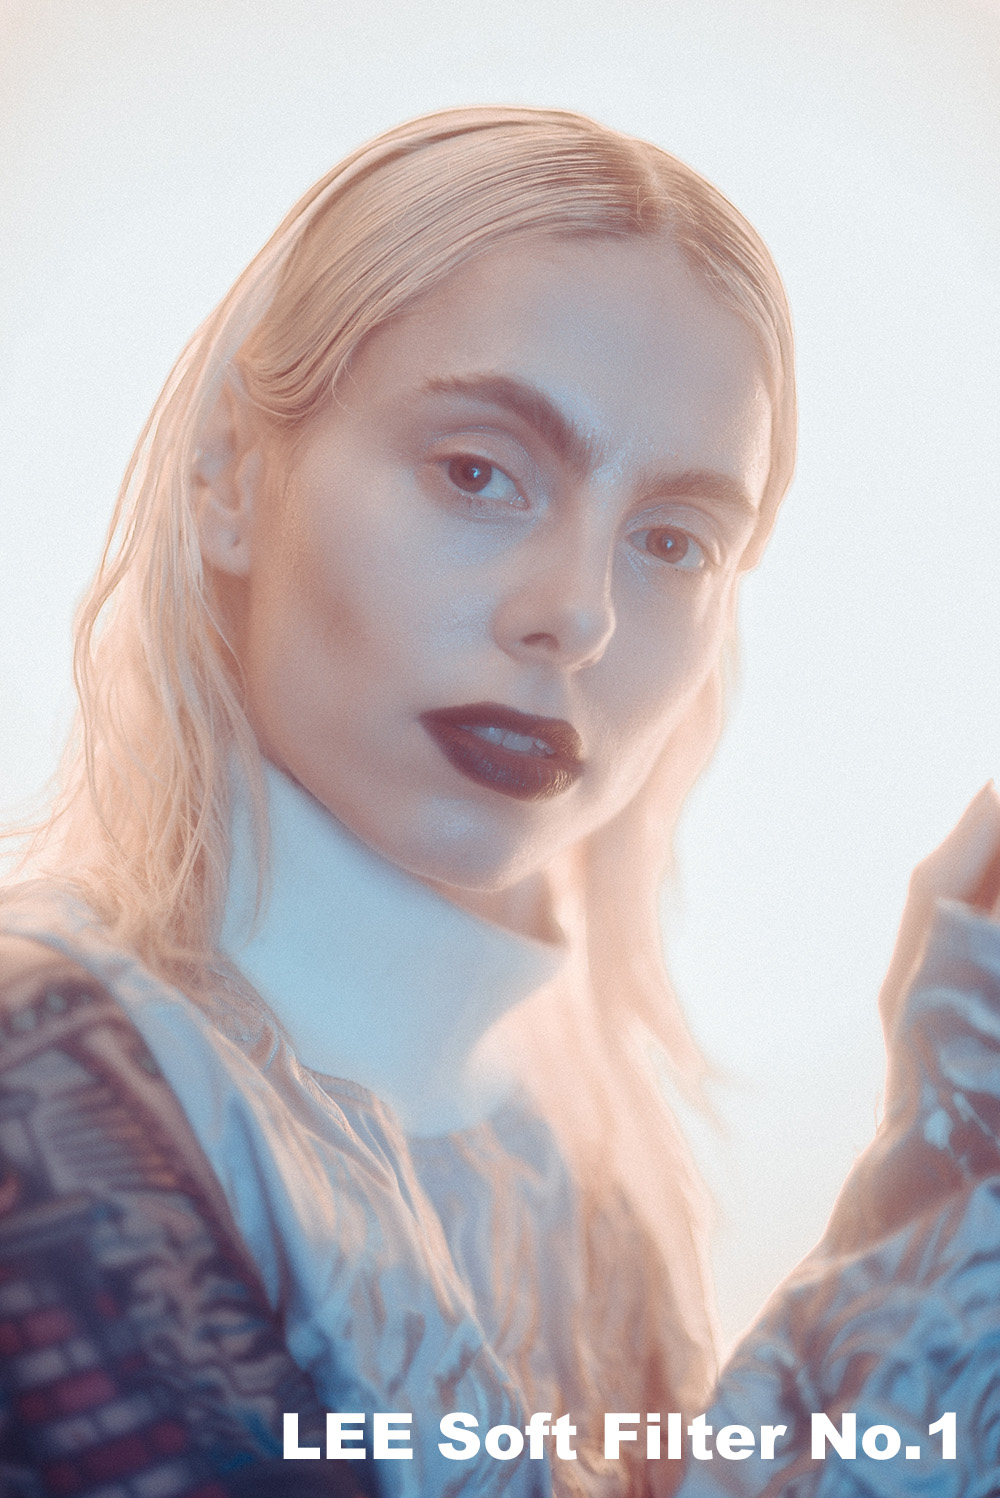

It should be pretty clear to see what the filter actually does but it's also worth mentioning that I only use this diffusion filter in certain situations, specifically and only when there is a light behind the model. It's this light behind the model that is creating the hazy effect you see here. The light is wrapping around the subject and then diffusing as it enters the filter on the front of the lens. Without the light behind the subject you can barely notice any difference to the shot. So much so that when I used to have screw-fit diffusion filters, I forgot I still had it on my lens and shot an entirely new setup without noticing the effect.
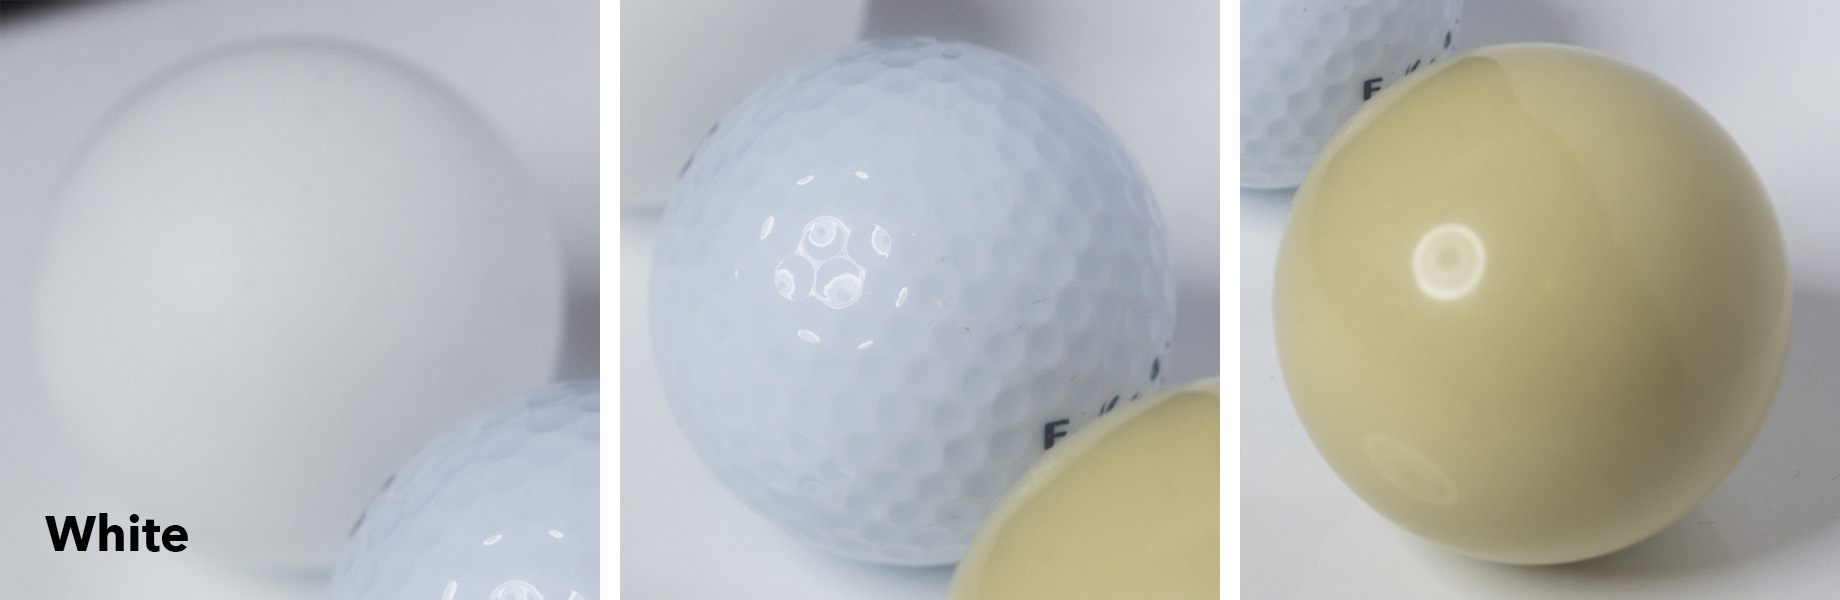
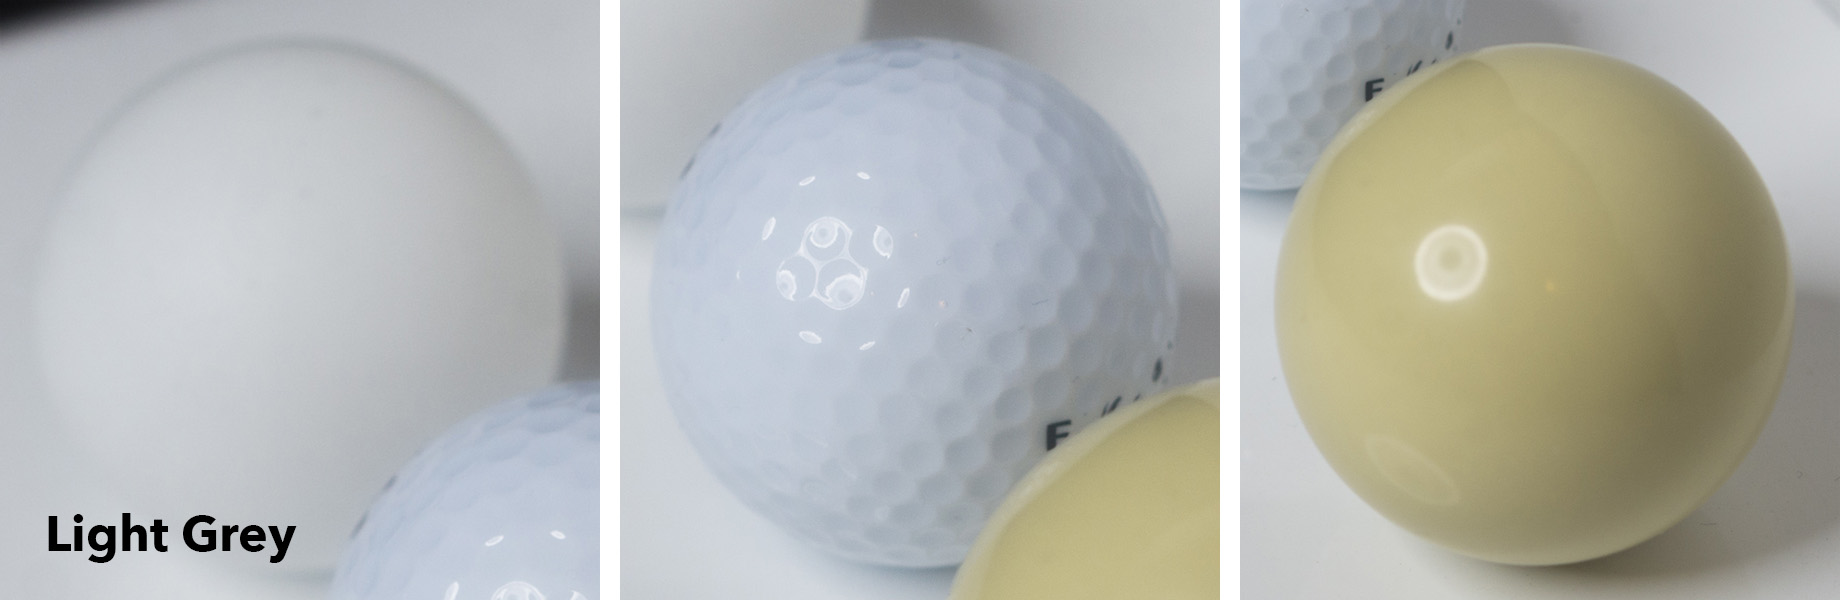
Do Diffusion Filters Blur the Image?
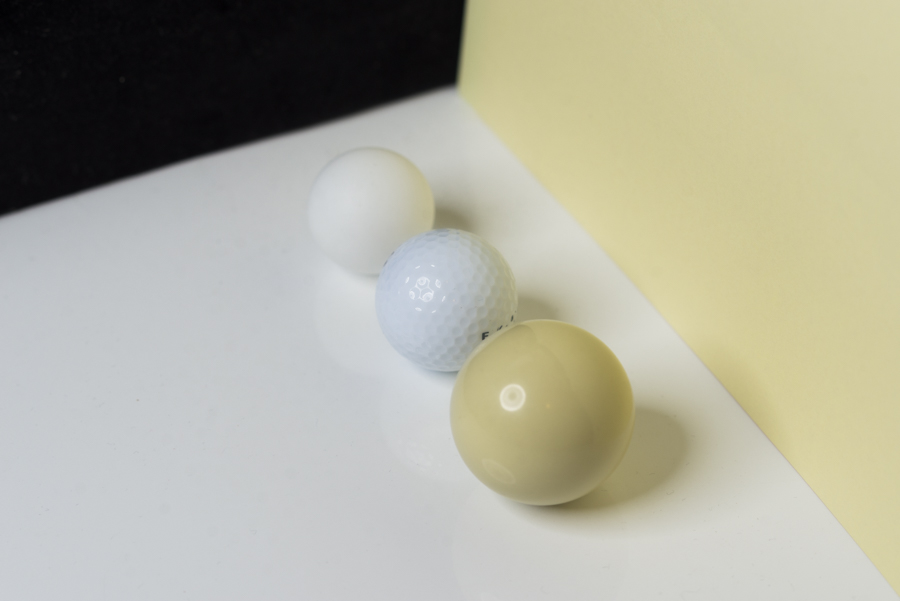
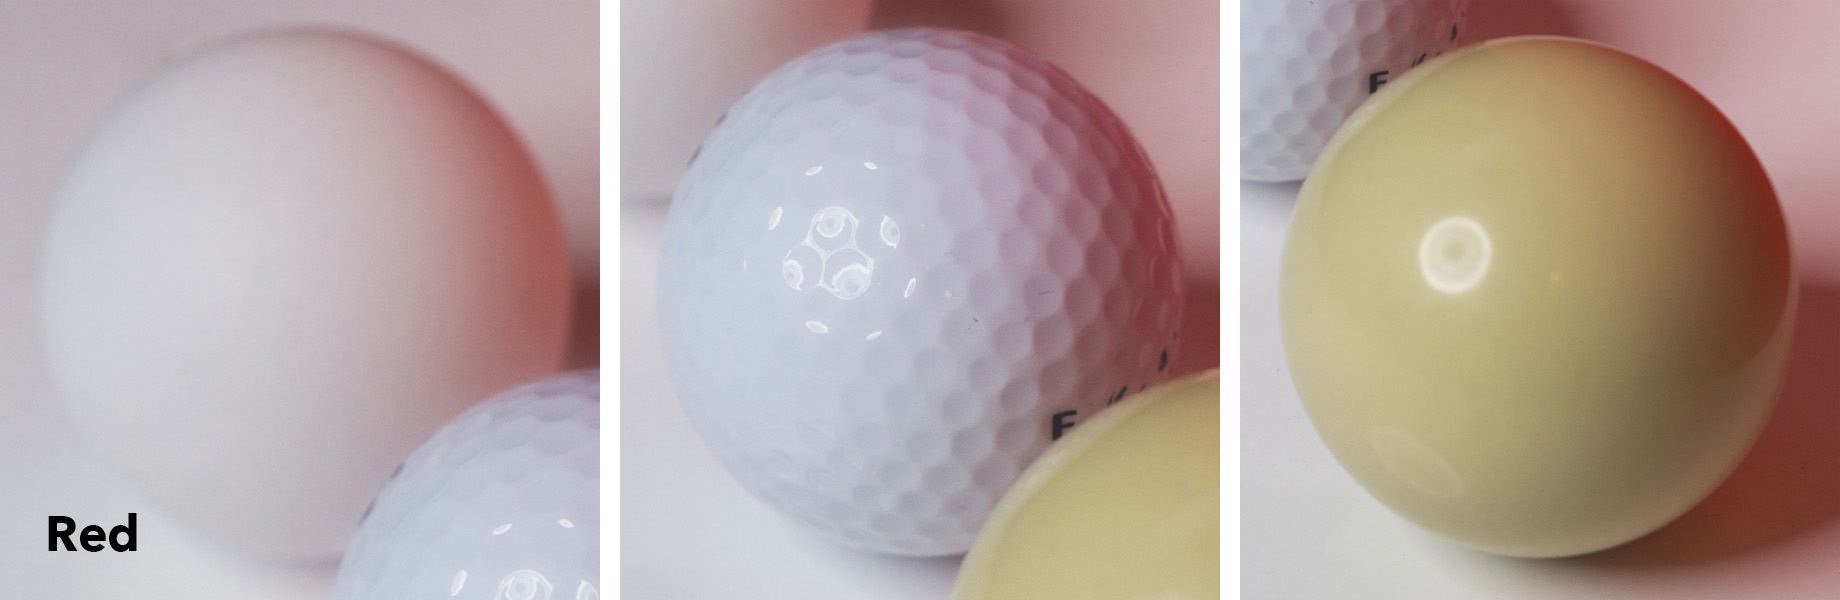
This is a question I always get asked and I understand why because in the current digital age we're wired up to think that this effect can only be achieved through blurring. My response to that question is 'no, it doesn't blur the image' but ultimately you need to decide what you consider 'blur'. I'm not trying to be purposefully obtuse here as I feel the common definition of bur has shifted in recent years. The diffusion filter works by allowing light to enter the shadow areas of a shot, it has nothing to do with de-focusing or anything else like that. The reduction in contrast you see is often mistaken for soft focus because that is how software 'sharpens' an image after it's been taken, it adds contrast to adjacent shadows and highlights. Conversely, a reduction in contrast appears to soften an image and is often misinterpreted as blurred. But don't take my word for it, have a look at the zoom crops for the exact same shots below and you decide as to whether the image is being blurred or not by your own definition.

You should be able to see from the shots above that there is actually a very sharp image underneath all of that haze so it does open up a lot of creative options in post-production to really push and pull saturation and contrast without clipping detail in either the highlights or the shadows.
Closing Comments

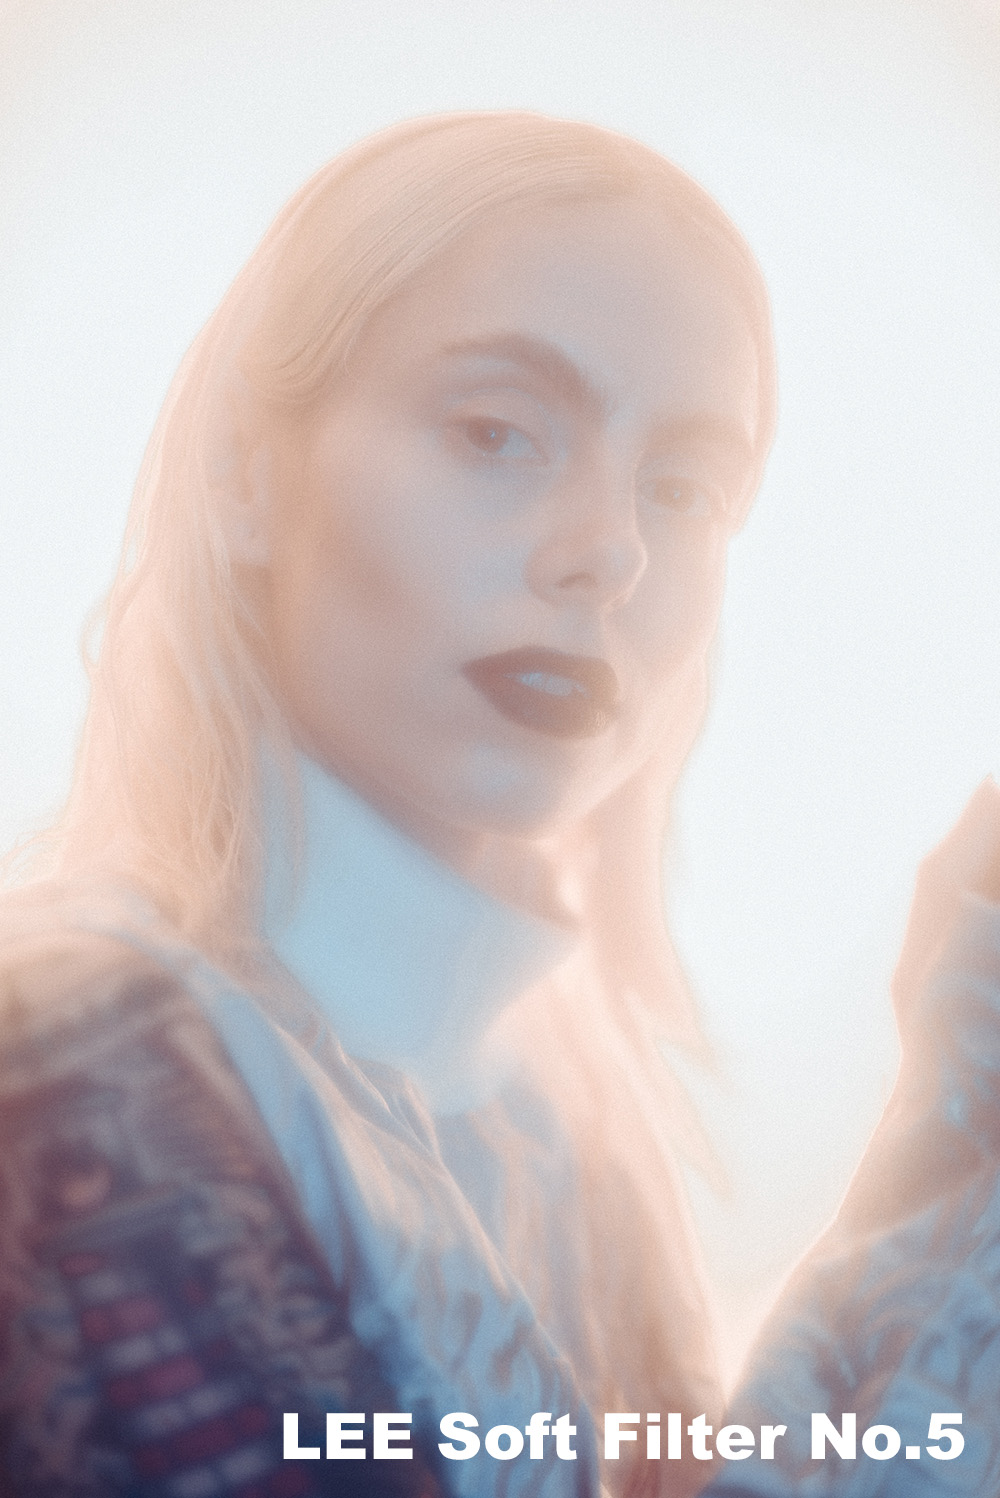
LEE Soft filter number 2 was used here to give this beauty shot a misty glow effect.
I personally really only use the numbers 1, 2 and 3 but primarily the Soft No.2. This seems to be a good midpoint for the portrait work that I do. The others will have their uses but number 1 is rarely strong enough to warrant a diffusion filter and number 5 is just crazy hazy. You'll probably also notice that 2, 3, 4 are very similar and then it jumps in effect on number 5. It could be argued that a pack of 3 filters is actually all that's going here but you'll have to test them out for yourself.
Like I mentioned before, I prefer the LEE Soft 100mm square filters as you can just hold them in front of the lens quickly, take a few shots, check how it looks and move on. This is far faster than screwing on the screw-fit filters only to find out that you don't like the effect with your particular setup.
Plus, the large square filters can be used with all of my lenses so I can switch from my 50mm to my 105mm instantly and still use the diffusion filter with both of them.
Lastly, don't be afraid to try your diffusion filter in a variety of setups, yes I recommend having a light behind the subject for best results but I've also setup lights to specifically shine into the filter and not onto the subject at all. Combine this with coloured gels and you have a very creative and visually engaging shot on your hands.
Thanks as always for checking out my articles, I know we live in a time of soundbites and Instagram so all the more respect to yourself for engaging in a piece of digital media for this long :)
I hope you give the diffusion filters a go and that this little bit of knowledge will help you at some point but if you have any questions then let me know and I'll do my best to answer them as quickly as I can.
Also, If you're new here then feel free to join our very active community of like minded lighting-nerds (c'mon, admit it, you're one of us :D ) on my Facebook page. I'm always discussing lighting ideas and offering feedback on community images over there.
If you'd like to stay up to date on more photography related tips and techniques then sign up to my mailing list where I'll send you a monthly roundup of all my articles (plus signing up gets you a free 10 page studio lighting pdf too :) ). Thanks again and I'll see you all in the next one.
:WARNING: Totally unbiased opinions on phenomenal 'must-have' photography products below!
If you're interested in any of my work and would like to know more about how I created some of my shots then why not check out my workshops. Here you can find out everything there is to know about Gelled Lighting, Long Exposure Flash Photography and my entire Post-Pro Workflow. Jake Hicks Photography - Workshops

I've also just released a brand new 22 hour complete Gelled Lighting Tutorial video. I go over everything from studio lighting setups with gels to being on location with gels plus I also go through my complete retouching and post pro workflow. For more details and complete breakdown of everything that's include check out my Coloured Gel Portraits Tutorial

I also offer comprehensive coloured gel packs. These collections of gels are what I use day to day to create some of the most highly saturated colours around. If you're looking at getting into gelled lighting or need to get stronger and richer colours in your coloured gel work why not check out my Jake Hicks Photography Gel Packs