The new Lensbaby Velvet 85
I've been using several of the Lensbaby products for many years and most people will have heard of the company and what they do by now. Lensbaby as a lens making company has a long line of lenses currently on the market and they are probably most well known for producing what we might call 'art' lenses.
These so-called art lenses are the lenses that in my opinion produce a very specific look and Lensbaby's most popular products tend to distort the scene in such a way as to create a very unique and attention grabbing look. Their most popular lenses for this effect being the Composer Pro Sweet 50 that creates a stunning 'in-camera' radial blur and the Composer Pro Edge 80 that creates that iconic toy-town (tilt-shift) look but at a tenth of the cost of the other branded tilt-shift lenses.
More recently Lensbaby have taken a small step back from the aggressively artistic lenses like the ones previously mentioned and started to explore a more subtle, yet refined look that their lenses produce. In 2015 Lensbaby brought the Velvet 56 to market and then last year in 2016 the Twist 60, both of which were very well received for their slightly more user-friendly look so it was only a matter of time before they really targeted a solid portrait lens like this new Velvet 85.

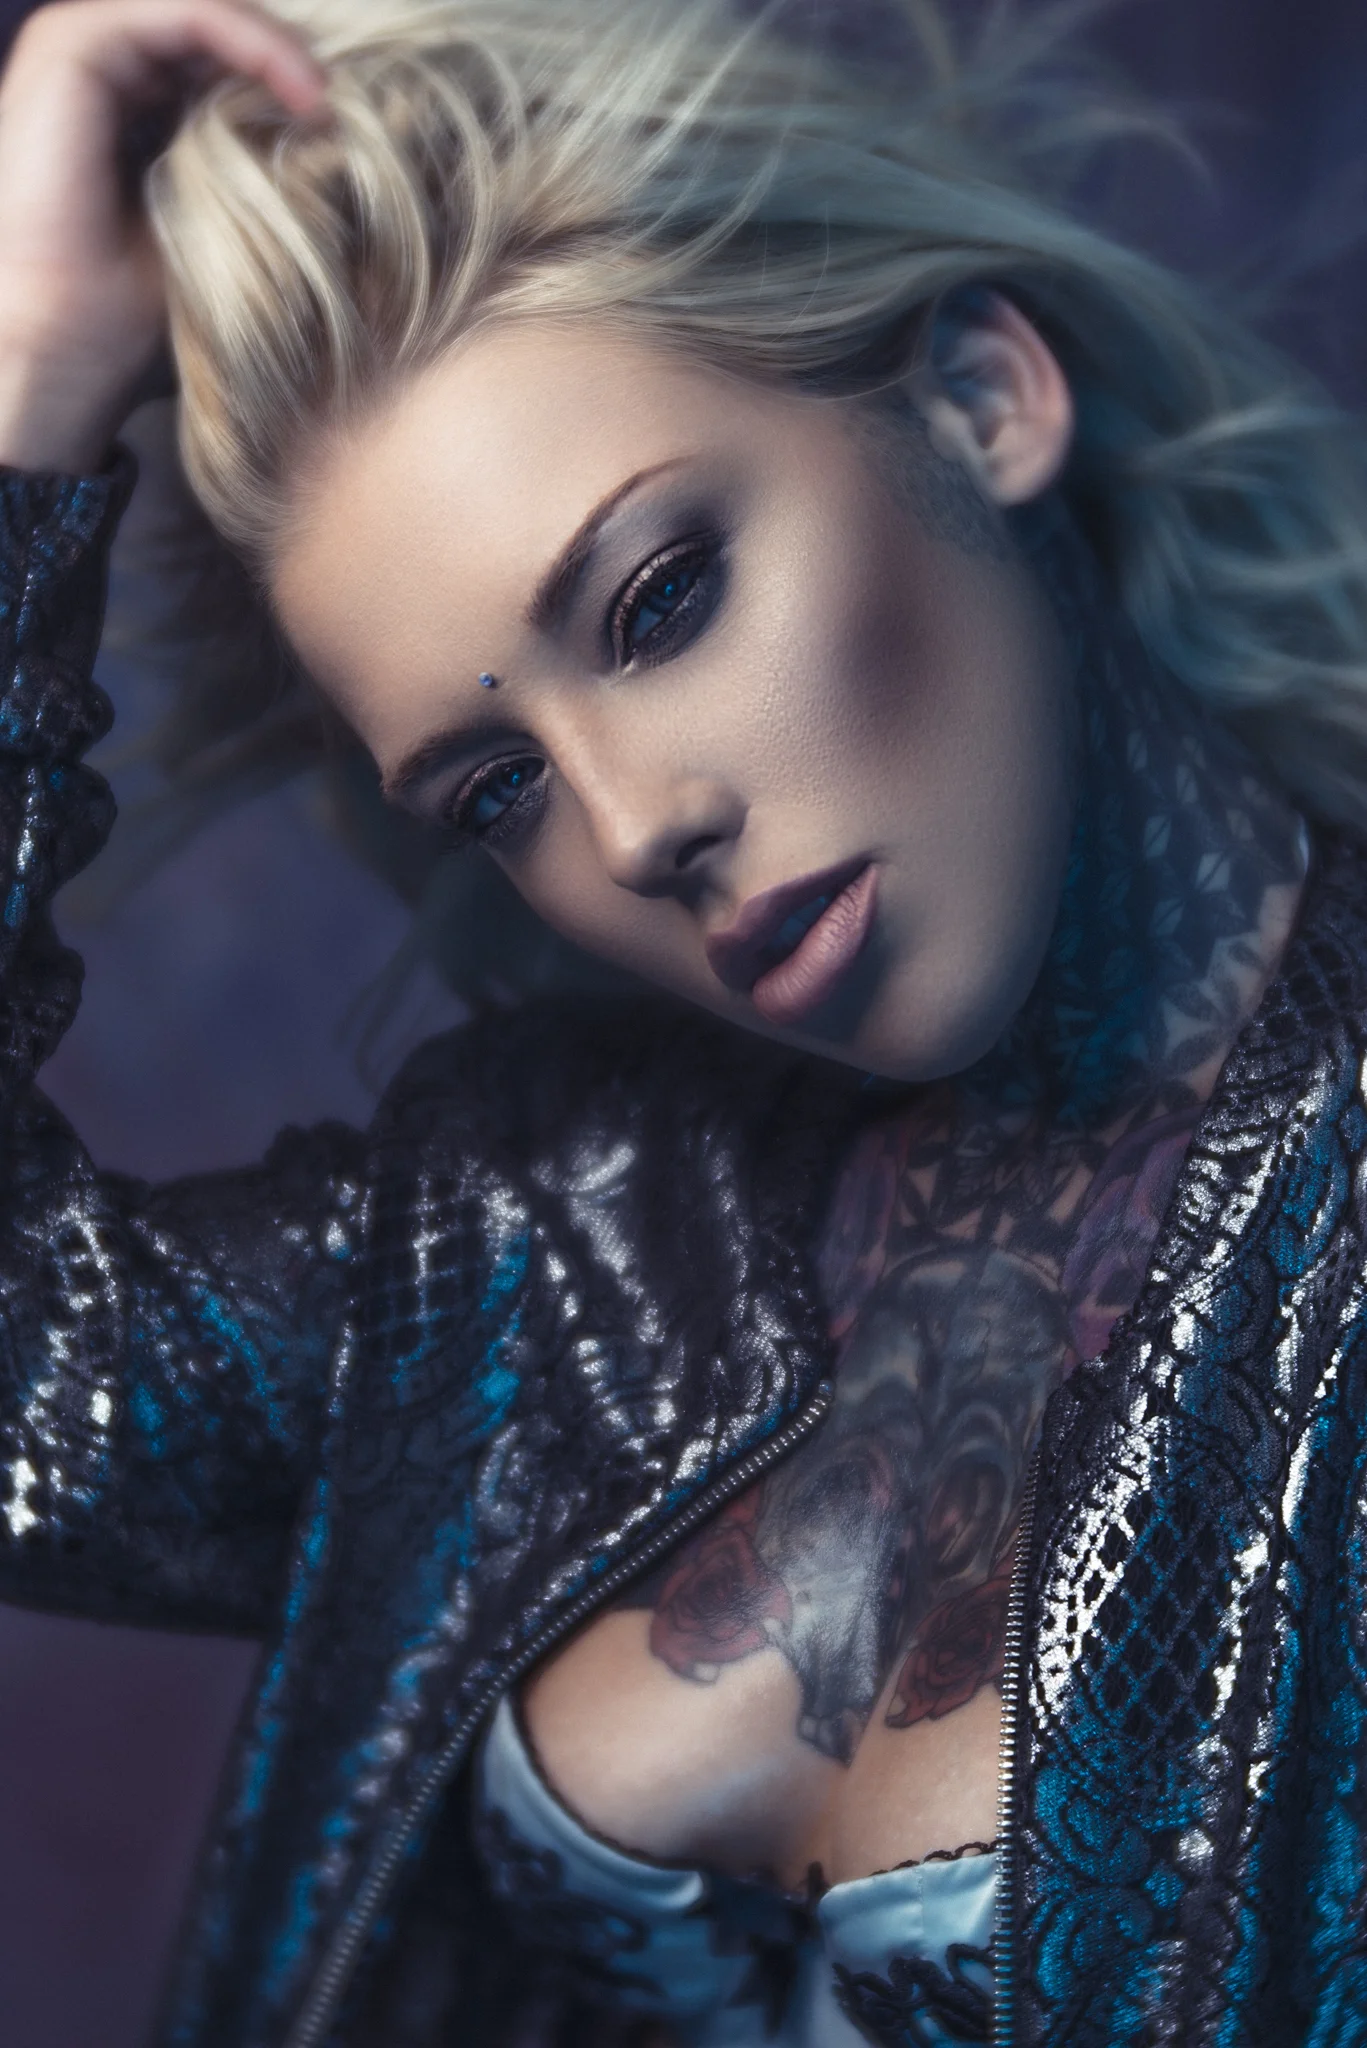
The original Velvet 56 lens (used to capture the image above) that was released in 2015 was very well received for its subtle yet effective optics.
I was very fortunate to be one of the first people to get the Velvet 56 lens a couple of years ago and I have to say I loved the images it created, if you're interested in reading my review on that then please check it out here The Lensbaby Velvet 56mm f1.6 Lens Review. Like I said, I loved the results the Velvet 56 produced and it's an incredibly clean and subtle effect that doesn't dominate and entire image. But the 56mm focal length has its limitations for certain portrait work and although it didn't particularly bother me, I know there was a lot of concern from other portrait shooters at the time that this 56mm couldn't be used for their day-to-day portrait work.
It was only a matter of time before Lensbaby took the beloved look of the Velvet 56 and implemented it into a more traditional portrait focal length and thus the Velvet 85 was born.
The Velvet 85 Effect
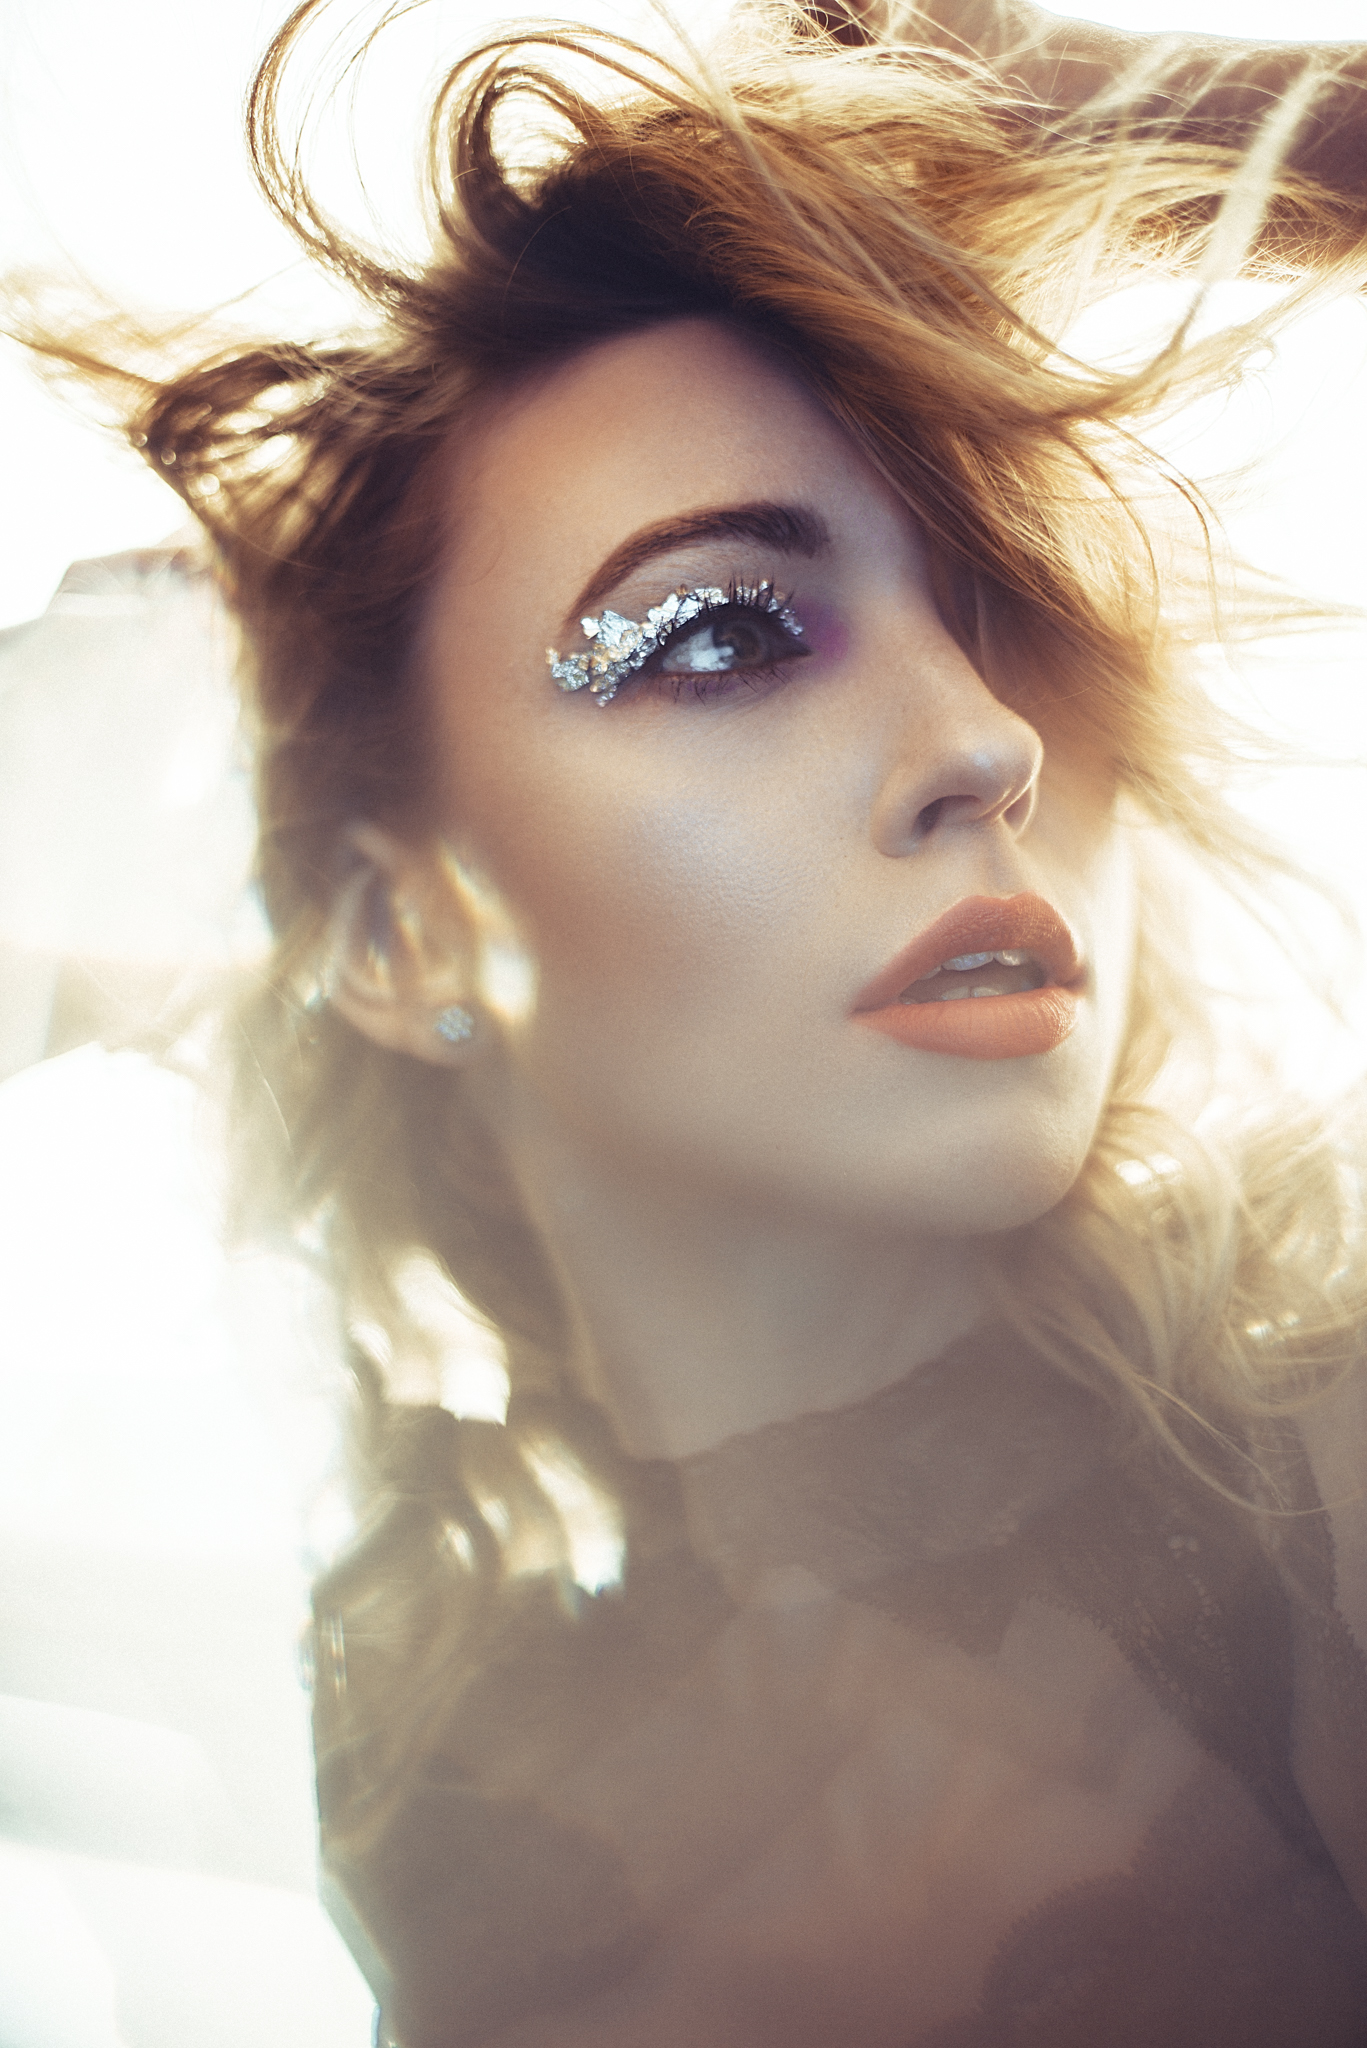
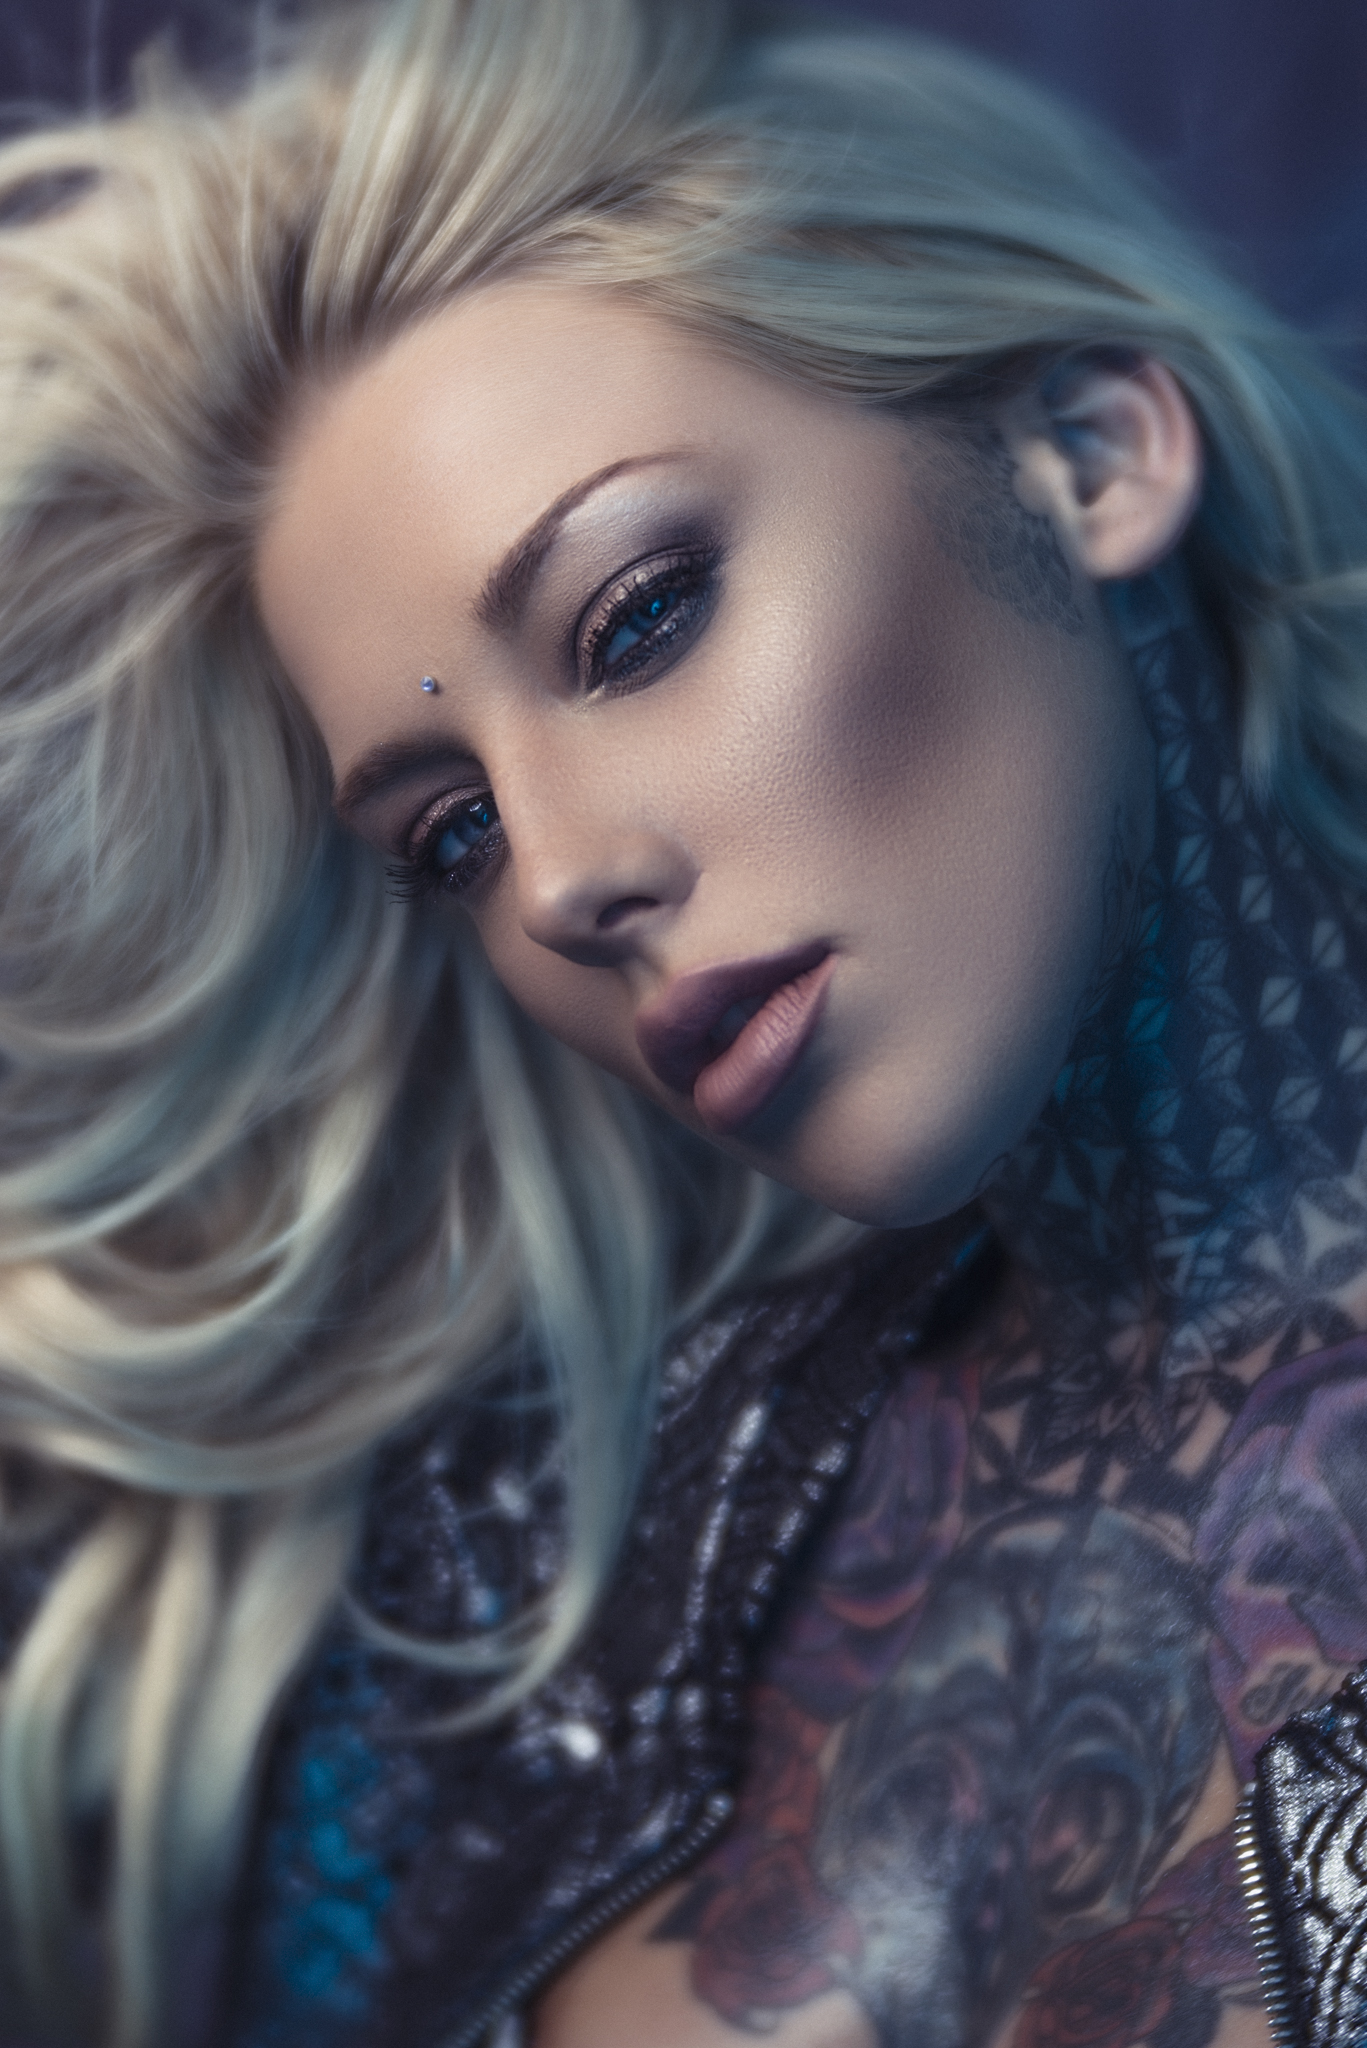
Let's cut to the most important factor first, what look does the Velvet 85 produce? What makes this 85mm lens different to every other 85mm lens? The short answer is that as far as I can tell the look is almost identical to the look that the Velvet 56 produces, so if you're familiar with that and all you were looking for is an 85mm version of it you're done, it's here. If on the other hand you're brand new to the Velvet look, let me try to explain it alongside some images. First and foremost I'll reiterate again, this is not a dramatic art lens like some of the other Lensbaby products, in fact at higher apertures like f8 and above the Velvet's effect is barely noticeable at all and it's simply just an incredibly sharp 85mm portrait lens. It is at the lower apertures where the Velvet 85 really starts to come to life. Put simply the Velvet produces an image that on first glance looks like a simple soft glow. Look a little closer and you'll actually see that the image is made up almost two image, one being a sharp image and then the other being a glowing version of it on top. This look is most apparent when the lens is wide open of course and then as you stop down to f5.6 - f8 it's almost entirely gone.
Take a look at the series of shots below taken at varying apertures to see what I mean regarding the Velvet effect at f1.8 compared to f8. Images below are un-retouched raws

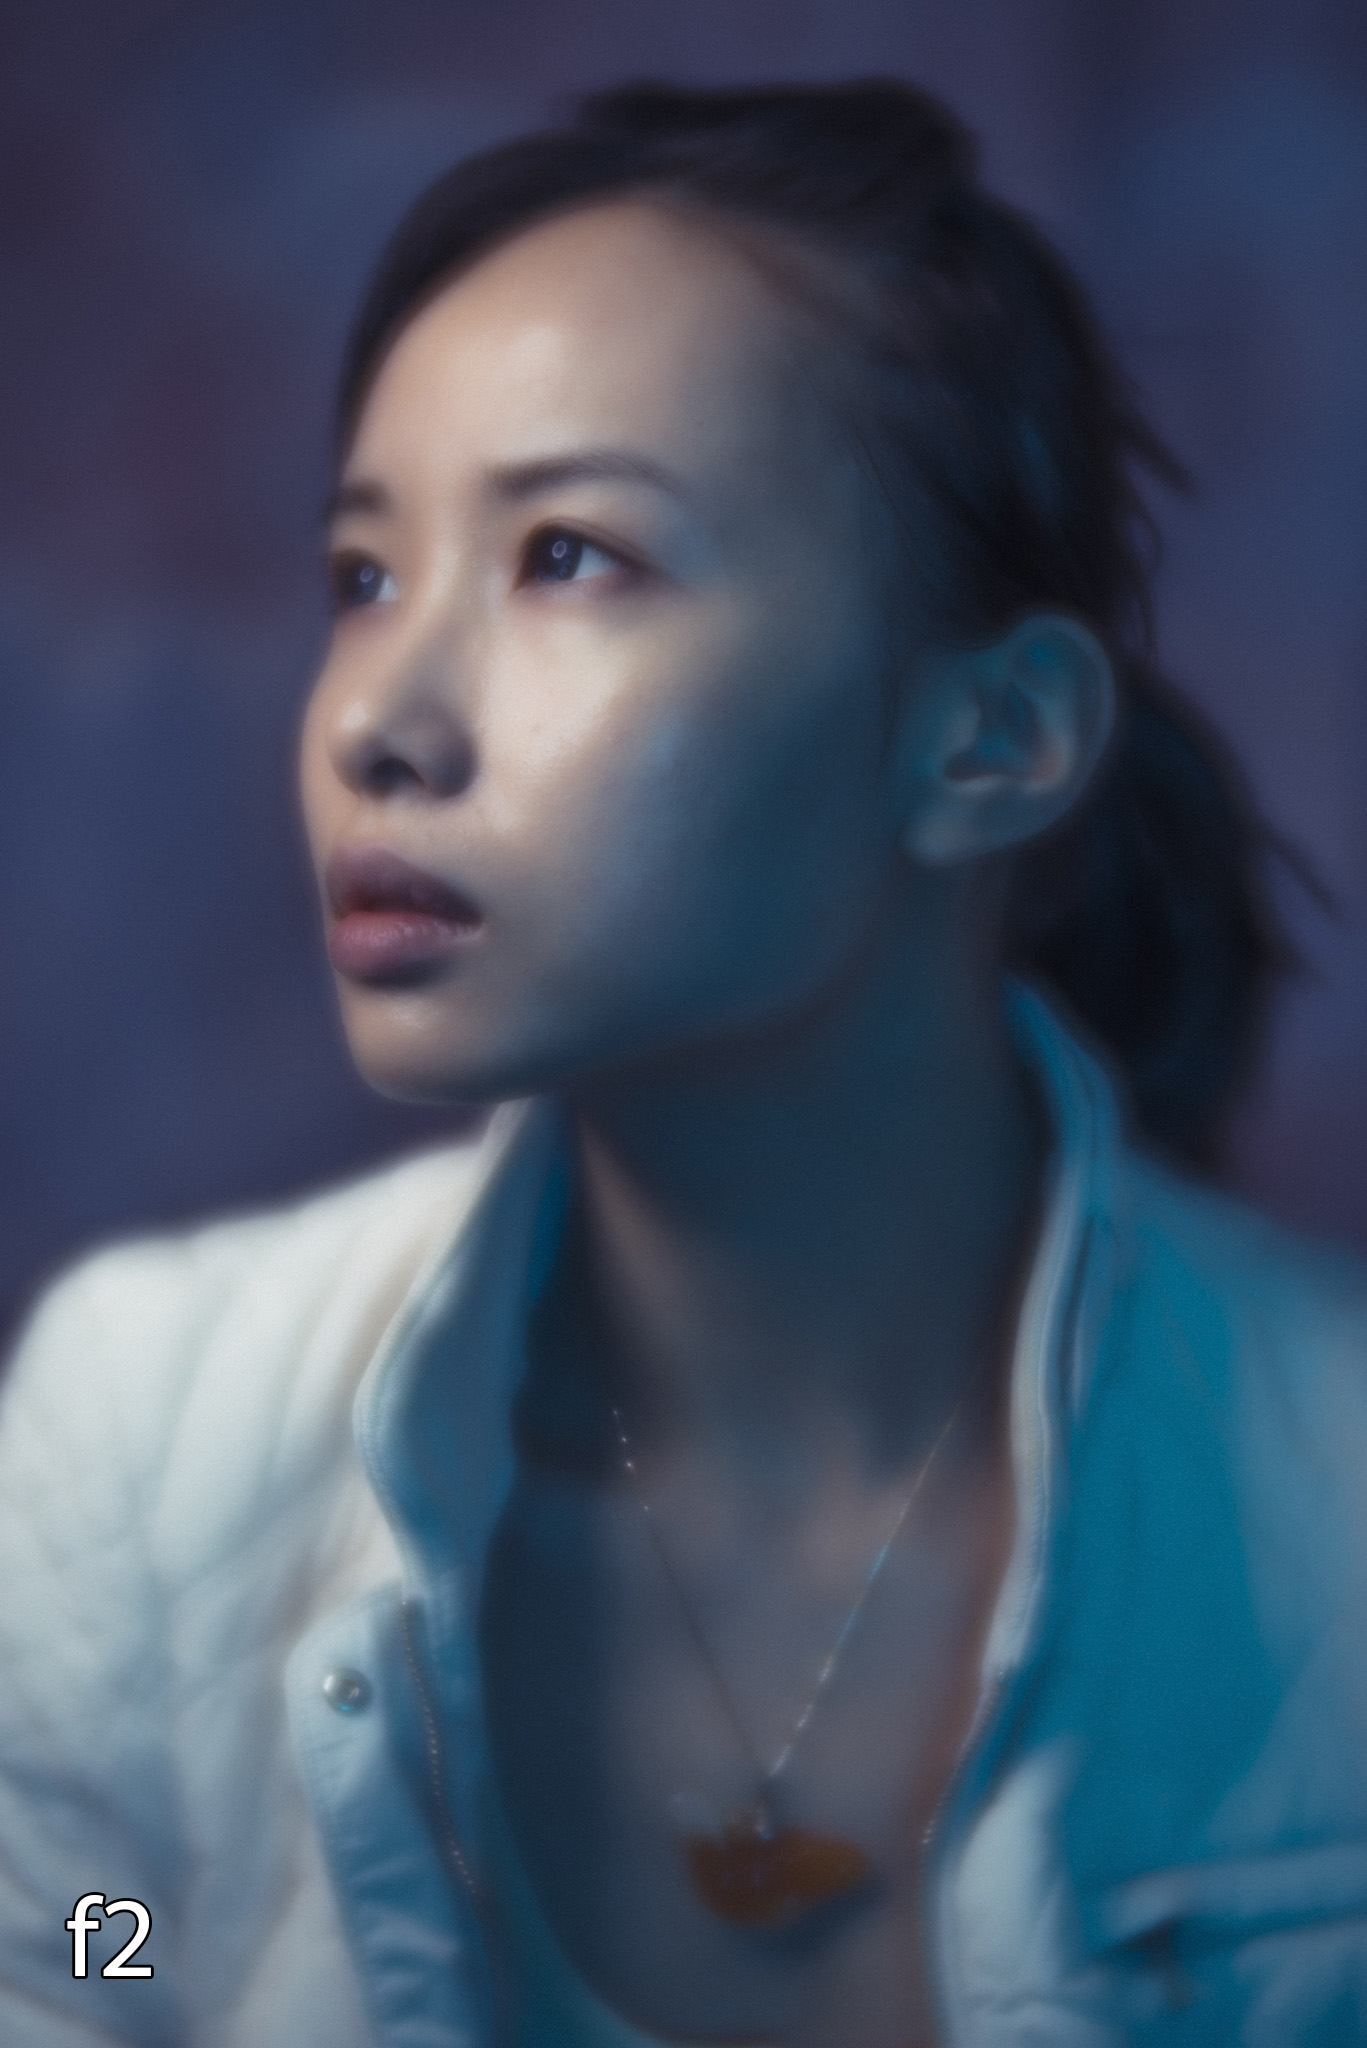
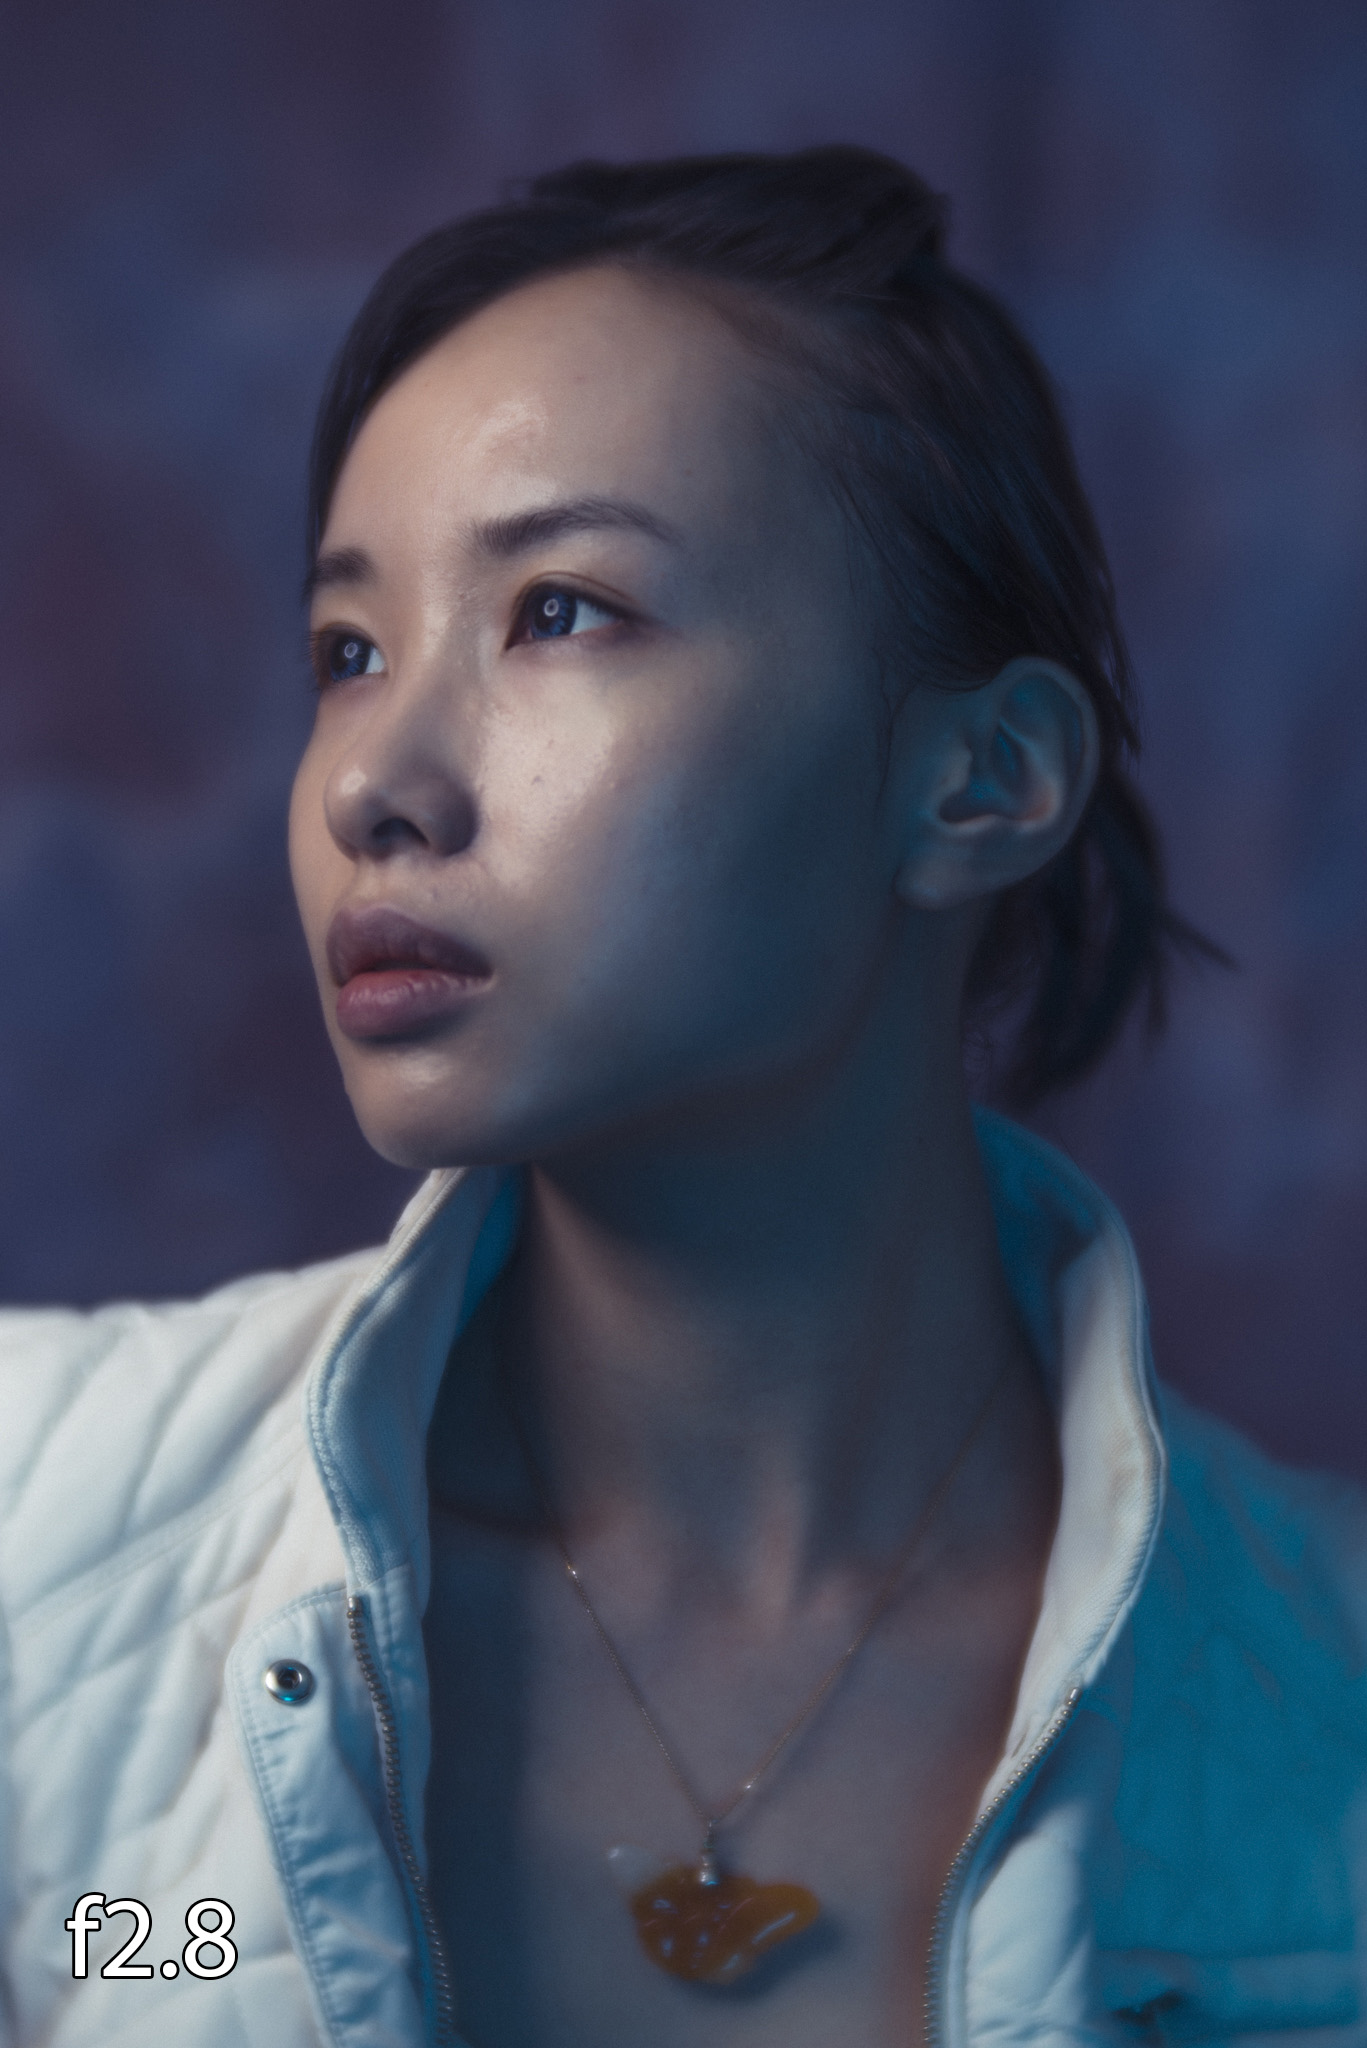
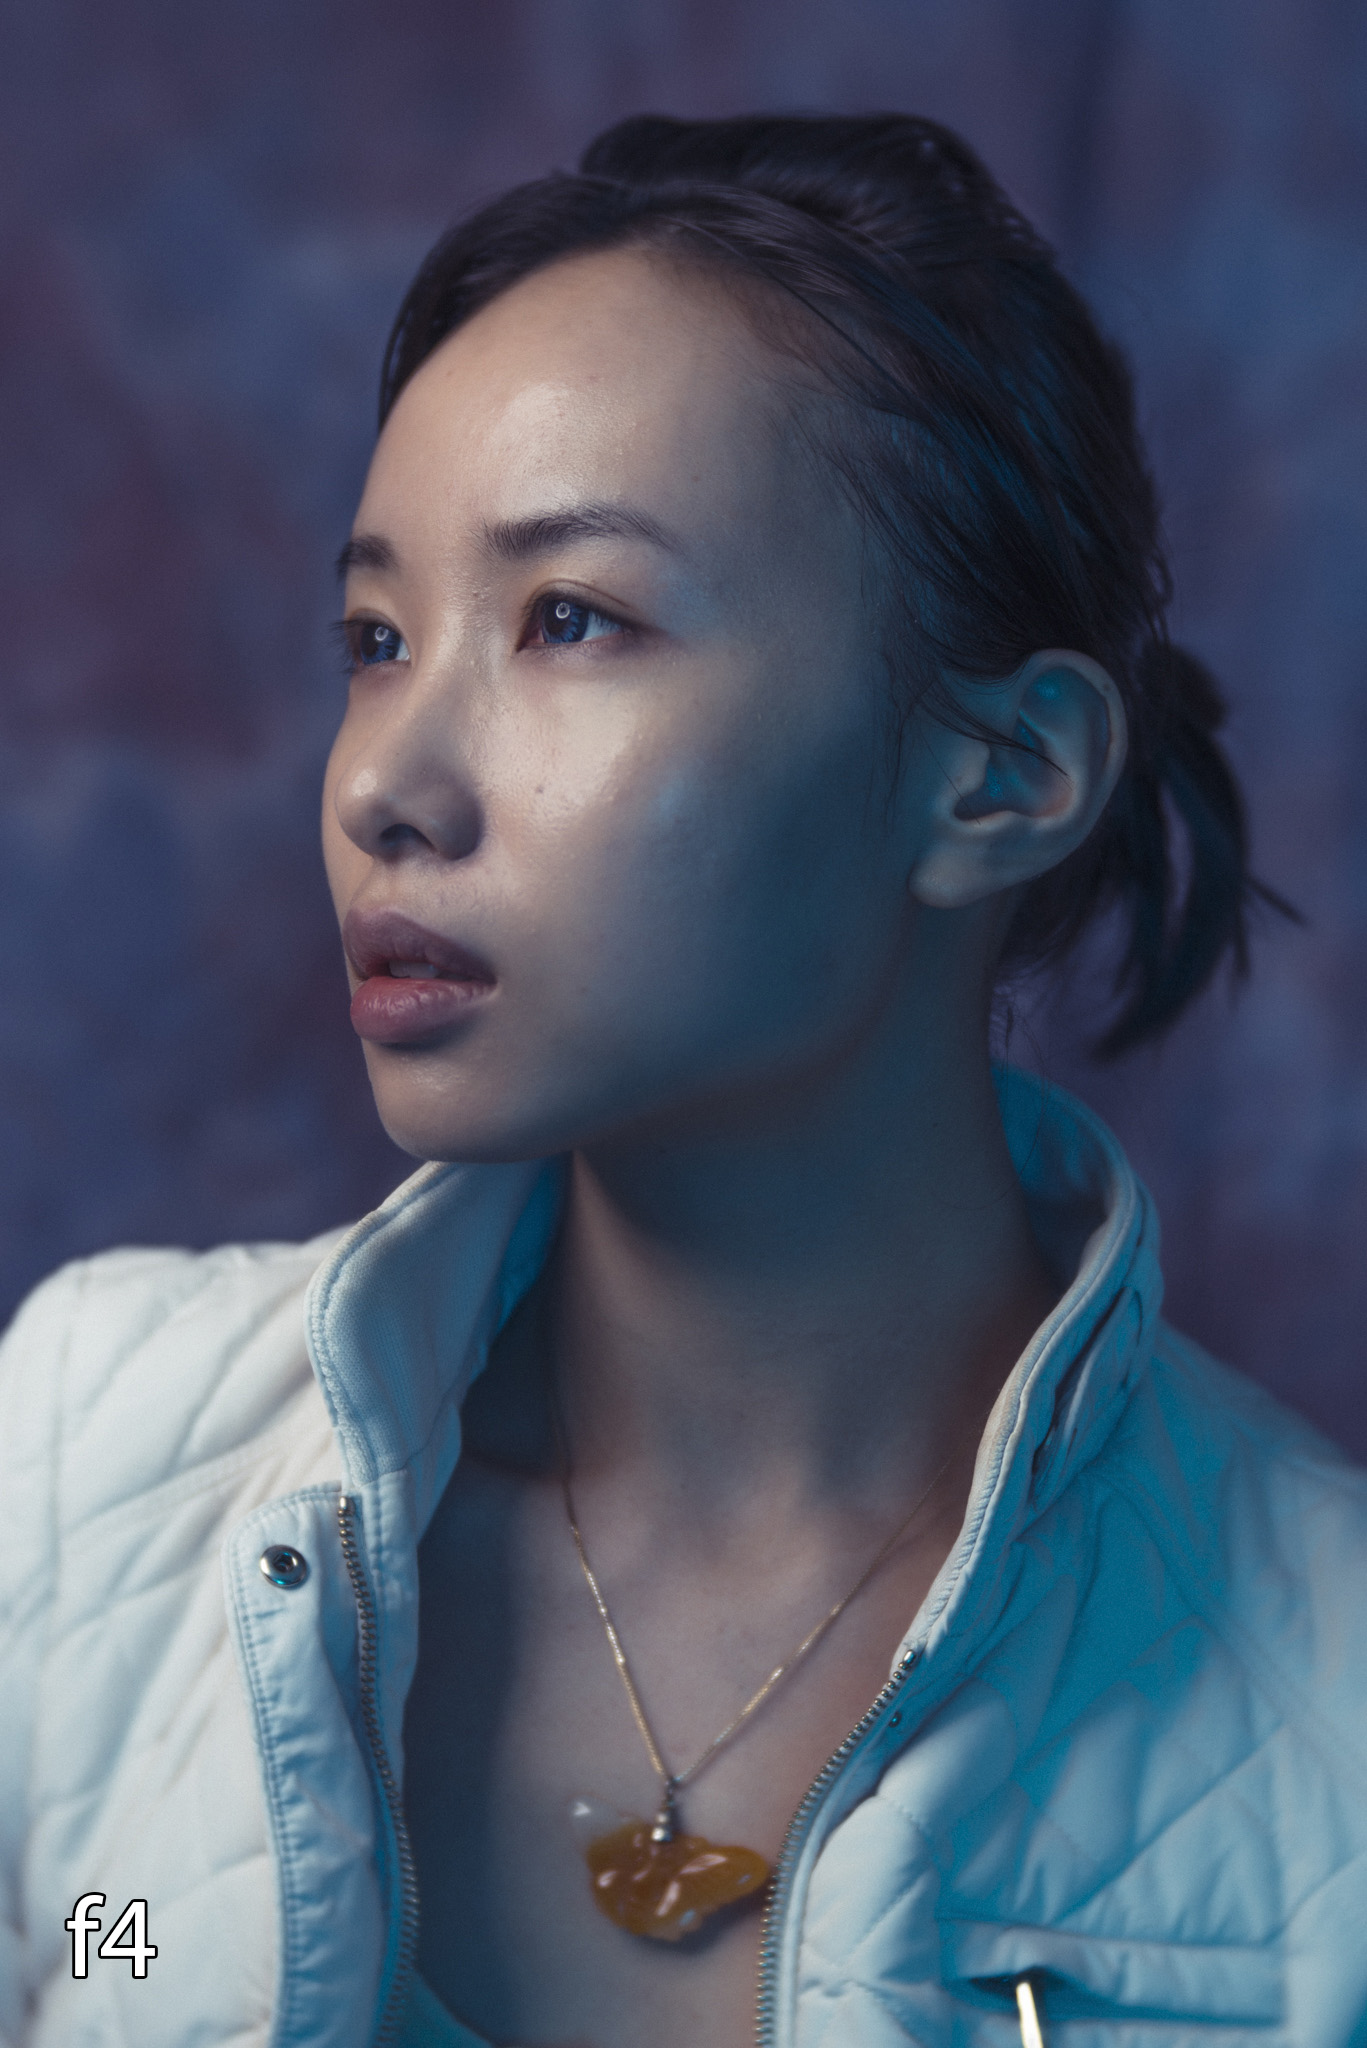
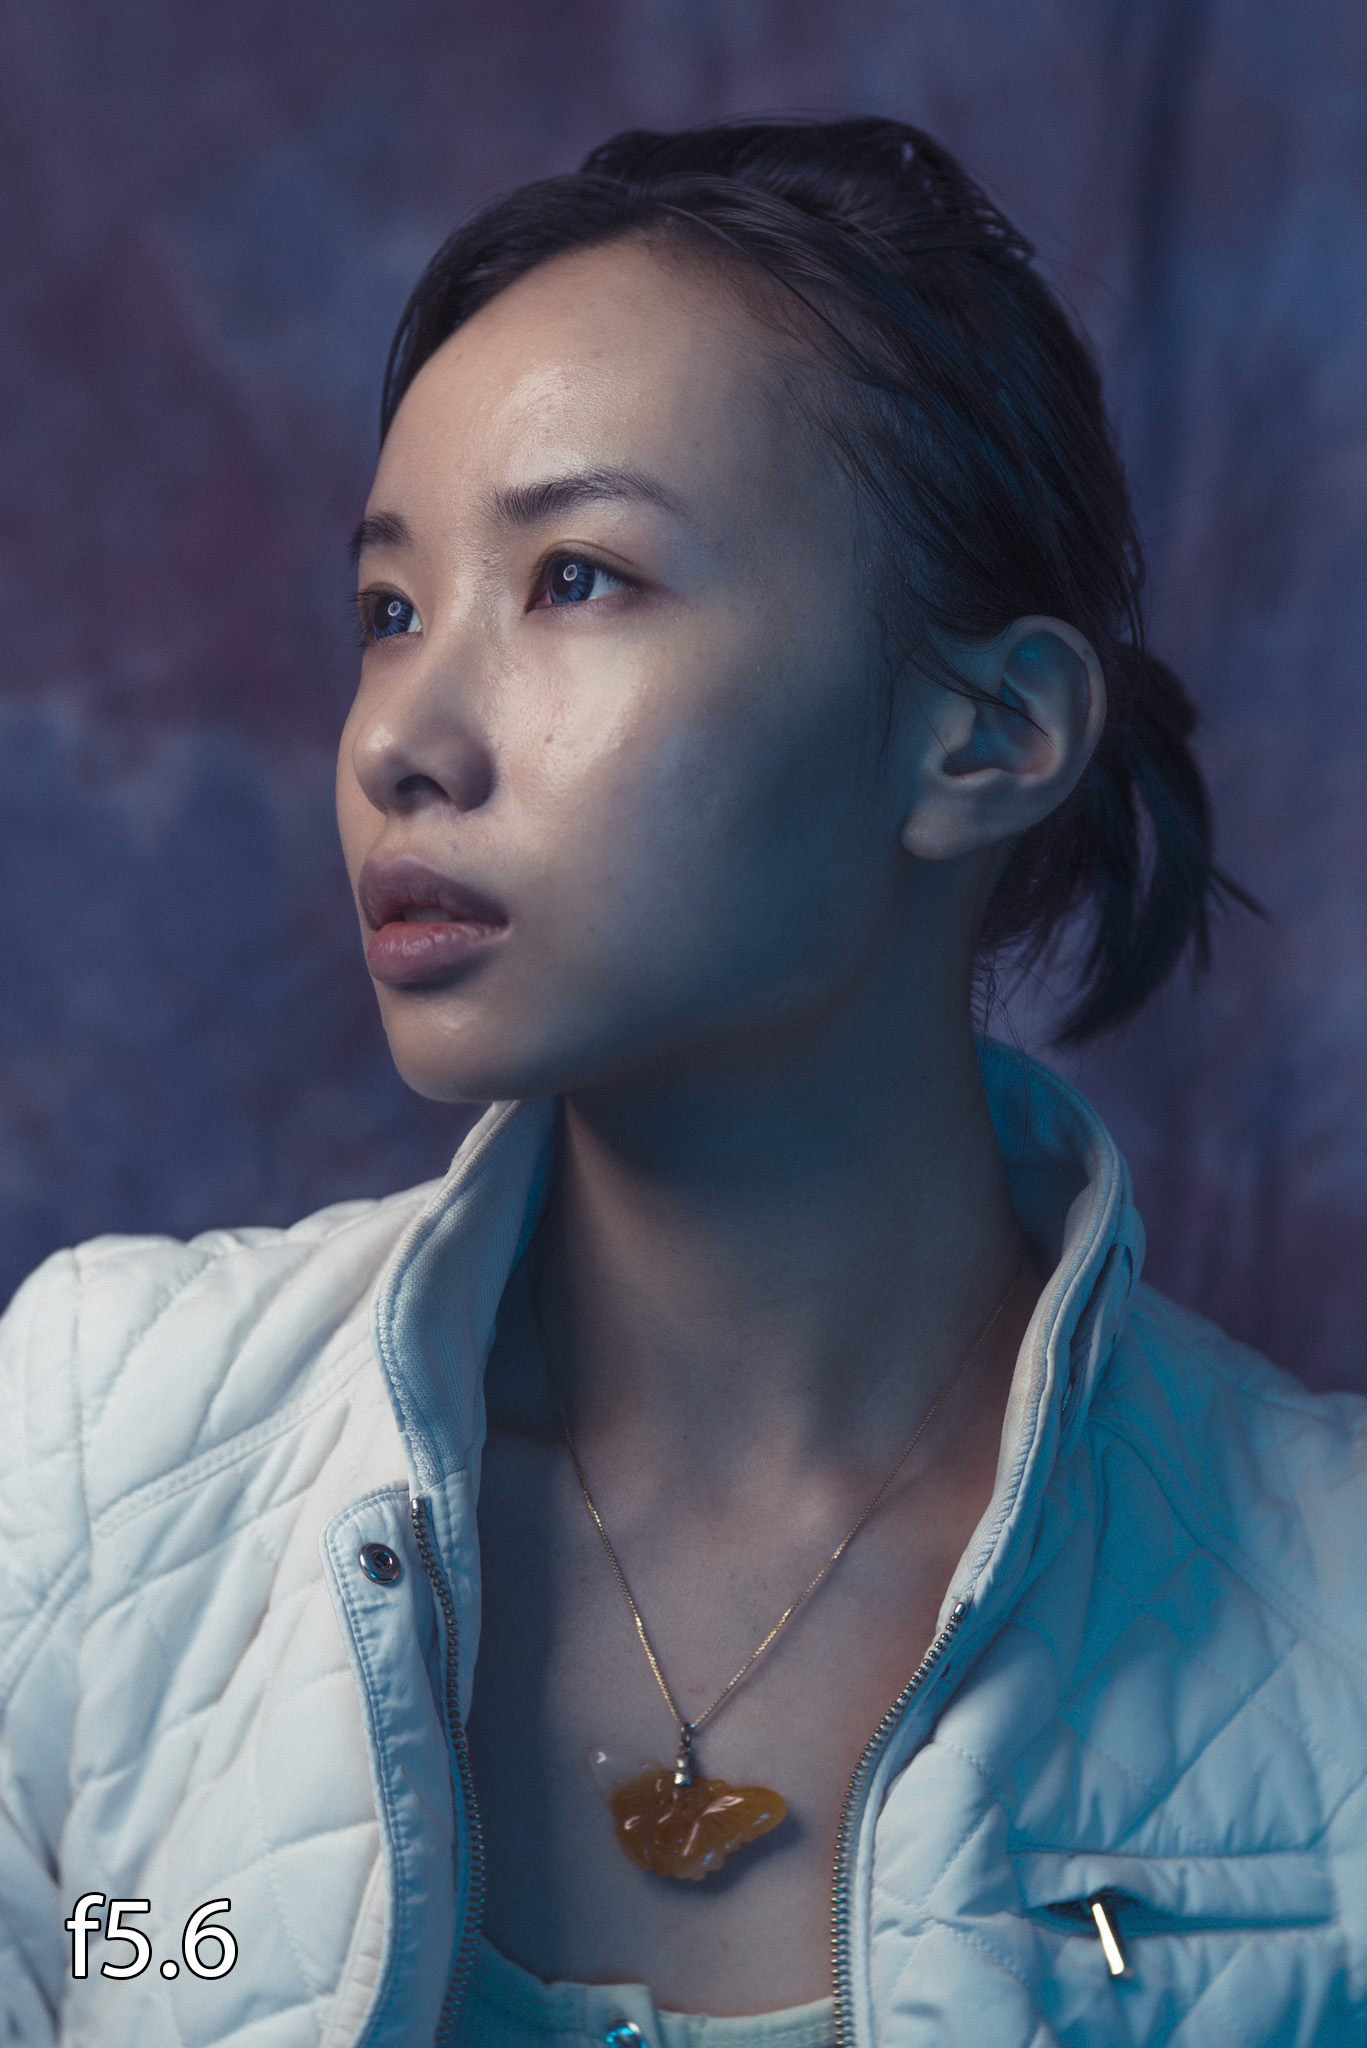
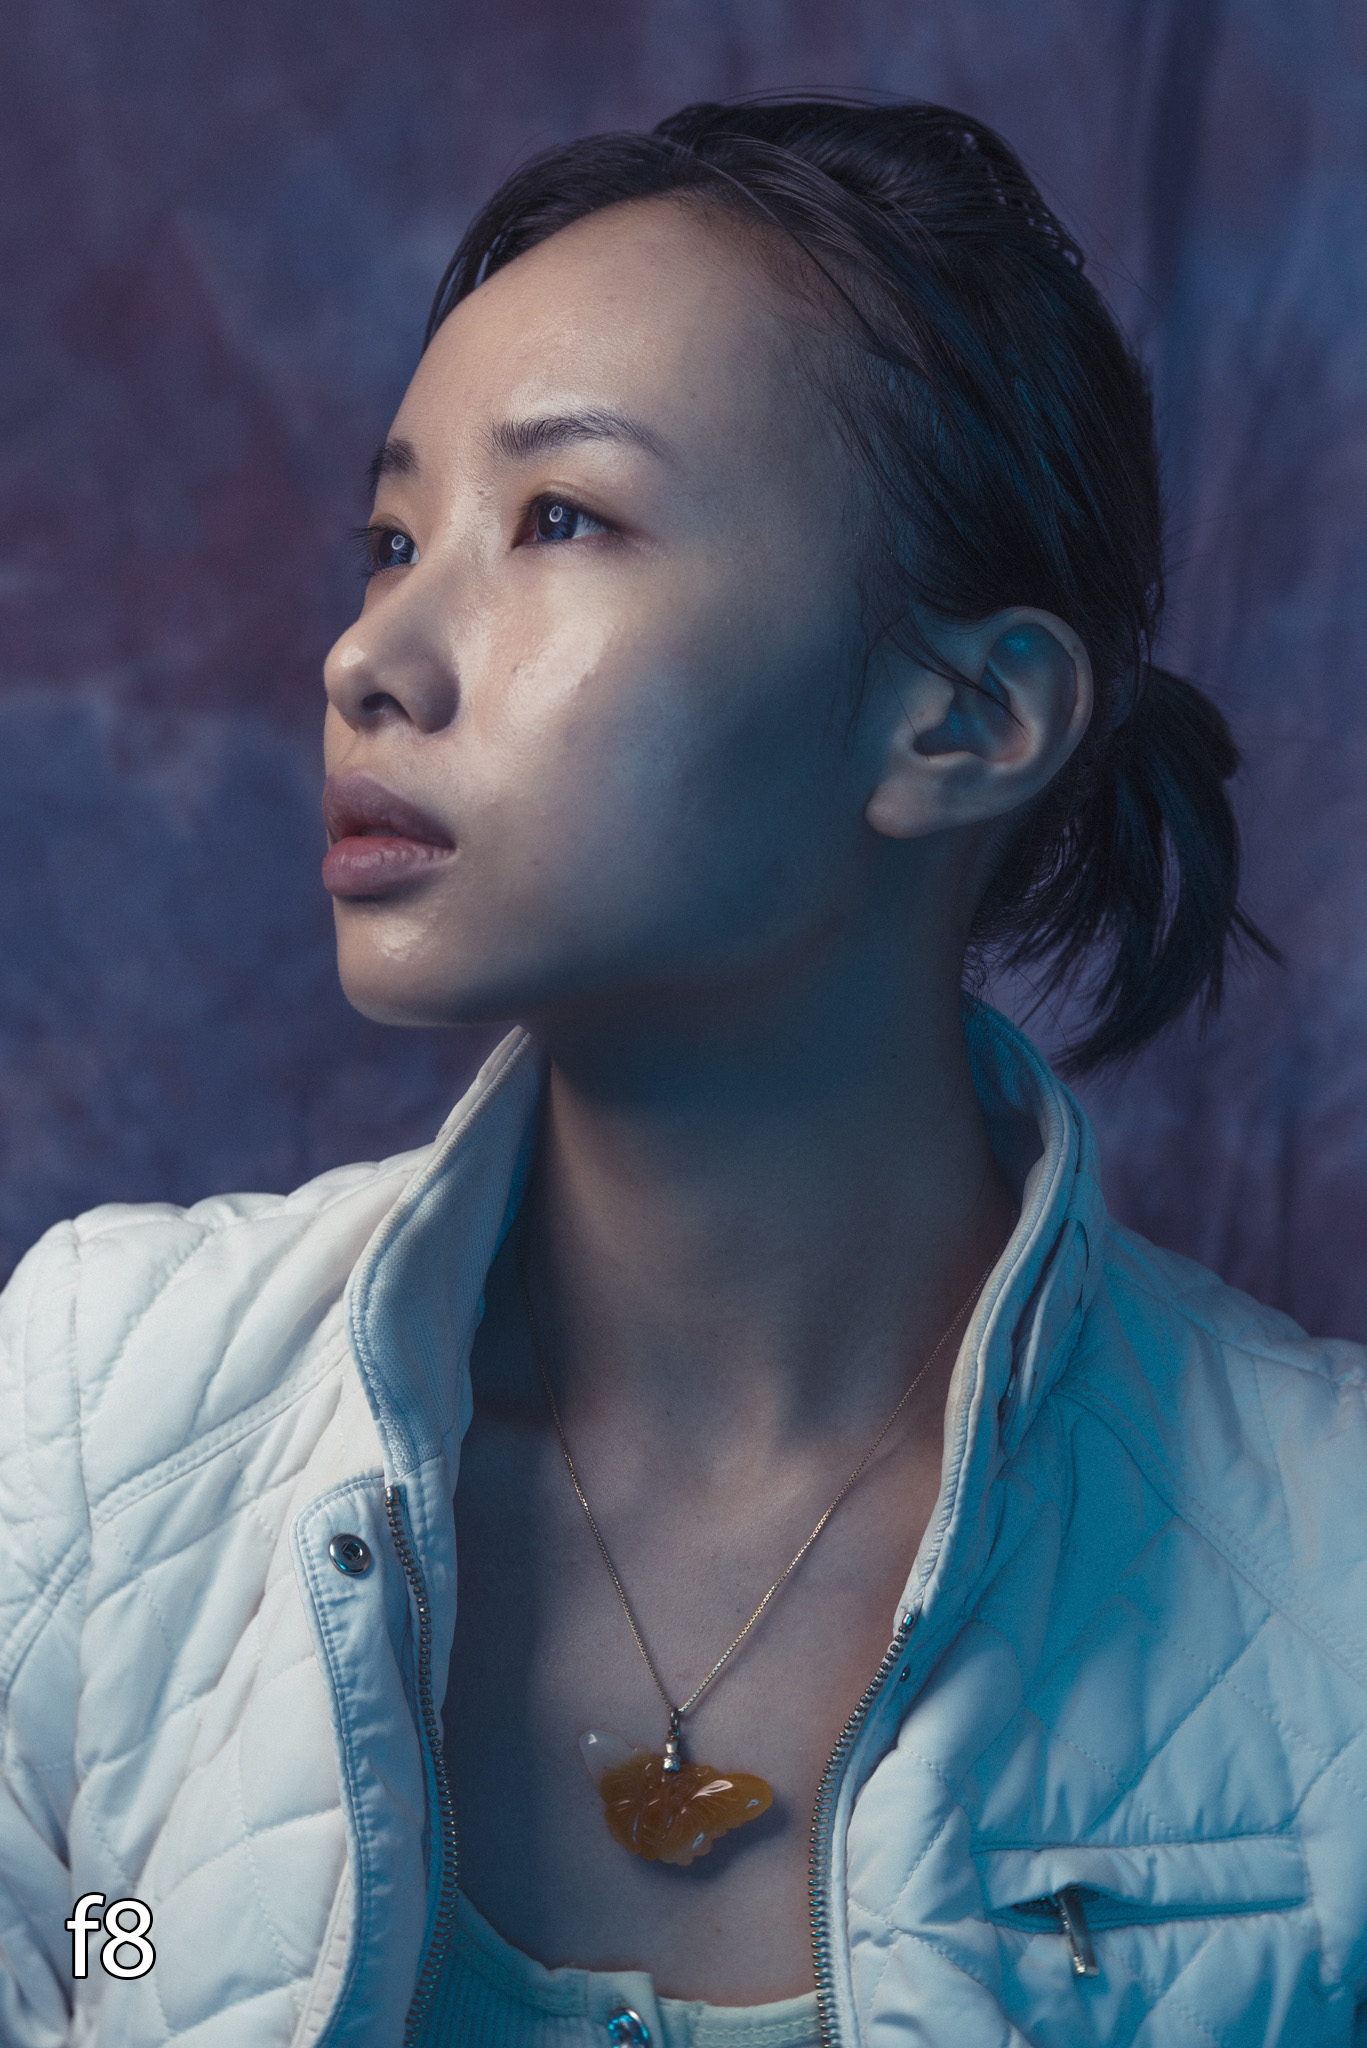


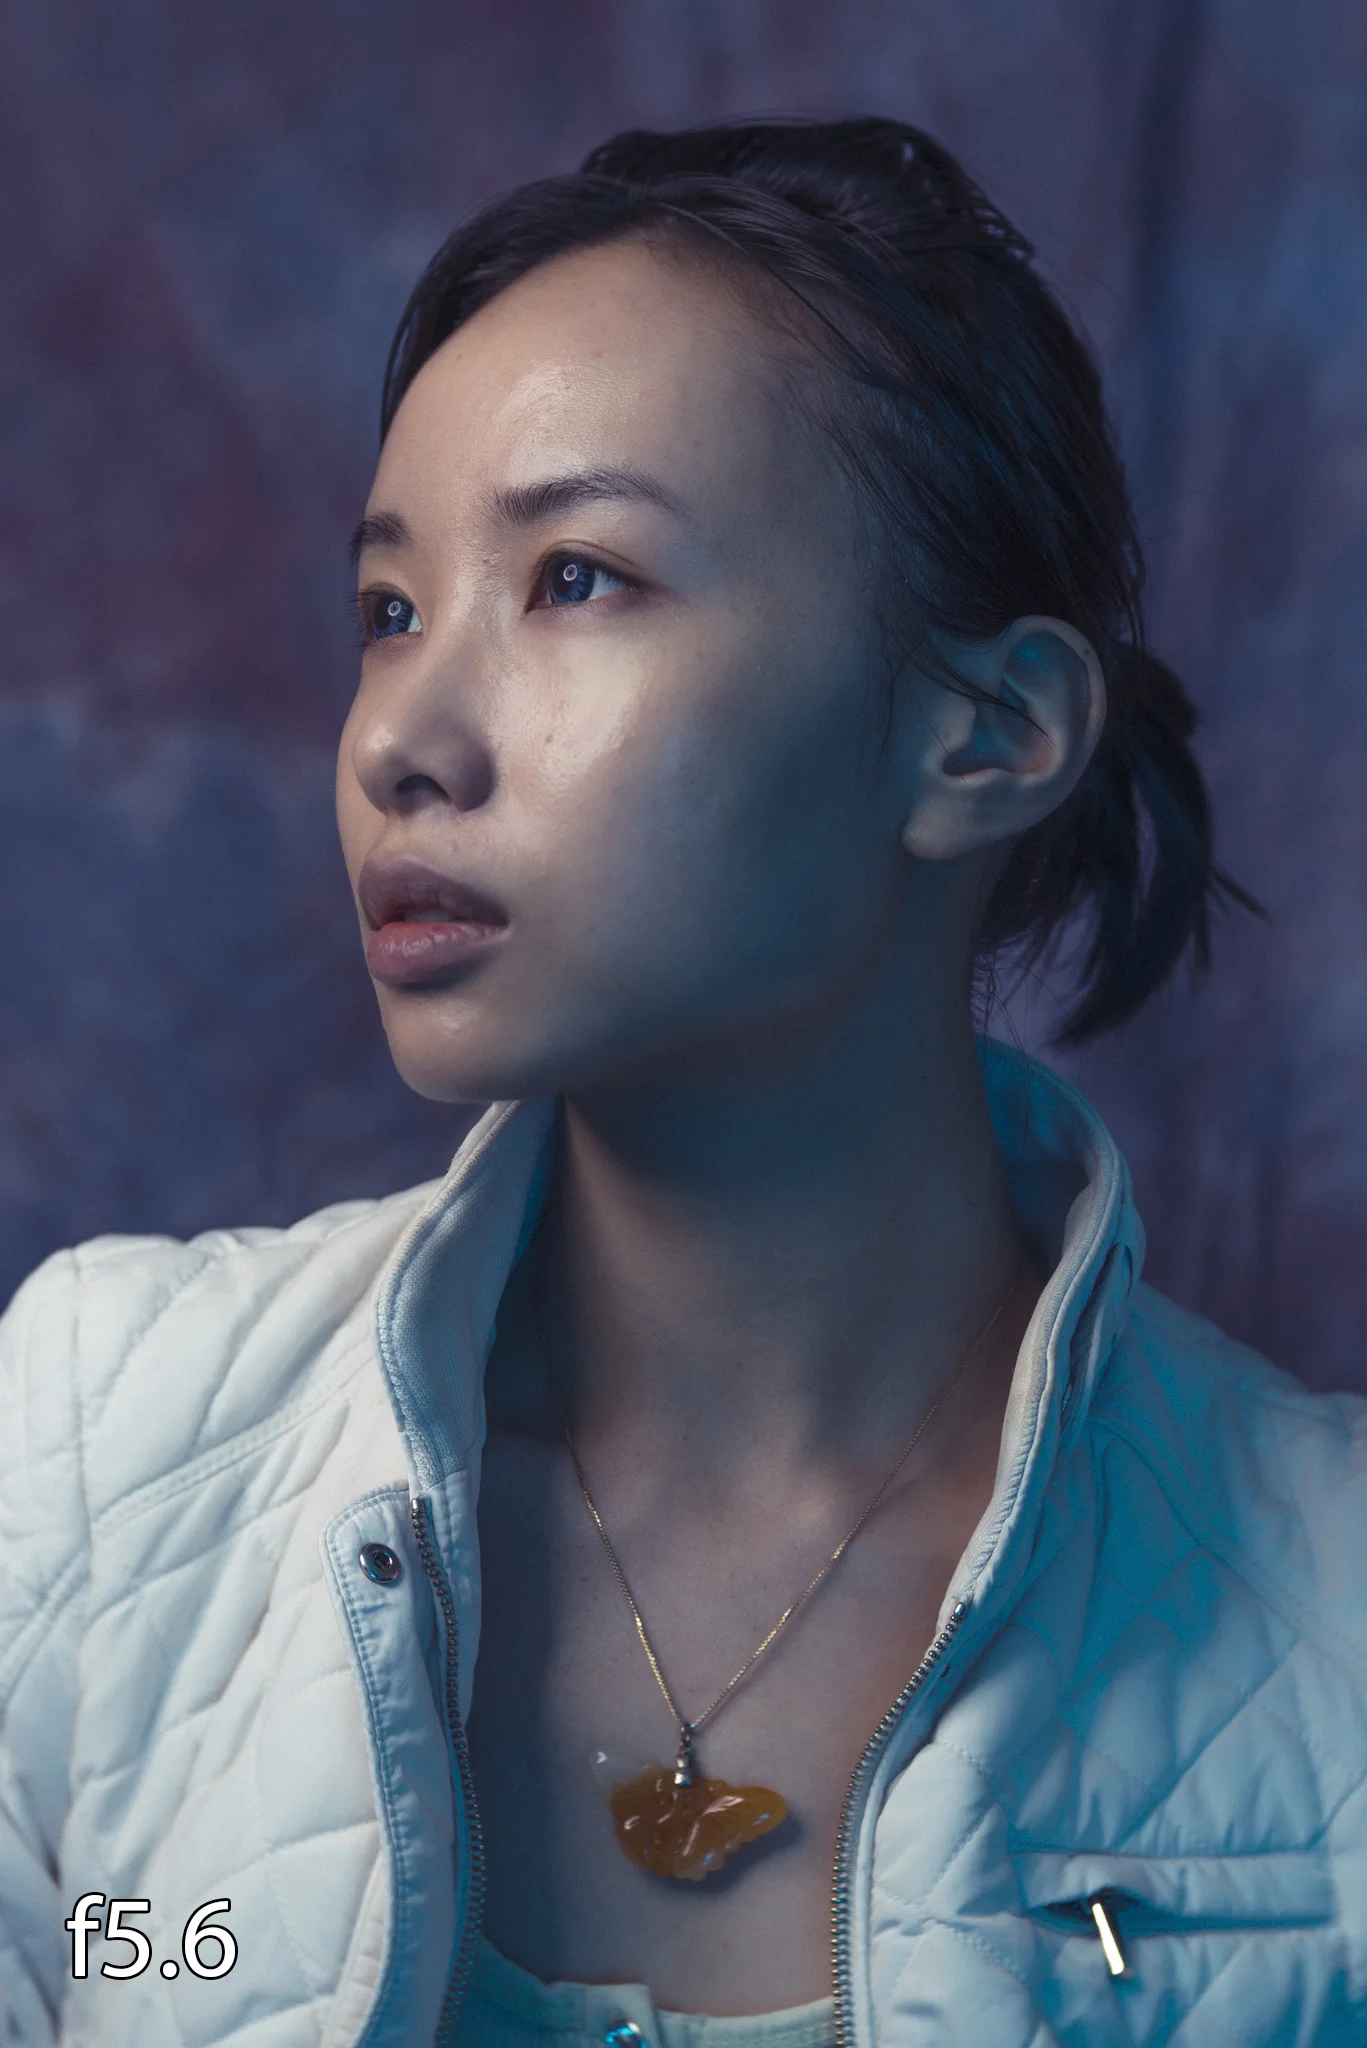

Clicking on the above images will enlarge them
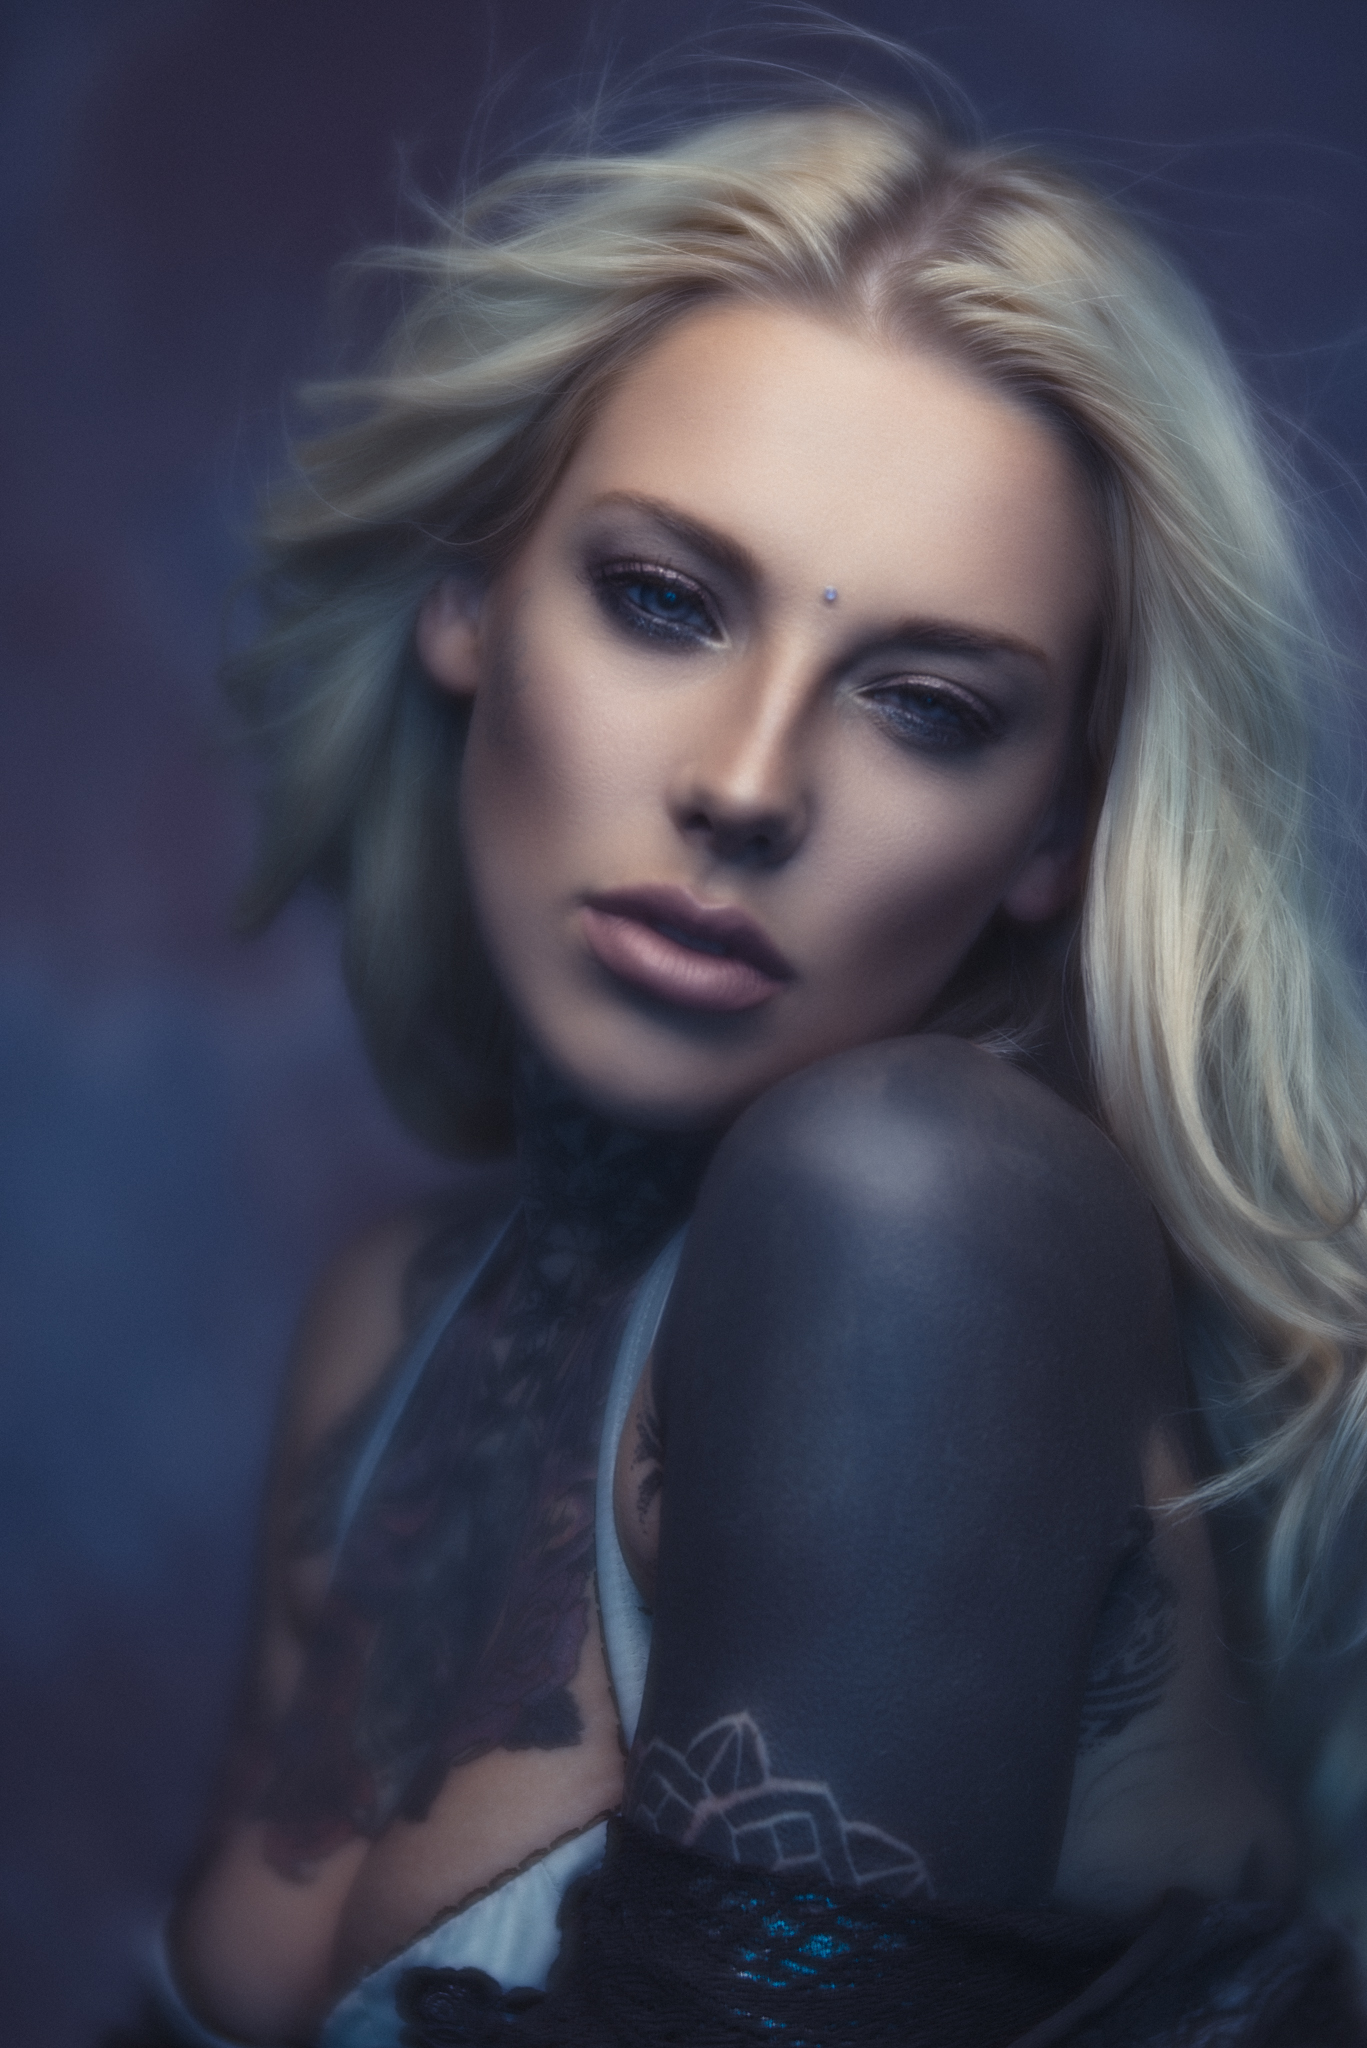
Now let's take a closer look below at a couple of these shots to see what I mean regarding the glowing image on top of a sharp one when wide open.
These images are simply close-up crops of the full size images above. Again, these are un-retoucehd raws. Click to enlarge
You should now be able to see what I'm referring too when I say about the glowing effect and when it's wide open like this at f1.8 it certainly is pretty dramatic. It's also worth pointing out my shortcomings as a mere human in that I seemed to have focused on the models eye furthest from the camera so it's actually the far eye that's in focus not the closest one. I thought I better mention that because at f1.8 the closest eye now appears out of focus. That's me, not the lens.
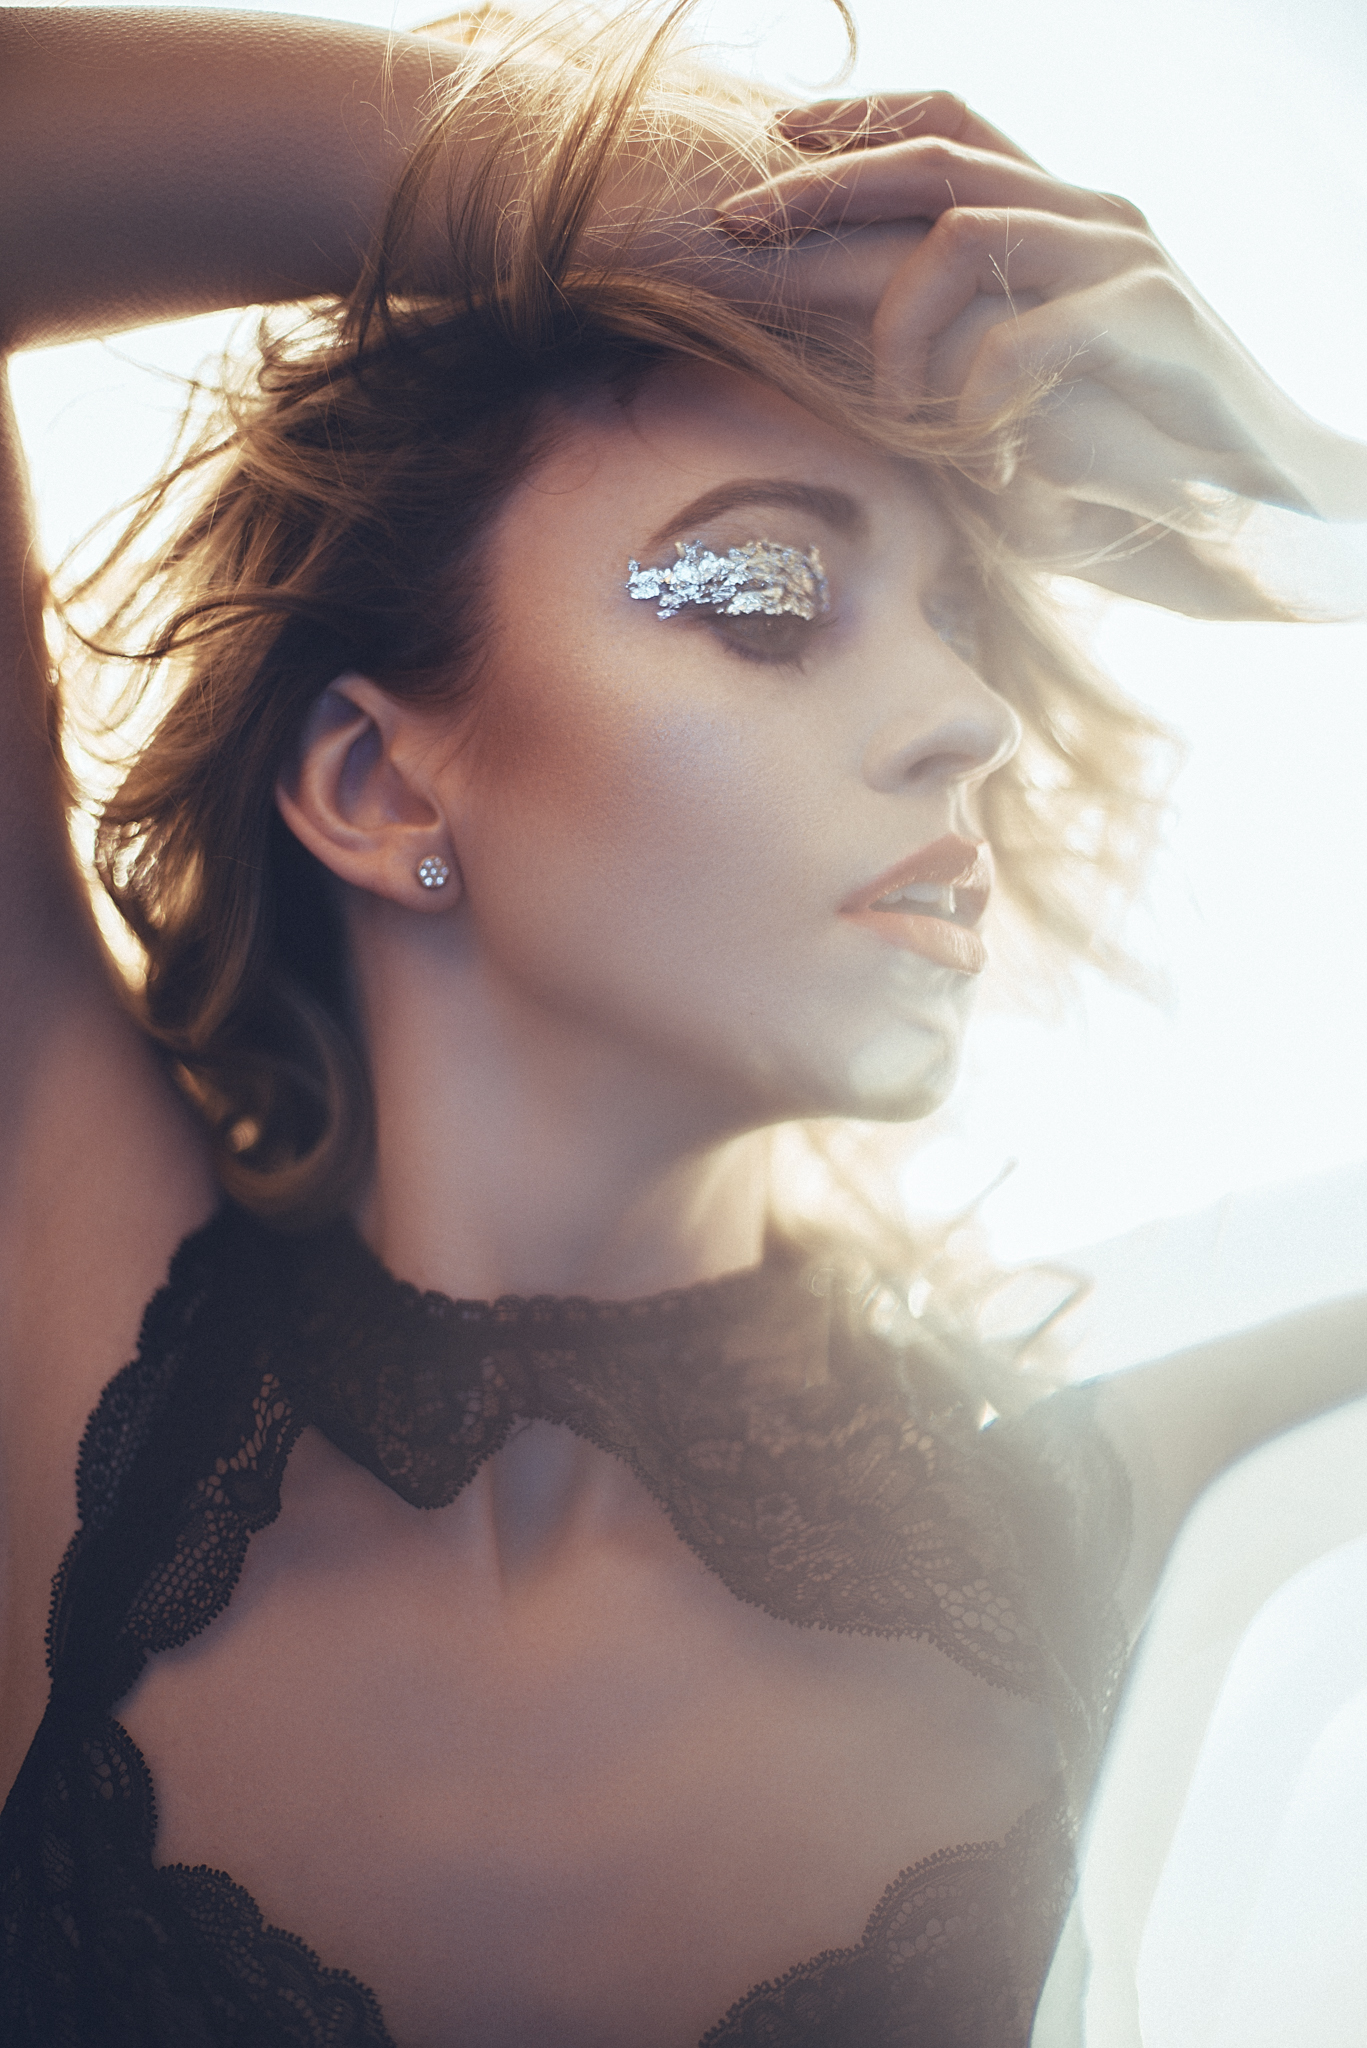
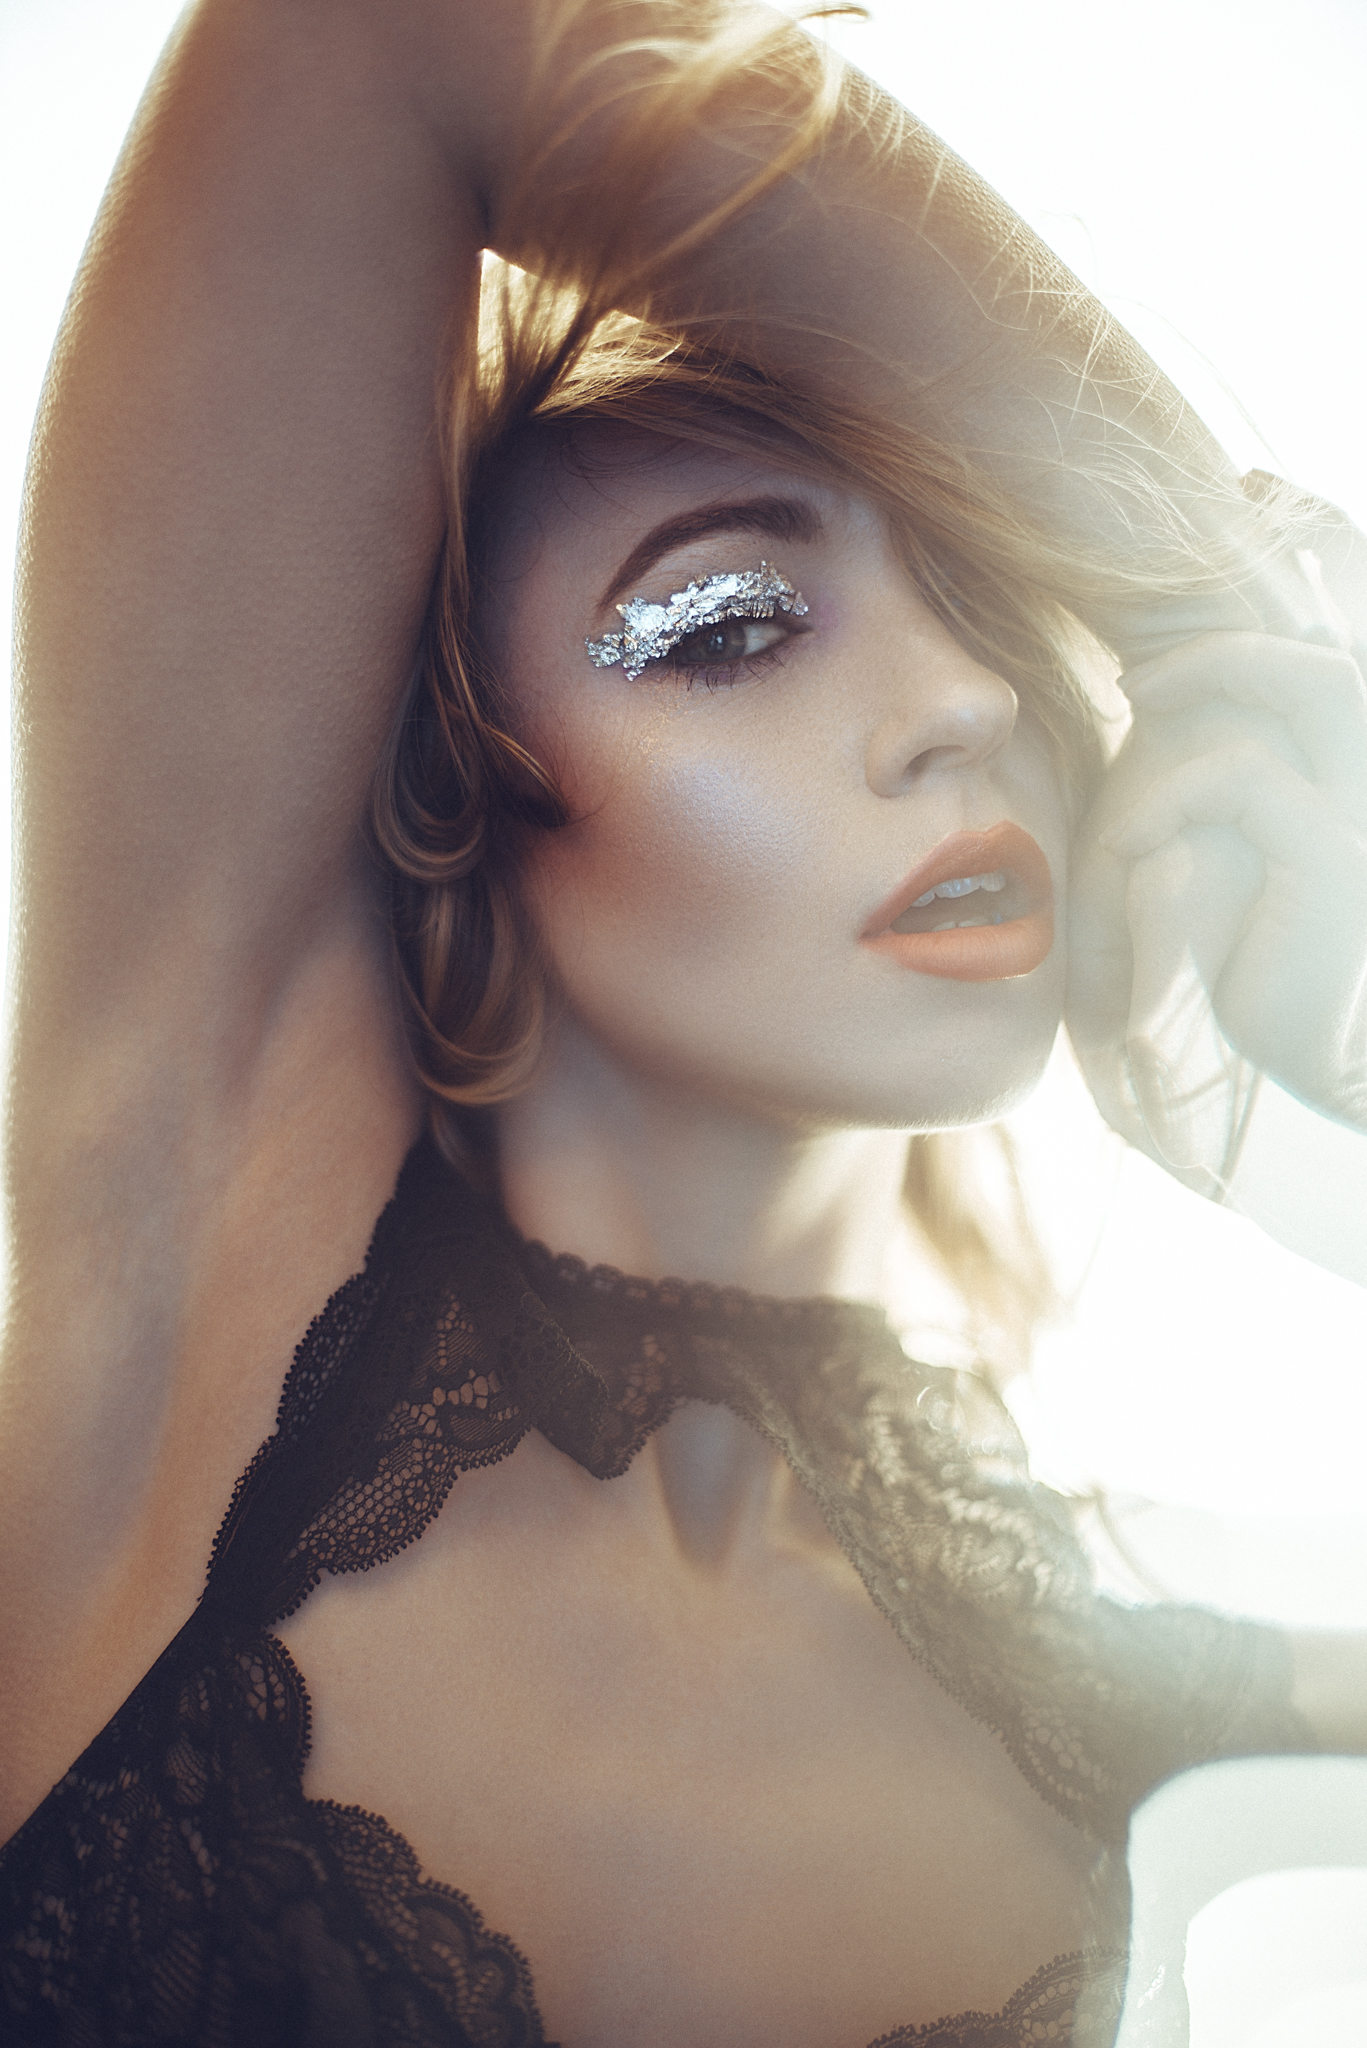
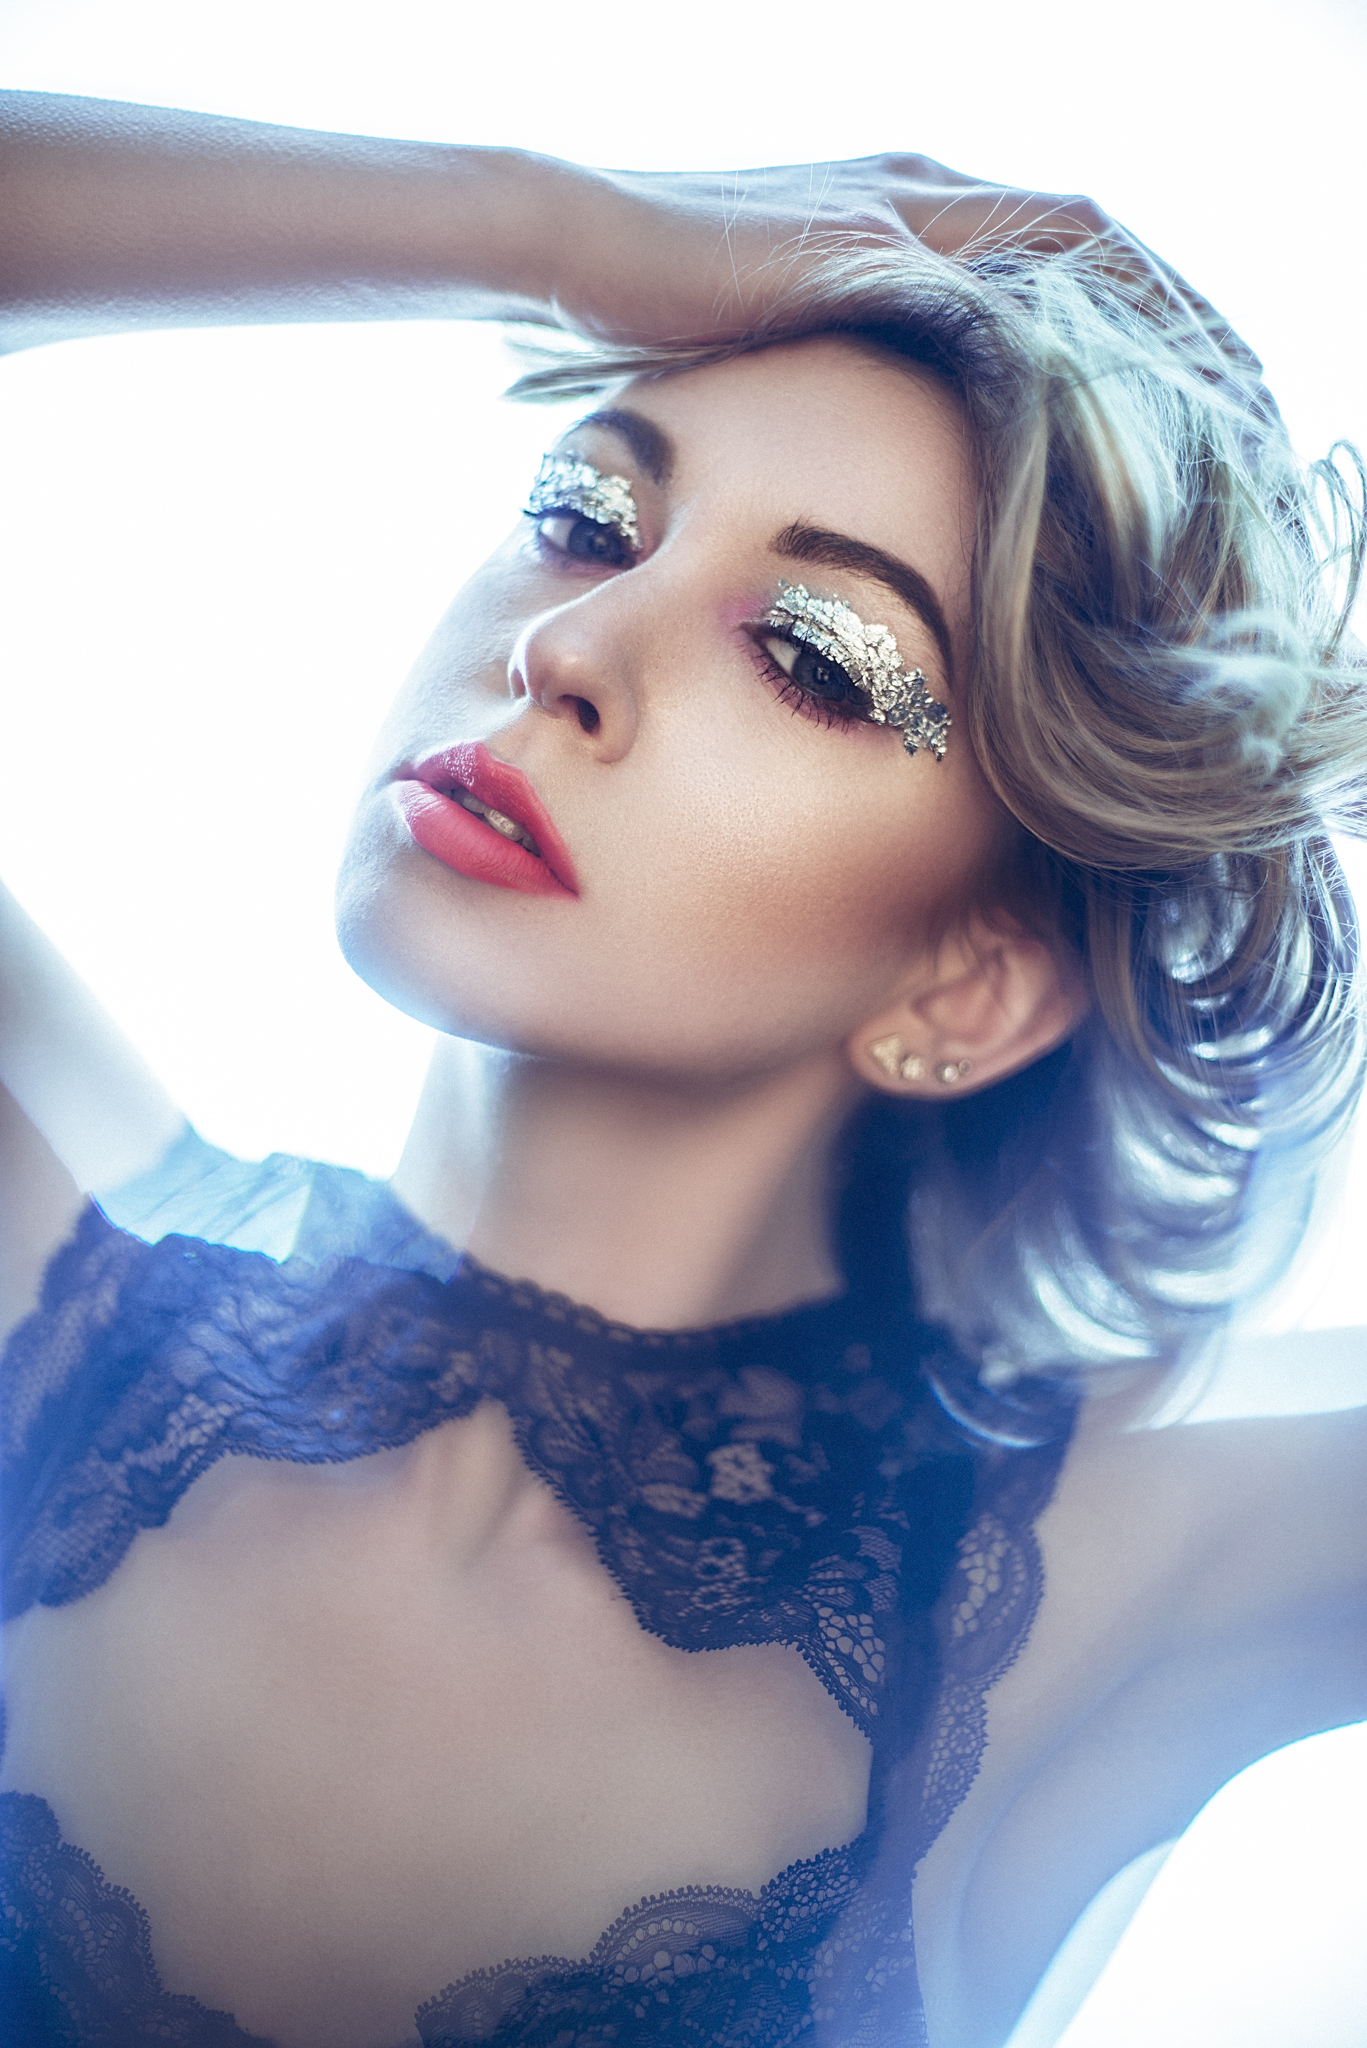
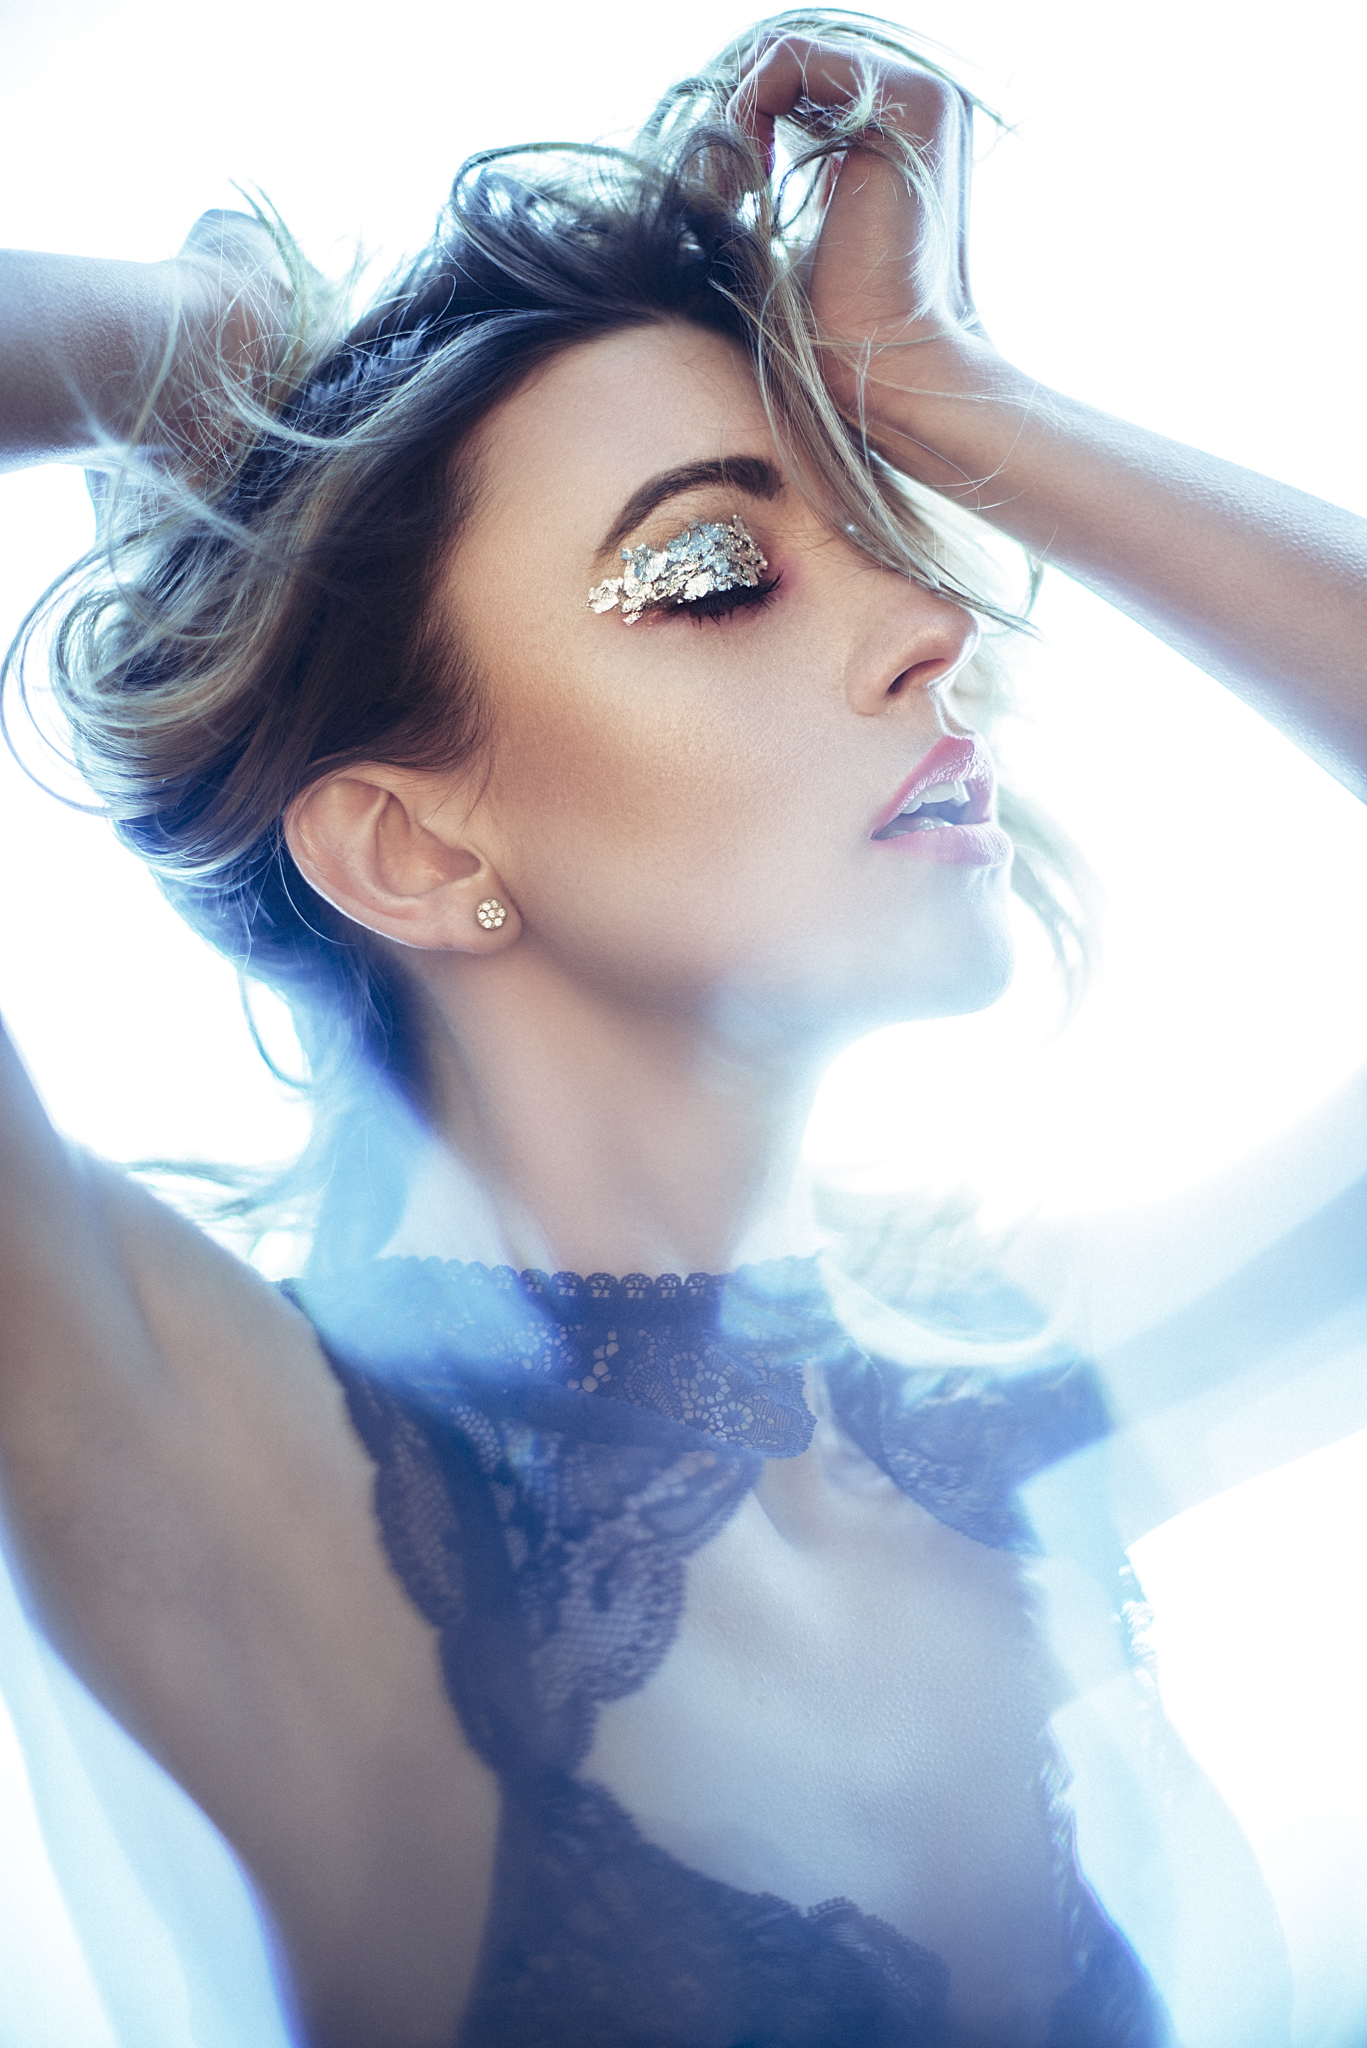
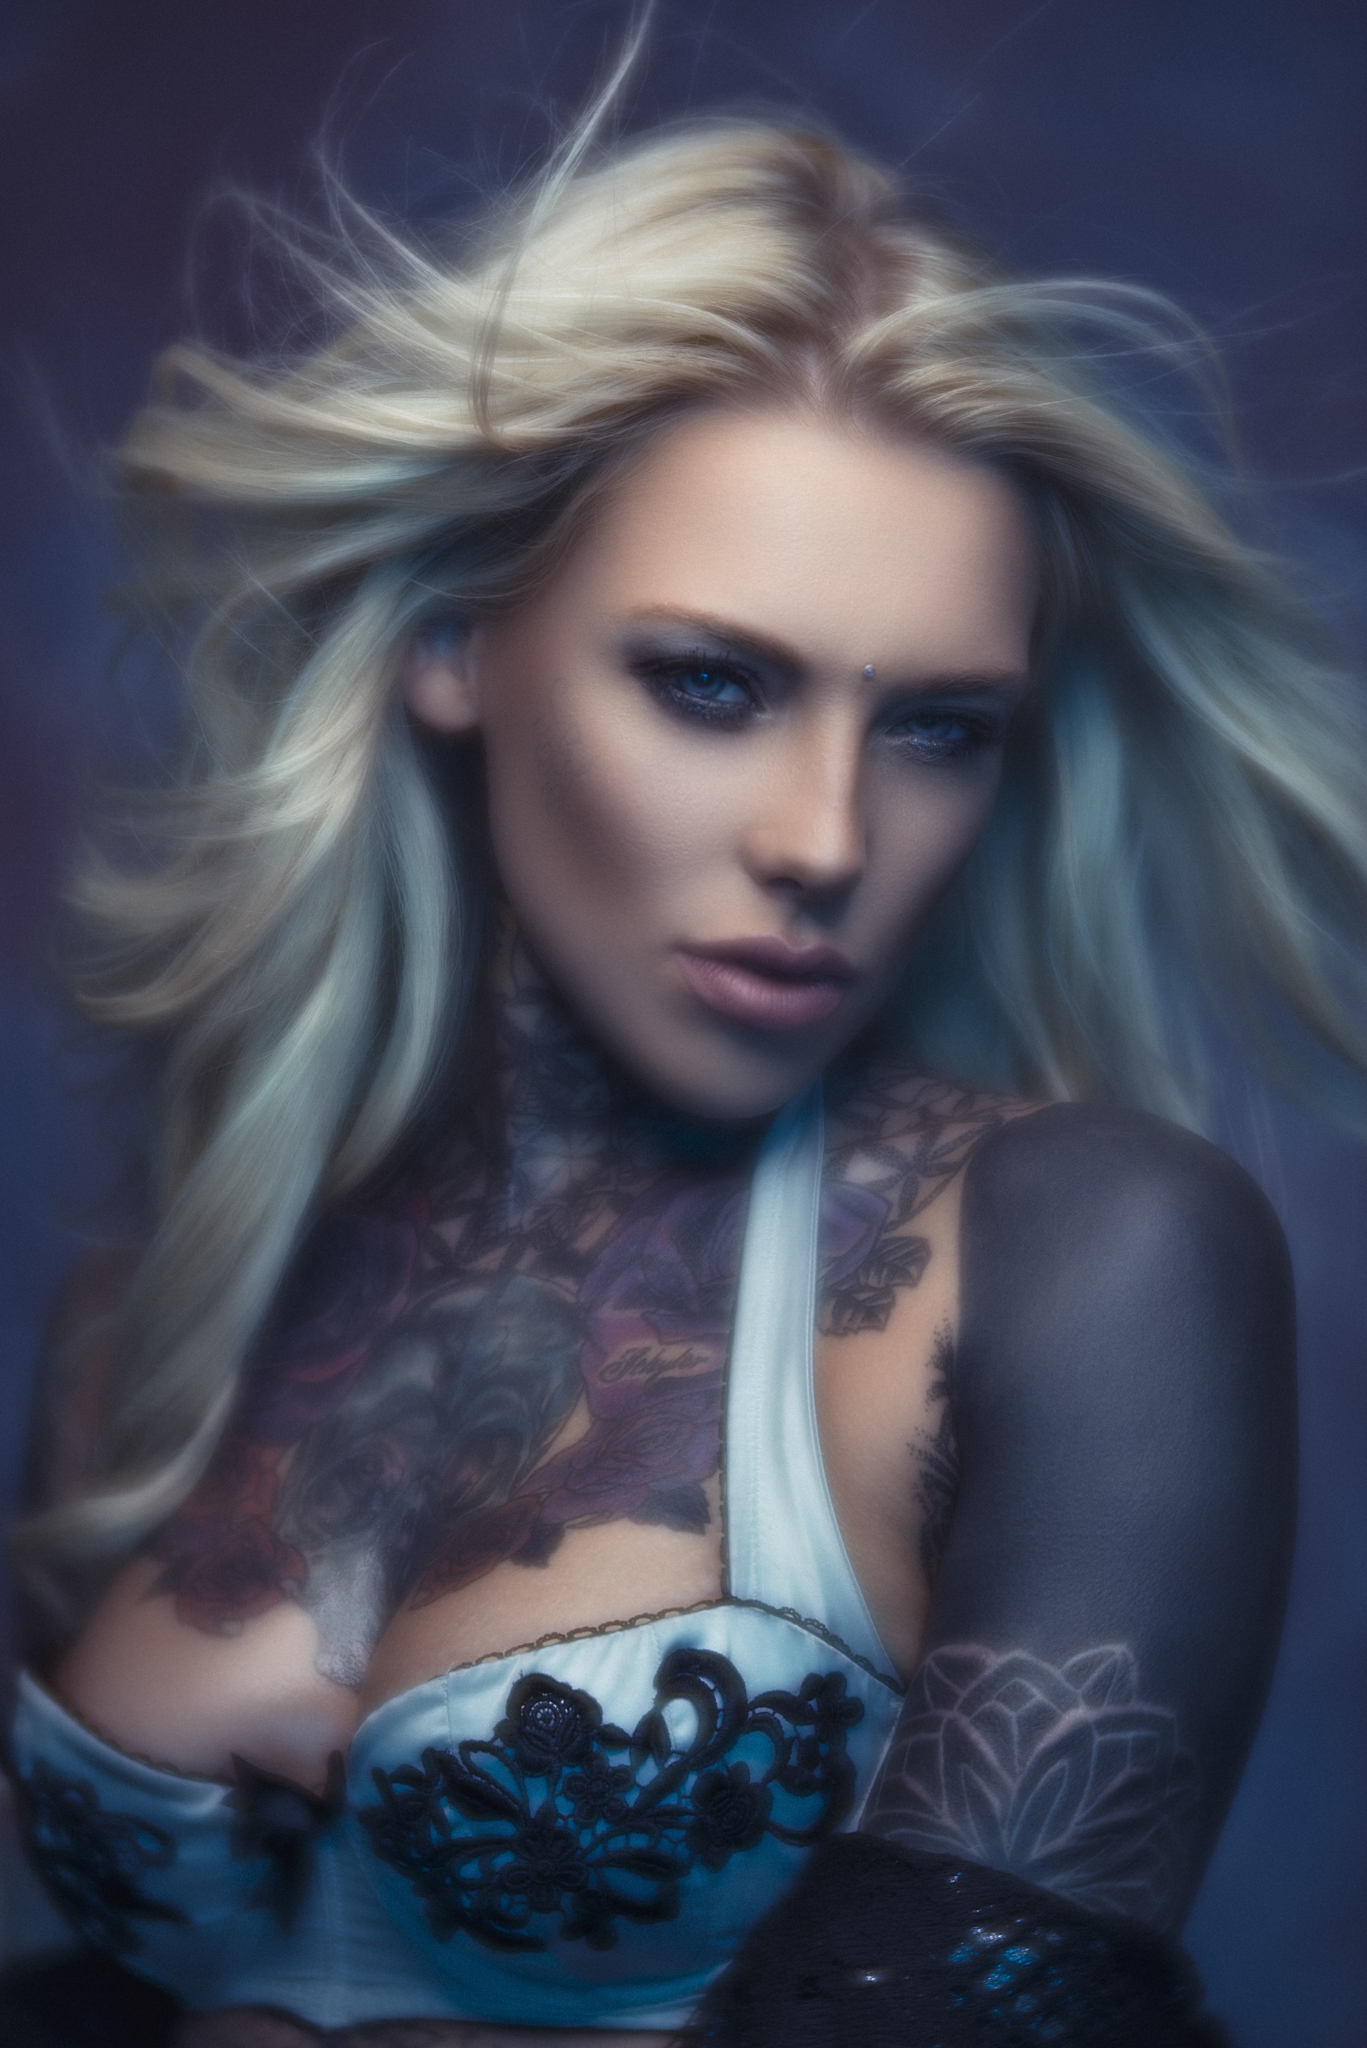
Another key attribute to the Velvet 85 lens is the slightly dewy look that the outside edge of the lens produces. It's almost like a vignette but rather than a darker edge the effect is a softer more dreamy edge to the frame. It's pretty hard to explain with words but take a look at the images below to see what I mean.


Clicking on the above images will enlarge them
In the above shots you should see what I mean by that slightly softer edge. Look at the chest area and certain sections of hair and you'll see that although they're on the same focal plane as the eyes which are in focus they appear a little softer. This is clearly one of the factors that made the original Velvet 56 lens so beloved and now that we have the same effect in a 85mm portrait lens there is surely some fantastic images awaiting to be taken with this lens.
It's also worth mentioning that although I very rarely leave the studio to take pictures I can see that if this lens has a background or distant objects to get its creamy vignetting teeth into that the Velvet effect would really shine. As a result I don't feel that my studio images do that effect justice so I look forward to seeing some shots with this outside of the studio too.

The Velvet 85 Look & Feel
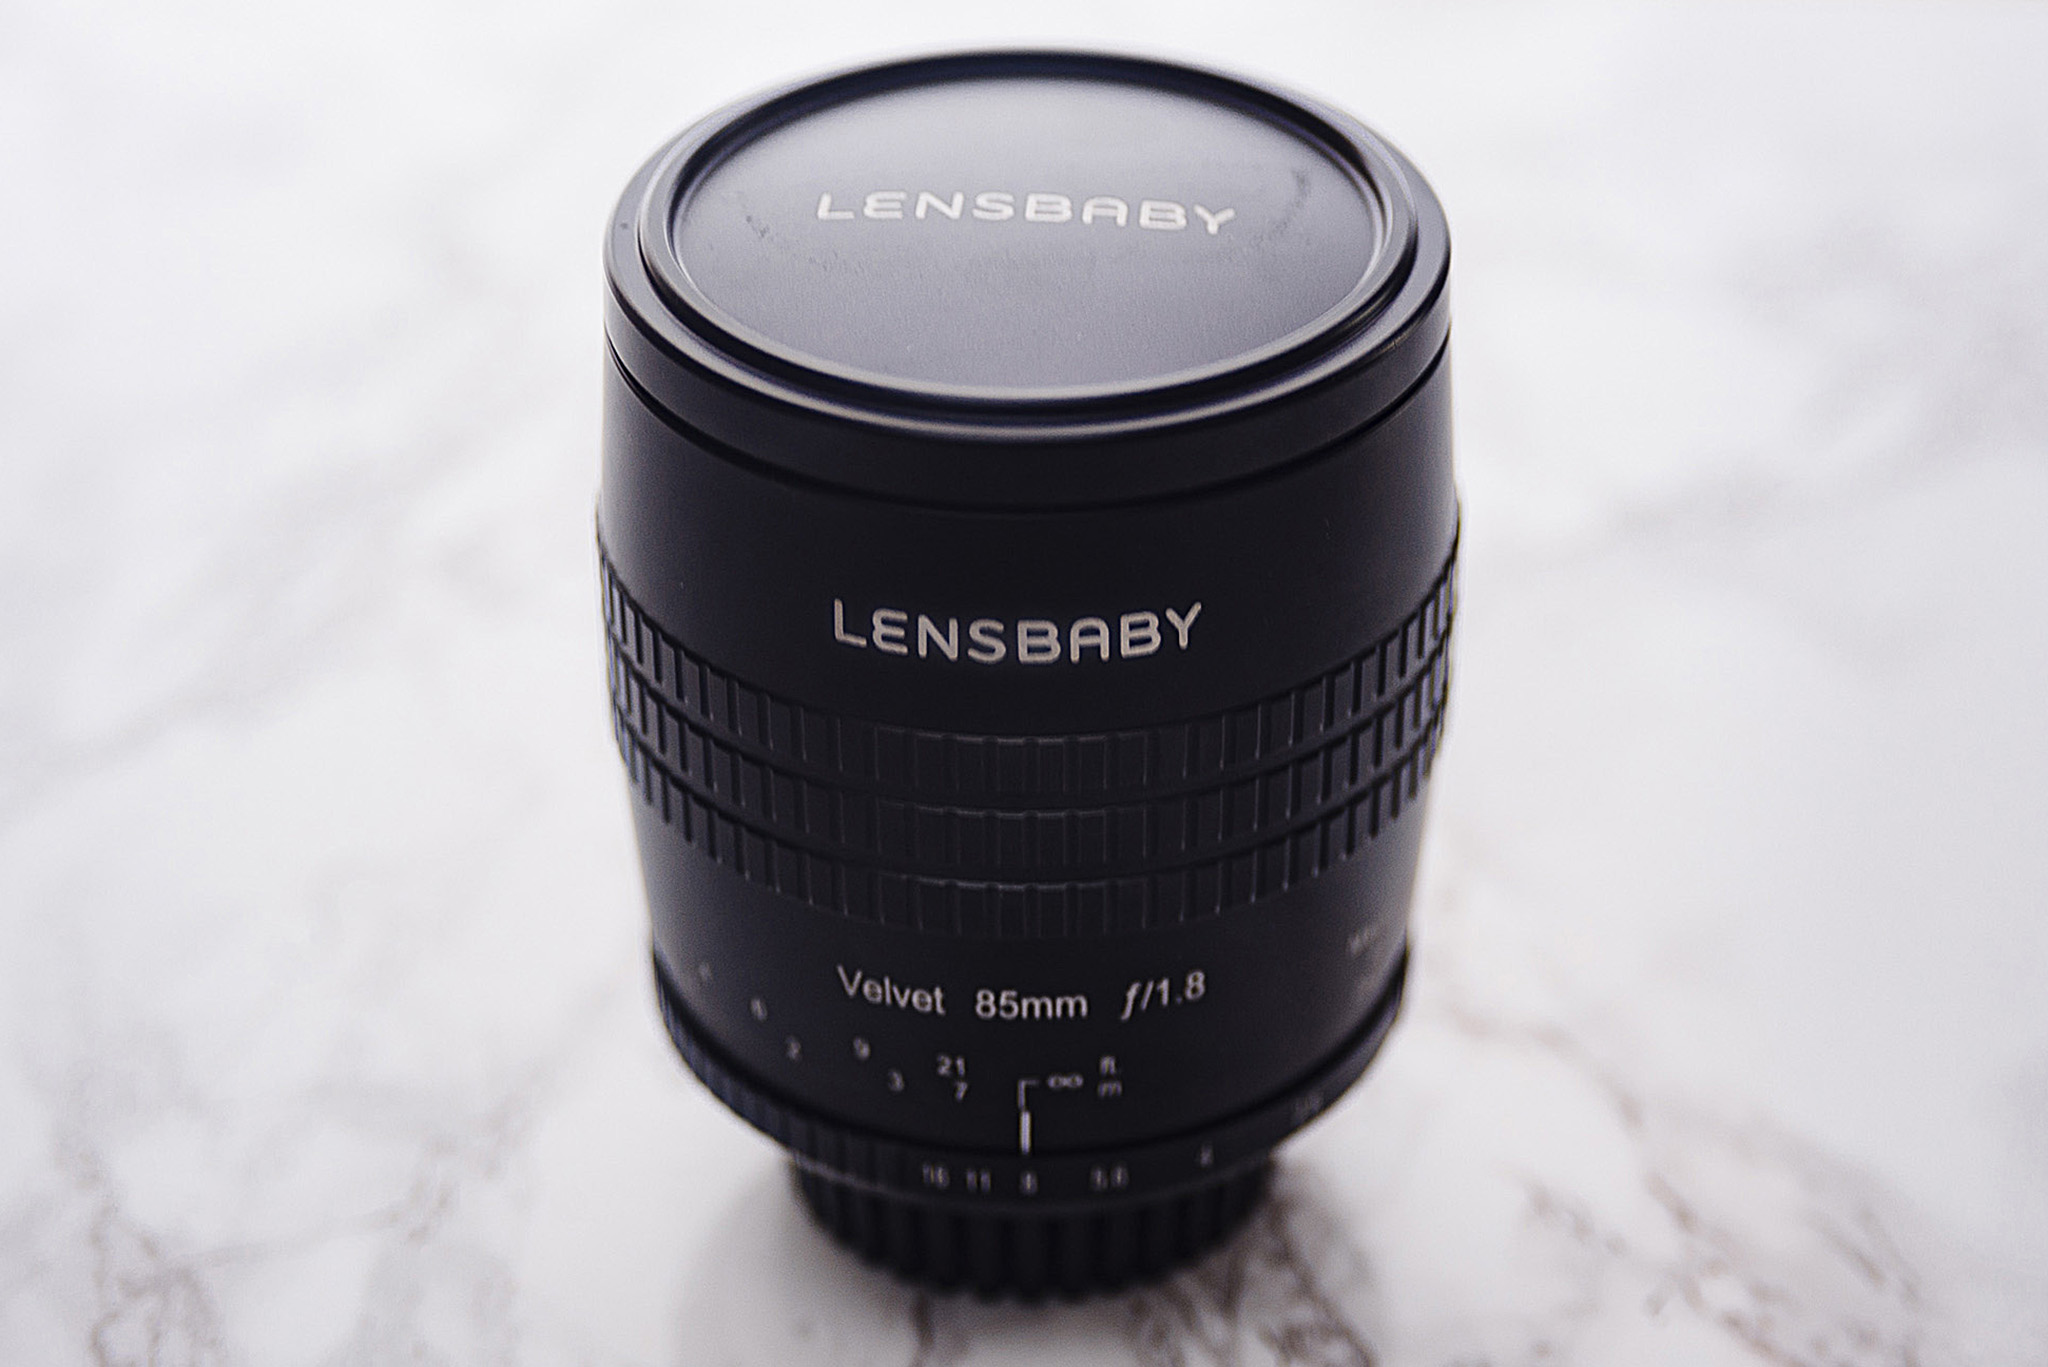
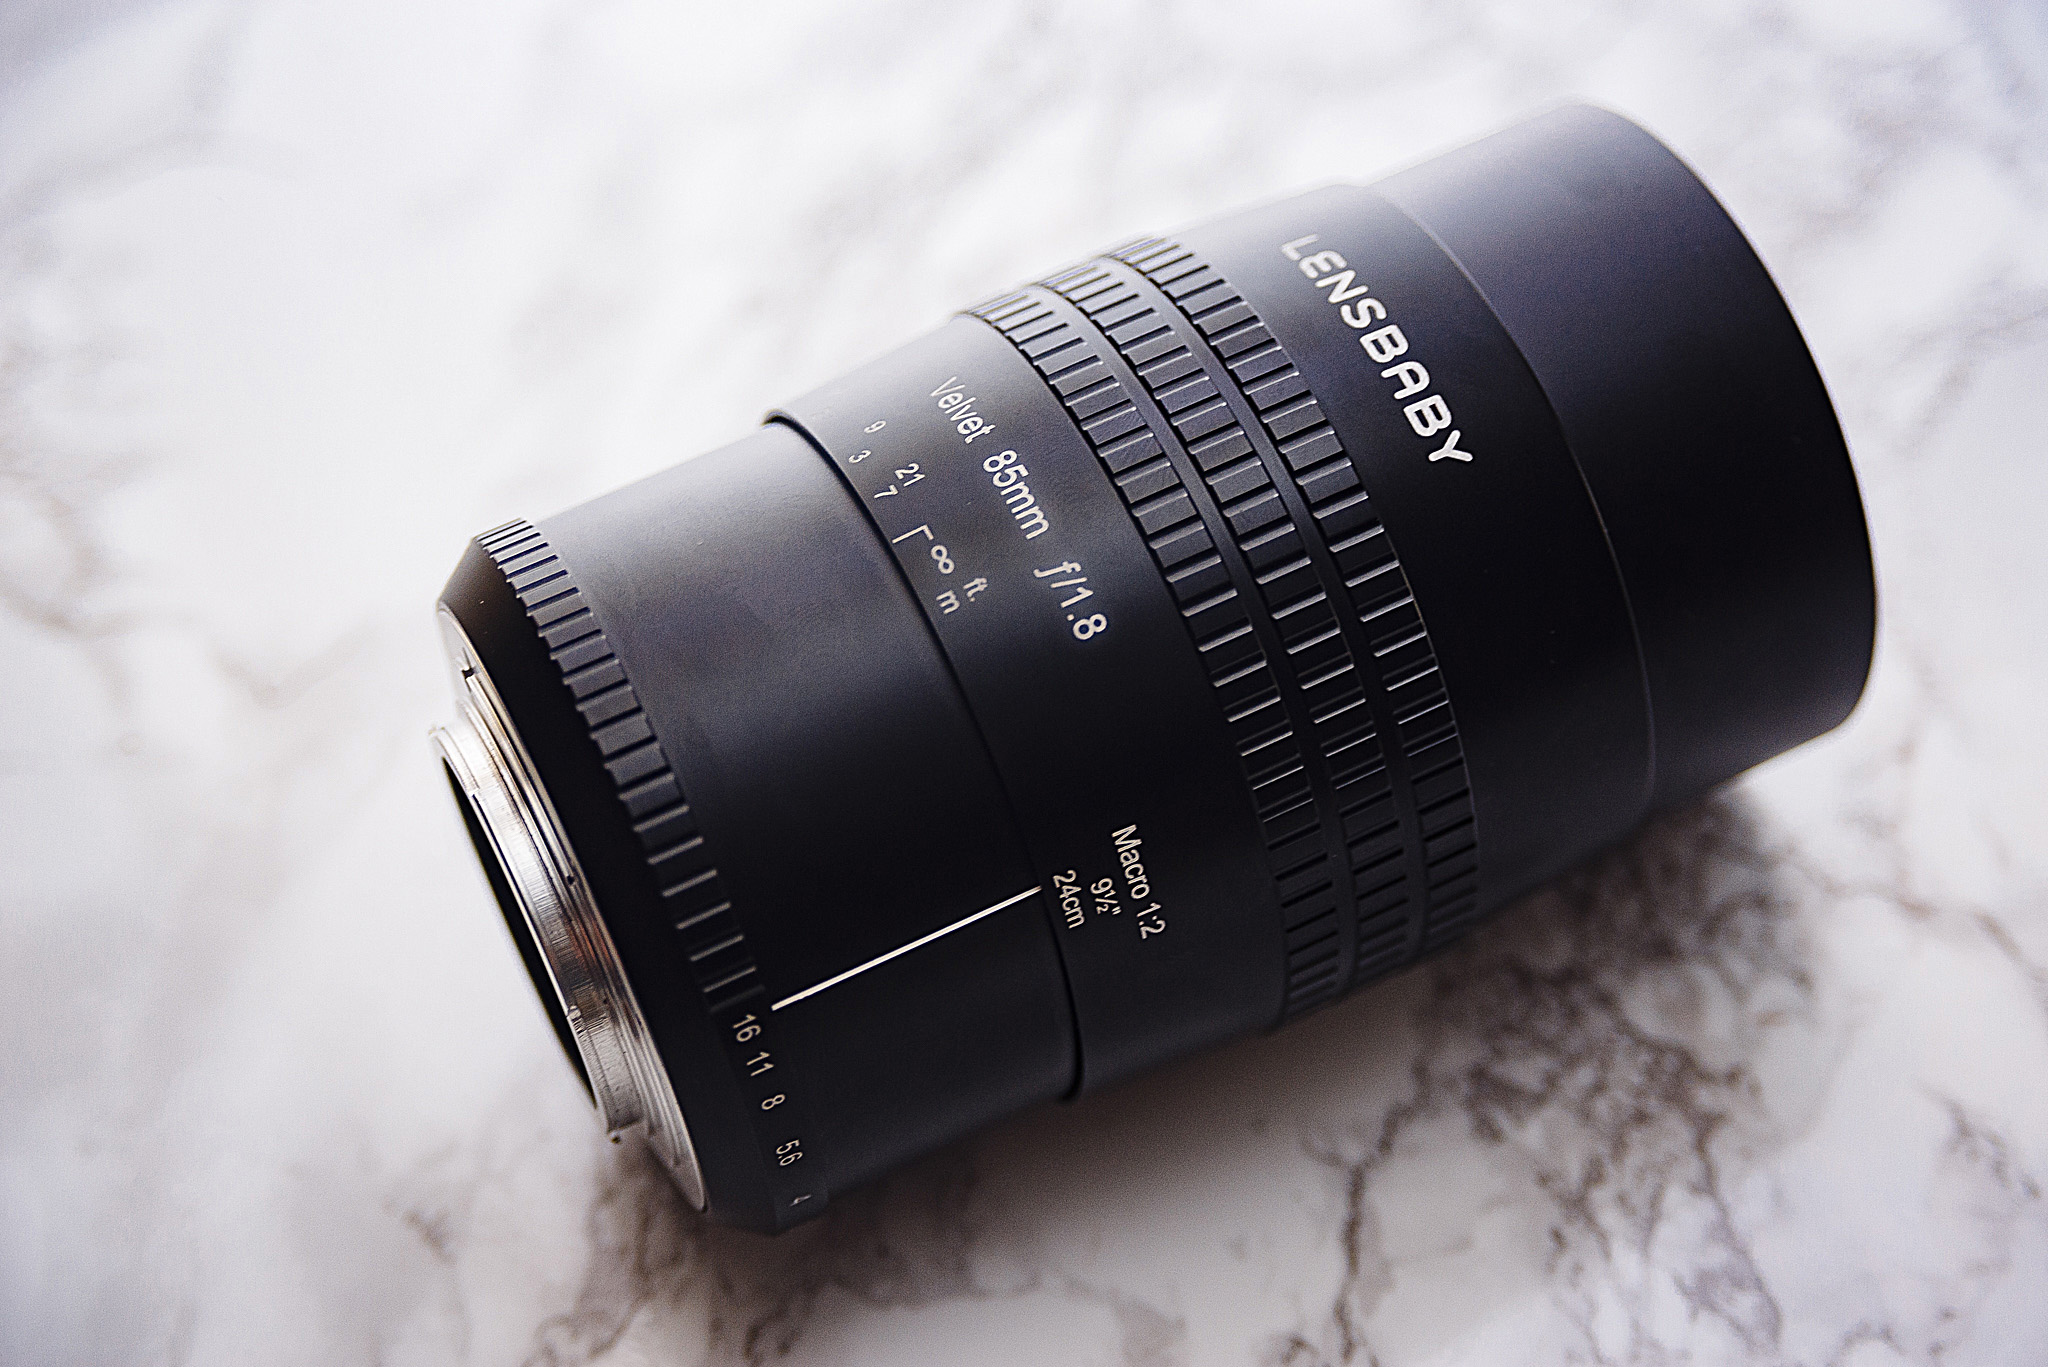
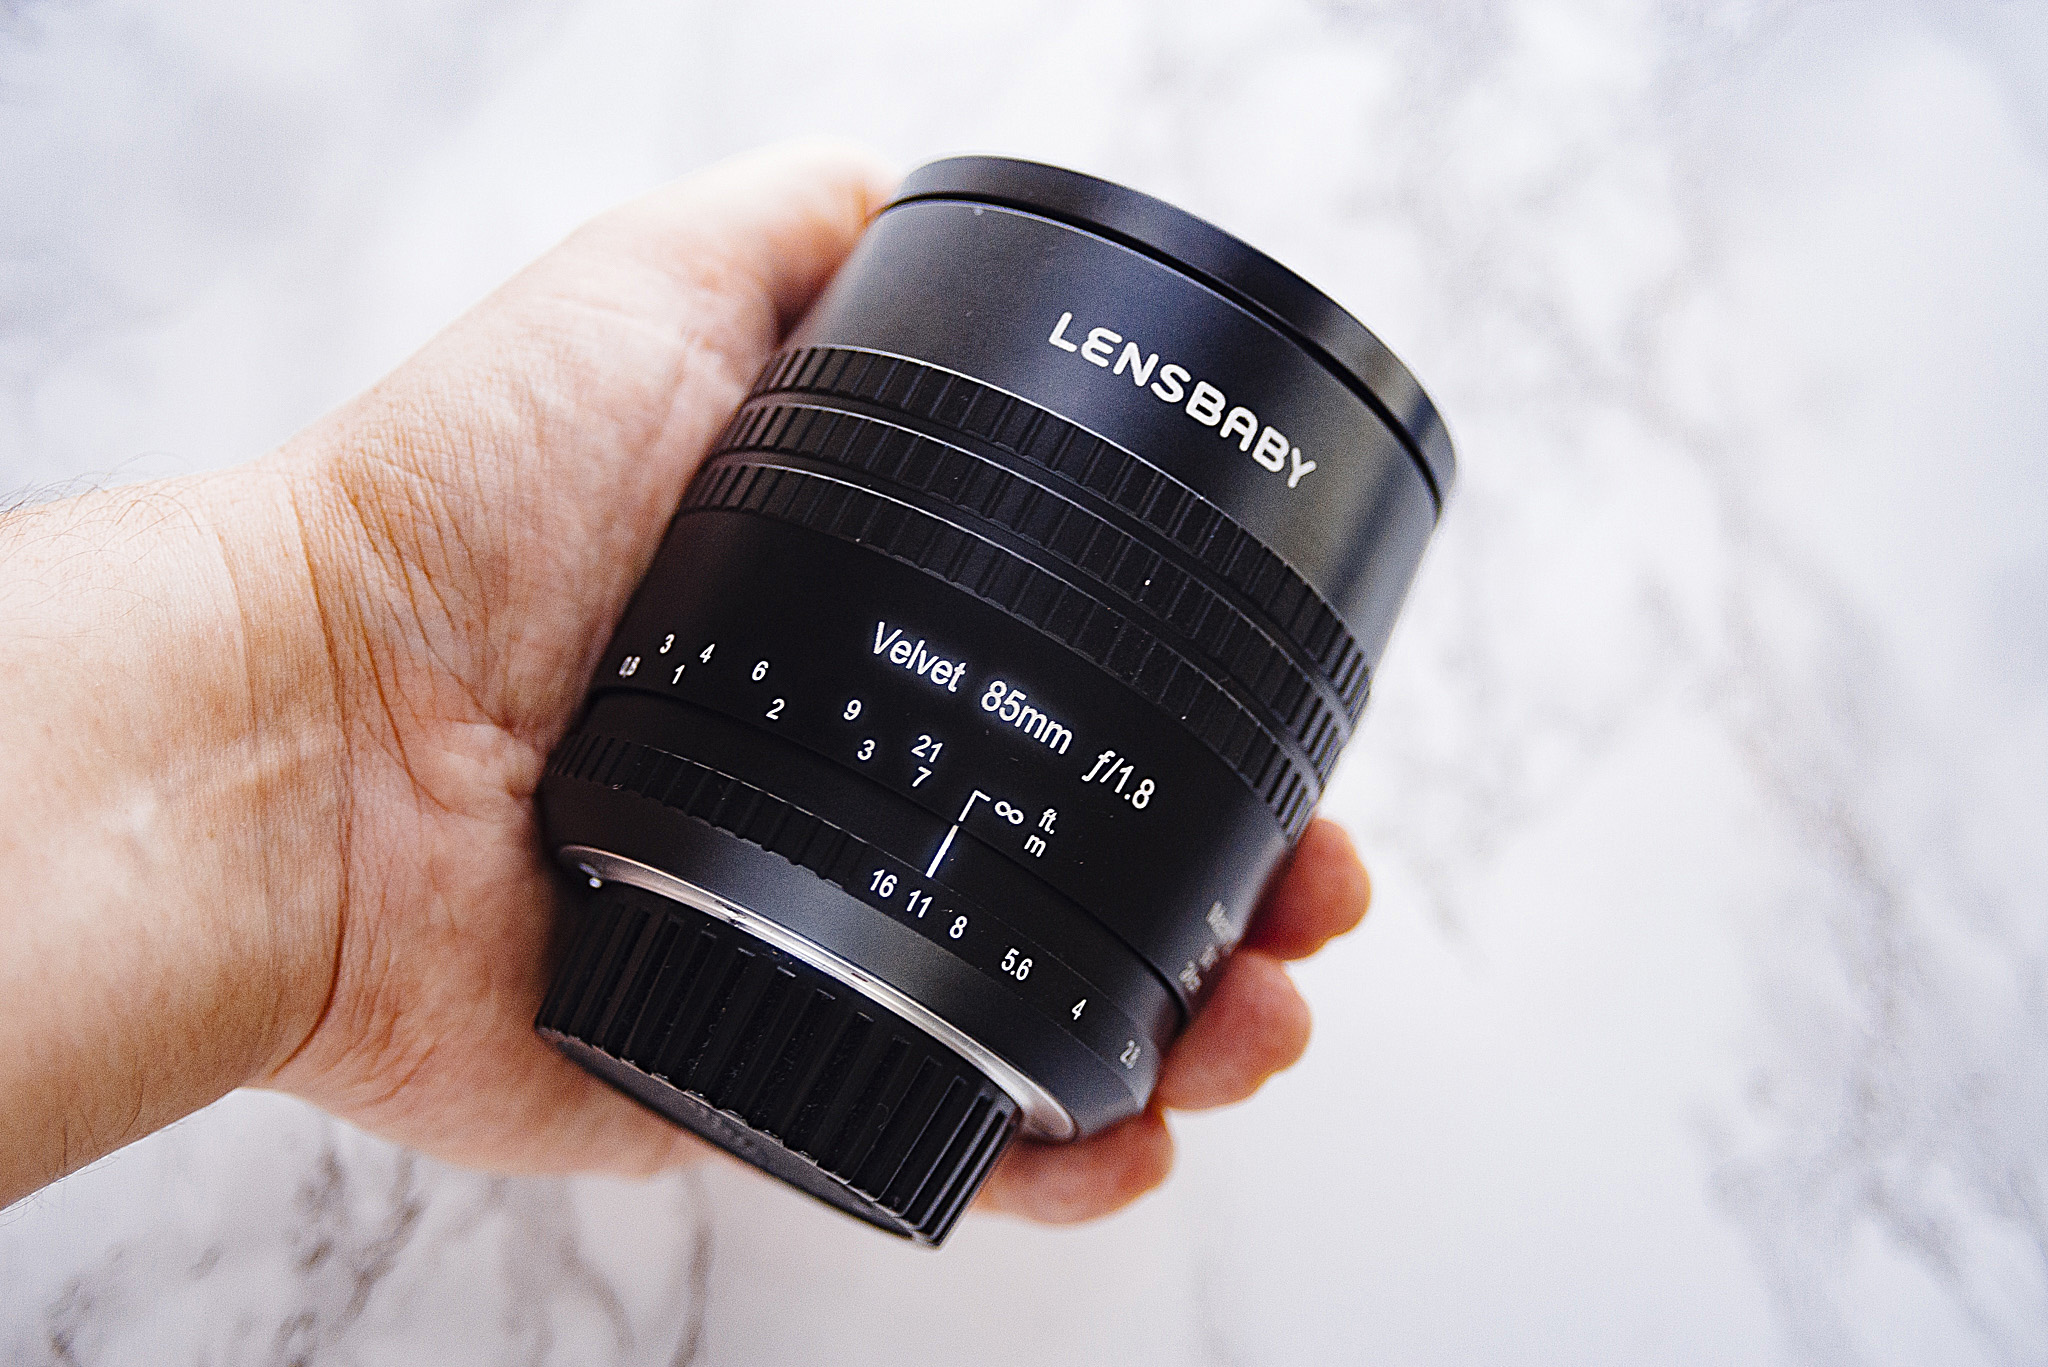
Build
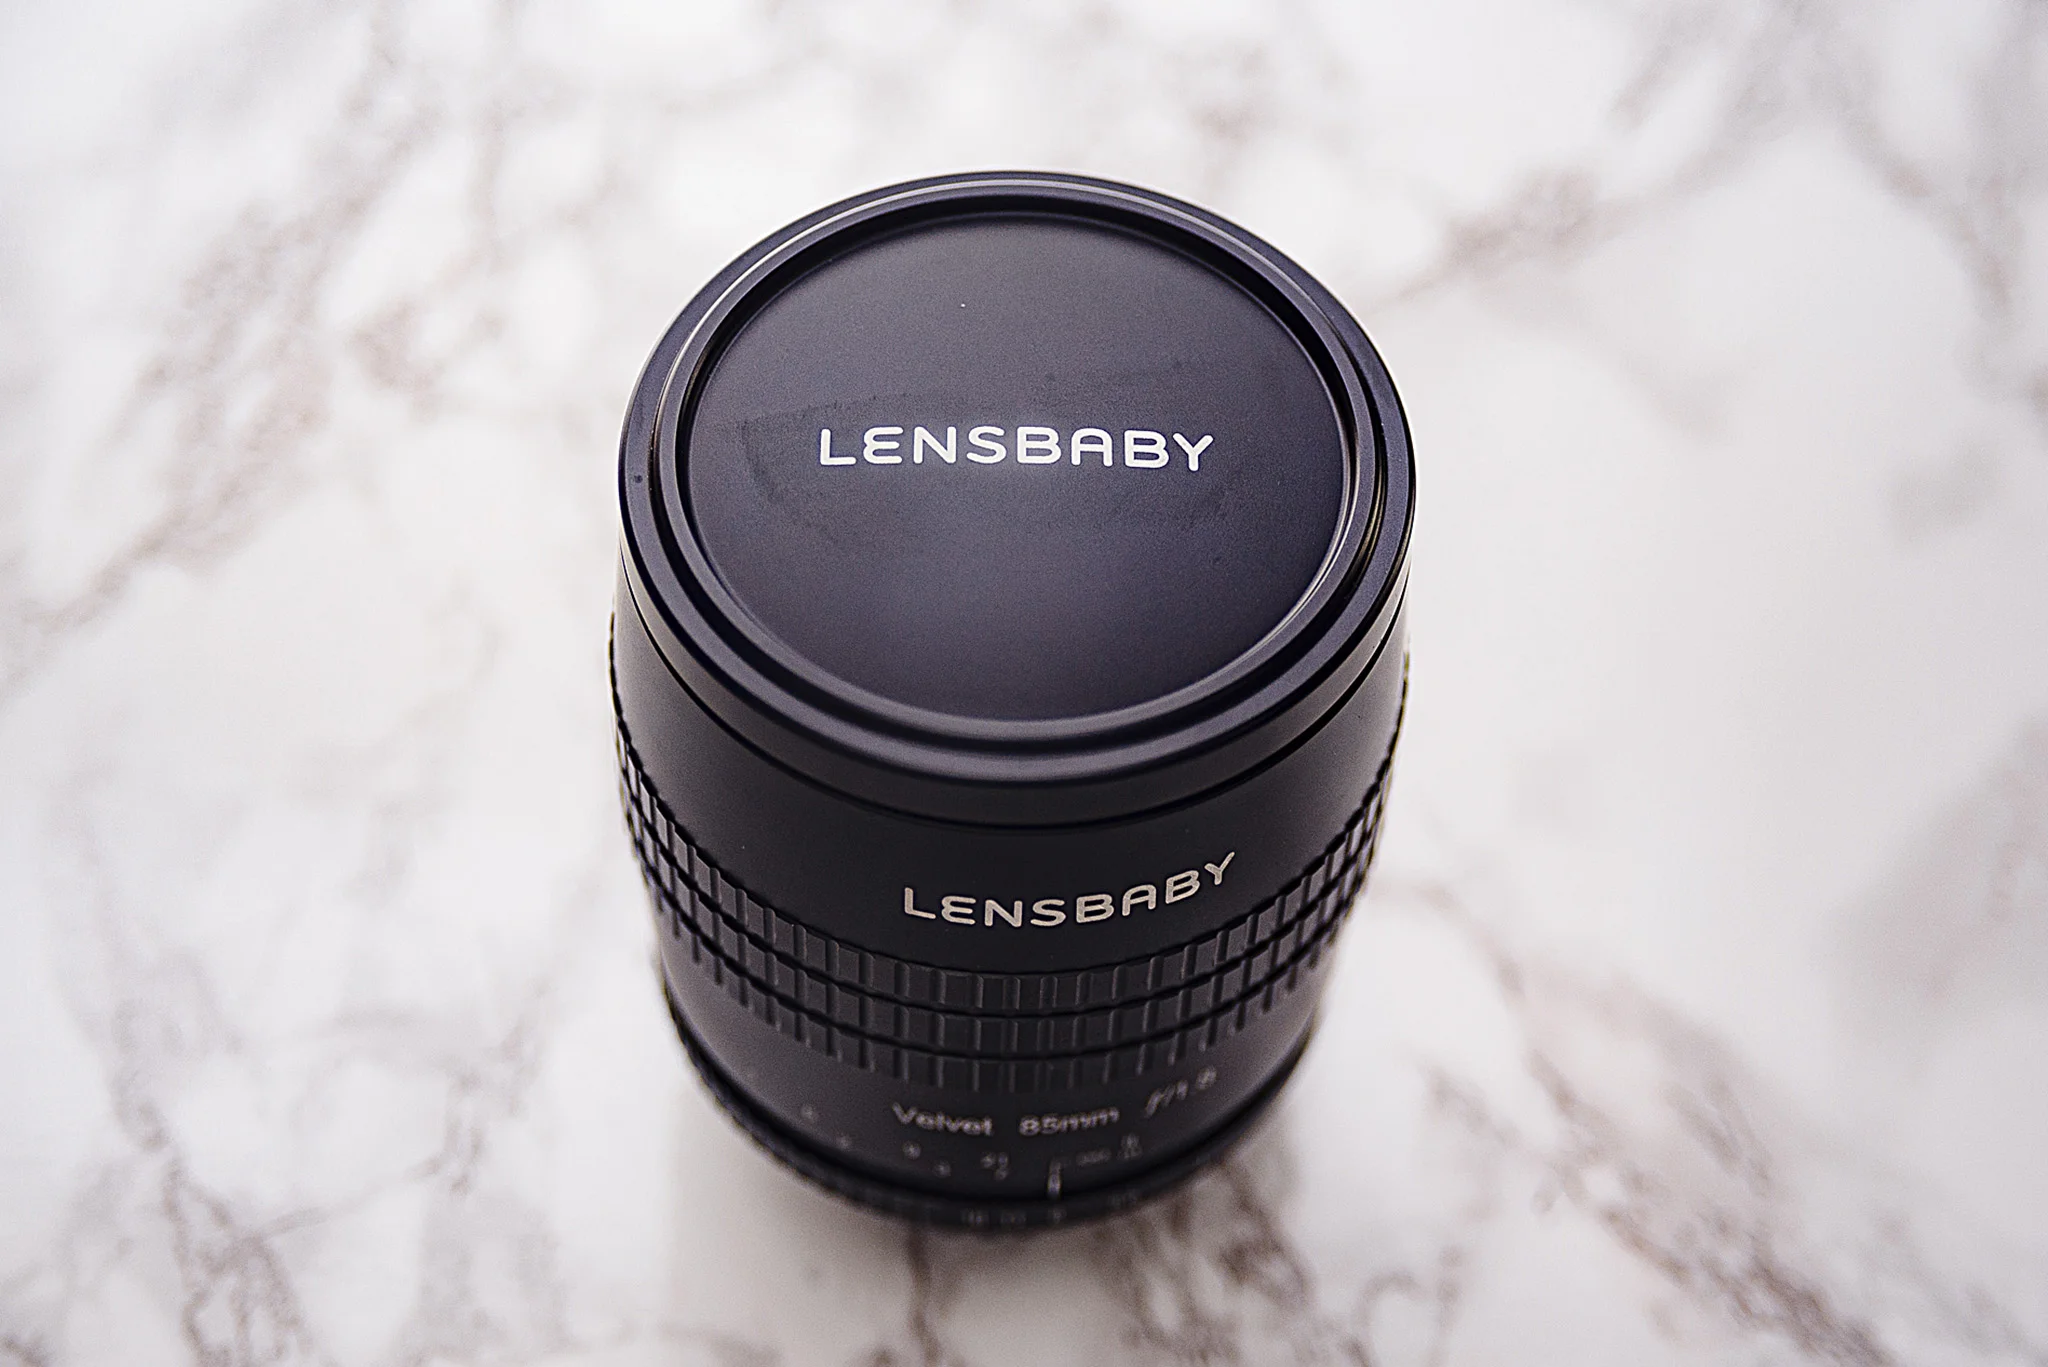
As with the previous Velvet 56 this Velvet 85 lens seems to be of an incredibly solid build. Its 530g weight does fill you with confidence regarding its build quality and you certainly feel like it's matte black metal casing will stand the test of time. The lens cap is also metal and sits snugly in place around the outside of the lens and finally for us Nikon shooters we have rear cap that stays on this time (haha just a personal minor gripe from previous lenses but I'm glad thats been sorted) :) ).
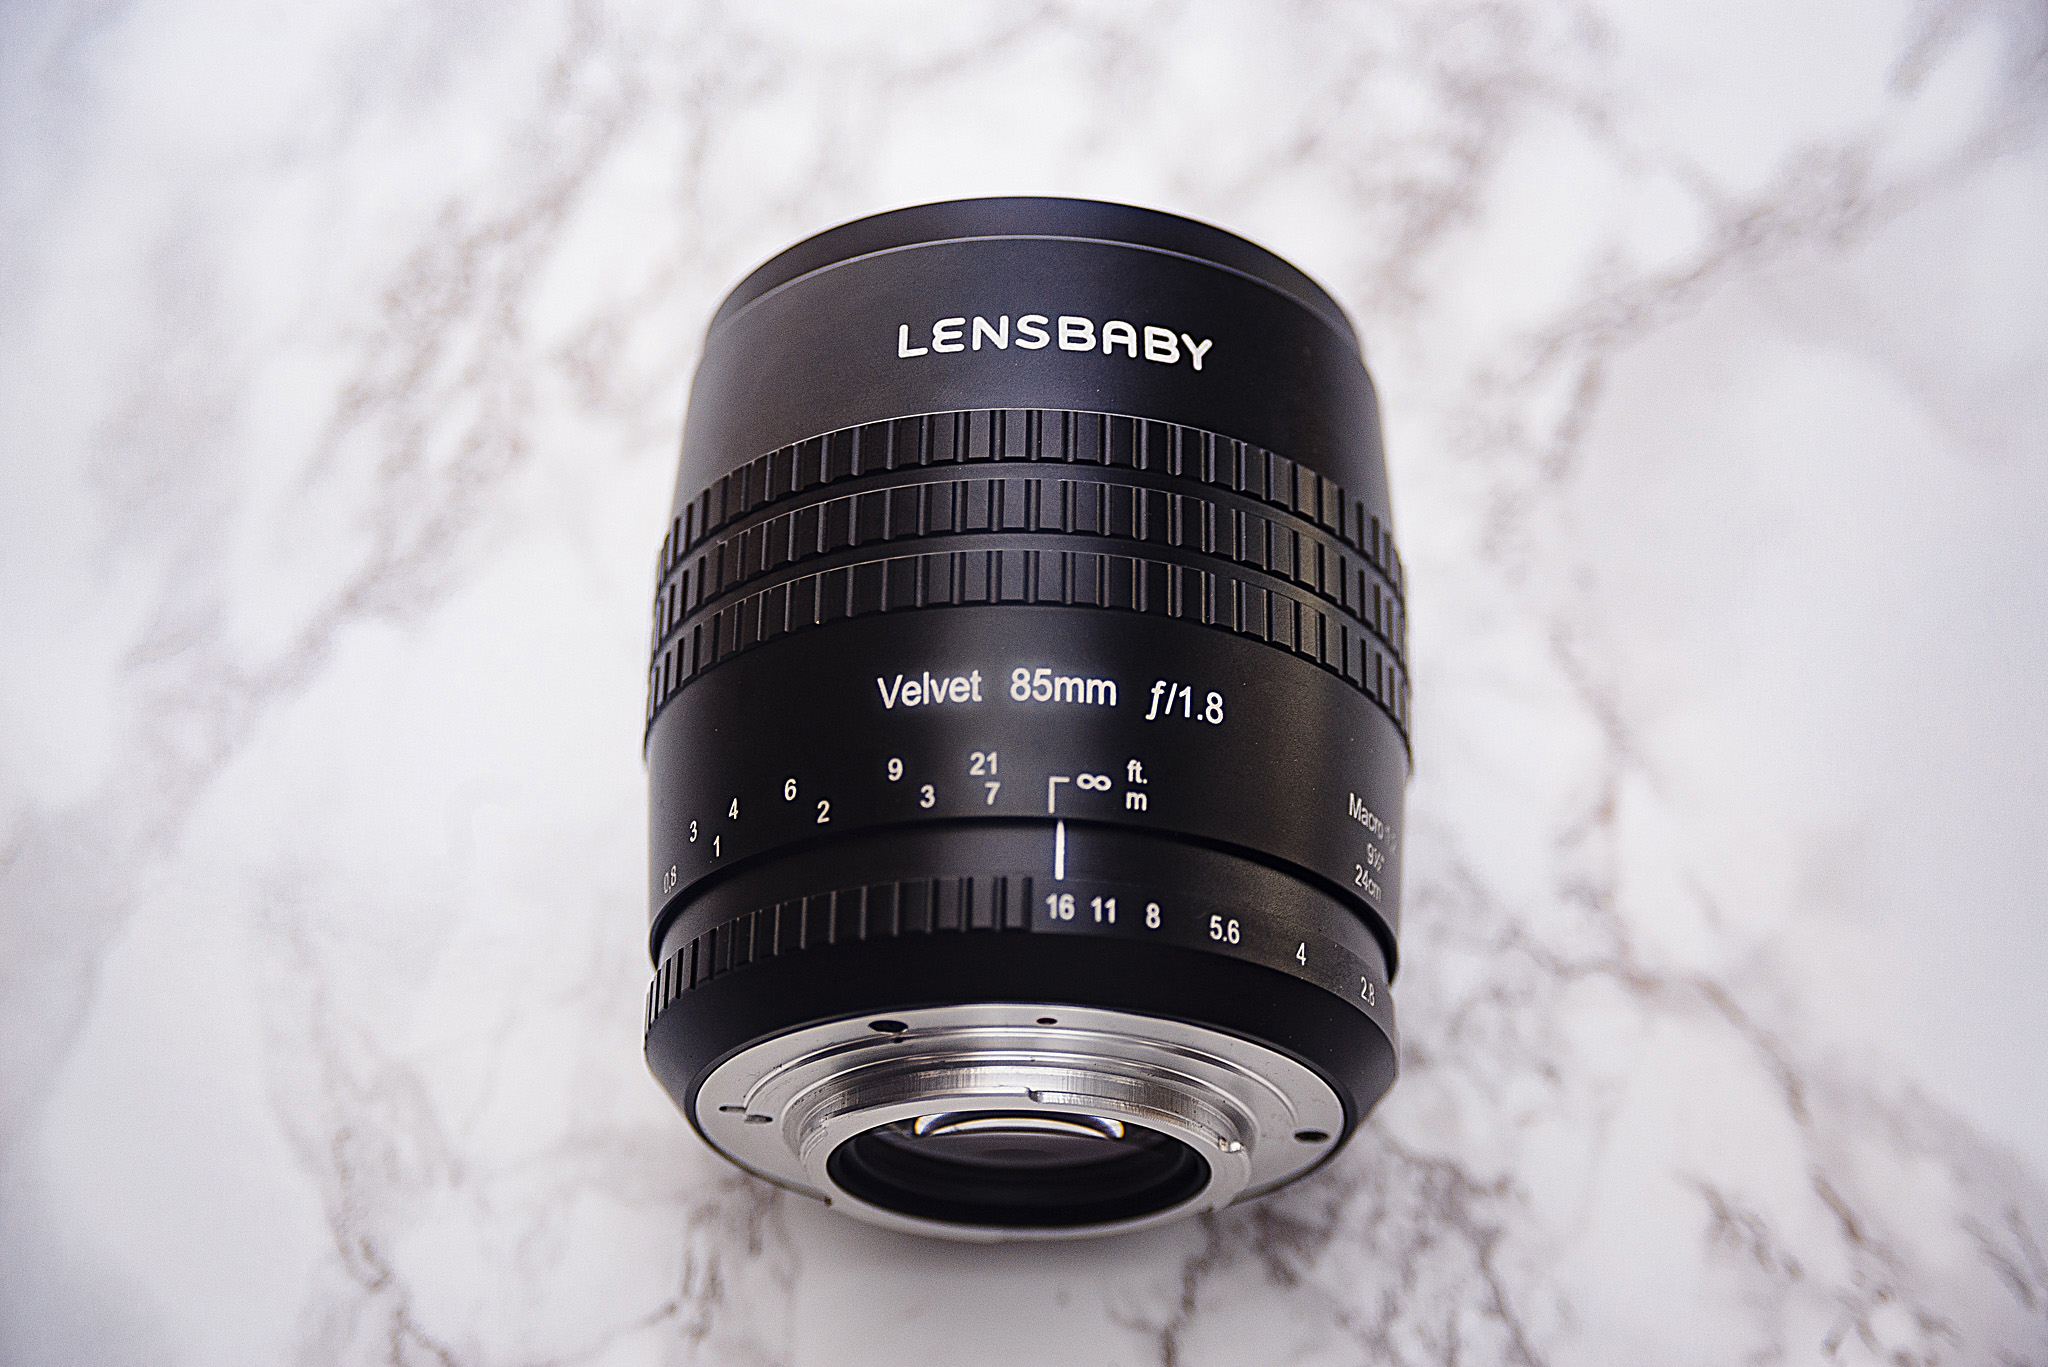
Focusing Ring
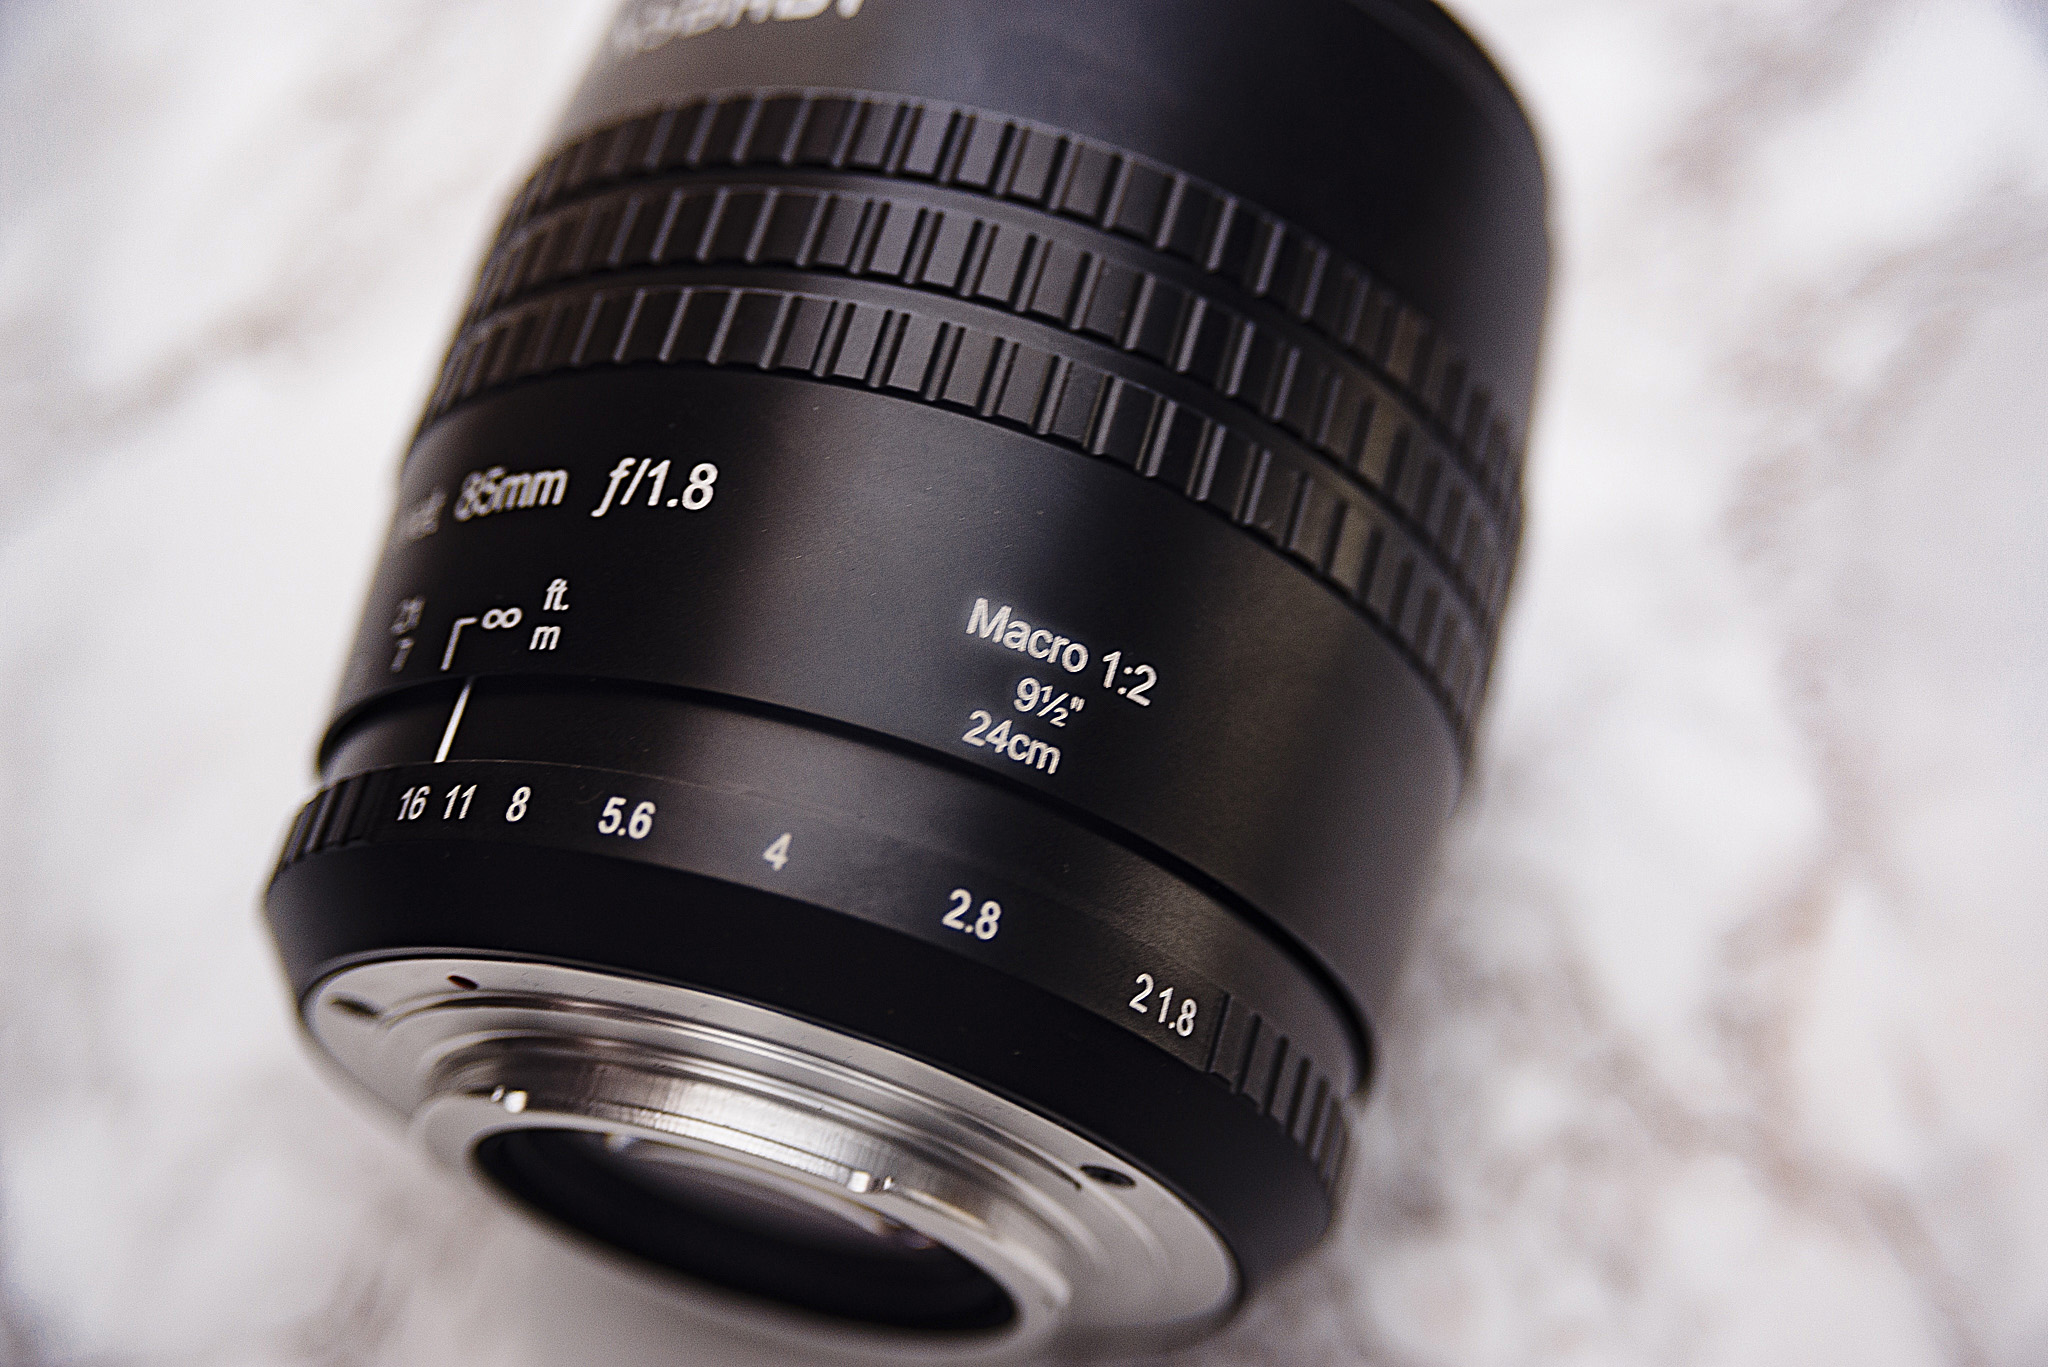
The lens has a very long travel distance for focusing that almost completely covers an entire 360 degree twist from minimum to maximum focal distance. That being said, this lens does have a much sought after 1:2 Macro functionality and the minimum focal distance on this 85mm lens is an impressive 24cm/9.5'. So once you remove that extreme in focusing the travel distance from 0.5m to infinity is a quarter turn. The focus ring itself is again reassuringly firm and just like the original Velvet 56 you have no fear of the lens focus slipping accidentally.
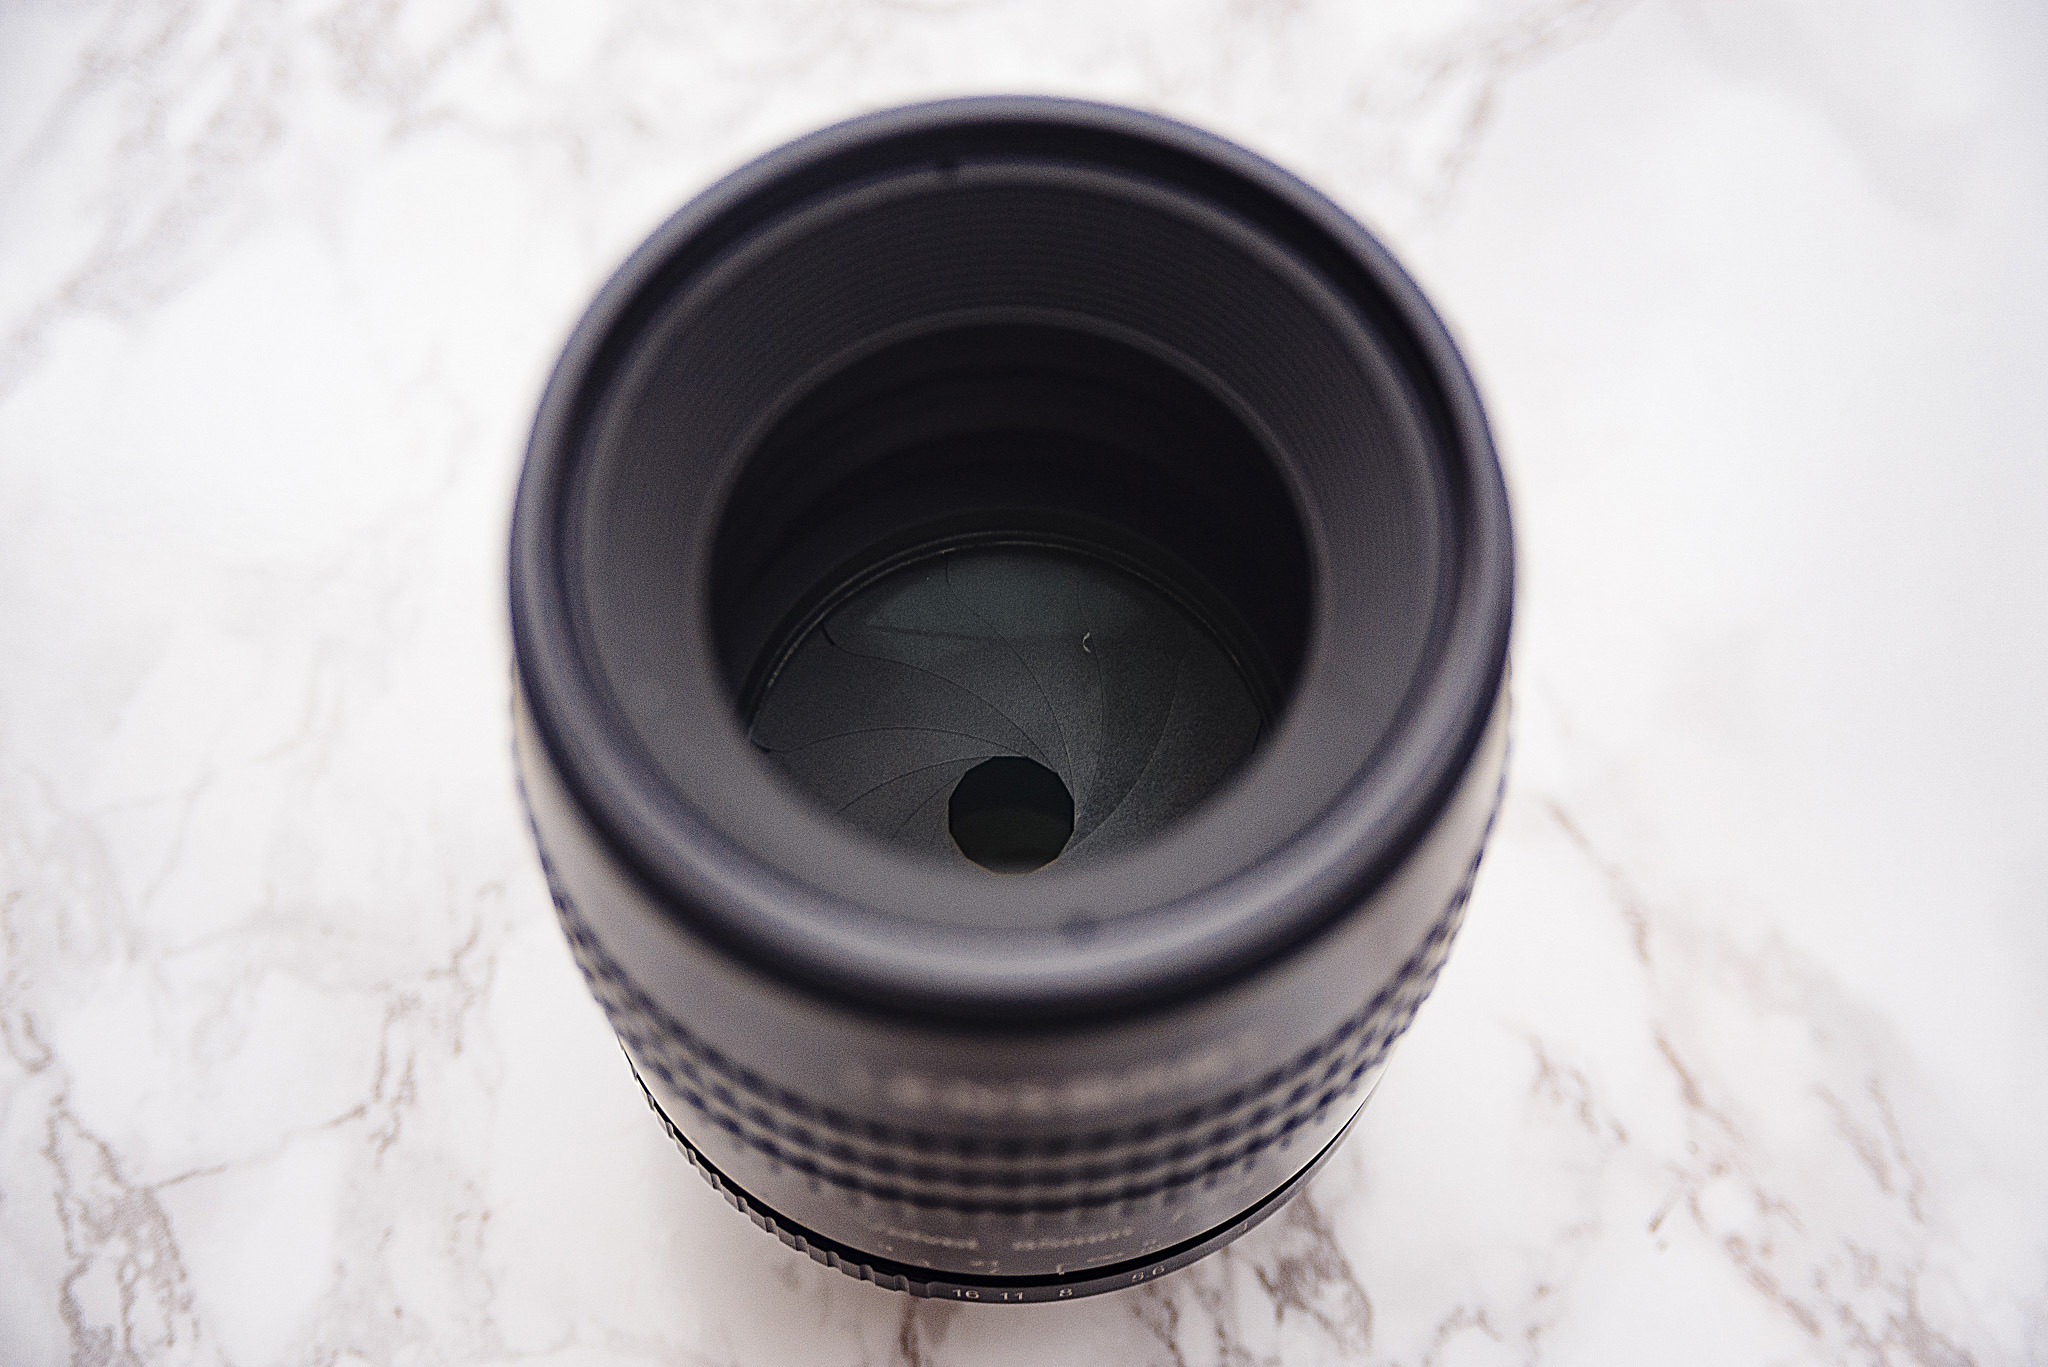
Aperture Ring
The aperture ring goes from f1.8 to f16 in whole stops and a quarter turn of the aperture ring would see you covering the entire range. It's important to note here that I actually have a beta model lens for the review. That being said, I have been assured that at this late stage the only differences between my model and the final production model is the distance between the numbers f2 and f1.8. On my version it looks like f21.8 is a thing but that wont be the case on yours. The aperture ring itself is firm but easy to move and the individual apertures aren't locked so if you wanted to have an aperture of f4 and a half you can adjust the aperture ring to do so.
Usability
Using the Velvet 85 is fairly straight forward and there was certainly no surprises. First and foremost though you need to remember that this is a manual focus lens and getting good with any manual focus lens takes time. As a guide I tend to shoot far more images than I think I need to when focusing manually as I am aware that a lot of them will be out of focus or at the very least not tack-sharp. If you're after some pointers on best ways to manual focus then you can check my articles on it here Tips on Getting Sharper Images with Manual Focus Lenses - Part 1 and Hacks for Getting Sharper Focus Shots - Part 2. One other important thing to note is that the apertures are fixed in view once they're selected. For example if you're looking through this lens at f16 the aperture hole will be tiny through the lens resulting in a fairly dark image to manual focus with. Conversely, focusing at f1.8 will result in a very bright image to focus with. In the studio I had no issues focusing up to f8 though so I don't think this would be an issue but certainly worth mentioning.


Clicking on the above images will enlarge them
The results
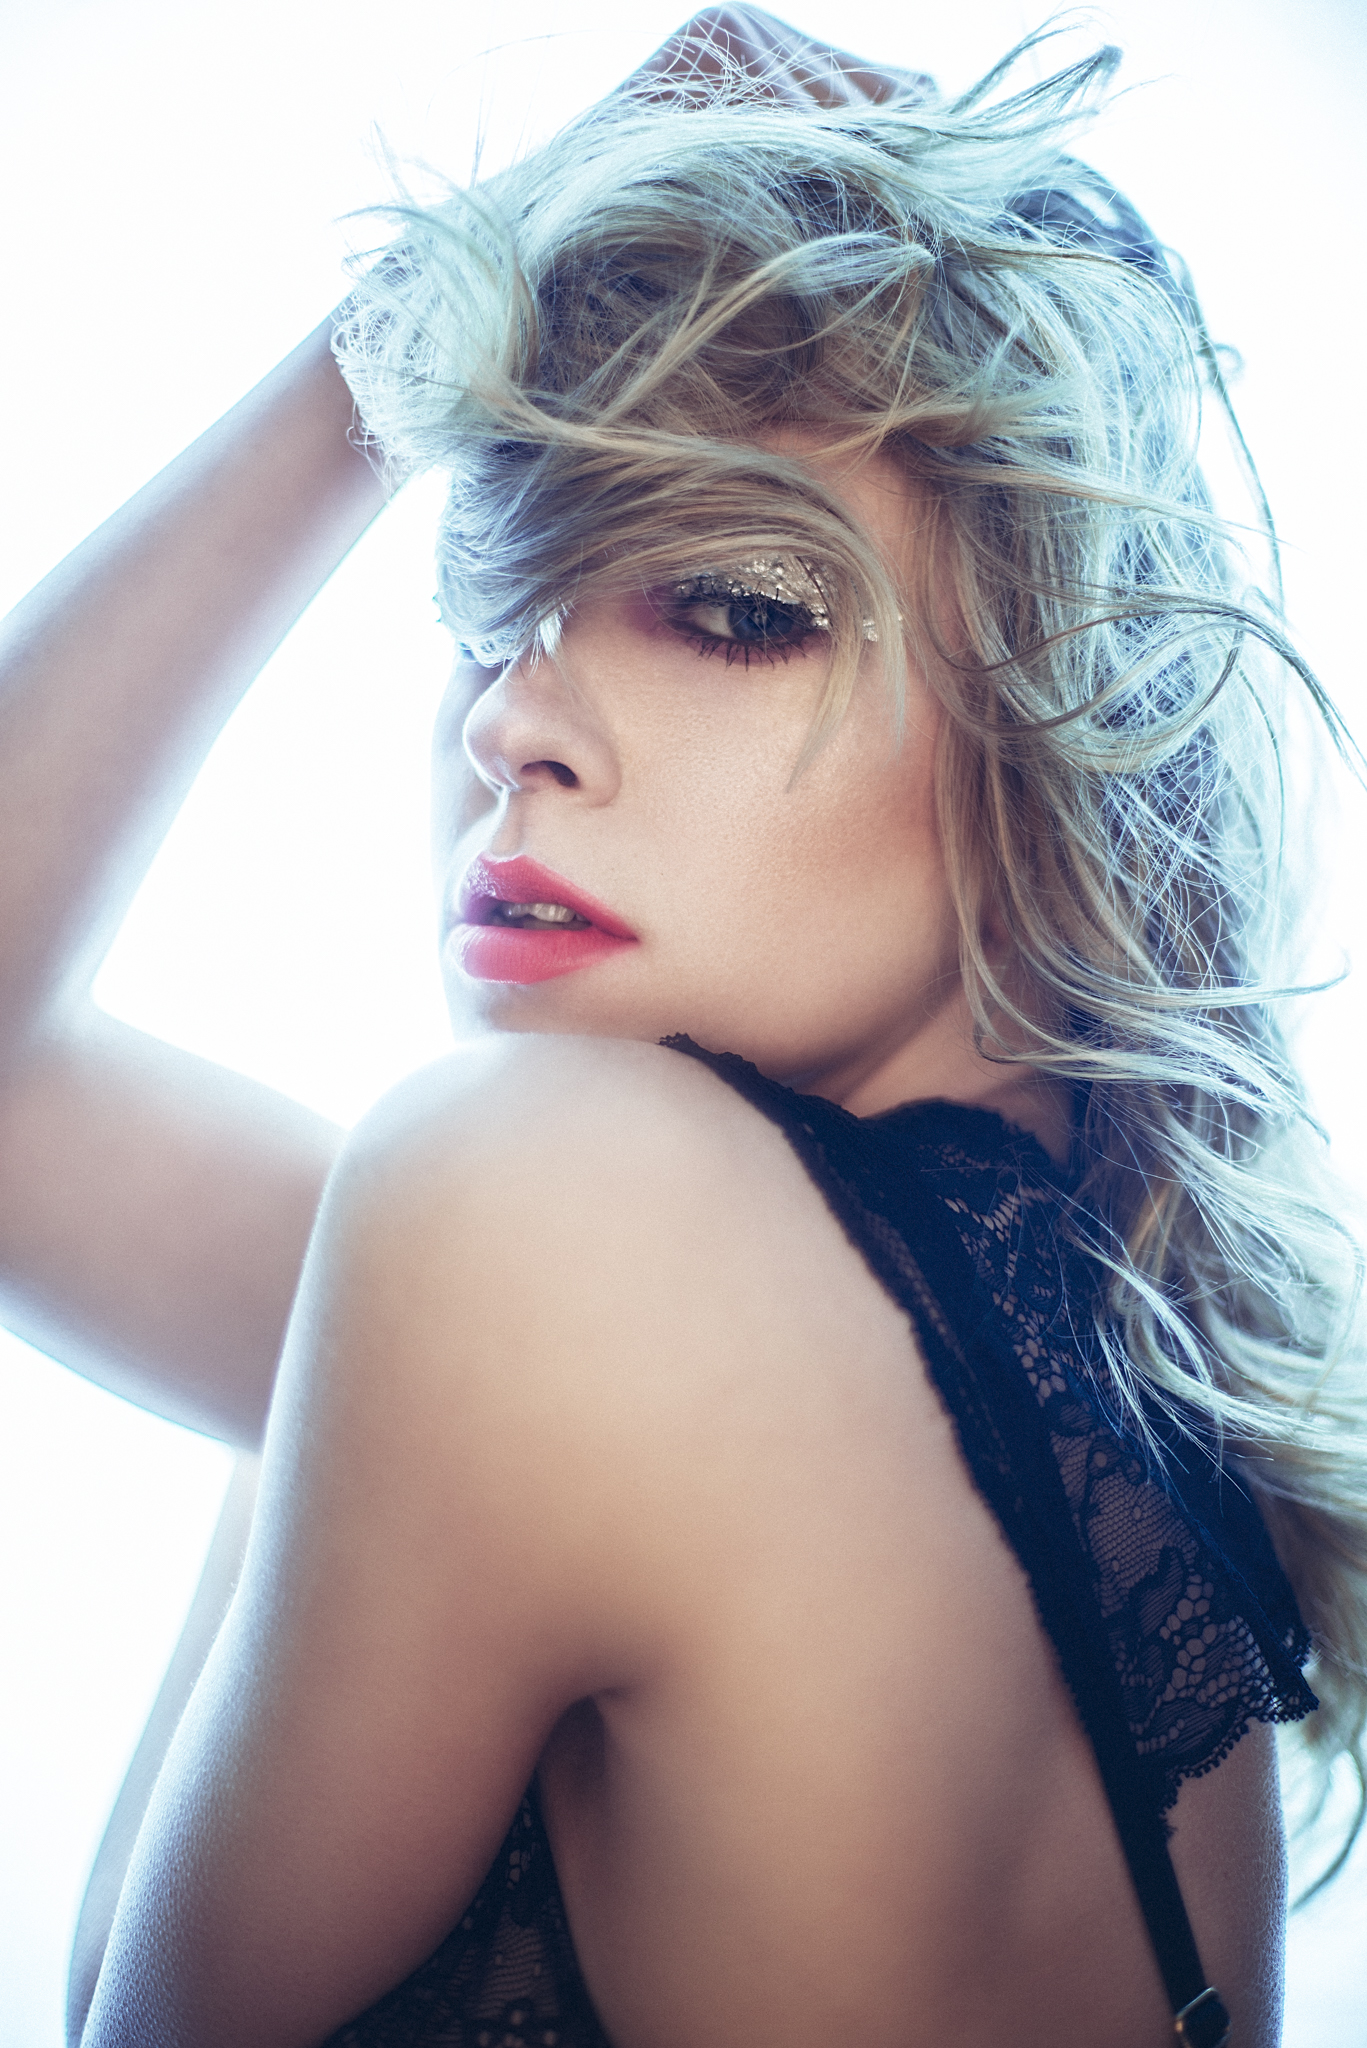
Now that we've got the stats out of the way we can take a closer look at what this lens produces in terms of image look and quality because to me personally that's what is most important. I will suffer almost anything in a lens if it gives me outstanding results so let's take a look at some shots from a simple portrait shoot I did last week when testing this lens for the first time.

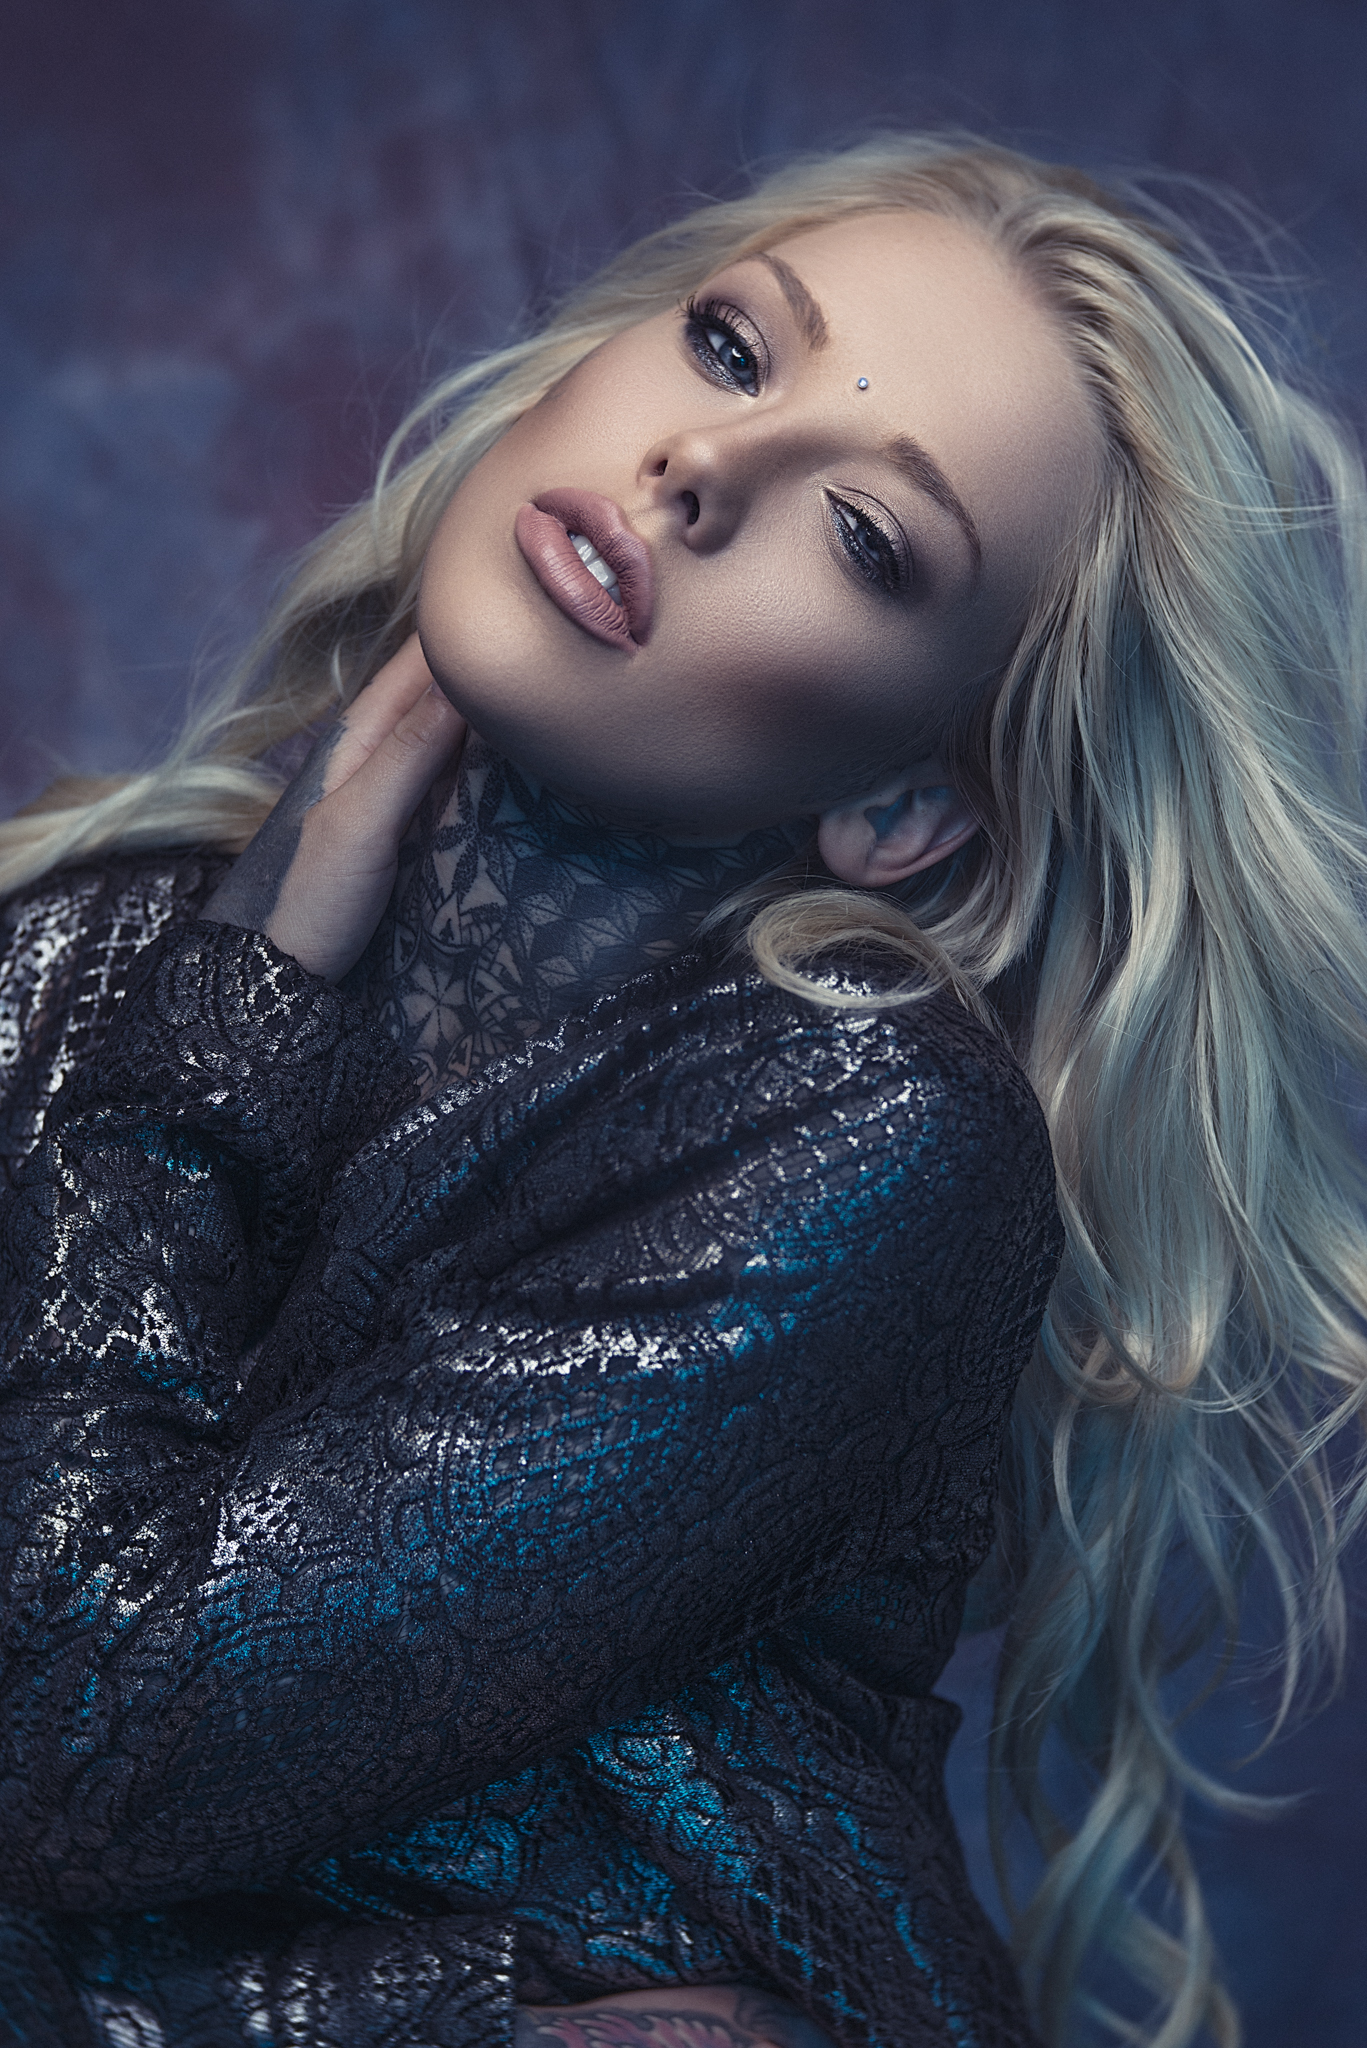


Clicking on the above images will enlarge them
For your reference the above image denotes the apertures used to take the corresponding images.
I tend to like the results speaking for themselves but in this instance I will just reiterate how varied a look this lens can produce almost immediately. From the incredibly soft and creamy f1.8 to the razor sharp portraits of f5.6 and all taken within moments of each other. In fact I simply adjust the aperture and simultaneously the ISO to compensate so all of those shots were literally taken moments apart.
Final Thoughts
Frist and foremost, if you're a Velvet 56 owner and you're looking for the same gorgeous lens effects you're used to but just in a longer focal length, you're in luck. To my eyes Lensbaby has accurately transferred the results into the 85 fairly seamlessly and still maintained that incredibly fast aperture too.
If on the other hand you've never used the Velvet 56 and were perhaps hesitant of ever getting an 'art' lens but wanted something to give your images a little interest, this velvet 85 could be for you. The core reason I word it like that is because I think we're hesitant to get a creative lens like this because we can't use it all of the time, it's almost like a luxury that would be really nice to have but couldn't quite justify it. The thing that stood out to me most was how flexible this was at a range of apertures. Like I mentioned a moment ago, in a matter of seconds you have a dreamy, ethereal looking image and then a razor sharp portrait lens almost immediately. For me the f1.8 is just a step too far in terms of the effect. Yes it looks great and I'd definitely prefer to have that option than not but for me, just easing off to f2.8 creates a strong and very usable effect. On top of that I was also genuinely surprised at just how sharp this lens is at the f5.6 and beyond range. I've said it before and I'll say it again, if Lensbaby ever make a fully functional auto-focus range of lenses I'll be first in line because the image quality is outstanding from them.
So in short, if you're after adding a lens to your arsenal that creates a unique look without overpower the image I certainly recommend checking out the Velvet 85.
The Velvet 85 is available for the following mounts:
- Lensbaby Velvet 85mm f1.8 Lens - Canon fit
- Lensbaby Velvet 85mm f1.8 Lens - Nikon fit
- Lensbaby Velvet 85mm f1.8 Lens - Sony A Mount
- Lensbaby Velvet 85mm f1.8 Lens - Pentax K fit
- Lensbaby Velvet 85mm f1.8 Lens - Sony E Mount
- Lensbaby Velvet 85mm f1.8 Lens - Micro Four Thirds fit
- Lensbaby Velvet 85mm f1.8 Lens - Fuji X fit
U.K. Price on 27/06/2017 release £499.00
U.S. Price on 27/06/2017 release $499.95
Stats
- Focal length - 85mm
- Focus modes - Manual Focus
- Minium focal distance - 24cm/9.5in
- Maximum focal distance - Infinity
- Minimum aperture - f16
- Maximum aperture - f1.8
- Weight - 530g
- Macro - 1:2
- Aperture Blades - 12
- Filter Size - 67mm
Velvet 85 Discount Code
I have been in a very fortunate position in recent years to have worked closely with Lensbaby to offer and provide feedback on their products. Occasionally they will send me a new lens of theirs to test and review and this Velvet 85 was one of those times. They have also provided me with a discount code for anybody to use that gets you 10% off any Lensbaby product via WEX Photographic here in the U.K. So if you're thinking of getting the Velvet 85 or any Lensbaby product and would like some money off your purchase simply enter JAKEHICKS10 at checkout :)
:WARNING: Yet more temptation lies below!
If you're interested in any of my work and would like to know more about how I created some of my shots then why not check out my workshops. Here you can find out everything there is to know about Gelled Lighting, Long Exposure Flash Photography and my entire Post-Pro Workflow. Jake Hicks Photography - Workshops

I have also just released a brand new 22 hour complete Gelled Lighting Tutorial video. I go over everything from studio lighting setups with gels to being on location with gels plus I also go through my complete retouching and post pro workflow. For more details and complete breakdown of everything that's include check out my Coloured Gel Portraits Tutorial

I also offer comprehensive coloured gel packs. These collections of gels are what I use day to day to create some of the most highly saturated colours around. If you're looking at getting into gelled lighting or need to get stronger and richer colours in your coloured gel work why not check out my Jake Hicks Photography Gel Packs