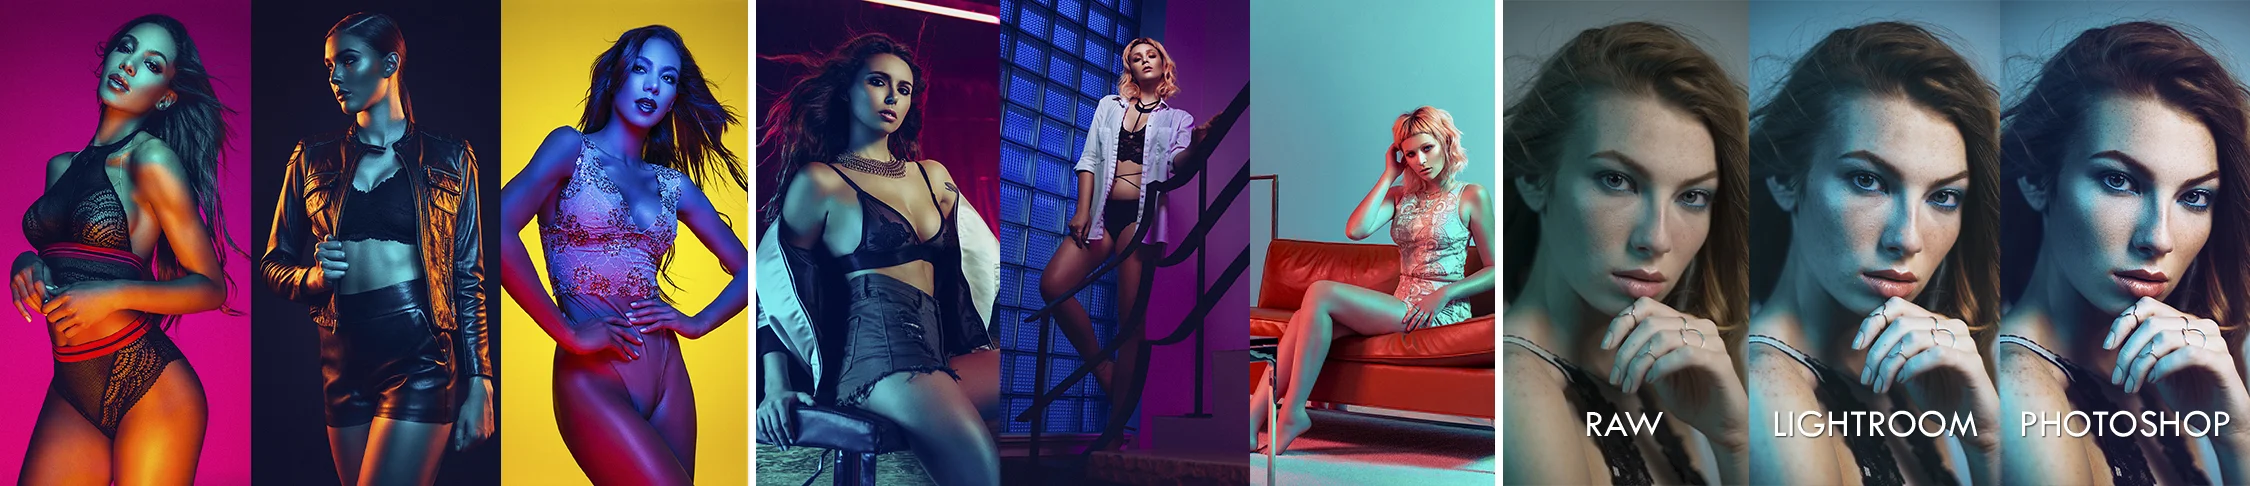
Thanks to the rise in digital photography and its incredibly low barrier to entry in recent years, there are now more photographers out there than ever before, and more and more of us are keen to use our shiny new cameras to photograph models. As a result, the basic laws of supply-and-demand mean that there are also now more models available to be photographed than ever before too. But should you be photographing independent models or agency represented models?
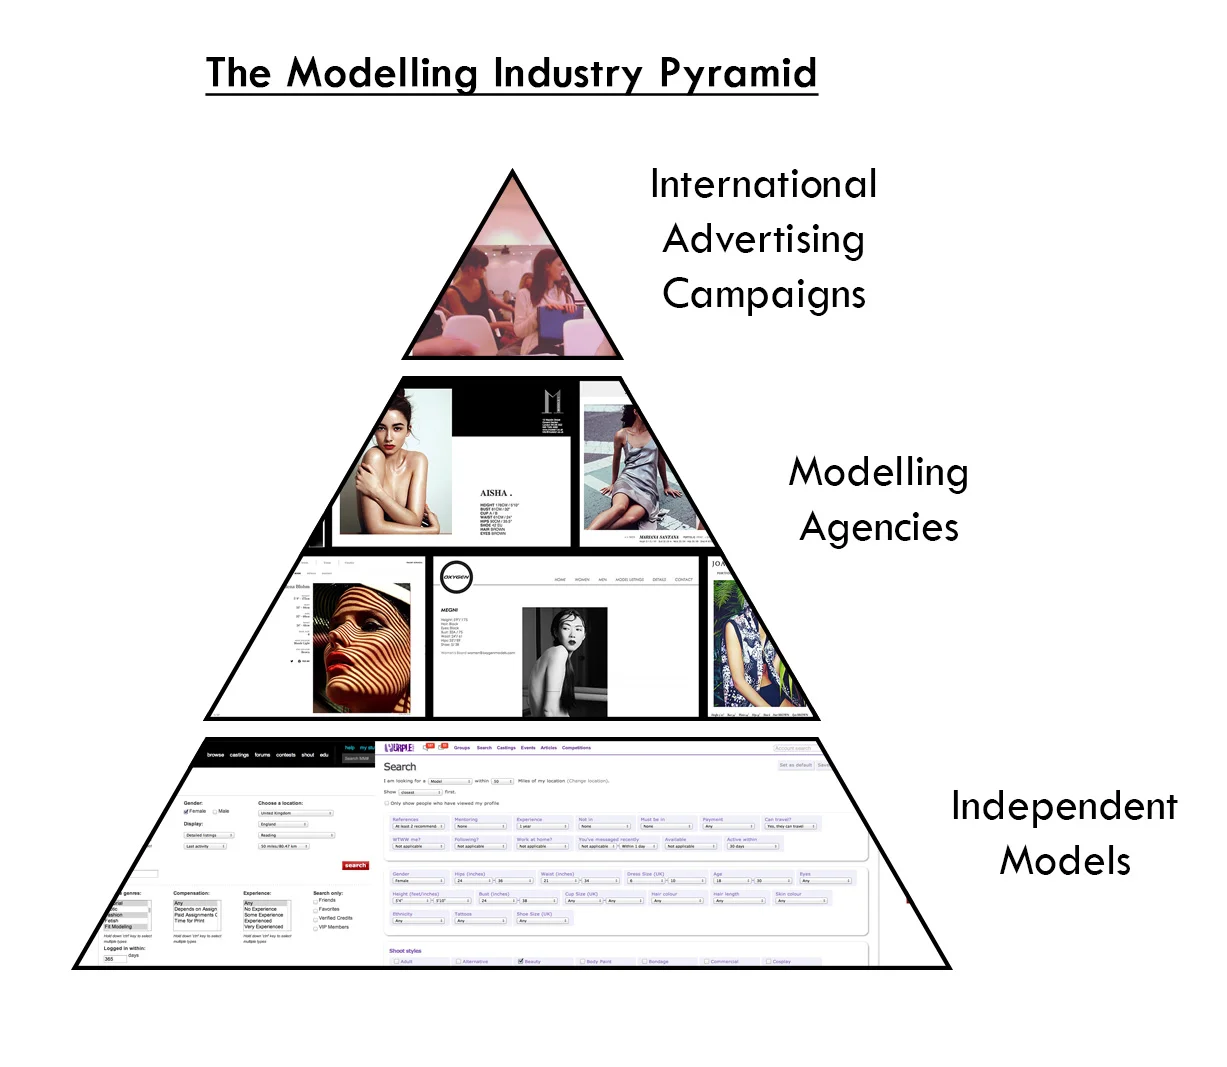
A couple of weeks ago I posted the first article in this mini-series on working with models and I described the break down of the model industry and what we as photographers need to know regarding it. If you missed it then here's the link 'The Modelling Industry - What Photographers Need to Know'. In the article I describe the basic structure of the modelling industry and although there are many genres within these, the key differences between the models that you'll be working with right now are whether they are represented by a modelling agency or if they are independently represented.
What are the key differences between agency represented models & independently represented models?
First off, let's break down some of the factors and take a closer look at what's involved with being an agency model or being independent. Explained simply; agency models have an agent that finds them work and then takes a cut of the fee for finding them that job. Independent models work for themselves as freelancers and they are responsible for finding all their own jobs, but they get to keep all of the money from it.
You may not feel that this information is relevant to you as a photographer at this stage but I believe it highlights certain characteristics that motivates and drives each of the two model demographics we're referring too.
Agency Models
- If they're good, reliable, and catch a break with the right client they can earn a awful lot of money.
- They have to go where they're sent - no questions asked. They've given the agency their levels (fashion/lingerie/swimwear etc) and their restrictions are in a contract, outside of that the agency will send them where they need them. 'Be at this location, at this time, on this day, period'. This can lead to a fantastic lifestyle for some and that includes travelling the world at a moments notice for some.
- They have a comp-card (mini-portfolio) at the agency that is potentially being seen by some of the top art directors and fashion houses in the land. If they want the chance of landing the next Balenciaga campaign then being with a respected modelling agency is their best bet.
- Although agency models generally have to do what they're told by the agency they don't have to worry about the paperwork. If they don't want the hassle or headache of chasing down client invoices then being agency represented is a big plus.
- Of course the biggest plus of being agency represented is that they let somebody else worry about finding the work. If the models on the agencies books don't get paid then they don't get paid so they're hustling for you. This is unfortunately not as easy it sounds, because being with an agency involves a lot castings that inevitably bear very little fruit. There are some models who are really good at 'modelling' and their 'look' is 'on-trend' so they are always busy and as a result make a lot of money from it. For others, being with an agency can be a constant waiting game where they have several part-time jobs where you just sit by the phone hoping to catch a break whist somebody else manages your career. This is not modelling so maybe getting out there and hustling for yourself would be more fruitful.
Independent Models
- They keep their own schedule - They choose which days they work.
- They keep all of the money from their shoots - No agency cut.
- They choose their clients and who they work with.
- They don't have to be sent to and attend five castings a day all over the city.
- They dictate how much they're worth.
- Independent models are unlikely to be involved in any 'big name' campaigns.
- They have to manage all of their own paperwork and timekeeping.
- They are responsible if they let somebody down - Their face is their brand, nobody else can take the blame but them.
- They gotta hustle! Nobody else is going to get them modelling jobs but them, they have to be the master of their own business and that includes countless model profiles around the web, a constant social media presence and a perpetually spotless work ethic.
That should give you a brief overview of what the models in each of those demographics are up against. Again, if you're wondering how that information relates to you as a photographer, I would say that it speaks volumes to understand what motivates them as individuals and if that aligns with your specific goals and projects as well. Like anything, it's about managing expectations so don't be surprised if an agency model is less than enthused about your black and white lighting test (apparently that happens) if she's got a Prada campaign shoot the next day. I know that's a sweeping statement but I am being realistic and I want you to be too.

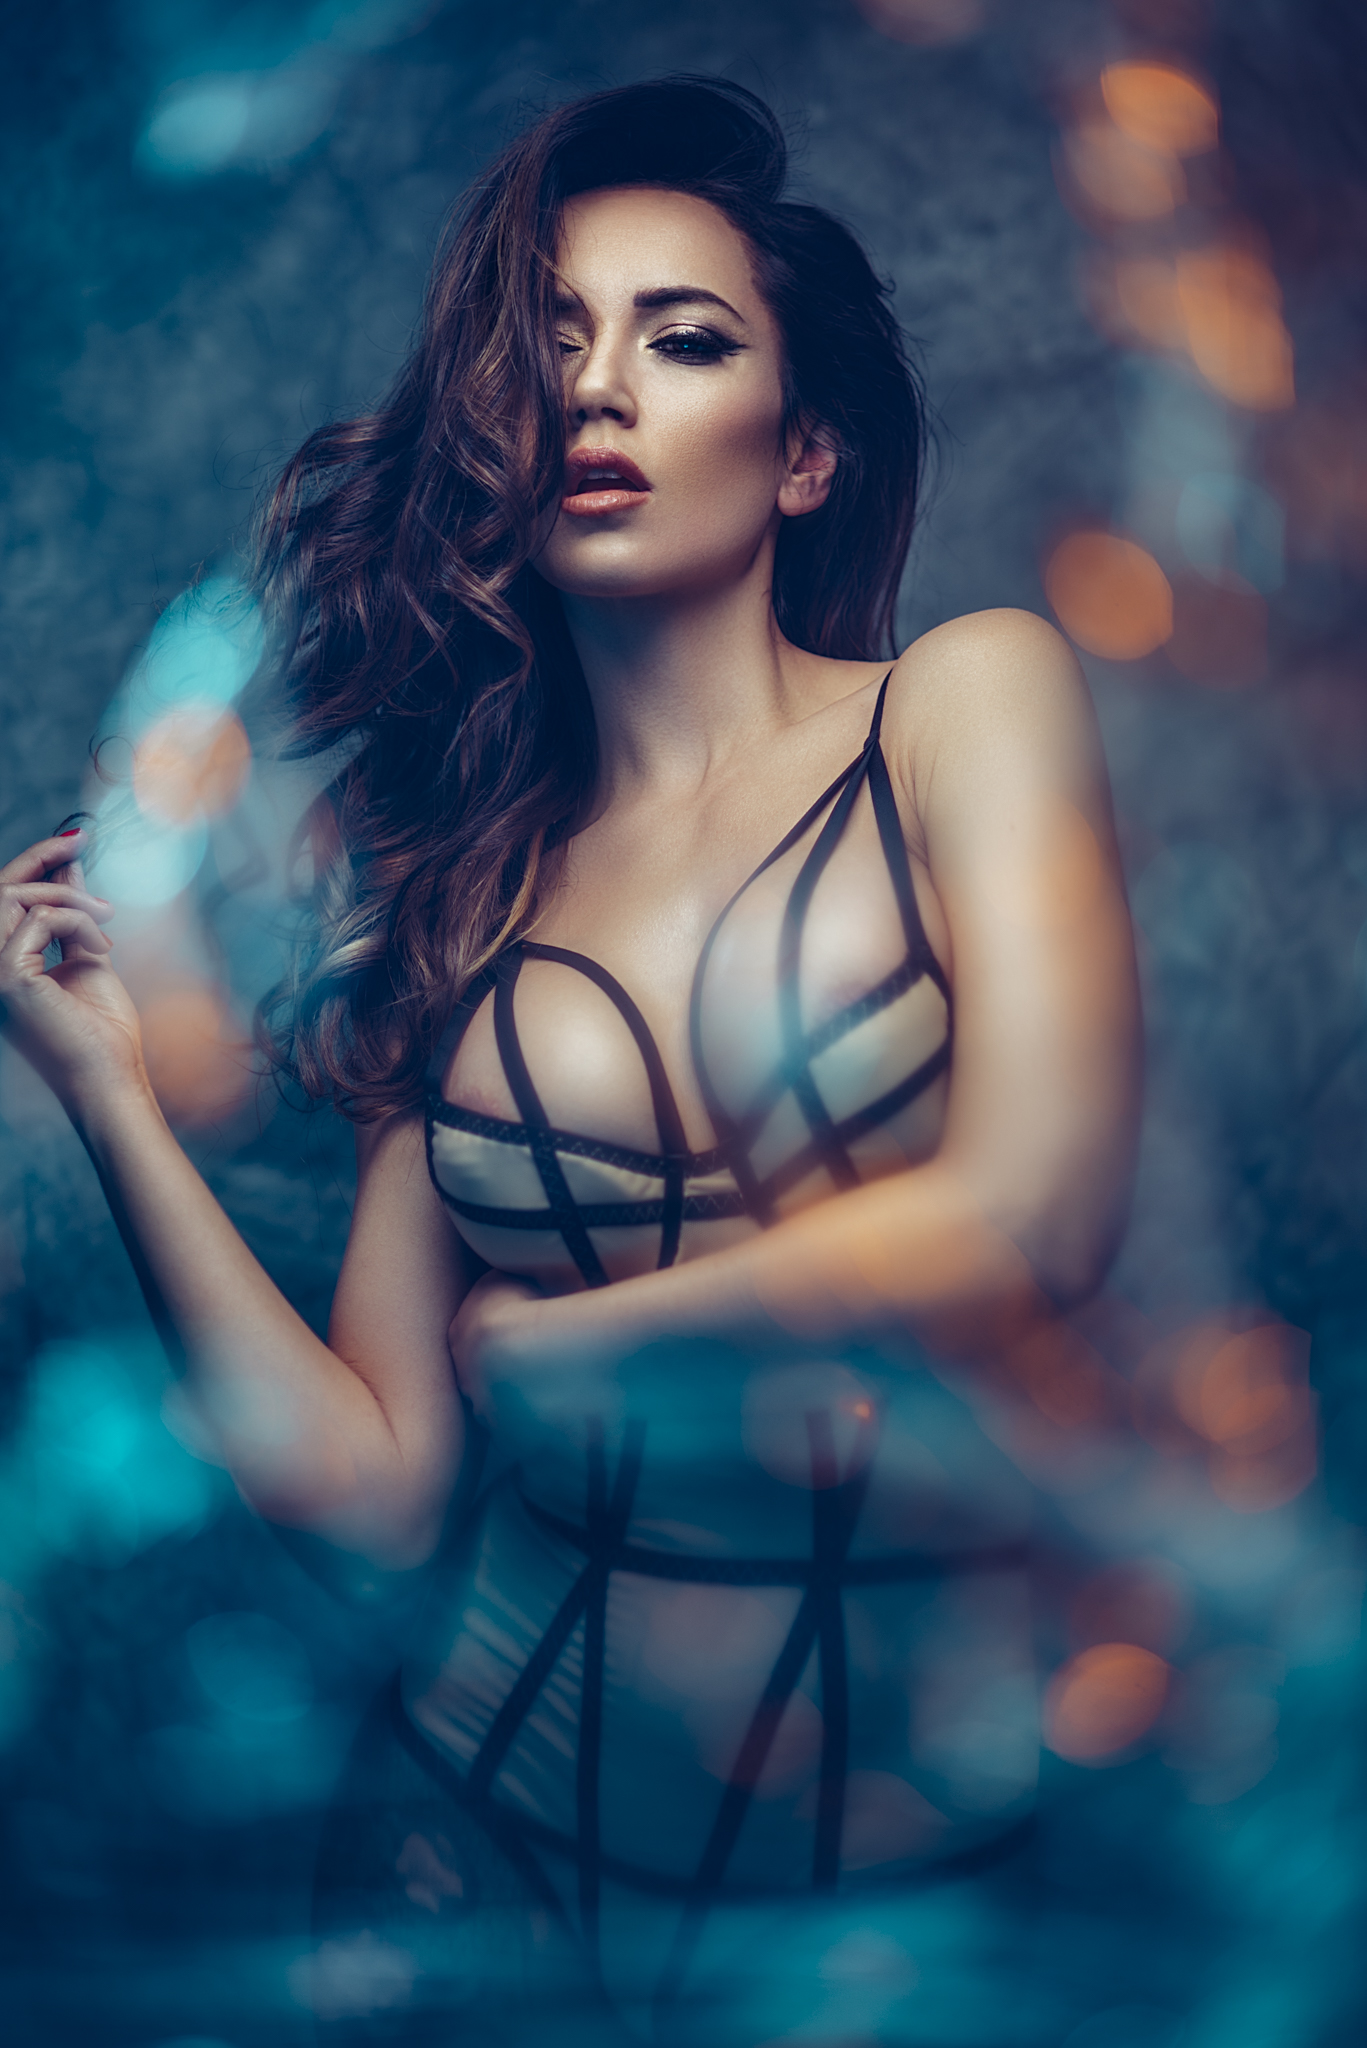
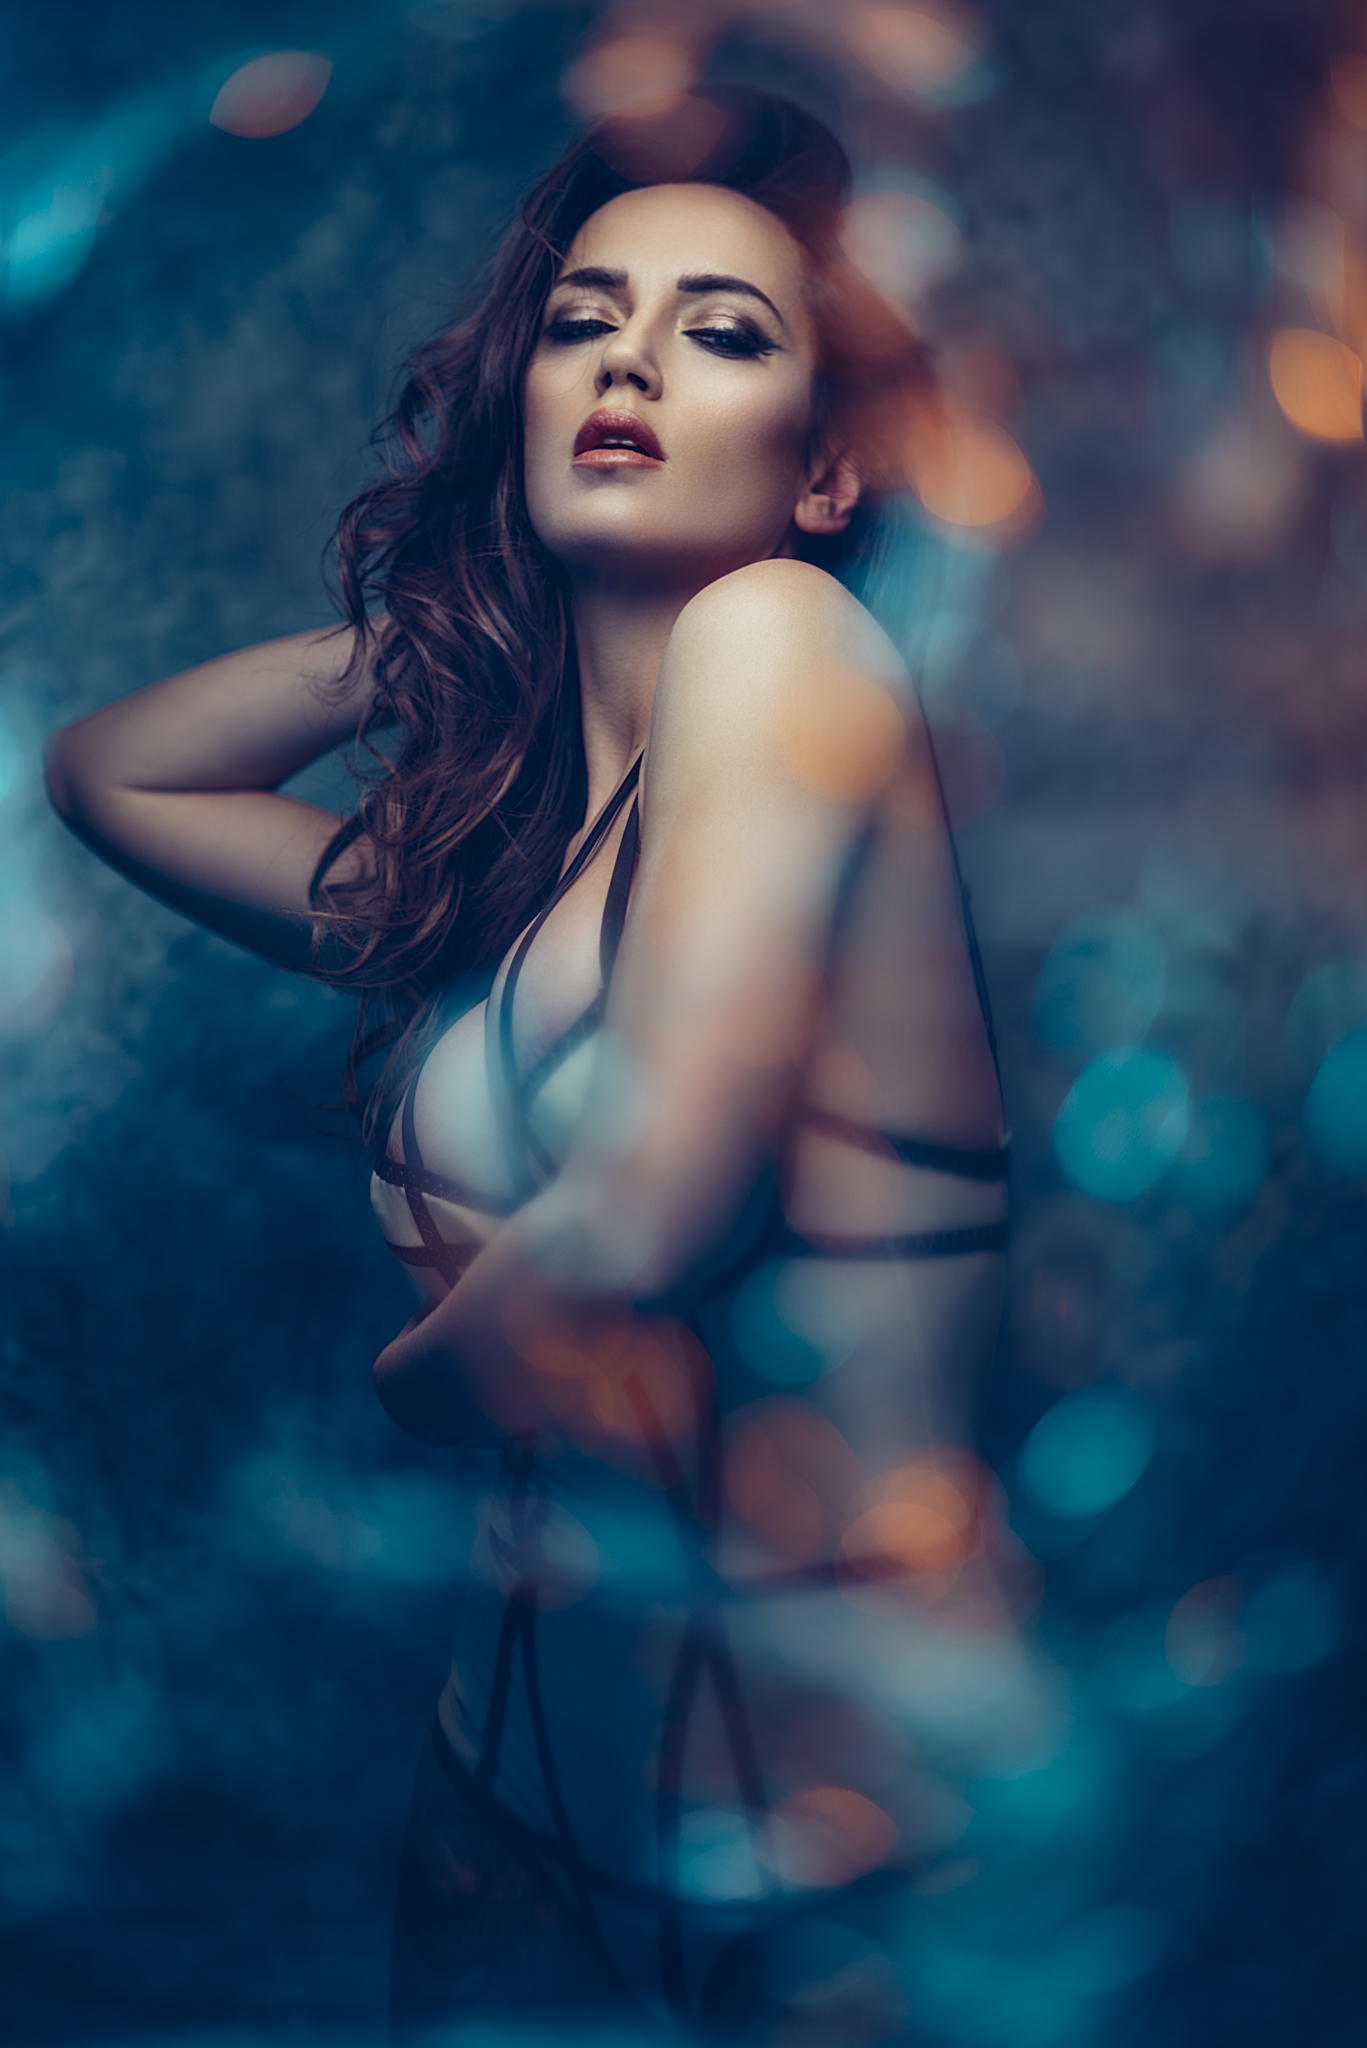
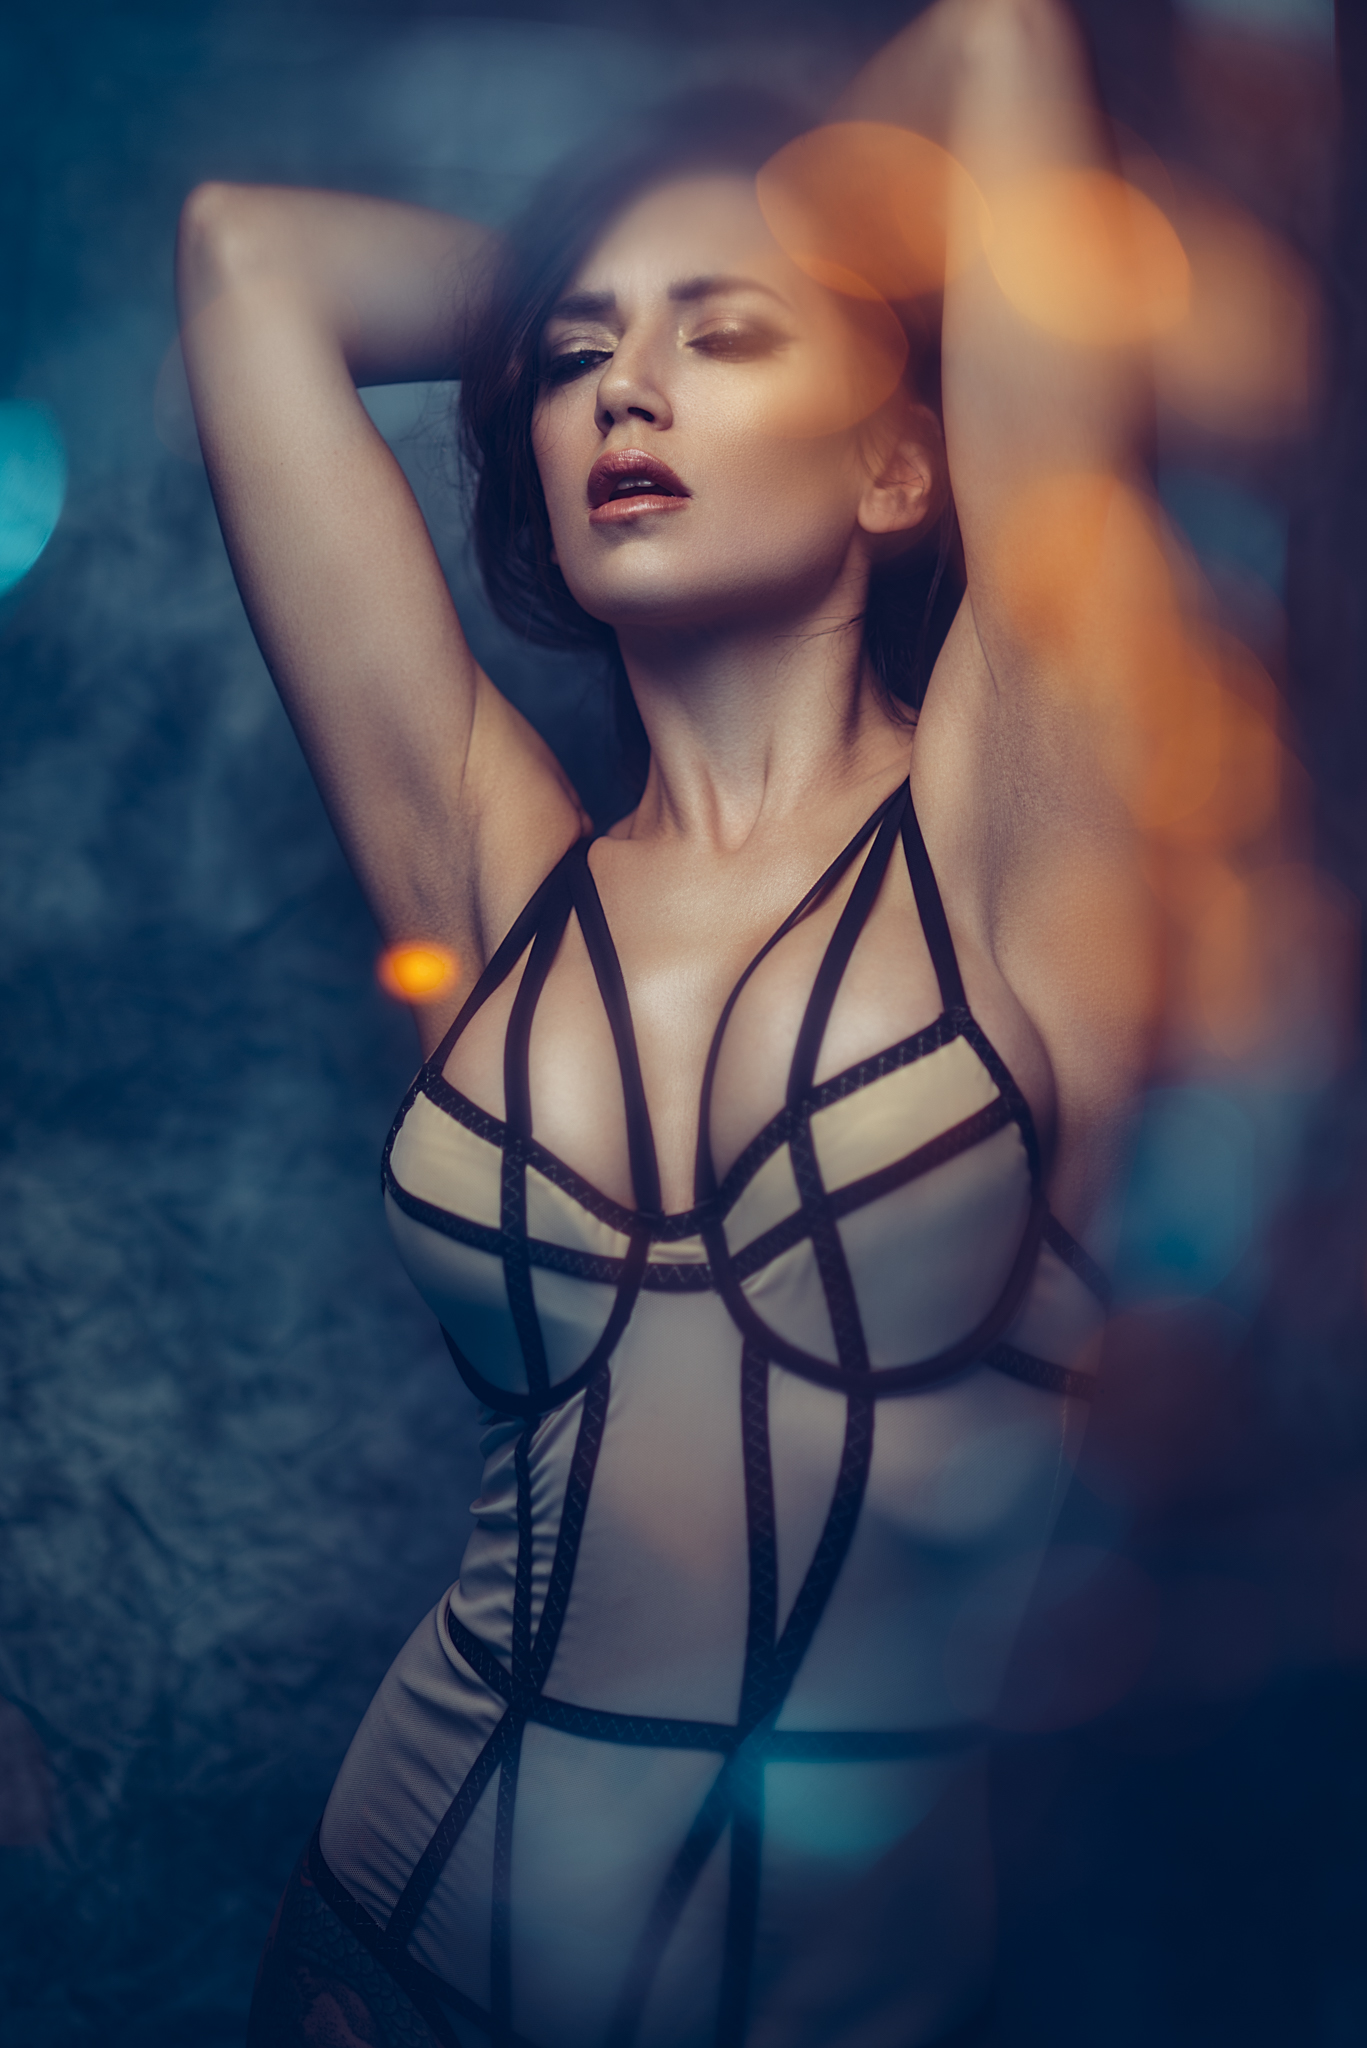
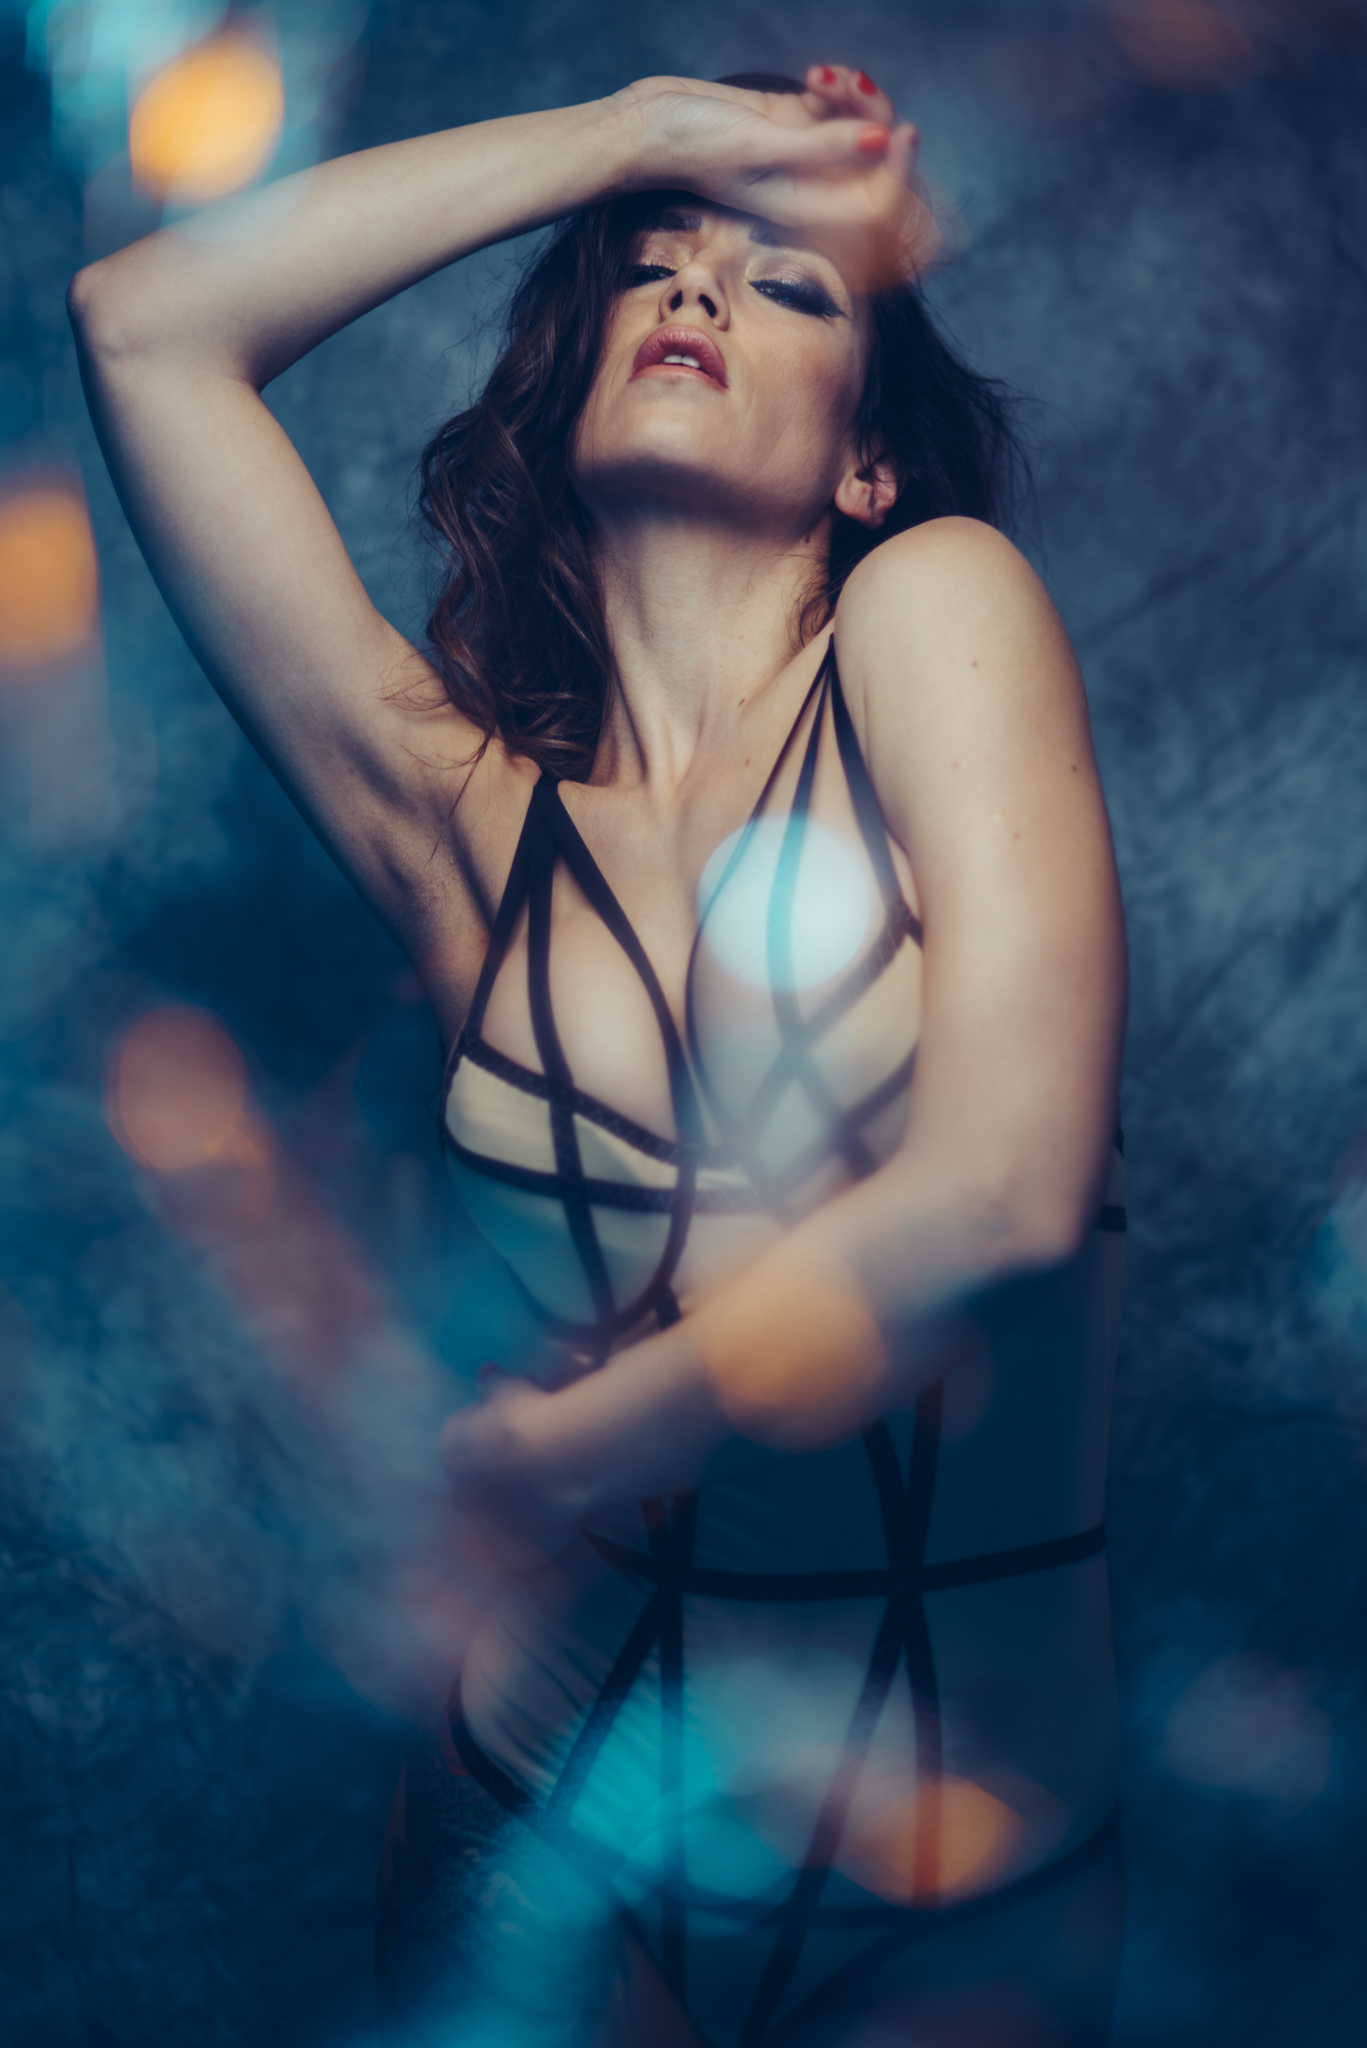
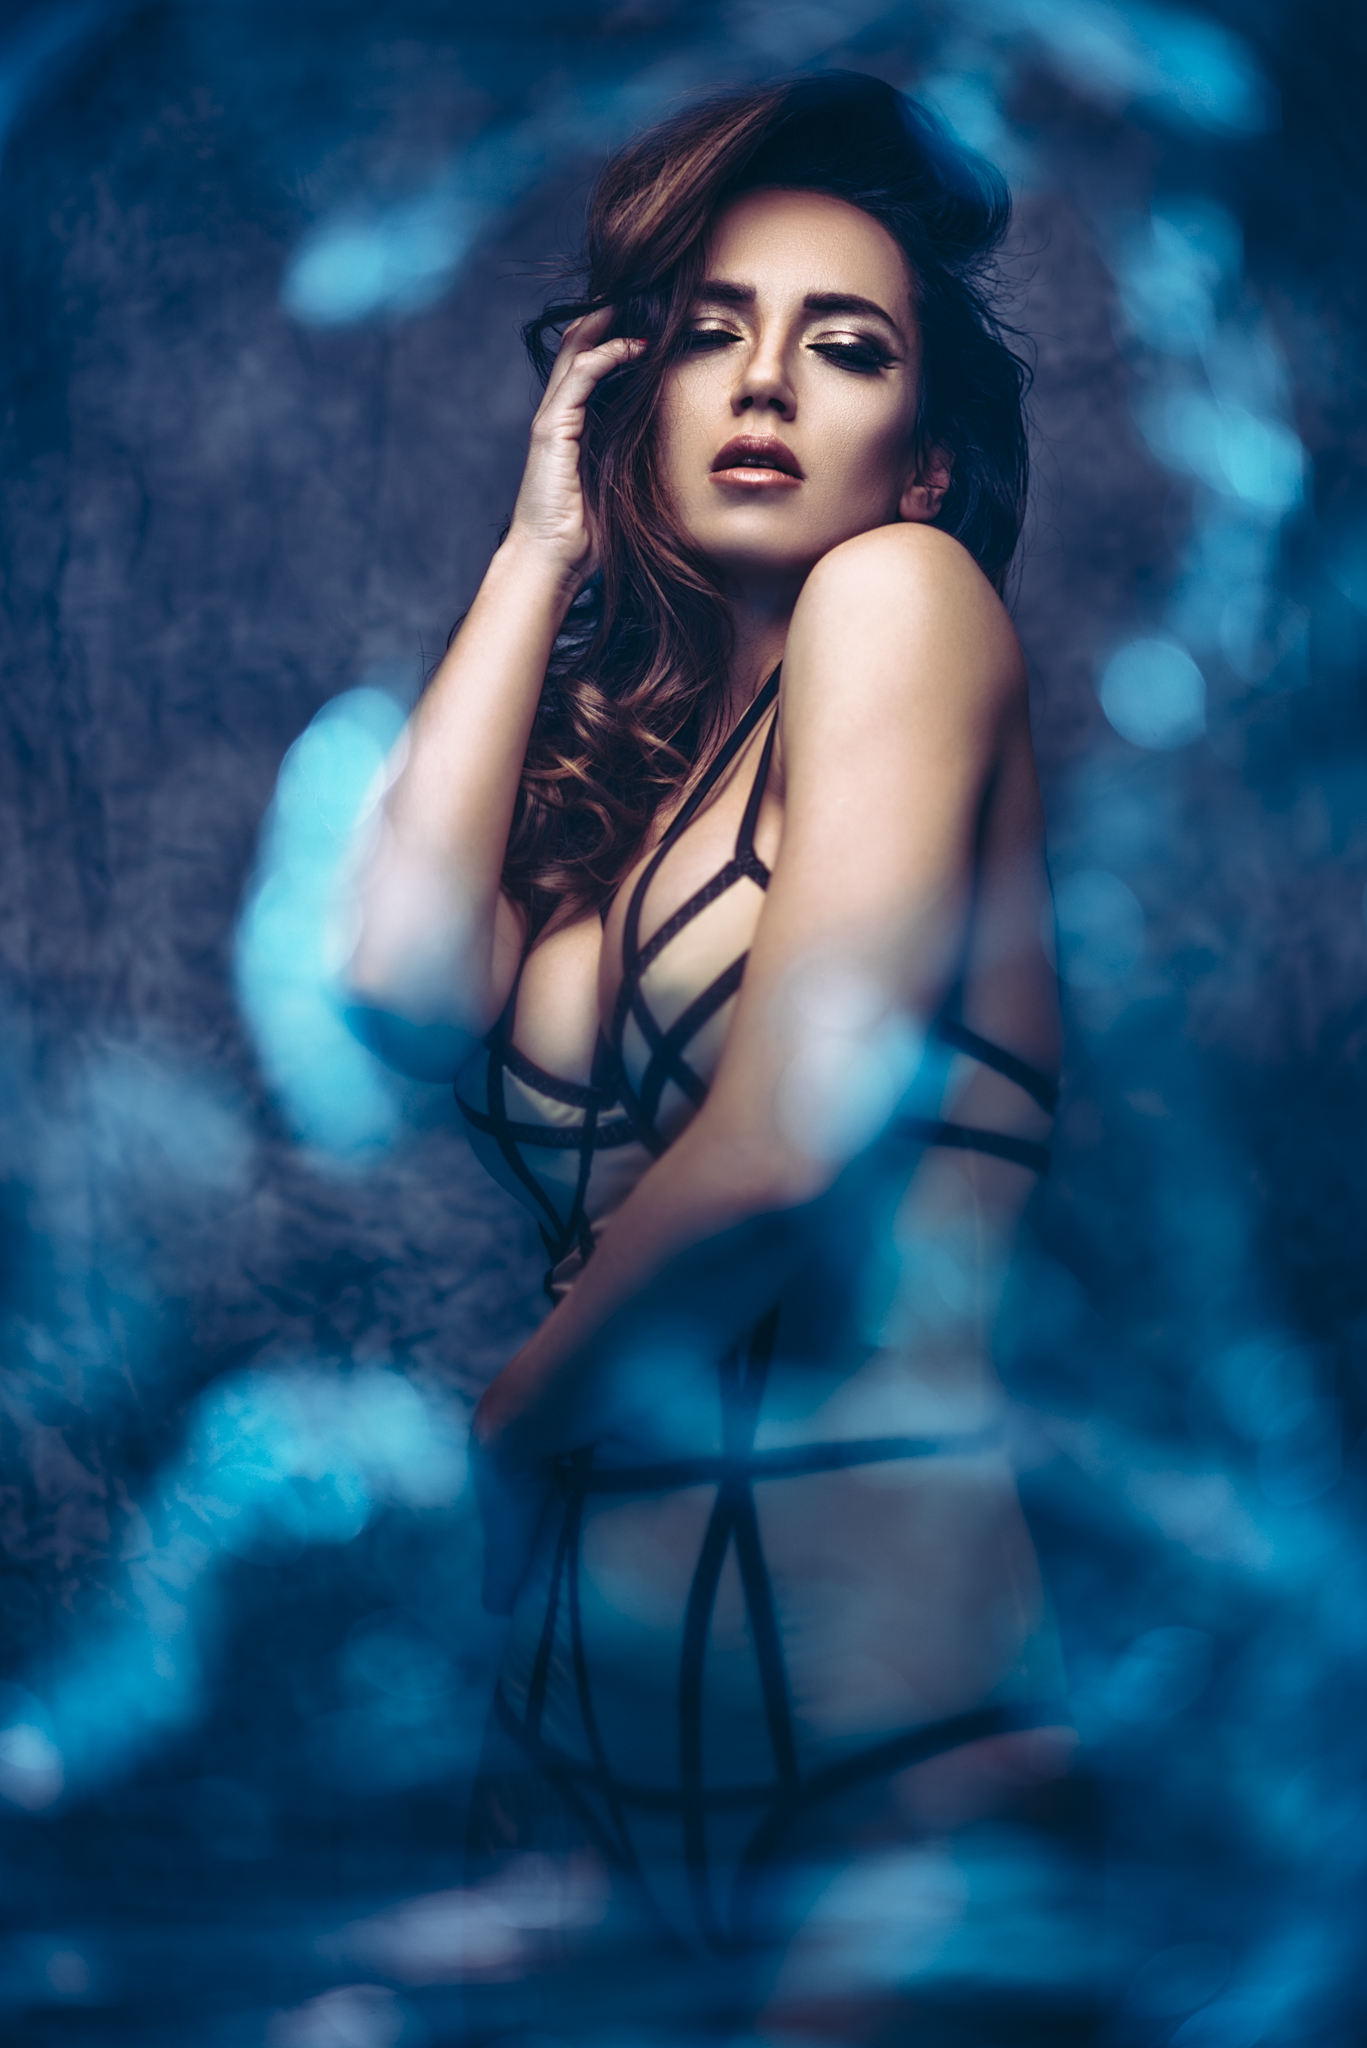
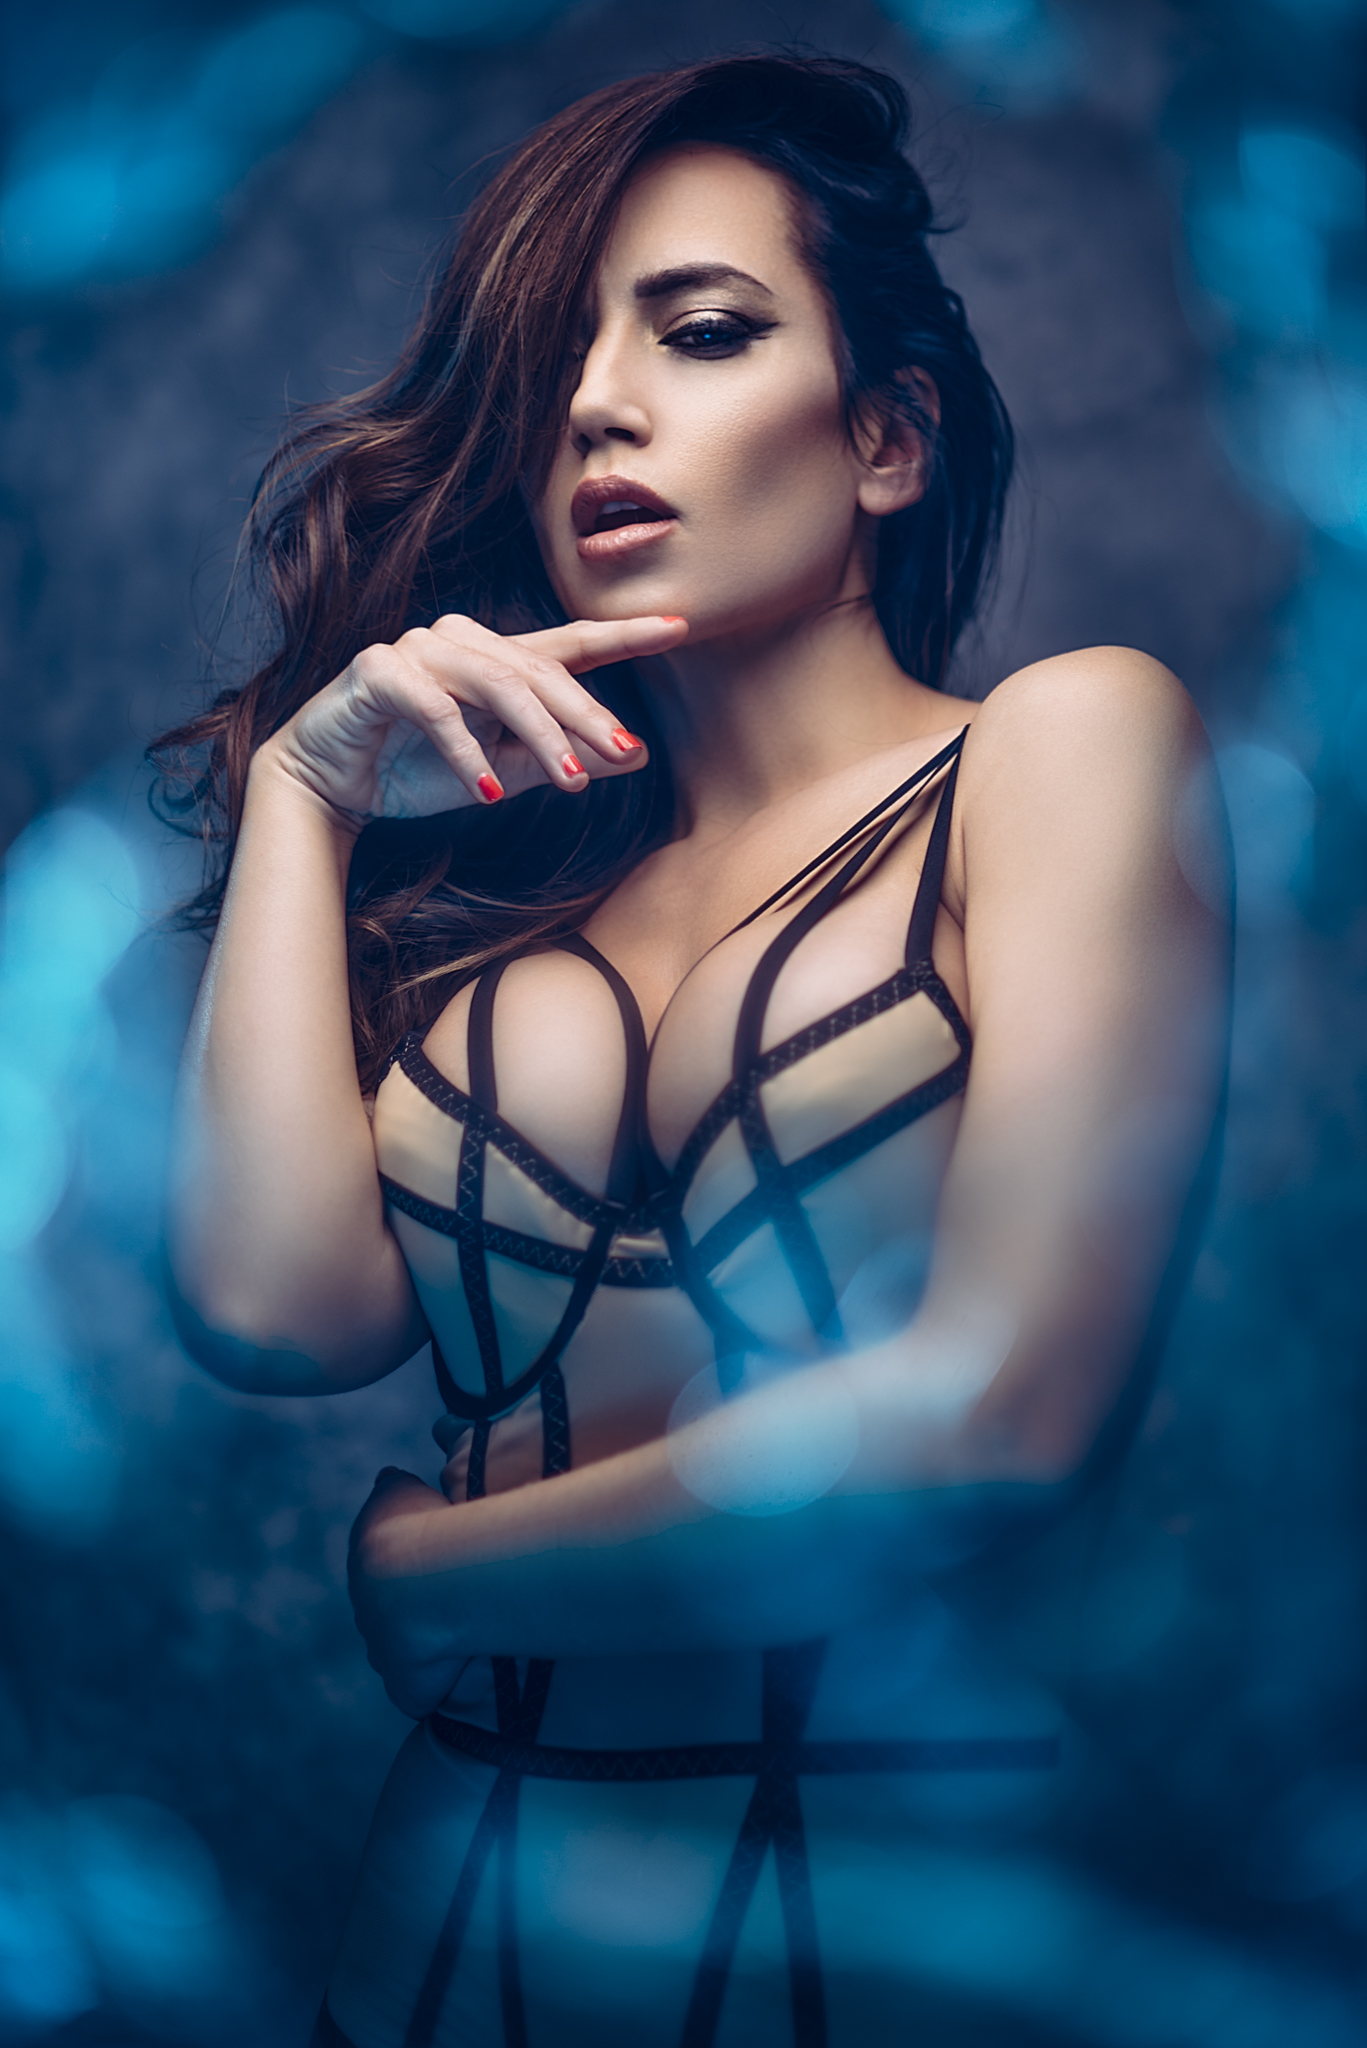
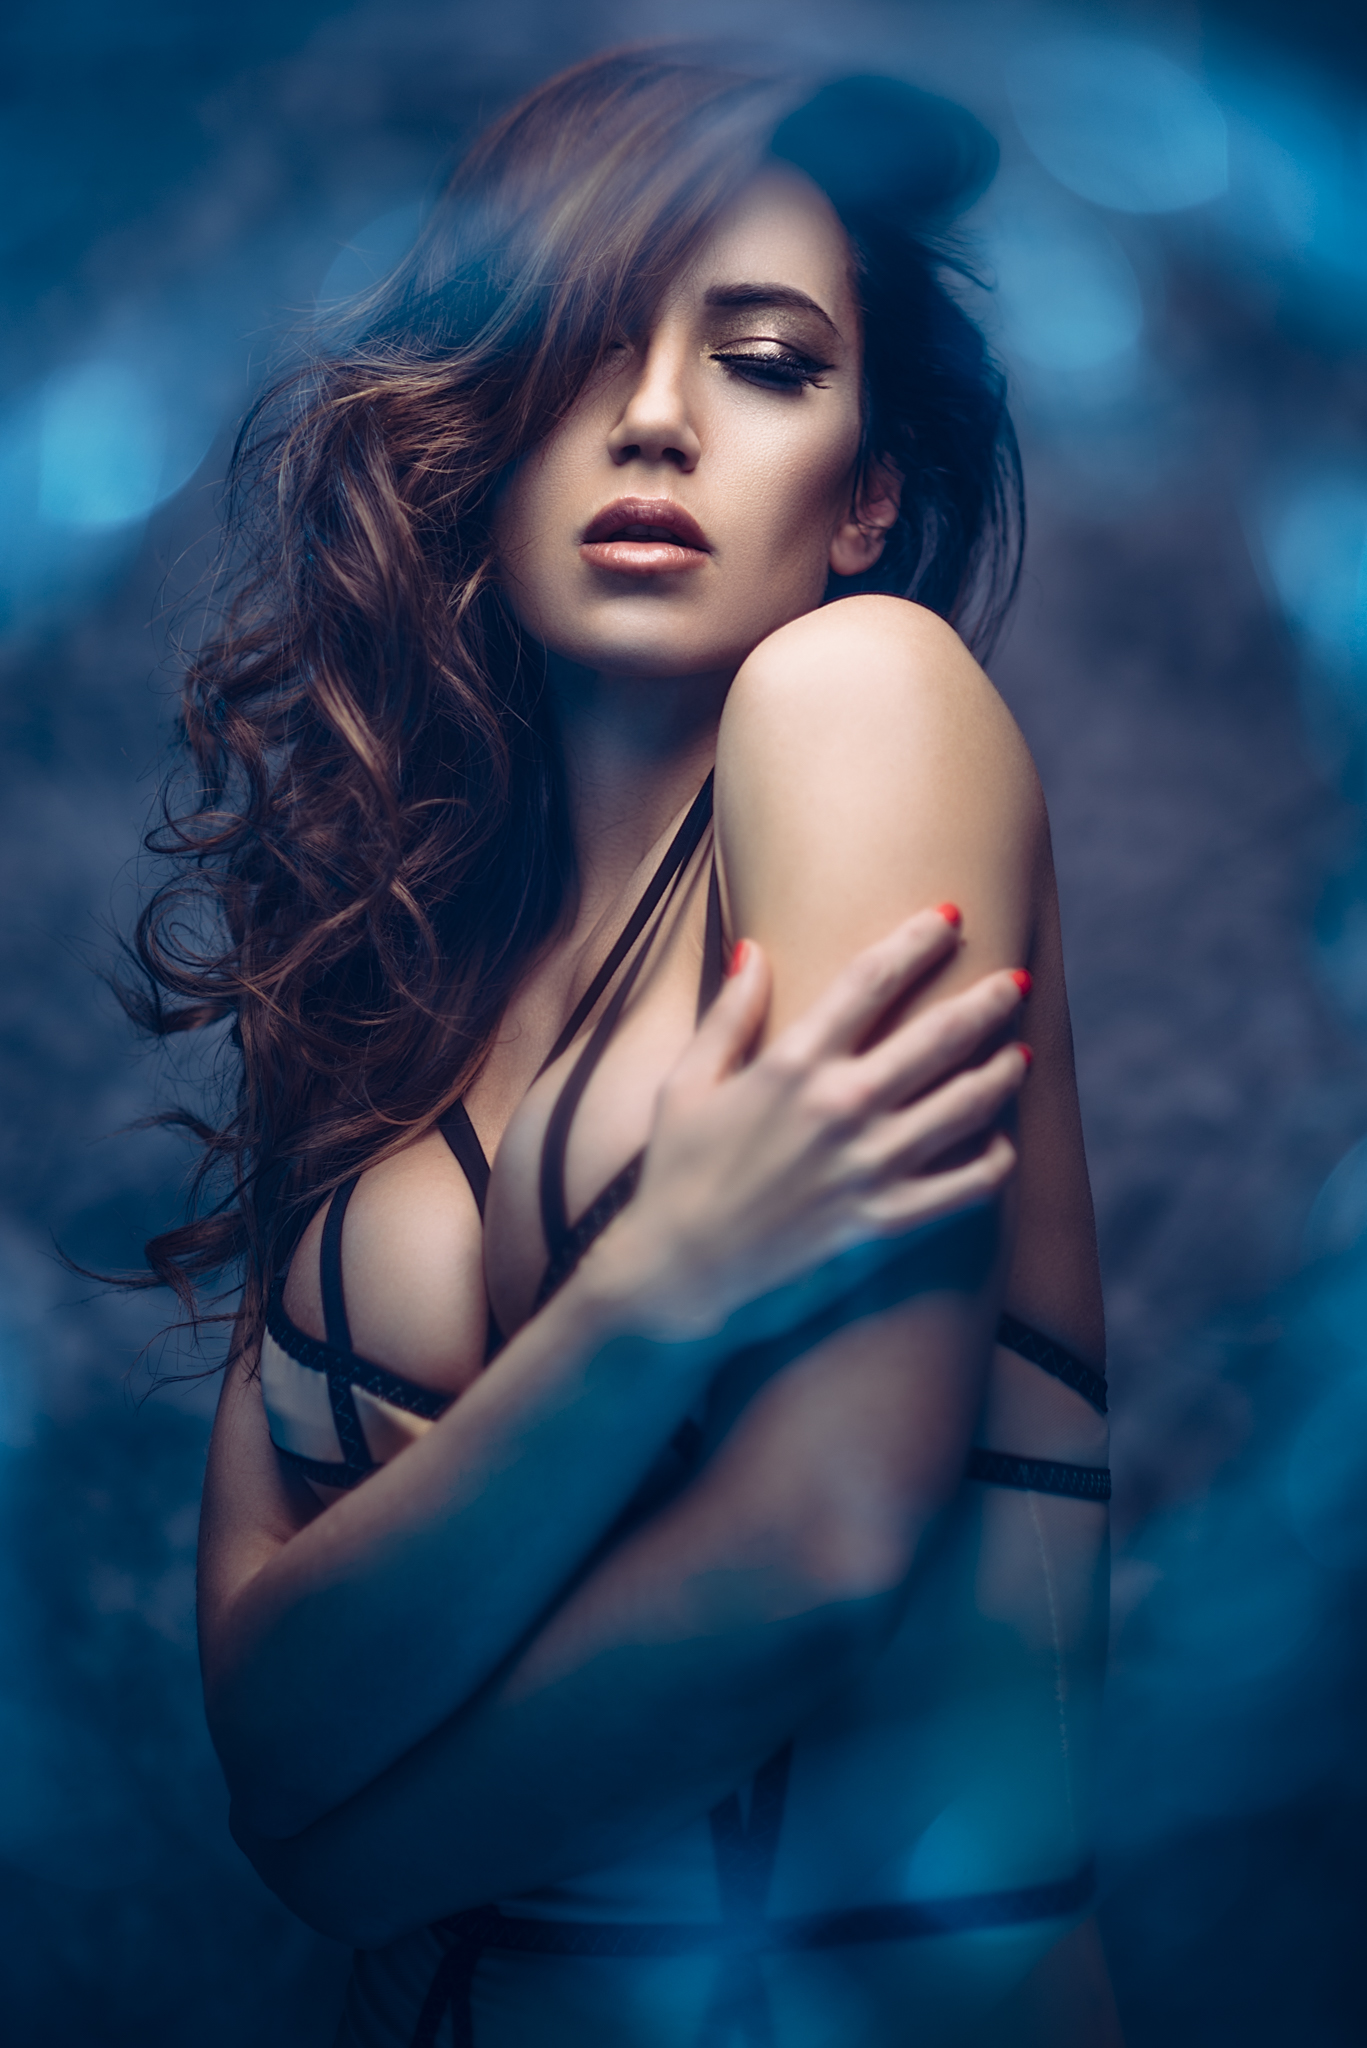
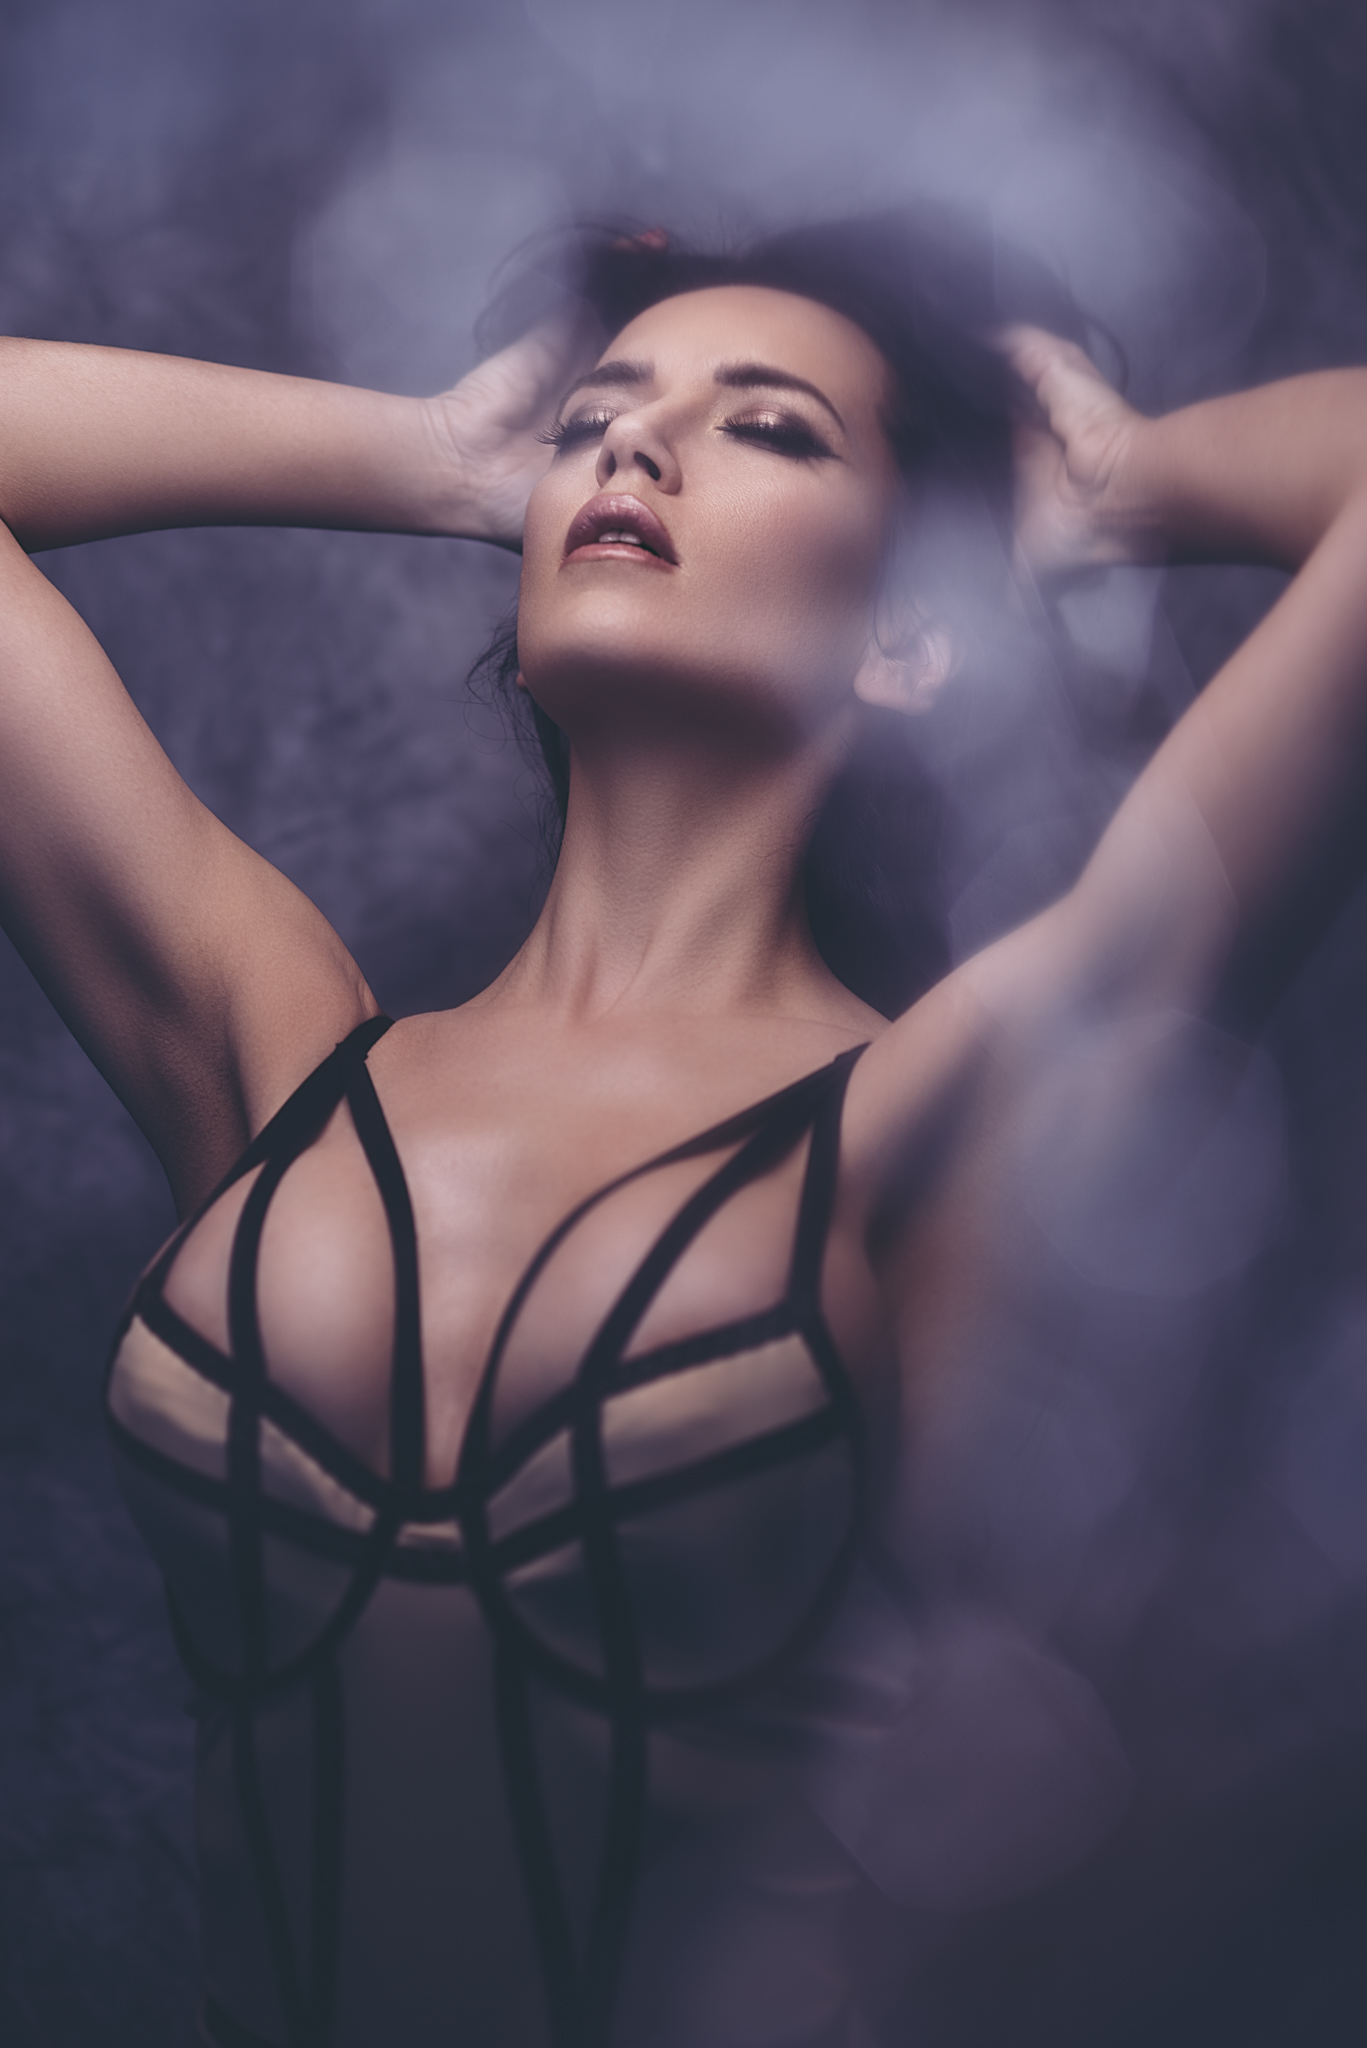
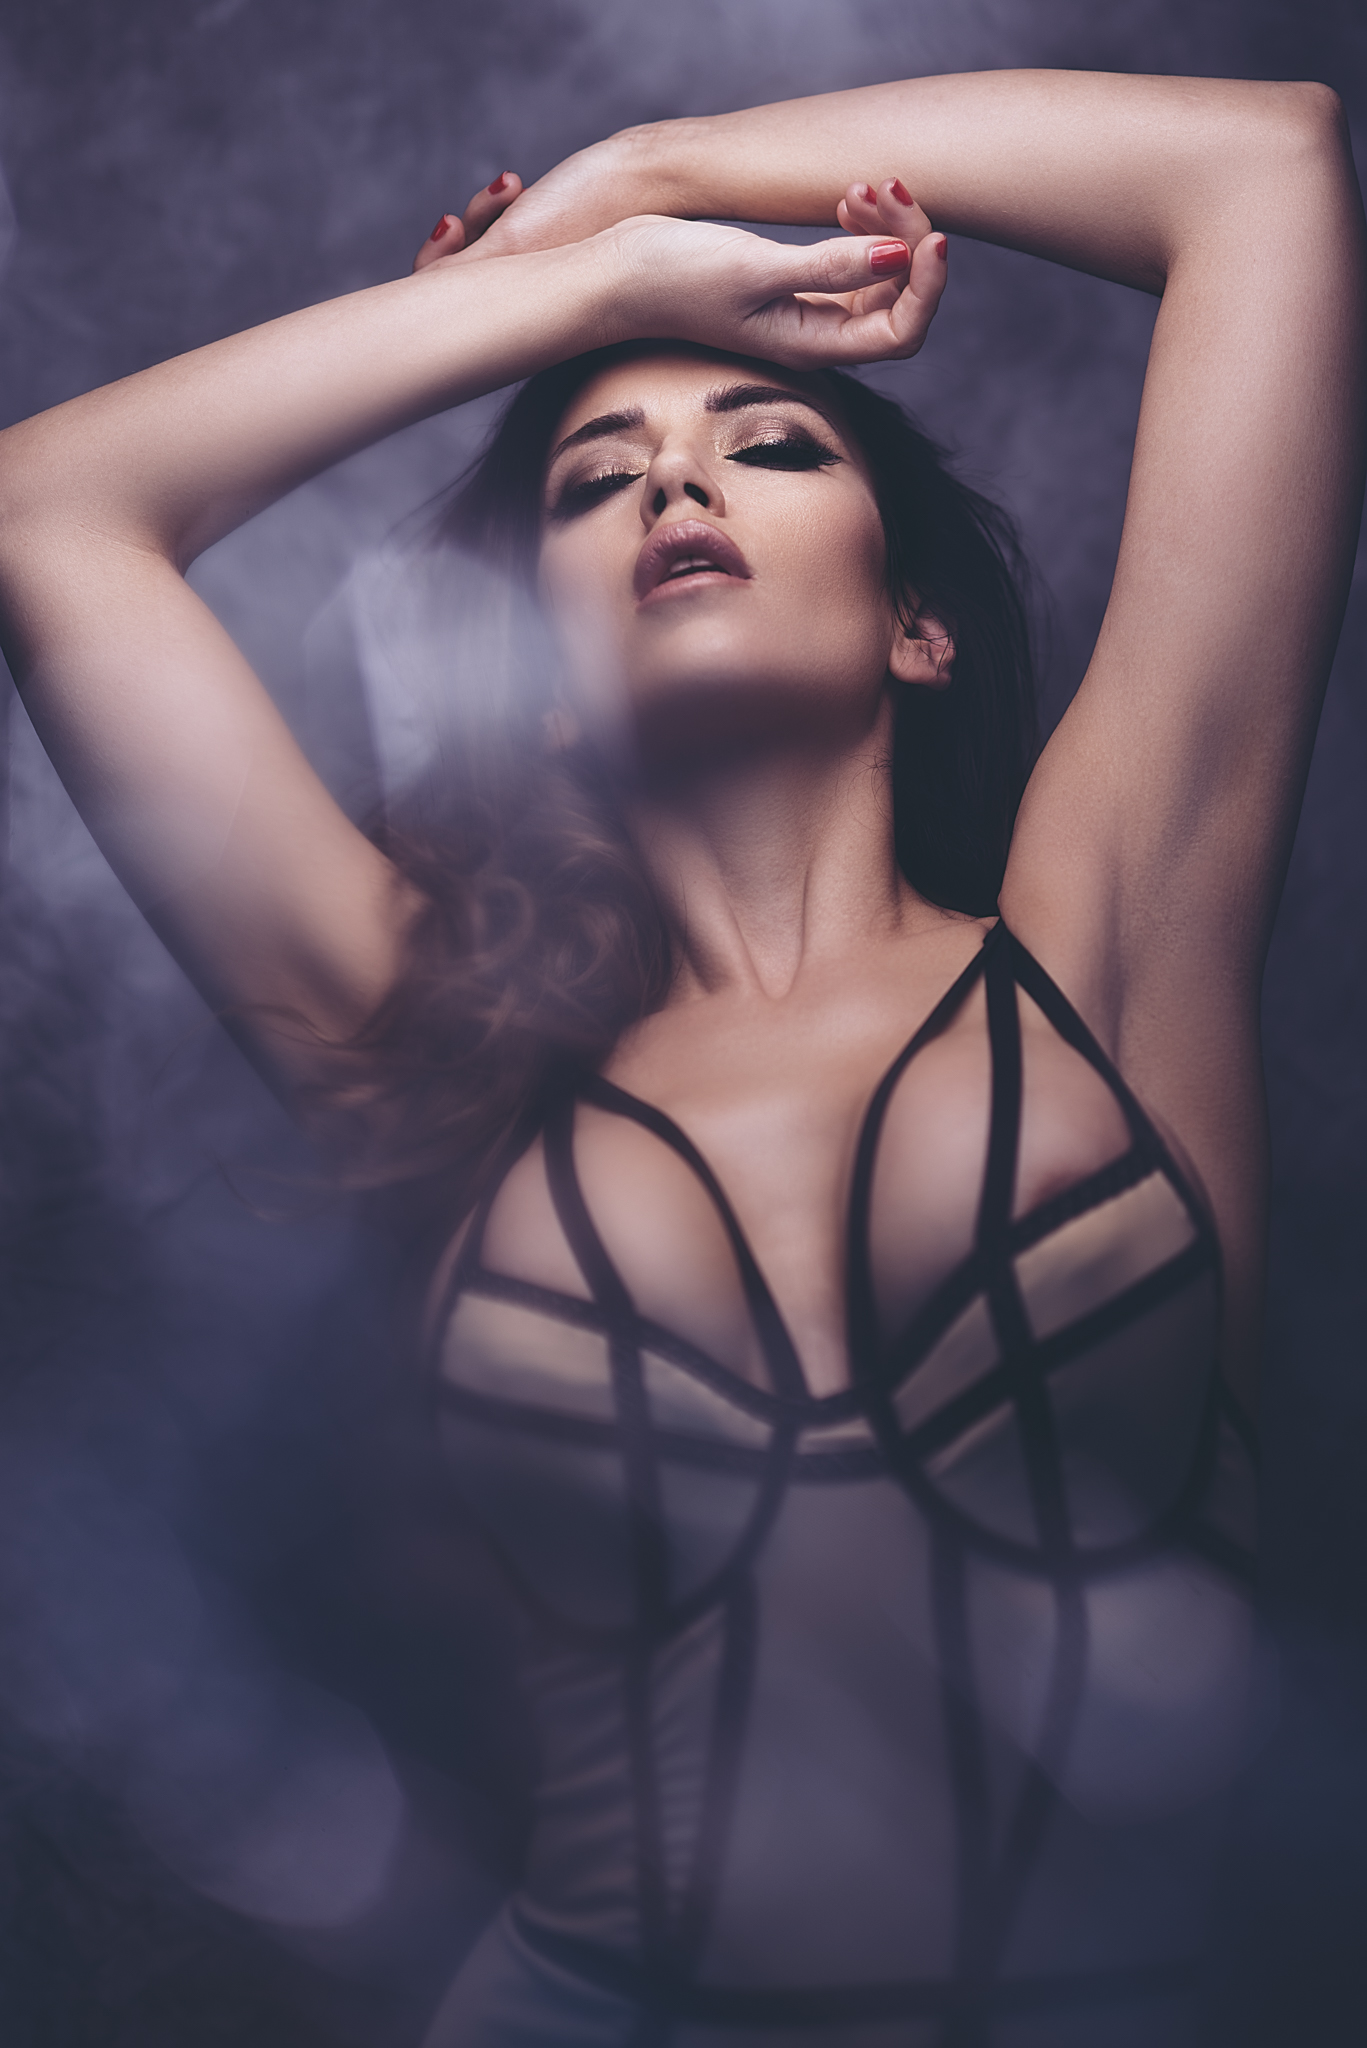
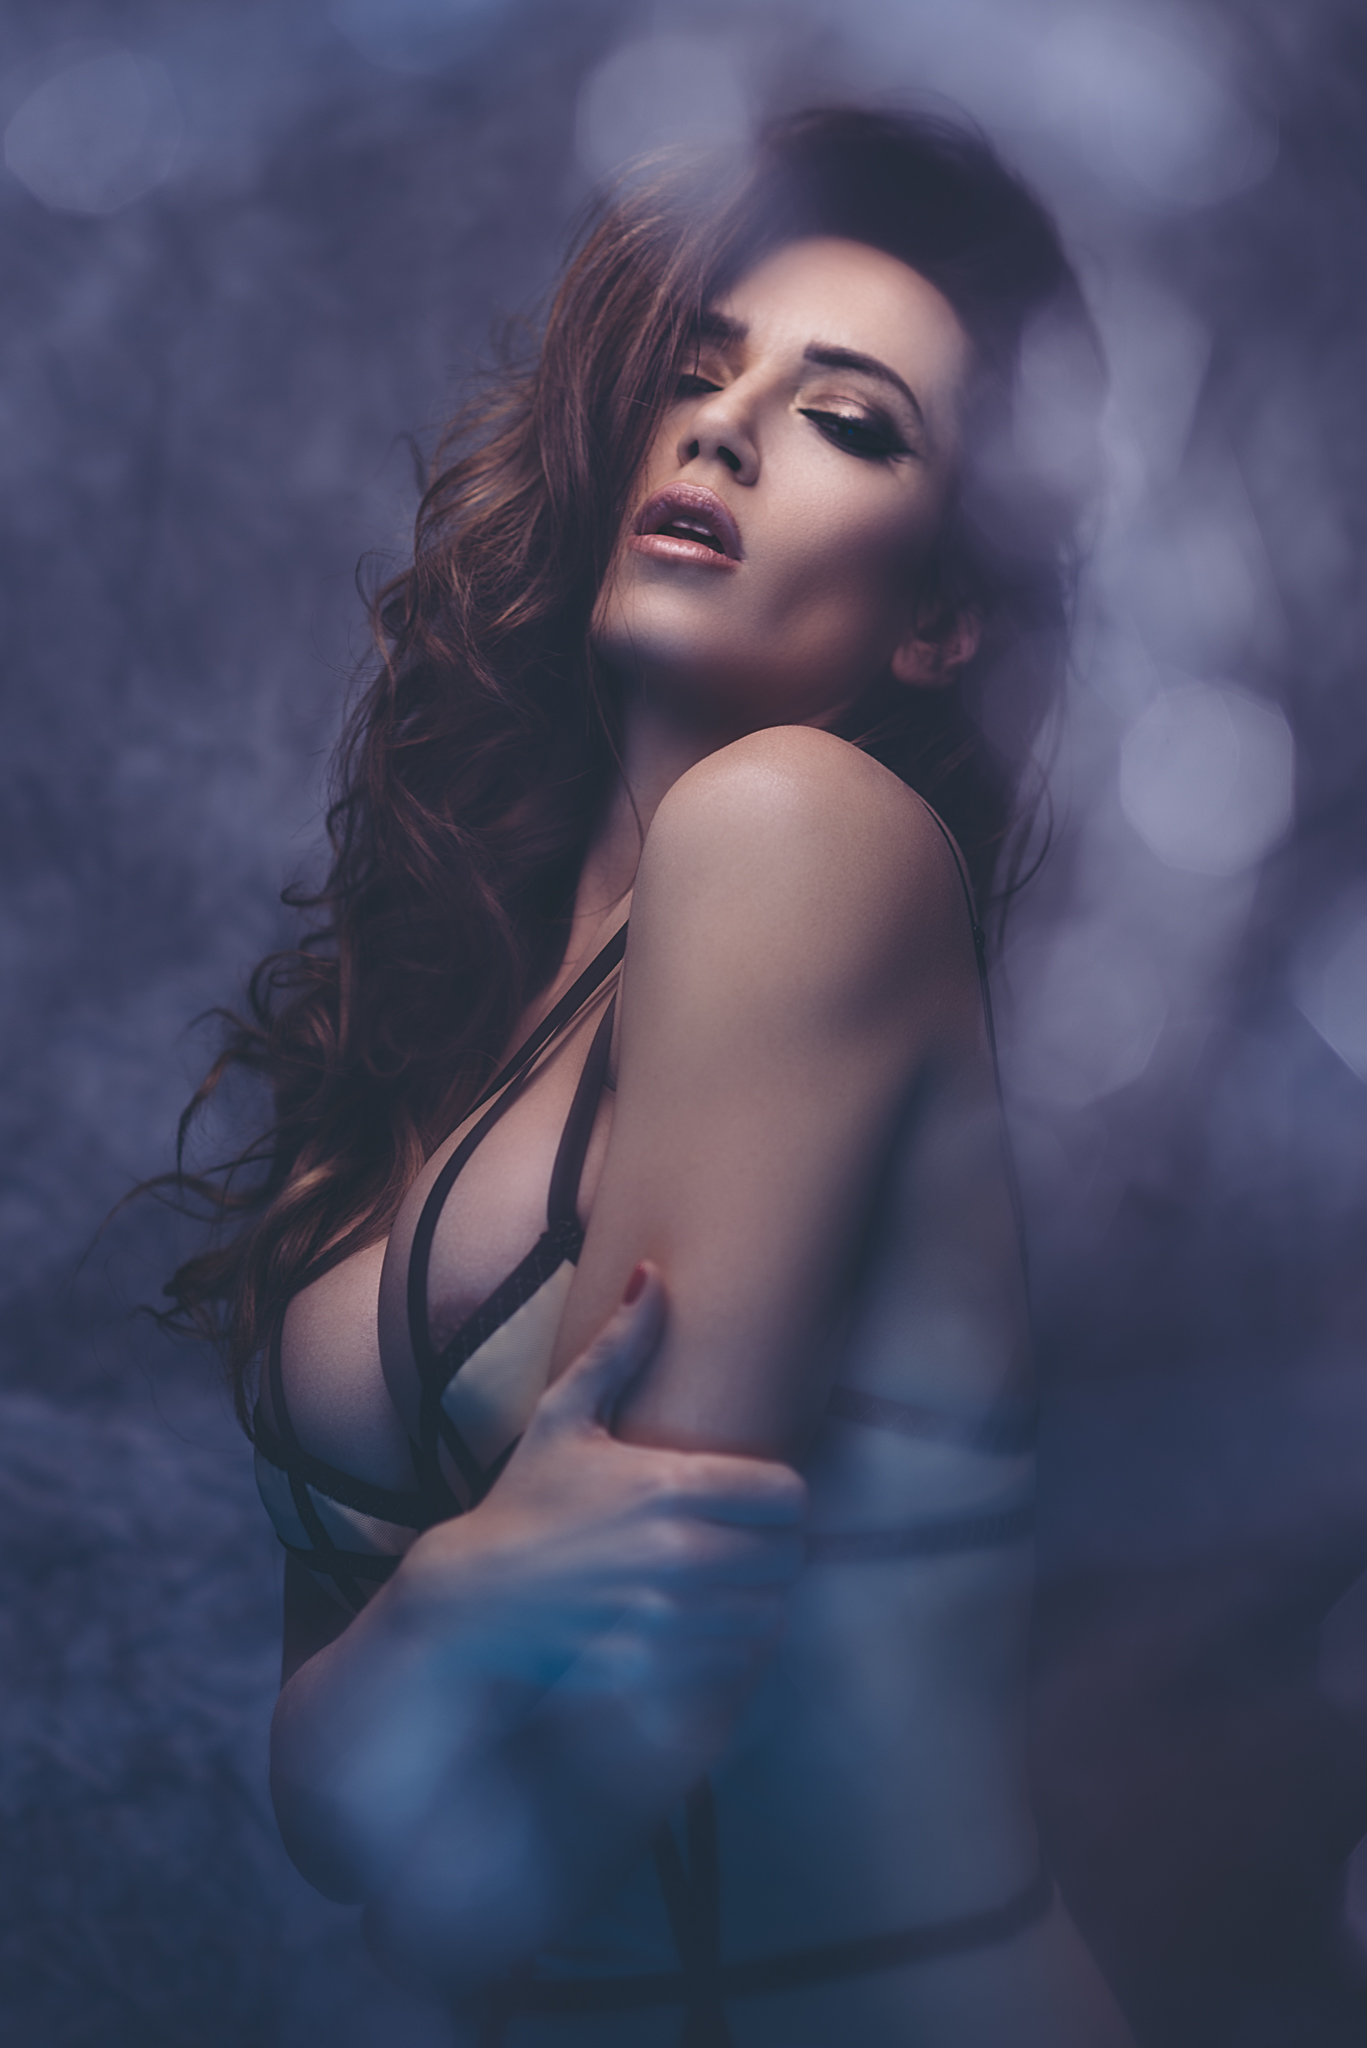
Half of the models above are agency represented and half are independently represented by themselves. The myth that agency represented models are 'better' simply isn't true, there is merely the right model for the right job based on what you and your project is looking for.
As a Photographer, Should I use an Agency Model or an Independent Model?
This is an almost impossible question to answer but I will try and break down some of the key factors I've seen from each side of the coin and try to help explain which might be best for your particular needs. Above I mentioned what the two types of models are up against in their industry, there certainly isn't in my opinion a clear-cut solution for them in whether to be agency represented or to be independent, just as there isn't a clear-cut answer to which type of models we should be using either.
But seeing as the title of this article suggests that there is an answer I will aim to provide some things to think about to help aid you in your decision. The following statements are going to be based purely on my personal experiences over the years of working with possibly hundreds of models from both agencies and independent sites. I do not by any means suggest that these sentiments fully represent each type of model and some photographers may completely disagree with what I am about to say and that's perfectly okay too.
'If they aren't agency represented, they are't a 'real' model'
For me, choosing an independent or agency model comes down to 'what's most important to you and your project?' I've worked with both exceptional models and terrible models from both agencies as well as independents but
I'd like to start by dismissing a common myth that 'if a model isn't agency signed then they're not a real model'. In my experience this simply isn't true.
What's most important to me is great images regardless of how we get there or whether the model is independent or not so like so many other things in life, there is no best model simply the right model for the right job.
Why should I work with Independent models?

A lot of independent models can give you a huge range of poses in a very short space of time. If you're after variety of poses in your shoot then reaching out to an independent model might be a great place to start.
I have personally worked with many independent models that are incredibly focused and driven on achieving the goals of your project, but with agency models this can tend to be a little hit-and-miss. An independent model is her own brand, if she turns up late, is hung-over, ill prepared and so on, that ONLY looks bad on her. There is literally nobody else she can blame and that will negatively affect her reputation in our industry very quickly. If an agency model turns up late, moody as-all-hell, bitching and whining, that unfortunately looks bad on the agency, it's the agency that gets their heads torn off down the phone not the model. I get the impression that agency models know this too and sometimes this I-could-care-less attitude shows. They'll move onto the next job tomorrow and they can sometimes give the impression that they have no personal investment in your project or the outcome of it whatsoever. But let's be honest, should they? Modelling is a job just like any other, once you've finished one job, you move onto the next. So although you shouldn't be offended by this apathetic approach, it is certainly worth bearing in mind if your project requires a little more engagement. Conversely, it's been my experience that independent models tend to be far more engaged and keen on getting fantastic images and it seems like they are more invested in the outcome.
The other factor that I've personally found with a lot of experienced independent models is their range of poses. I know I'm generalising here but a lot of agency models can rely too heavily on their looks alone and simply not have the skills to pose with any real dynamism. I appreciate this will be a controversial statement for some but again I'm merely speaking from my experiences. A lot of the high-end fashion imagery you may be used to seeing doesn't rely on engaging posing, the beautiful model simply looks amazing and effortless and that's often enough. A lot of major fashion ads will show agency models looking effortlessly beautiful because that doesn't detract from the product they are selling. You don't look at a Gucci handbag advert and immediately concentrate on the model (this link will take you to a Google Image search page illustrating my point Gucci Handbag Advert), you're engaged with the product not the models pose and expression.
So even though all of these models are stunningly beautiful, their posing repertoire often doesn't have a lot of range. How many ways can you really look like a blank canvas and disinterested, how many shots can you get of that look. Even one of the most famous and expressive fashion models of our time Coca Rocha is often simply used for this very demure look. Take a look at what she can do in this Coca Rocha - 50 Poses in 30 Seconds video and then take a look at one of her more recent fashion editorials in Harper's Bazzar Coca Rocha in Dreamy Dresses. Granted, I'm sure there are plenty of people who use Coca for her outstanding posing ability appropriately but the point I'm eluding to here is that it's seemingly not required for a lot of agency models to know how to pose expressively and as a result they don't get asked for it as much in their fashion and advertising shoots.

When I'm at a model casting day, I might see a hundred girls. Not only do I get to meet these agency models in person but I also get to see their comp-cards (mini single sheet portfolios displaying 4-6 images). I'll make a lot of shorthand notes about each of them but for my work, I'm specifically looking for a model with a variety of poses and facial expressions within those 4-6 shots and I'll often note this as 'strong poses' or 'fun poses' to give me an idea of who to call back later on.
So if my project requires effortlessly beautiful and timeless looks that don't dominate the clients brief, agency models are my first port-of-call. Independent models on the other hand have to cover a broader range of photographic clients and will often have a lot more experience with posing the absolute hell out of shoot. This is something that I personally love, so until I get the budget for a call to Ms Rocha, if I want consistently awesome poses, experienced independent models are a pretty safe bet.
Why should I work with an agency model?

Agency models can tend to have quite a specific look. If you're after that more commercial and effortless beauty look then a modelling agency is a great place to begin your search.
So apart from the beautifully demure and effortless posing we've previously discussed, why use an agency model over a independent model? It comes down to a couple of things, firstly a modelling agency will have done all the hard work for you. They've found a stunningly beautiful person and they can provide a service that means I don't have to spend weeks, firstly finding the perfect model but I also don't have to waste my time on 20 messages ensuring she's going to be there. An agency takes care of a lot of this and it simply facilitates a smoother more reliable service when your time could be better spent doing other things.
The other major plus point for modelling agencies is how they deal with model 'no-shows' (when a model simply doesn't turn up to the shoot). You're a fool if you think you're going to eliminate no-shows and it happens at even the highest advertising campaign level of modelling. There is a million and one reasons for this and I have zero interest in hearing any of them, you're either here or you're not here. That might sound cold, but remember this is a job and I am responsible for delivering a result to a deadline not a series of other peoples excuses. When shooting on a very tight deadline I would look at getting a missing team member replaced like any other fundamental piece of equipment on the shoot. Quickly. Like I say you're never going to eliminate these no-shows when you predominantly work with young people (yes, you can put your pitchforks down, I know any age person can no-show but young people seem to have more reasons than most to not be there).
No-shows happen from both independent models and agency models so I'm not insinuating that either is more reliable than the other but when an agency model lets you down you don't waste your breath calling the model, you call the agency. I've had these no-shows happen a few times in the past and I've had to call the agency to get it fixed. Like I said, I'm not interested in why somebody isn't here, I'm interested in making sure somebody is here. I honestly don't want to know how the agency do it, but they often get a replacement model of a suitable standard out to me, on set, usually within a couple of hours. Like I say I don't wanna know how they, threatened, bribed or bought this result but before you know it, they've loaded up the 'model-cannon' and fired across a fresh model to stand in as a replacement.
It's a service like this that you're happy to pay for. We all know it's going to happen so when a no-show does occur that agency moves heaven and earth to fix it. If you've got a 40k shoot in progress you're not gonna call it off on account that 'Susan' was out until 4am "snapchatting" her 149,000 followers of her dancing on the bar! *facepalm* 'Big shock she no-showed this morning!' The show must go on and an agency will definitely do everything in their power to facilitate this.
Whilst we're on this subject, I'll just say that personally, on a big commercial job I will nearly only ever work with agency models. Not because I believe they're better models but because I know their agency has a good reputation for 'putting out fires' that their girls start. If the job really counts, I just won't take the chance on an independent model I don't know. Again that's nothing personal to them, they genuinely may have come down with cholera overnight but they don't have the agency behind them to sort out a replacement. If I've worked with an independent model before during a test shoot and I have a good relationship with them then yes, I'll certainly work with them on a commercial job but that trust has to be built first.
What's most important to you and your project?
Again I'll ask you 'what's most important to you and your project?' I'll be honest, I'm a professional photographer and my goal is to get the best possible image I can regardless of how we get there (granted, not a great mission statement). If an agency model turns up and demands chamomile tea in a china cup, complains about the room temperature being too cold even though 20 other people are fine with it and rolls her eyes at everything I ask her do, I'm frankly fine with it. If she's giving me the full-diva, that's fine just as long as she's giving me KILLER images.
Would it make my life easier if she was acting like a civil human being? Yes of course it would, but I'd take her tantrums and outstanding poses over a model who wants to be my best friend but looks like a limp fish in my photos any day.
You have to ask yourself what's more important to you. If you're chilling out at the weekends and want to have a bit of fun shooting some photo projects on your days off then no, you don't want or have the time for rude and insolent people no matter how good the poses are. If on the other hand you've got a major photoshoot with client expectations on the line then suck-it-up, get the best possible pictures you can regardless of the ignorance you have to put up with to get them.
My personal choice

For me and my work, I love working with models who are very expressive with their posing. If the lighting is dynamic and engaging then I like the models pose to reflect that over a simple demure look.
Posing is a big thing for me and my images, I pride myself on creating engaging lighting that triggers a viewers response immediately. I find it hard to sell that vision to a viewer if the model within that image looks bored, stagnant and staged. That really doesn't match the lighting around them. But that's just me. Remember that the fashion world is crying out for the next big 'resting-bitch-face' shot in black and white plonked in front of a daylight window. So many agency models excel at this look whereas others fall short and although I joke (kinda), that look is a skill but it's often not accompanied by many other looks in my experience. For a lot of my work I will after the hungry, engaged and often more experienced independent models to give me the image I want. Often these crazy expressions and poses come from more experienced, confident and often a little older models. Many models don't make it in an agency past their mid twenties so again finding what I'm looking for at an agency isn't always as straight forward as it might seem.
But again this is just me, you might be focused hard on the pure fashion route where the agency models are the industry standard. This is what the industry expects and you really can't take a bad picture of them when the more classic and effortless posing is required. Sometimes you may even come across situations where the client or magazine insists on an agency model being used. This again is that industry fear and misbelief that agency models are always better but I've certainly used independent models on those projects where I'm not supposed to because I believed otherwise. The magazines and clients have always loved the results and that's what counts (although they should have spotted my slightly unbelievable make-believe agency in the shoot credits called 'South End Unicorns'). If you think you have the right look for South End Unicorns let me know ;)
In conclusion
I will reiterate once again, I am generalising here when I speak about posing ability and no-shows but this is based on my own experiences. Most agency models are fine and do what's being asked of them without incident. It just seems that the hit-rate of keen, enthused and passionate models comes from the ones who are out there hustling for themselves and are relying on their own hard work to get fed.
If you have the time to look and do the research then there are plenty of outstanding models out there who aren't represented by agencies. They will often work their damnedest to help you achieve your vision as they know their reputation is invaluable to them. If you're pressed for time, have a major shoot booked and an expensive location already paid for, with gowns freshly hired, you are going to NEED a model to be there. An agency can often ensure the shoot goes ahead by making sure you have a model to work with even if the original model doesn't show up.
I certainly wish you luck with all of the models you decide to work with on your future shoots whether they be independent or agency represented :)
Thank you very much indeed for reading this far, I know this was a VERY text-heavy post but I felt it was a worthwhile article to put together because I hear so many stories about agency models vs. independent models and I just wanted to share my experiences of dealing with the modelling industry so far. As always, I'd love to hear your thoughts and if you agree or disagree with what I'm saying then please feel free to let me know your own personal experiences with independent and agency represented models. Also if you have any questions, please feel free to fire away :)
The final article of this three part mini-series on working with models will be out in a few weeks. This last article will focus on 'How to initiate contact with a model and book them'. I'm currently in the process of asking a huge range of models on their advice for us as photographers rather than me passing on any bad habits. It's shaping up to be an interesting piece so if you'd like to be informed when that's out then simply sign up to my mailing list via my Free Tips page.
:WARNING: If you've read down this far, you've earned yourself some retail therapy below!
If you're interested in any of my work and would like to know more about how I created some of my shots then why not check out my workshops. Here you can find out everything there is to know about Gelled Lighting, Long Exposure Flash Photography and my entire Post-Pro Workflow. Jake Hicks Photography - Workshops

I have also just released a brand new 22 hour complete Gelled Lighting Tutorial video. I go over everything from studio lighting setups with gels to being on location with gels plus I also go through my complete retouching and post pro workflow. For more details and complete breakdown of everything that's include check out my Coloured Gel Portraits Tutorial

I also offer comprehensive coloured gel packs. These collections of gels are what I use day to day to create some of the most highly saturated colours around. If you're looking at getting into gelled lighting or need to get stronger and richer colours in your coloured gel work why not check out my Jake Hicks Photography Gel Packs