We've spent the last ten years of our digital revolution trying to eliminate grain and noise from our photographs but as with anything that falls out of favour, a new generation comes along to make it cool again.
I'm sure we've all experienced that sinking feeling after uploading a shot to an online service like Facebook. It looked great a moment ago now it looks like somebody just kicked 50 points of saturation out of it and then re-saved it at JPEG quality level 3 for good measure. Not cool. Click to Enlarge Image so that you can see that it doesn't just happen to you. Image on the left pre-Facebook, image on the right post-Facebook.
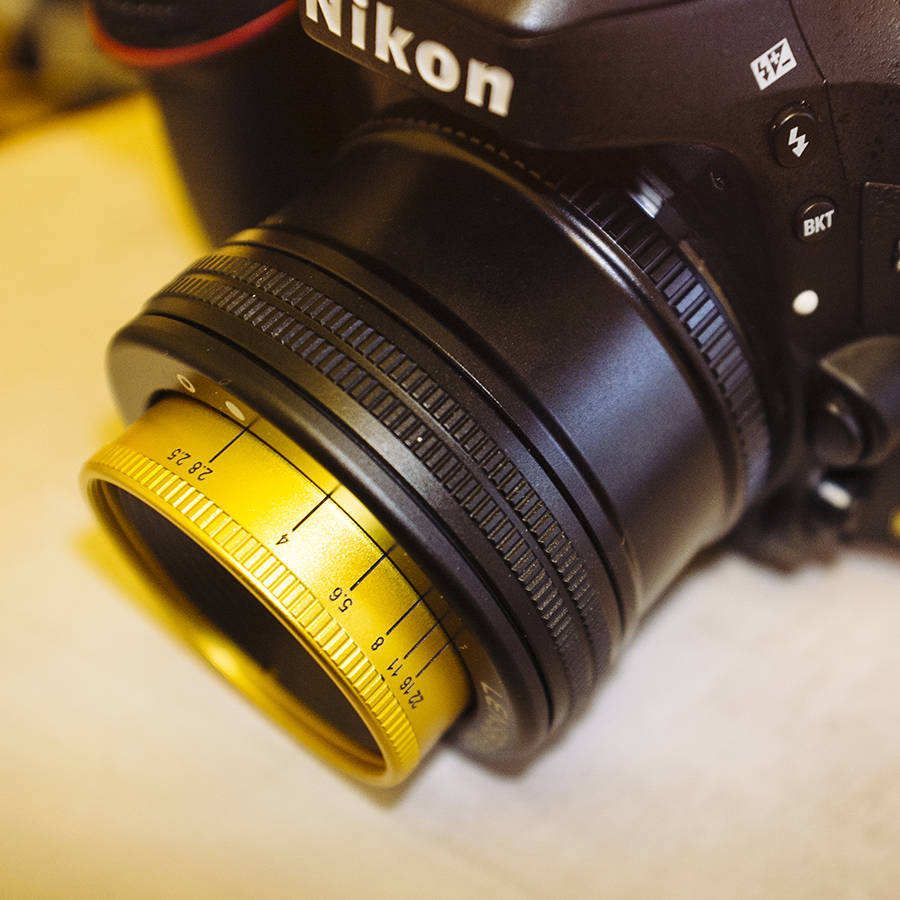
The film era of photography has given us a lot and we've certainly spent a long time with digital photography where we've strived for sharper lenses, smaller pixels and a lot less noise in our shots. But that couldn't carry on forever and over time we've fallen back in love with the nostalgia of imperfections. Lomography and its army of film shooters is more popular now than it ever was back when film was the only choice and more and more of us are shooting with vintage lenses that introduce a more 'artistic' and creative look back into our shots. In fact even the top-end New York fashion photographers who shoot on £30,000, 100 mega pixel cameras are adding noise back into their fashion shots and more and more of us are following the trend as I see more and more grainy shots being uploaded than ever before.
So is it just another retro-revolutoin or is there a reason that digital noise is becoming more prevalent in our images? Firstly I think there's a couple of reasons, on one hand I think it's nostalgic to see noise and grain in a shot and a photographer may want to convey that feeling in their image. Secondly and perhaps more importantly there's a couple of technical reasons why noise is being used. I'm sure most of us shoot on a modern digital camera that has around a 24 mega pixel sensor onboard. These cameras have the ability to shoot pin sharp images fully printable up to A3 or suitable for billboard ads but how many of us actually print anything at all any more? Even if you do print some shots the reality is that the vast majority of our images go online and are viewed at a mere fraction of the size we actually shot them at. So most of our images are being viewed at a very small comparative pixel size and also in a smaller colour depth to what we shot them at (this is a whole other article but essentially most online viewing platforms like Facebook strip colour detail from our shots to reduce file sizes). We spend ages making our shots 'print-ready' but don't actually print them, when in reality we should be making them 'screen-ready' and there's a couple of things we can do to make that happen.

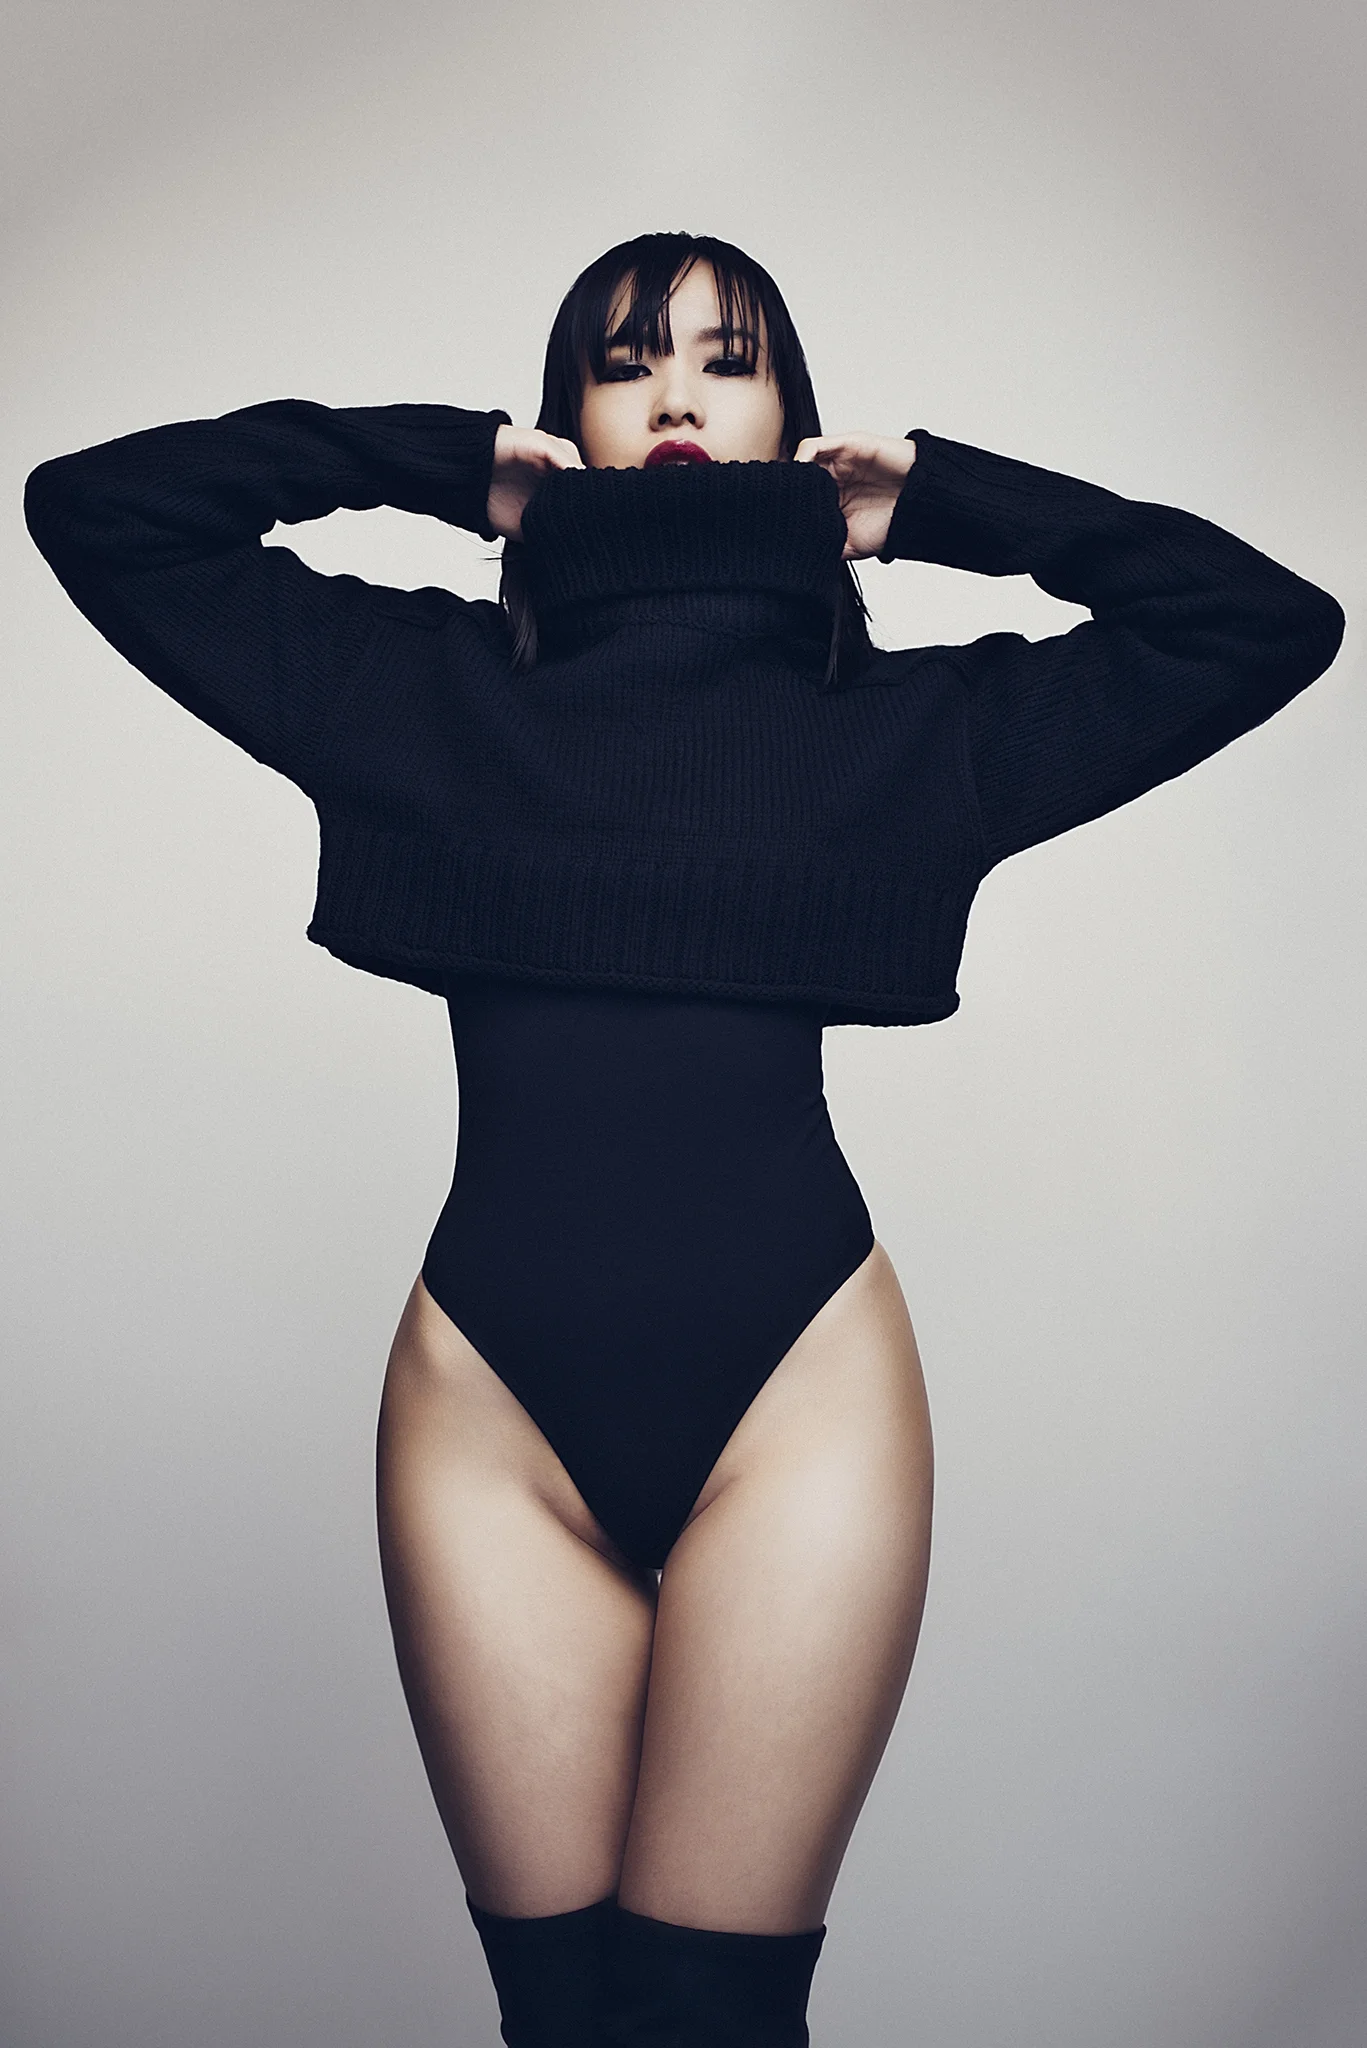
A small part of me dies each time I upload a gelled lighting shot to Facebook.
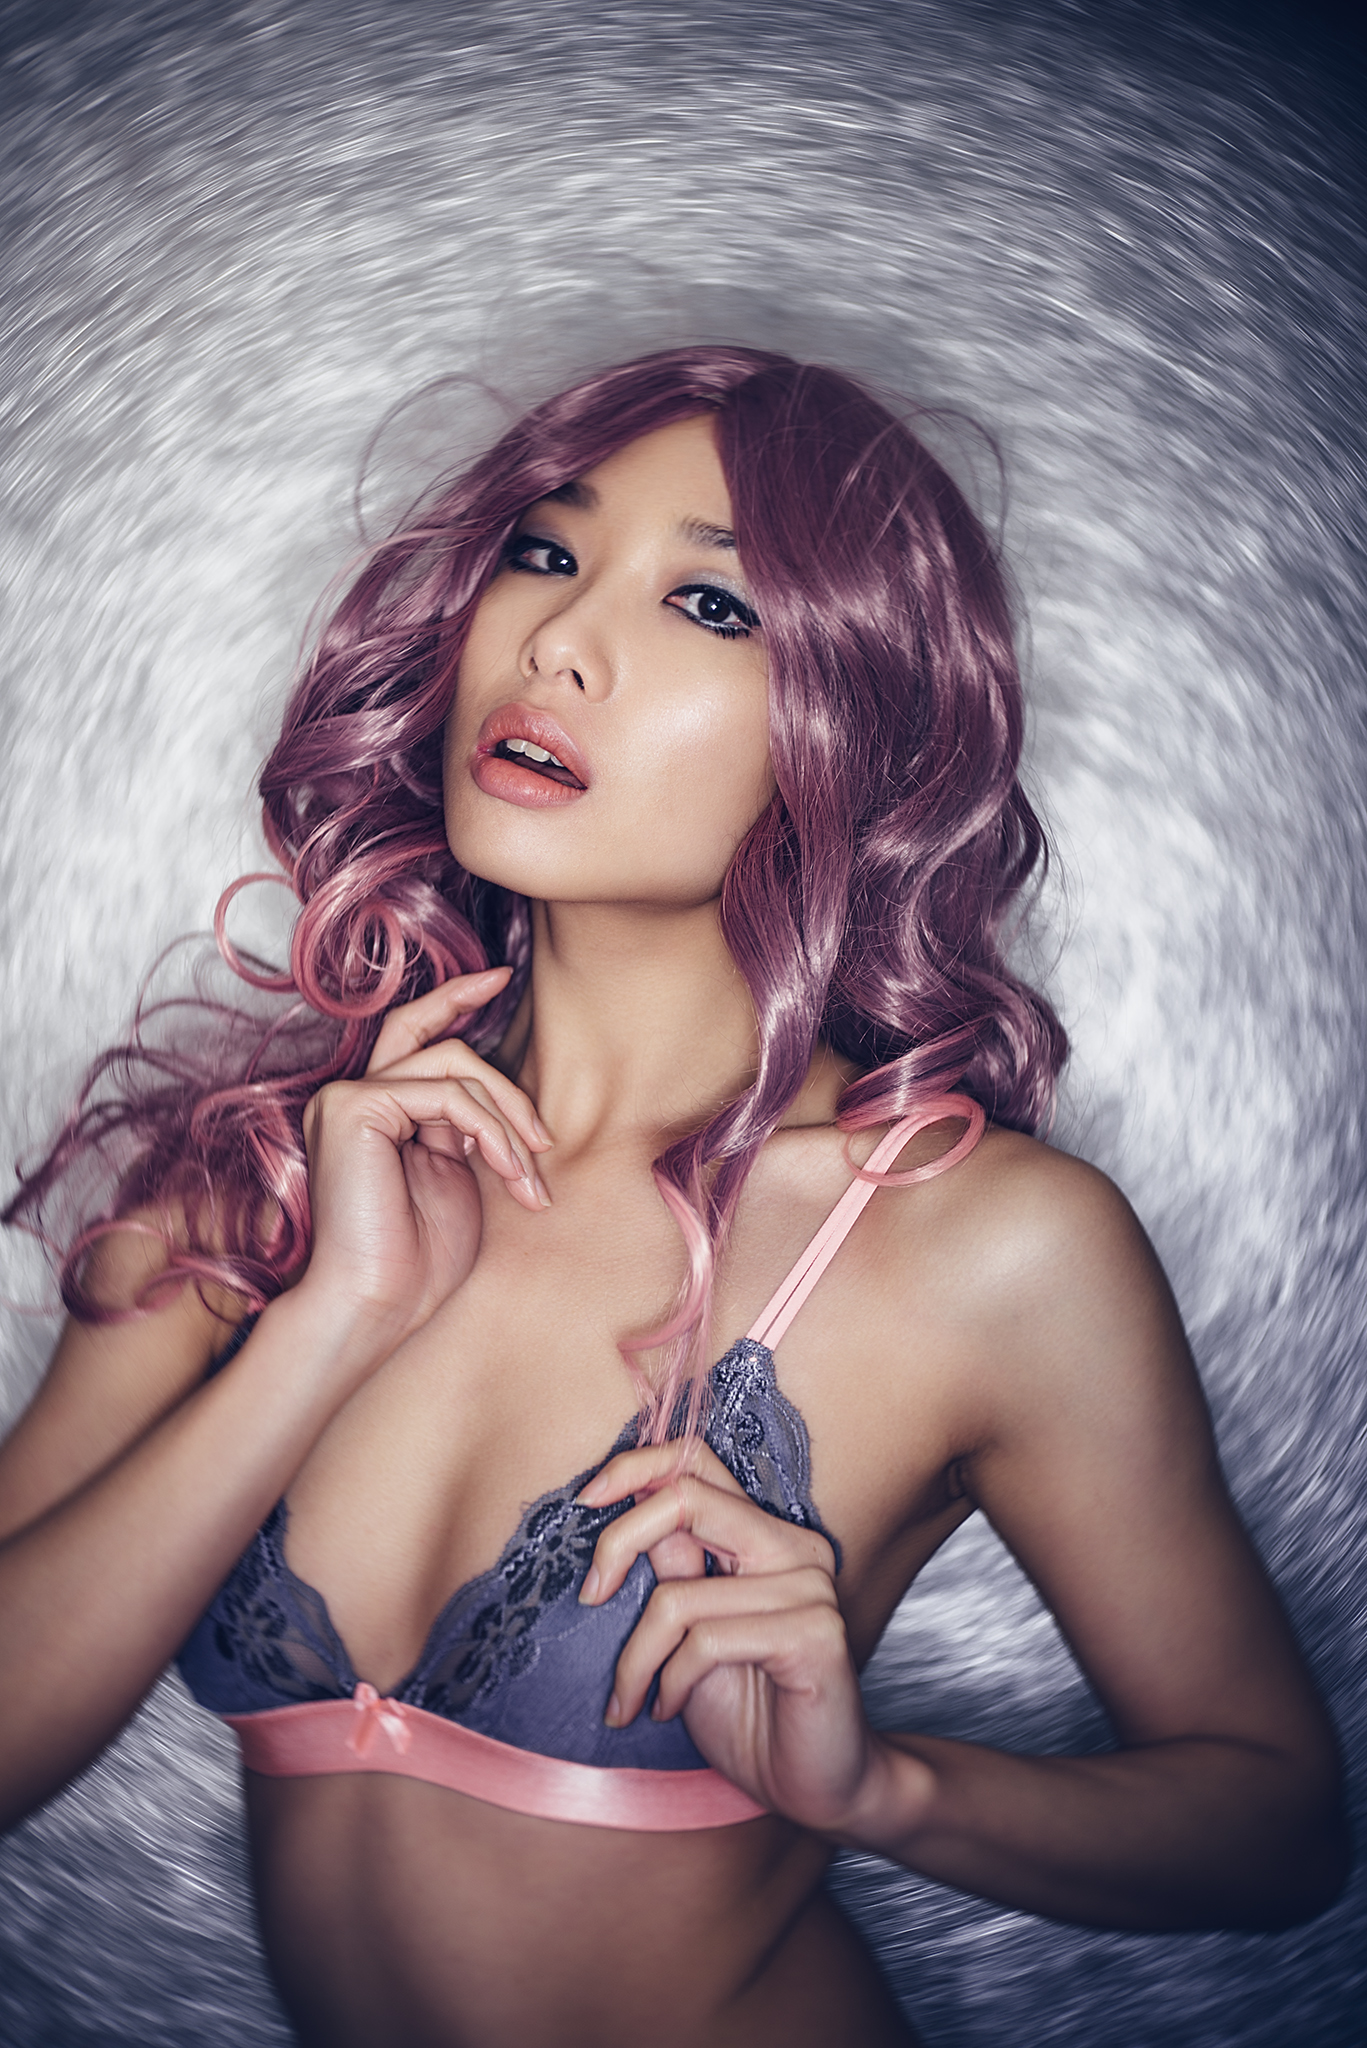
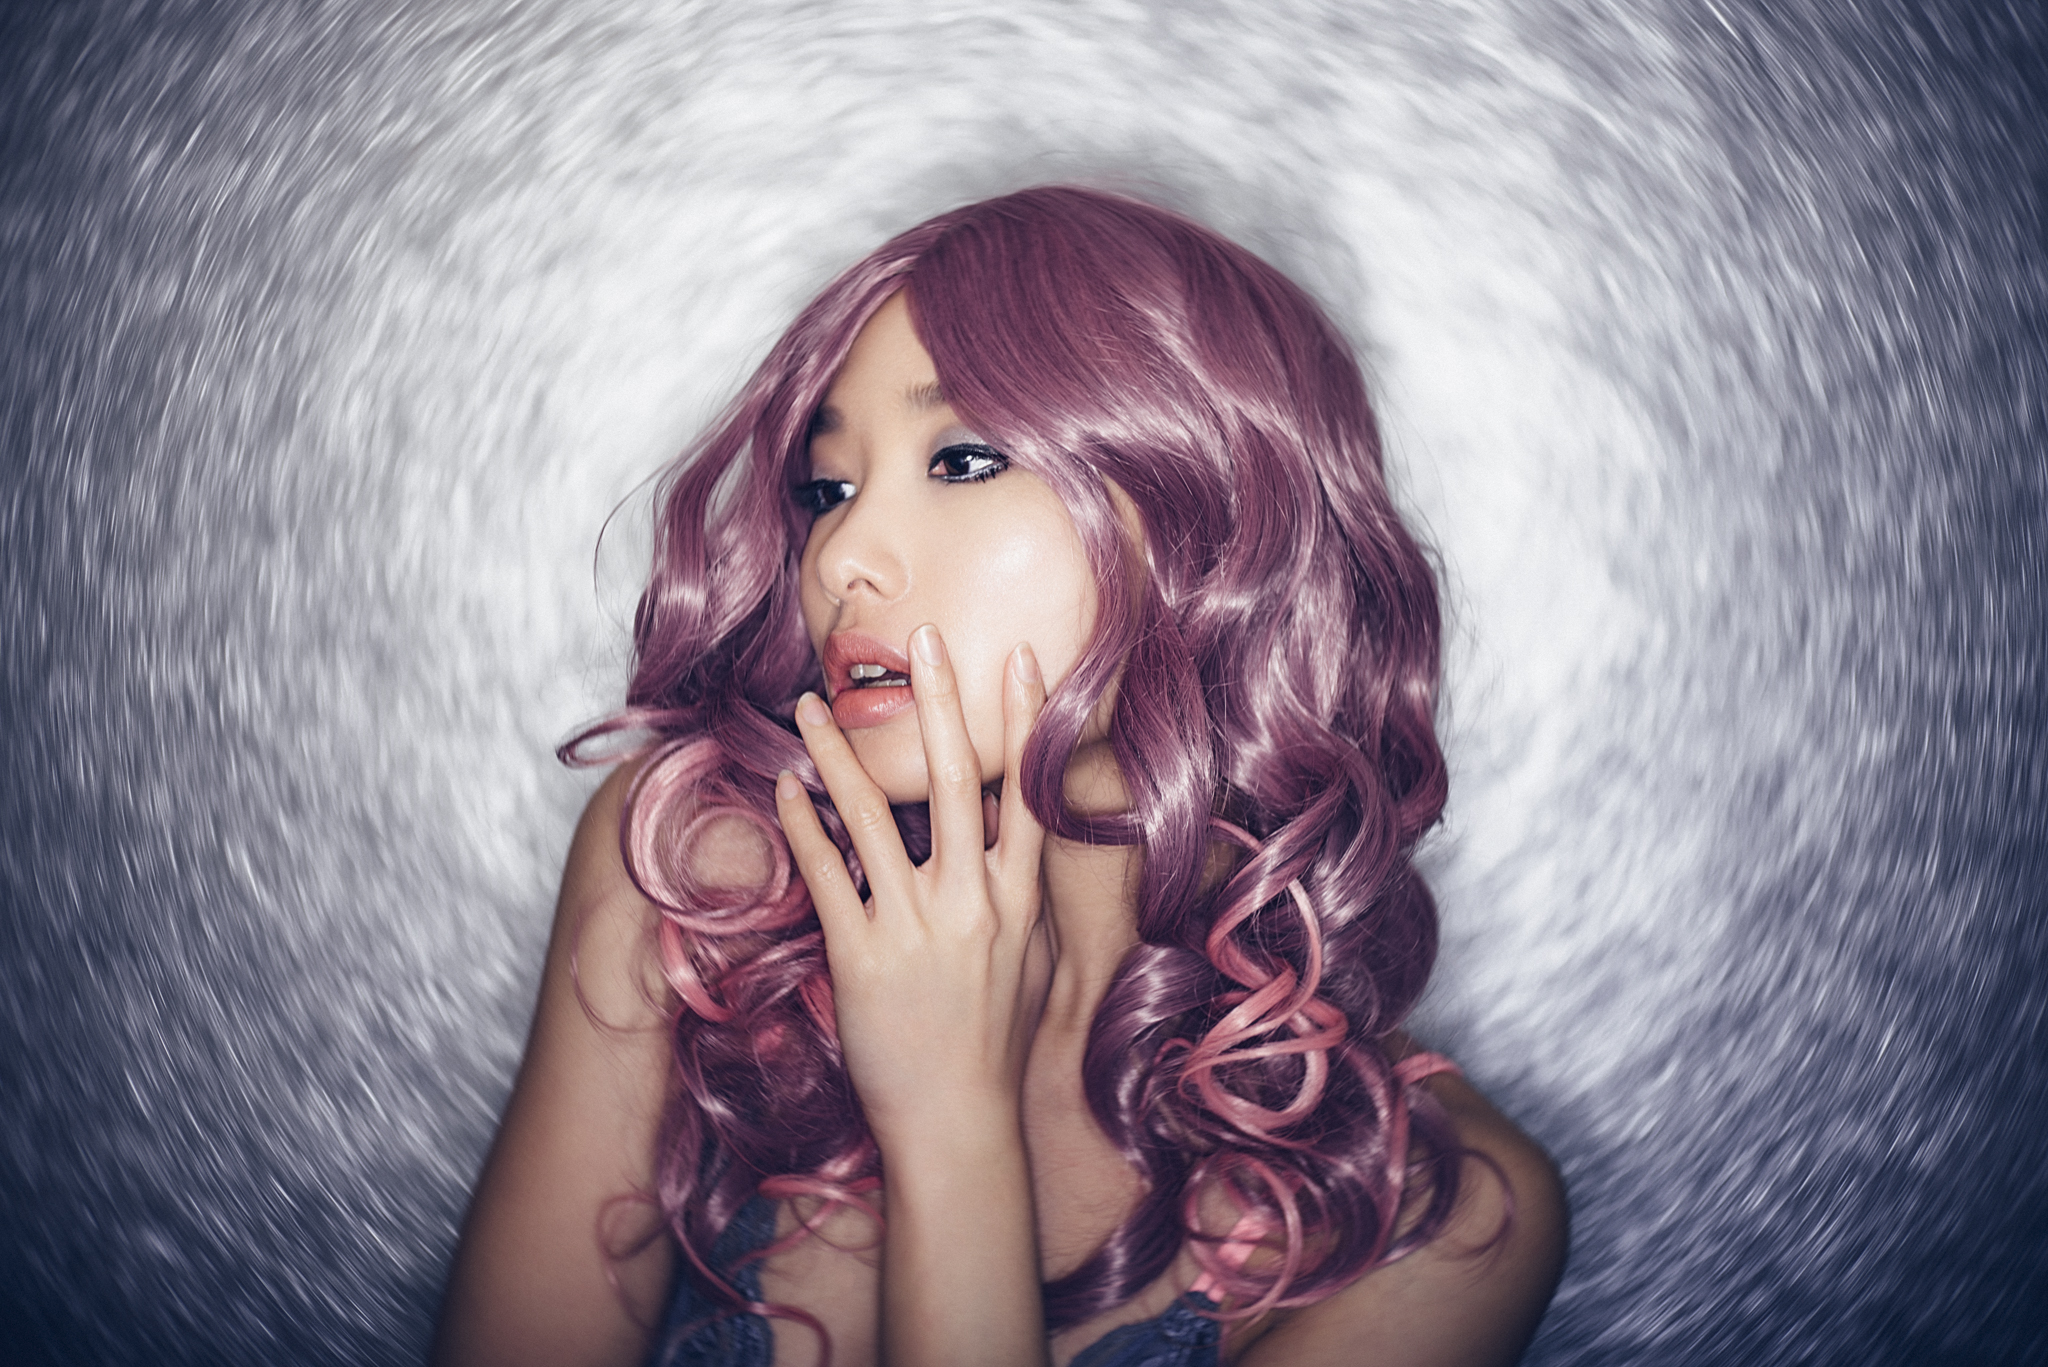
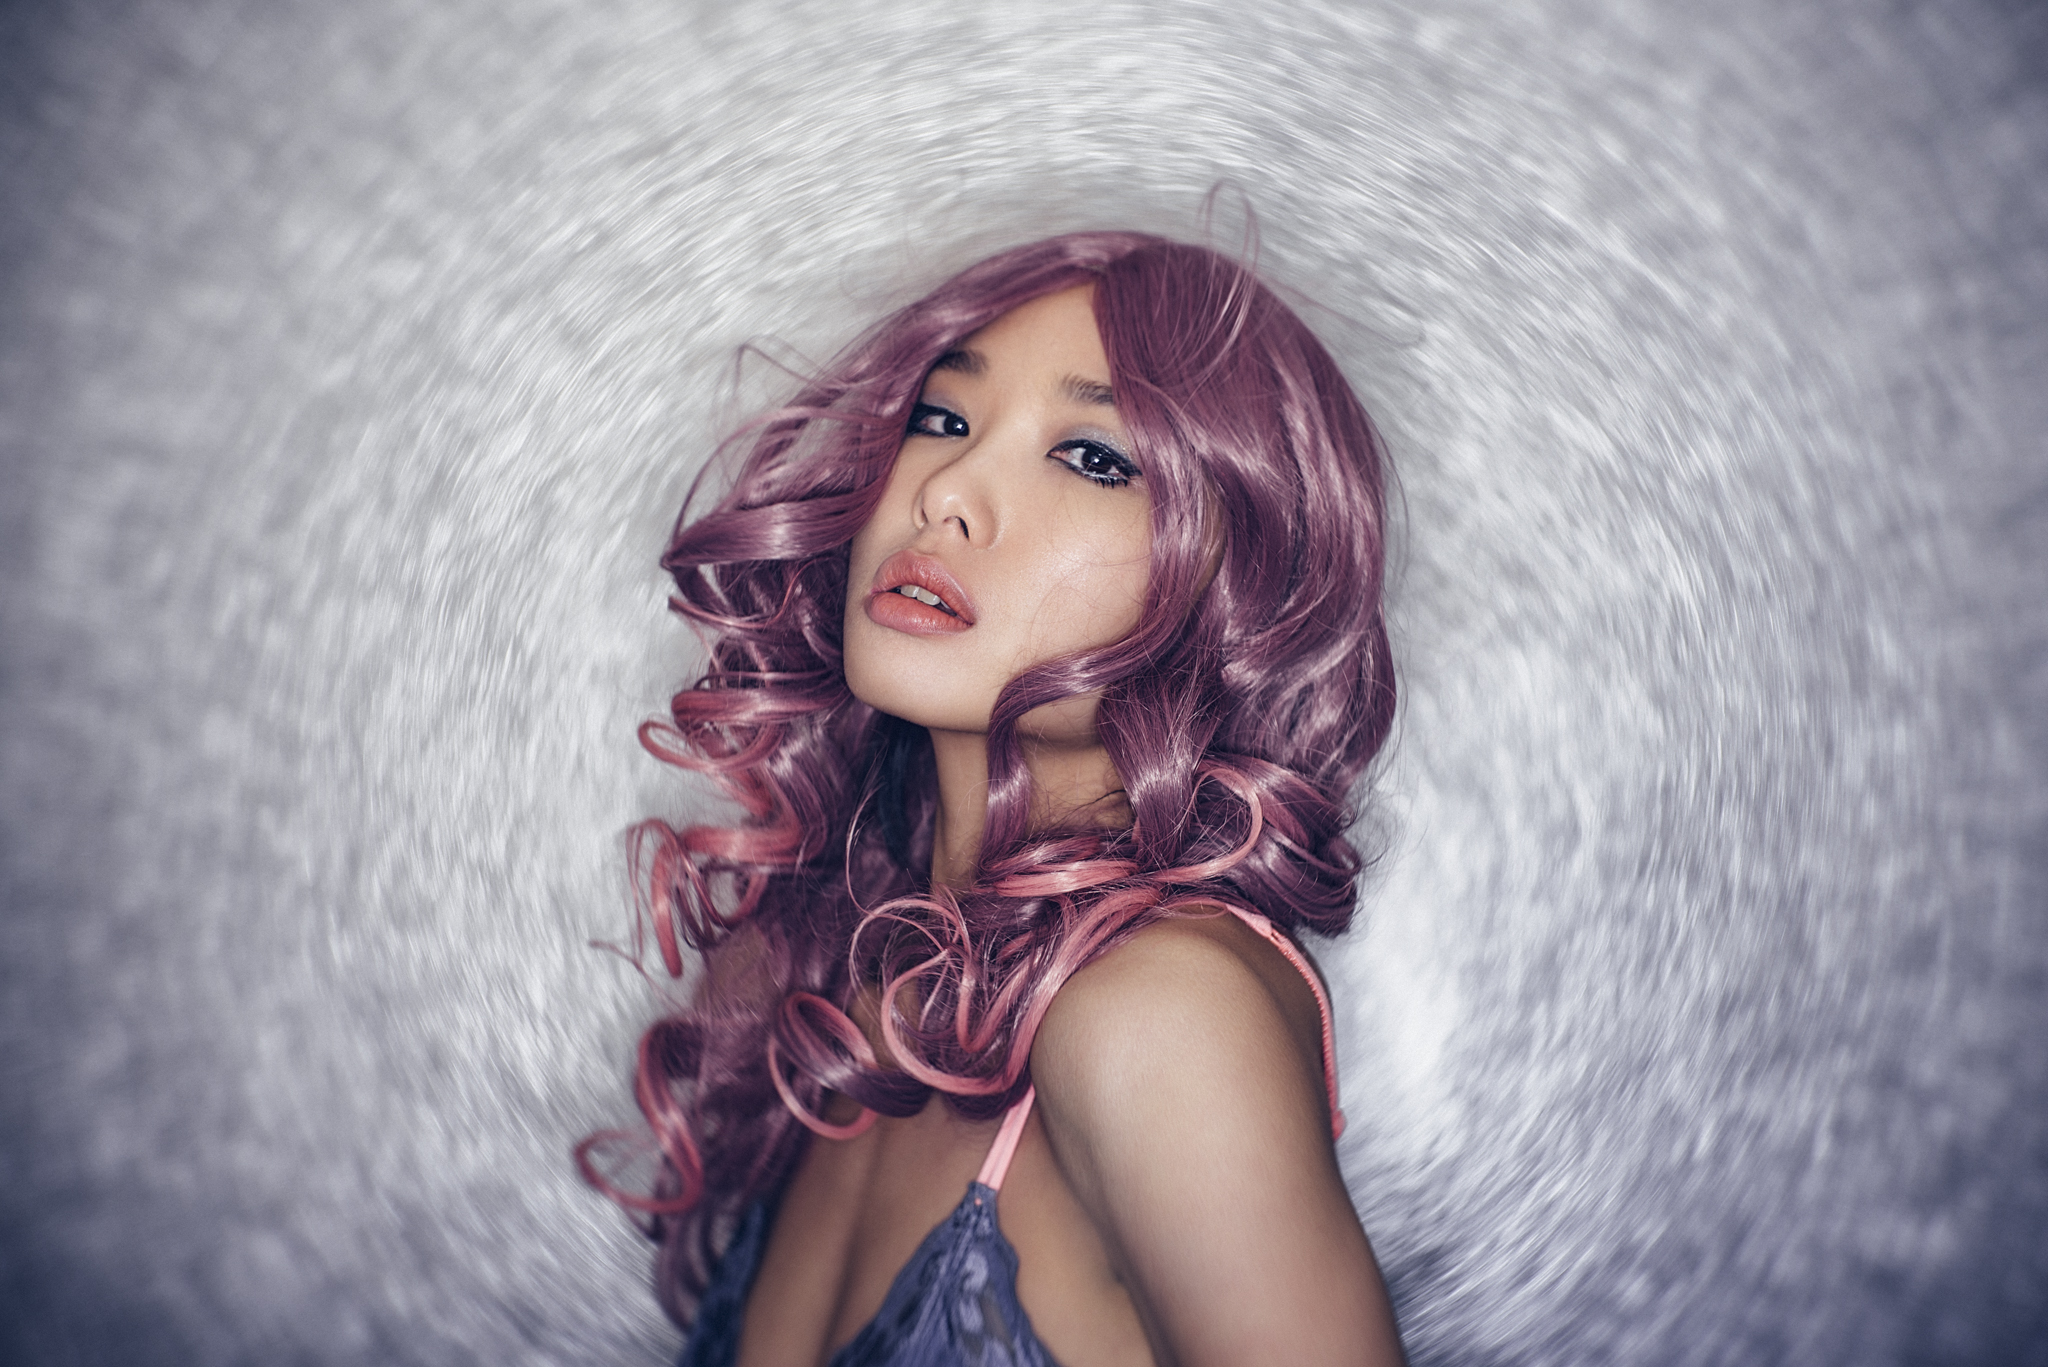
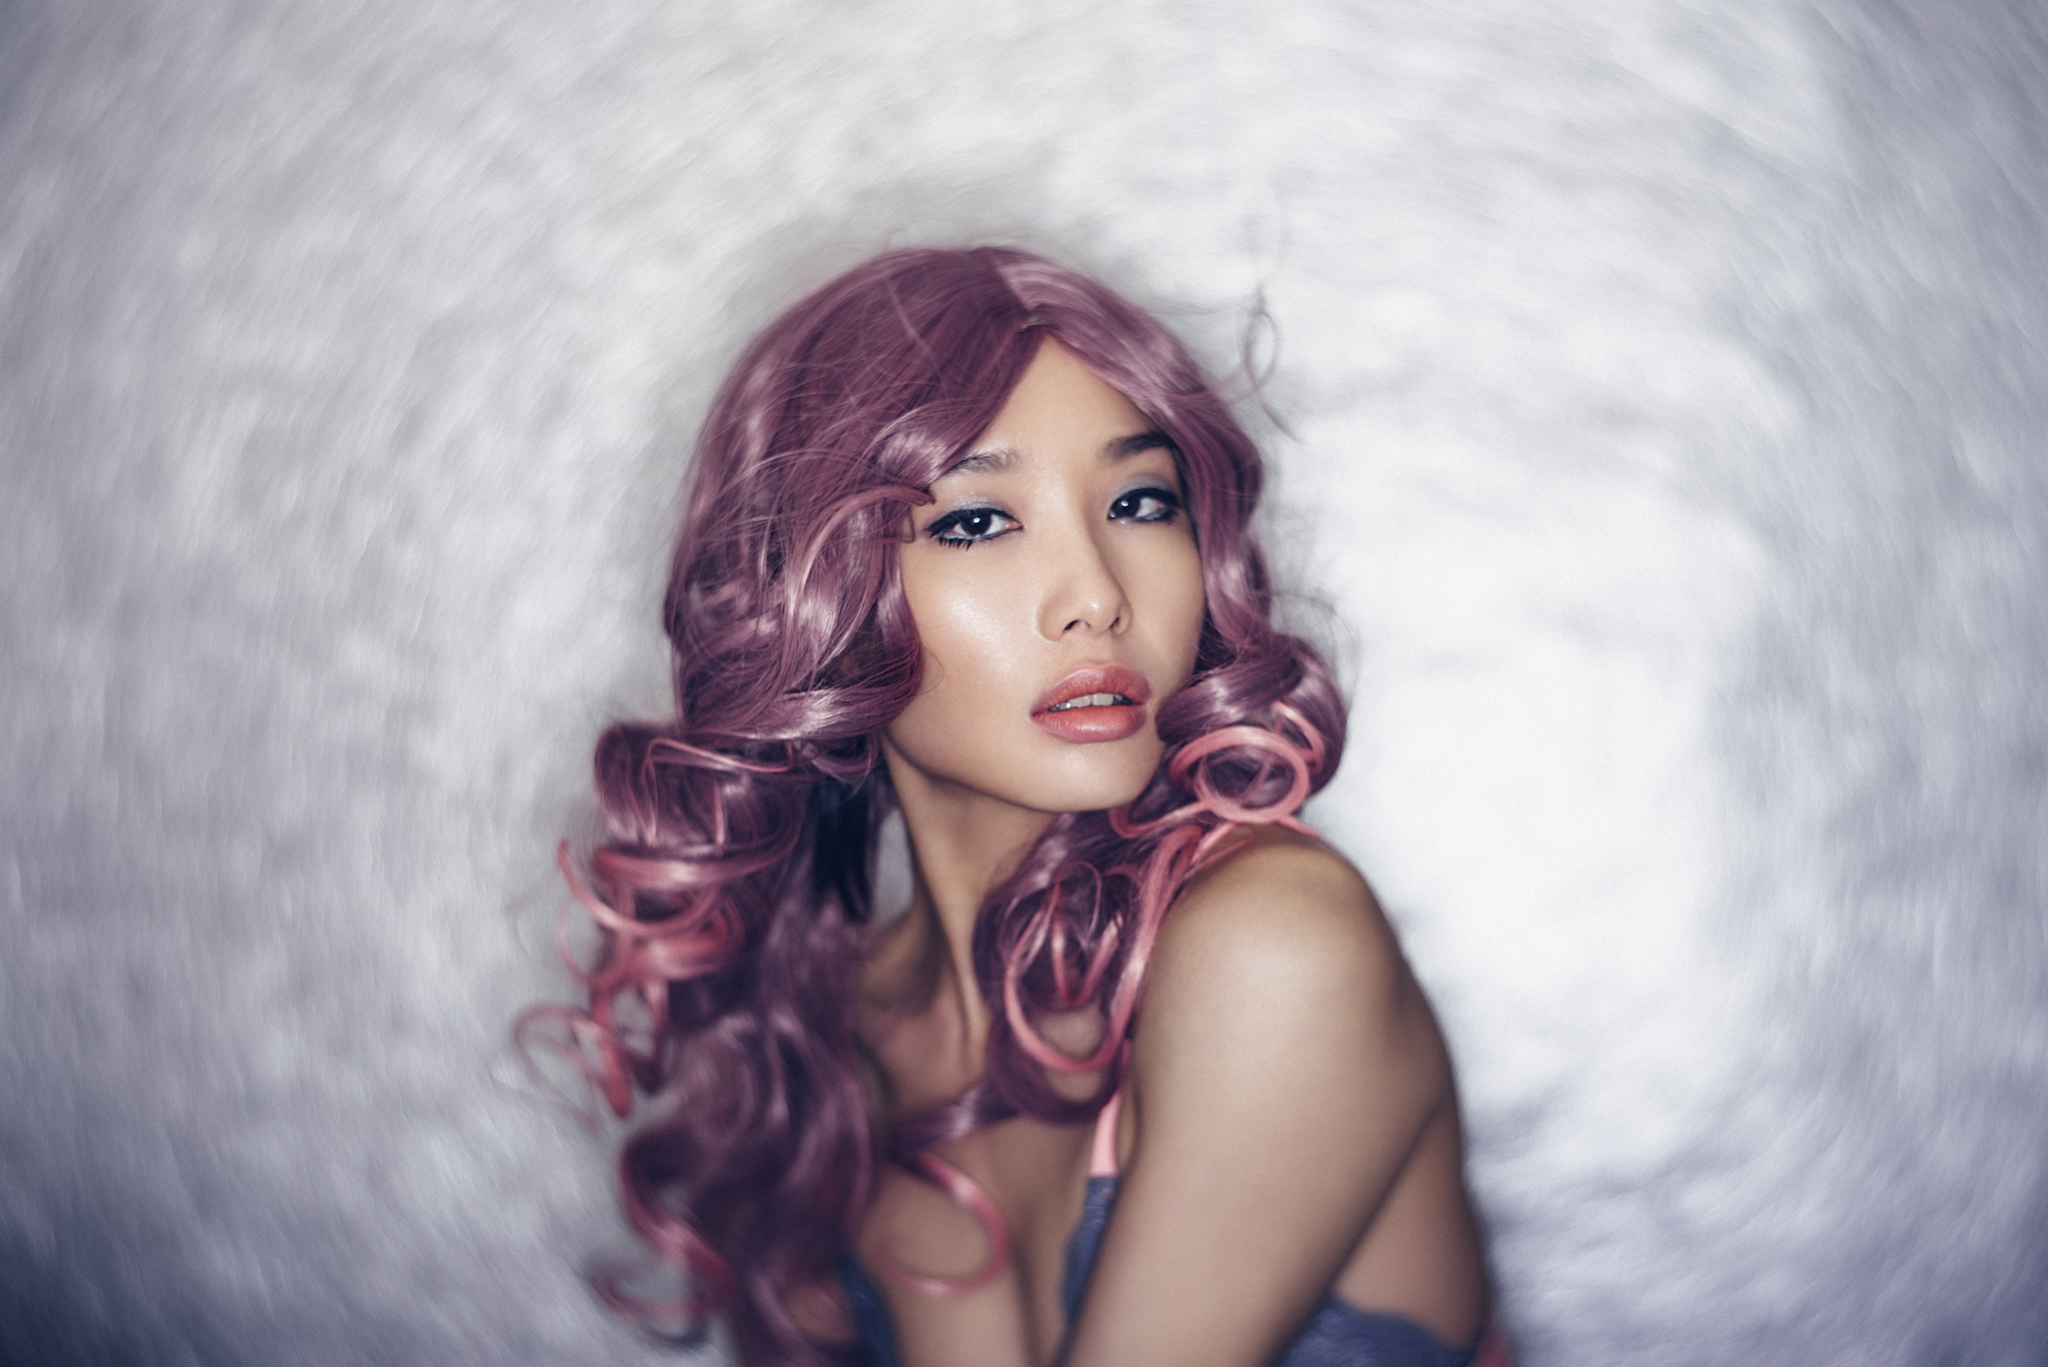
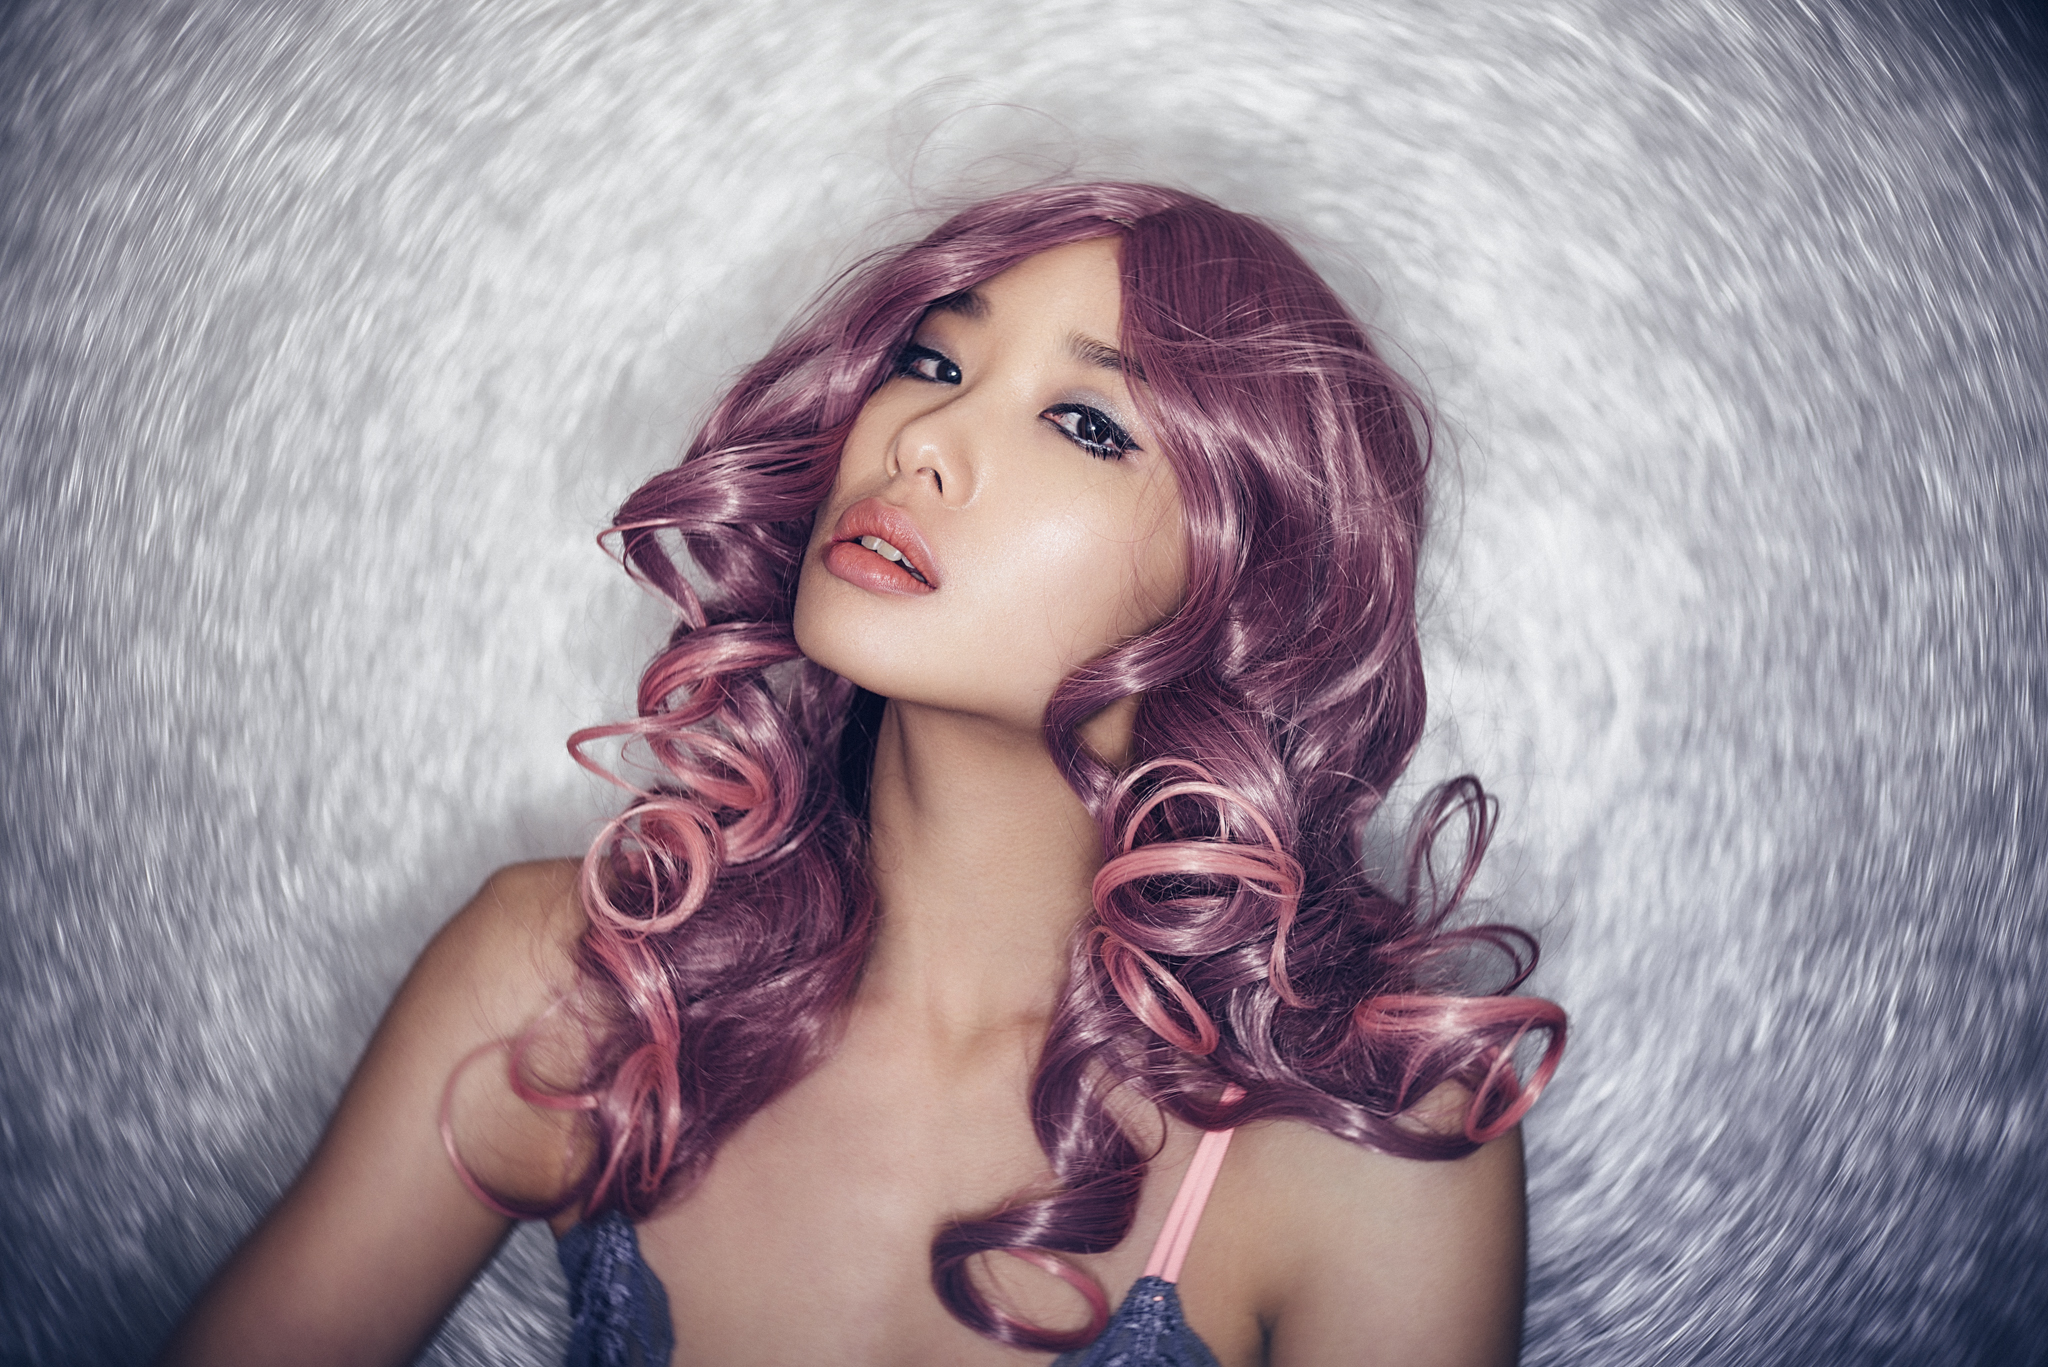
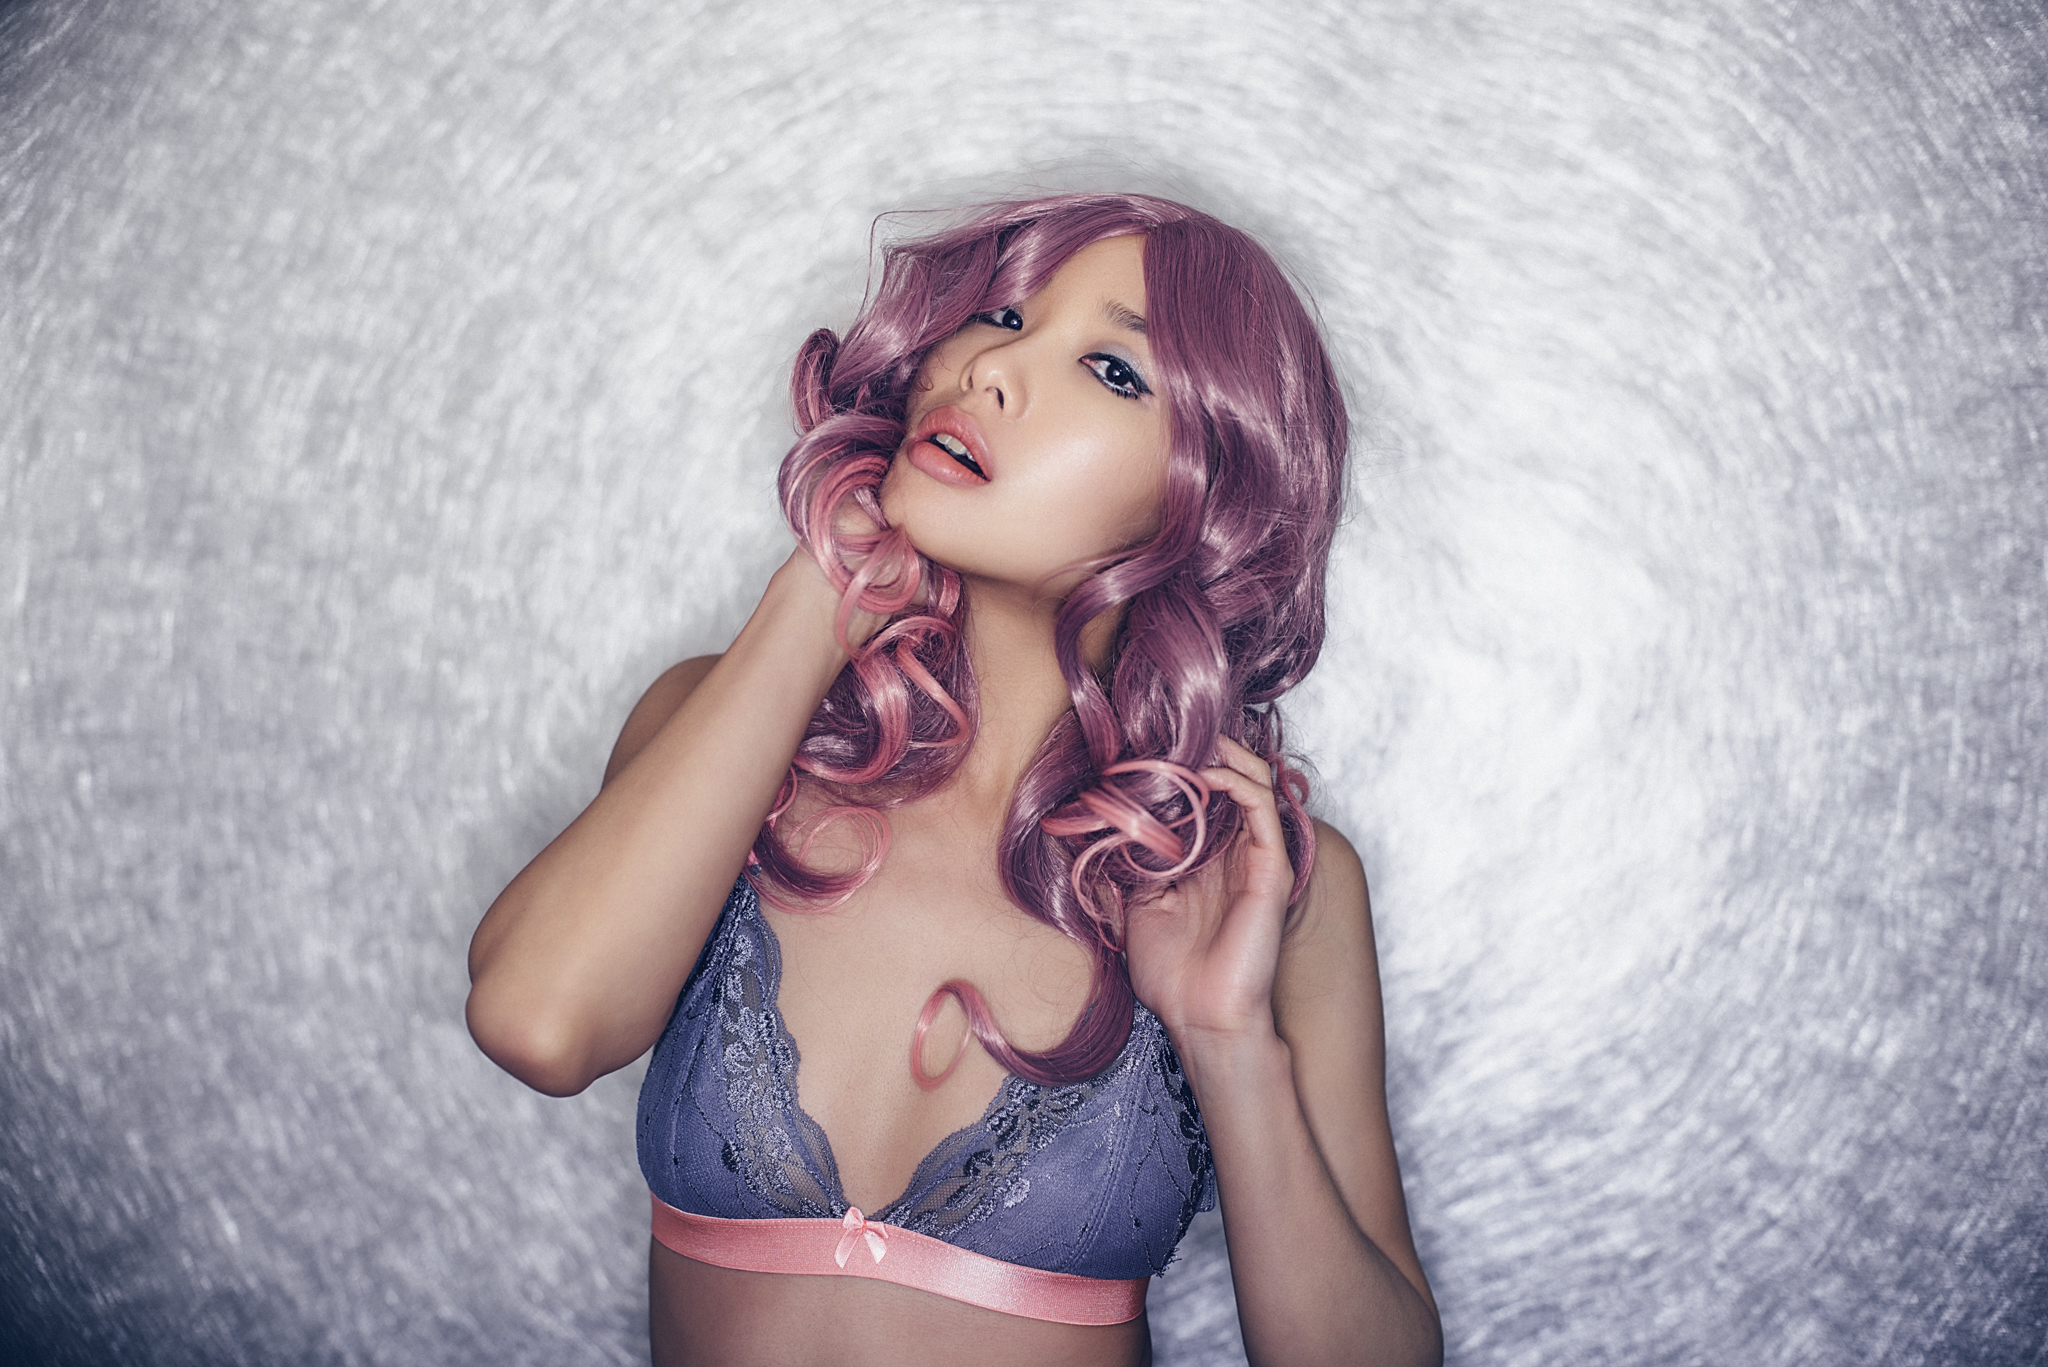
The top three shots are as they appear currently on my Facebook page, the bottom three are as I saved them at 851 x 315 pixels in Photoshop. I think its pretty fair to say that Facebook had its wicked way with most of the colour in those shots and spat back out the horrendously degraded version you see here.
We've all had that sinking feeling when we upload our shot and it looks like somebody just kicked 50 points of saturation out of it and then re-saved it at JPEG quality level 3 for good measure. Not cool.

On the left is how you and I see colour - on the right is how online services like Facebook see colour. The left hand shot has 9 colour tones whereas the right hand shot has only one after Facebook has compressed it. This is how Facebook compresses file sizes, by seeing 'similar' colours as the same colour.
This image degradation is especially noticeable on saturated images like mine with gels. There's a couple of reasons for this but basically most online services are desperately trying to save file size so they compress the shots we upload and in the process colour gradients can suffer greatly. In 2013 Facebook reported that its users were uploading 350 million photos a day! Thats insane and remember its a free service and those 349 million baby pictures have to be saved somewhere so I get why they compress the hell out of our shots, but it's still depressing to see one of your shots get taken 'roughly from behind' by the big bad Facebook compressor.
Is there anything we can do?
Well there's no magic bullet but we can give ourselves the best possible chance of defending ourselves when the compressor comes a calling. Enter the digital noise.
Digital noise is a way of adding detail back into a shot so that Facebook has a tougher time degrading it. For example a landscape shot with a lot of leaves and maybe some stormy seas is going to retain a lot of its file size after Facebook has compressed it because Facebook struggles merging colours and details when theres a lot going on. Conversely a studio shot like mine with a plain background gets destroyed because it has a lot of blank areas to merge into one. To combat this I add some noise across the image to make it tougher for Facebook to compress it. The noise isn't enough to visually alter the shot when viewed normally but it adds enough for Facebook to struggle with it and limit the degradation and colour banding that we often see.
It's easy to do and once you've done it a few times you can even setup a quick Photoshop action to run once you're happy. Yes I know there's a great grain filter in Lightroom but I wanted to go over the Photoshop alternative so you smart-arses that didn't read the whole article and have just galloped to the comments section to point that out can go back under the bridge from whence you came ;)

1. Get your finished shot, do not apply any noise at any point apart from at the very, very end. Don't even apply this before sharpening.
Take your shot and add a new layer. Layer -> New -> Layer. In the Layer properties box that follows, change the layer mode to 'Soft Light' and click the box below that marked 'Fill with Soft-Light-Neautral Color (50% Gray)'. You can rename this layer Coarse Noise as we are going to use an additional layer later on as well. Hit OK.

2. With the Coarse Noise layer selected go to Filter -> Noise -> Add Noise. In the Noise options set the amount to around 15 (this is pixel based so it will be based on the pixel size of your file) It should look a bit heavy right now but we're going to do a few more steps yet.
Make sure Gaussian button is checked to keep the grain from looking too structured. Also make sure that the Monochromatic box is checked, we don't want to add any additional colour. Hit OK.

3. Next we want to soften that noise a little. Go to Filter -> Blur -> Gaussian Blur.
In here we just to soften the noise, not completely destroy it so a Radius of about of 1 should be fine. Hit OK.

4. So now that we've created our coarse noise layer we want to add a little more depth and a more realistic analogue look and feel to the effect. We are going to do this by adding a fine layer on top so go to Layer -> New -> Layer.
In the proceeding layer properties box rename the layer 'Fine Noise' and then change the layer mode to 'Soft Light' and click the box below that marked 'Fill with Soft-Light-Neautral Color (50% Gray)'. Hit OK.

5. We now want to add our noise to this layer, go to Filter -> Noise -> Add Noise. In here we want to add a little less this time so set the amount to around 5%. Keep it set to Gaussian and Monochromatic. Hit OK.

6. Again we want to soften this a little so go to Filter -> Blur -> Gaussian Blur and set the radius to even less this time. Around 0.5 Pixels should be a good place to start. Hit OK.

7. You should now have 2 separate layers of grain. One Coarse and one Fine, its up to you as to how much grain you have in your final version but I tend to lower the opacity of my Coarse layer to around 50%. This usually gives me a subtle but effective look.
Click on the image to enlarge it. The left hand shots have no noise applied but on the right hand shots it has. When zoomed out you can hardly tell its there so it shouldn't effect the look of your shots too much but it should help online compressors to limit the amount they crush our studio shots.
That's pretty much it, you're done. Now the effect should be subtle and to be fair once it's uploaded to the likes of Facebook you probably won't even notice it but it will help to reduce some of the colour banding that we all have to deal with by giving the image compressors something to fight with. Like I say this technique is no 'magic bullet' to better looking Facebook shots and there's a couple of other things you can do as well but this will definitely help. Try some varying amounts to see what works for you and I wish you luck and I hope it helps :)
If you'd like to learn more about some of my Photoshop tips and techniques then you can alway come along to one of my full day workshops where I go through absolutely everything in my Post-Pro workflow from Raw to Lightroom to Photoshop. To find out more and to sign up please head on over to my Training page jakehicksphotography.com/post-production-workshop/
You may also like another of my Photoshop techniques articles, this one is about 'How to Quickly Remove Dust and Hairs from Clothing'
:WARNING: Yup, you guessed it, self betterment opportunities lie just ahead :D
Jake Hicks Photography Workshops
If you're interested in learning more about my professional workflow then why not check out my Post-Production Workflow Workshop. On this full day of hands-on learning I walk you through everything from Lightroom to Photoshop including correct import and export, an in-depth look at the powerful colour correction tools of Lightroom, fast and effective studio proofing tools as well as an extensive step-by-step walkthrough of my editorial retouching techniques in Photoshop. Plus everybody on the day will walk away with an in-depth PDF of everything taught on the day PLUS over 15 of my Photoshop Actions and 30 of my Lightroom presets! Find out more here Jake Hicks Photography - Post Production Workflow Workshop

Jake Hicks Photography Video Tutorial
I have also just released a brand new 22 hour complete Gelled Lighting Tutorial video. I go over everything from studio lighting setups with gels to being on location with gels plus I also go through my complete retouching and post pro workflow. For more details and complete breakdown of everything that's include check out my Coloured Gel Portraits Tutorial

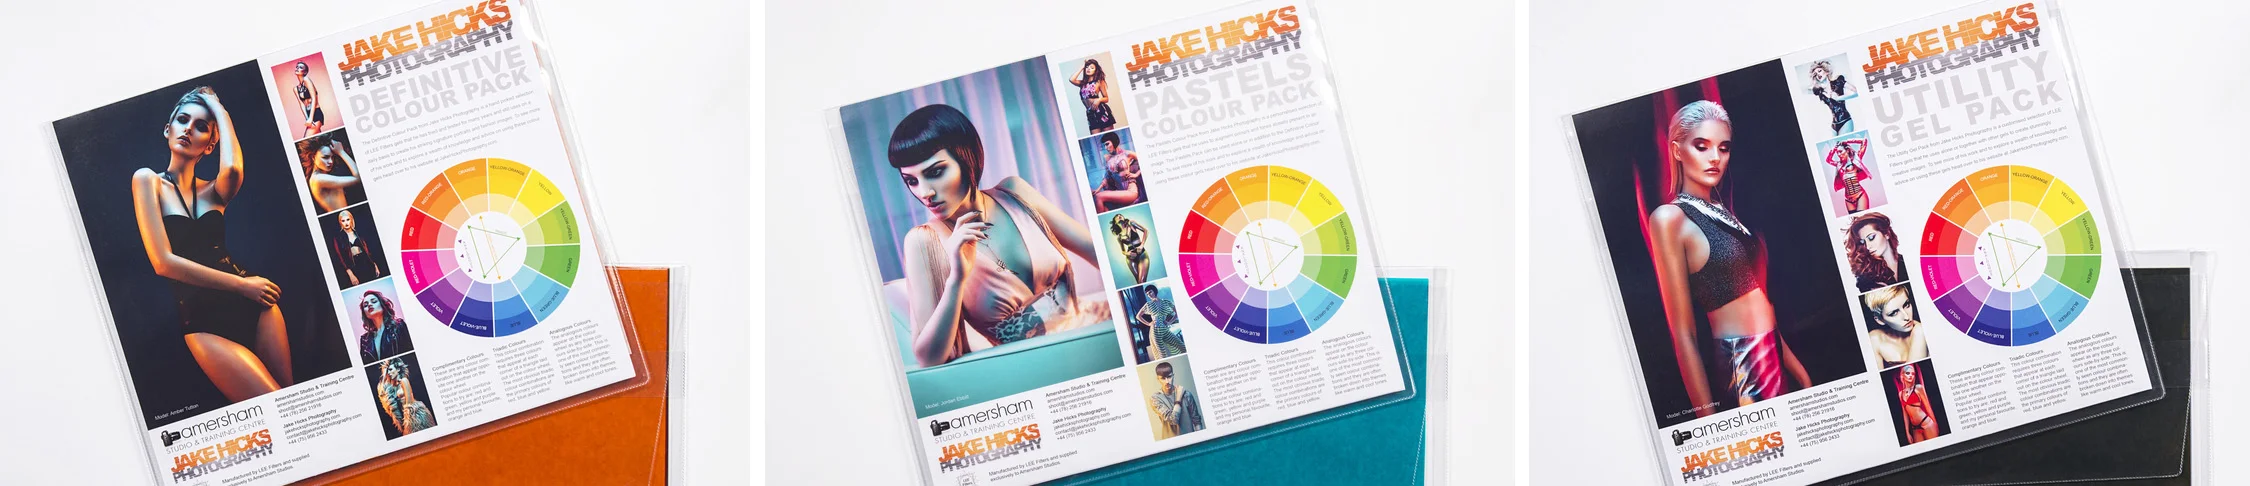
Jake Hicks Photography Gel Packs
I also offer comprehensive coloured gel packs. These collections of gels are what I use day to day to create some of the most highly saturated colours around. If you're looking at getting into gelled lighting or need to get stronger and richer colours in your coloured gel work why not check out my Jake Hicks Photography Gel Packs