• Technique
    • Latest Techniques
    • FREE TIPS
    • Quick Tips
    • Video
    • Site Search
    • Blog
    • Archives
  • Mentoring
  • >Online Workshops<
  • Workshops
  • Studio Lighting Books
  • Contact
    • Newsletter
    • Contact
    • Statement
Jake Hicks Photography
  • Technique
    • Latest Techniques
    • FREE TIPS
    • Quick Tips
    • Video
    • Site Search
    • Blog
    • Archives
  • Mentoring
  • >Online Workshops<
  • Workshops
  • Studio Lighting Books
  • Contact
    • Newsletter
    • Contact
    • Statement

Do clients buy our photography or our retouching?

Technique Tuesday Facebook Thumbnail 5 bar slant retouch.jpg

Panos Moesis Retouching

London, England

"The photographer benefits (from using a freelance retoucher) because they get to spend more time shooting and pulling in new clients, as opposed to retouching a shoot they've just been doing for the last 2 days. It's also an opportunity for them to utilise a fresh set of unbiased eyes, to complete and improve what they have created."

Read more

Saturday 12.01.12
Posted by Jake Hicks
Comments: 2
 

10 Things your camera bag needs - Part 1

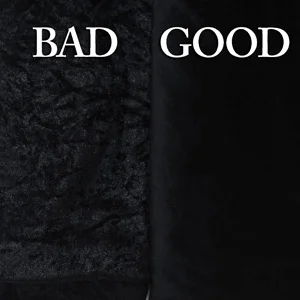
On the left you can clearly see the very shiny synthetic velvet and on the right the light absorbing cotton.

On the left you can clearly see the very shiny synthetic velvet and on the right the light absorbing cotton.

1. Black Velvet

This light absorbing material has a veritable myriad of applications, from using it purely as a backdrop, flagging unwanted flare or even blacking out windows on location, this material loves to suck up unwanted light from your setup. Black velvet is a thick fabric that resembles fine fur. Its dense structure means light hits the fabric gets bounced around in the weave and reflects very little light back out, anybody who has ever photographed pets with black fur will have experienced a similar effect. It comes in many forms so be sure to get the denser crushed velvet with a high cotton content, taking care to avoid the cheaper thinner fabric which contains more synthetic properties making it next to useless as it appears very shiny under direct light.

An all over coat of oil will give a stronger feel compared with trying to apply it exactly where it is needed.

An all over coat of oil will give a stronger feel compared with trying to apply it exactly where it is needed.

2. Baby oil

Although at first this might seem a little odd, a little bottle of this in your bag could give your shots an edge, literally. Apart from the obvious useful applications, baby oil added liberally to skin, especially if you are photographing tattoos, can give the model's skin and ink a new lease of life. Tattoos appear fresh and brand new as the 'wet-look' appearance darkens down the colours giving them a more defined look.

Plus if you are somebody who likes to integrate a more structured look to you're images by using edge lighting or back lighting, baby oil can help the model to stand out from the background. Whether it be on location or in the studio, baby oil applied to the model's exposed skin will give a very shiny look allowing those secondary lighting effects to have extra punch, really enhancing the edge transitions therefore allowing for strong shapes to be formed by the highlights.


Leave the silver tape for the DIY jobs, the black gaffers tape won't leave a sticky residue on your shiny new equipment.

Leave the silver tape for the DIY jobs, the black gaffers tape won't leave a sticky residue on your shiny new equipment.

3. Black gaffer tape

This is not to be confused with duct tape, the shiny silver tape which has a habit of bouncing light strangely if used in the wrong places. Gaffer tape needs little introduction but for those who are unfamiliar with this universal crisis delayer it is a cotton cloth tape with very strong adhesive properties. Another major difference and benefit of using gaffer tape over duct tape is that it doesn't leave a sticky residue behind, this can be crucial especially where expensive equipment is concerned as well as not leaving a mark when you vacate a location. I'm sure we have all been in situations where we wished we had it so get it in your photo bag now, don't wait until the next time you want to stick a flashgun to the wall and wished you had some.


The cheapest studio fan you will own.

The cheapest studio fan you will own.

4. Reflectors

This might seem an obvious one to those location photographers out there but to studio shooters it can sometimes be overlooked as a useful tool when we have so many lighting modifiers at our disposal. Reflectors come in a myriad of shapes and sizes and choosing the right one will obviously depended on the job at hand. That being said it is easy to say that location shooters will want a 6ft scrim/reflector but their is no point in getting one if you are never going to be bothered to take it out with you. Be realistic with your limitations and get a reflector size the suits your mobility too.

Reflectors also come in many different forms, so it's worth bearing this in mind if your only going to be packing a 'one size fits all' approach. Some basic reflectors are just silver light bouncers whereas others can be converted into several different types and with them being so lightweight and reasonably priced there seems little reason not to get a convertible one, these usually consist of a silver and gold reflector casing with a black and white disk inside. They can also come with translucent gauze material disk inside, commonly known as a scrim. These are incredibly useful at softening/diffusing harsh light like the sun on location but it can also double as a quick softbox for strobes and flashguns in a studio. The silver reflector usually bounces light directly with little loss of exposure whereas the white bounce will normally loose a stop (half the amount of light), this is of course a crude estimation and is based on the reflector being only a few feet from the model. This idea can be useful though if you have the sun behind the model and want to bounce some light back onto the face, as long as you are exposing for the subject l this will give your background a nice brightly exposed backdrop. The gold side here will give the model a warm sun-kissed feel similar to a sunset shot. Bear in mind of course that all these techniques work in a studio too and although a reflector may not be quite as accurate and modifiable as a strobe they are incredibly quick to use and once you are familiar with your particular reflector you can quickly adapt to a lighting problem as the situation demands it. If all else fails you can even use your reflector as a makeshift fan and give those windswept hair shots a try.

One of the items in your bag you hope you never have to use but when everything else fails (tinfoil light-catching cup included), a spare sync-cable from the camera to the light source won't let you down.

One of the items in your bag you hope you never have to use but when everything else fails (tinfoil light-catching cup included), a spare sync-cable from the camera to the light source won't let you down.

5. Spare sync cable

This has saved my dignity on more than one occasion, when all the all hi-tech gimmickry fails there is nothing that will let you down about a good old fashioned physical connection from camera to flash. Shooting in a studio is one thing but on location you don't know what the situation will throw at you. Anything from high voltage interference with radio triggers to trying to bounce your infa-red slaves around corners to the back lights. I've sculpted 'light-catching' cups out of tinfoil before now and fixed them to the tops of my strobes receivers to get them to fire remotely, and although this worked all I would of needed was a spare sync cable. They weigh next to nothing, take up hardly any room and are incredibly cheap.

Saturday 09.01.12
Posted by Jake Hicks
Comments: 4
 

Bouncing Light

Technique Tuesday Facebook Thumbnail bounced light.jpg
"If we take one of the fundamentals of photography that says the larger the light source the softer light and skew it a little we can utilise our environment to create some very soft light from very small light sources."

Read more

Saturday 05.26.12
Posted by Jake Hicks
 

Time is Money... Prove it - The problem of ever increasing post production times

Very nearly every image we view in print or online now has seen some form of digital enhancement. By enhancement I am referring to the commonly perceived idea that it is standard to have photographs that are brighter, sharper with vibrant colours and portraying people with blemish free radiant complexions. In fact without consciously knowing it so many of the images we all see day to day (well into the thousands) have had this baseline treatment that when we actually do see an image 'straight from camera' it looks grey, flat and soft; anything but amazing.


Before and after images of the post production processAs a result it is now a prerequisite for all photographers to make sure that all their images are 'enhanced' before anybody views them (press photographers being the exception, digital manipulation on their part comes with serious legal repercussions). Before digital, analogue printing was very time consuming, expensive and also involved working with potentially harmful chemicals, it had a commonly known reputation for being a 'black art' that very few people could truly master. Conversely modern digital processing has a general misconception that a few button clicks and software filters can quickly generate advertising campaign quality pictures. One of the reasons for this delusion is because photographs that have had the best retoucher's working on them look like nothing has really been manipulated. Any editorial image that you look at and think that the subject doesn't look natural or fake has been badly or quickly retouched.


So how long does it take to get an image ready for a client, advert, magazine, billboard? This can vary drastically, some photographers do all their retouching themselves, this makes up the majority, and the very high end work for front covers and billboards etc are farmed out to highly professional and dedicated retoucher's. These work horses are plugged into the whole process and know everything there is to know about the end product and all the profiles, gamut's and colour spaces in-between. Most of the images they work on will be shot on extremely high resolution cameras and as a result they will have a huge number of pixels to manipulate on the page, it would not be uncommon for them to spend over 20 hours on each image. The rest of us who work on our own images can at least take some solace in that we know our own gear and 'usually' have a clear idea in mind of how the final image will look when we start. When we first dip our toe into the vast sea of digital manipulation most of us will start out with the usual button pressing, running downloaded actions and presets and third party plug-ins, but as we slowly realise the potential power of the latest software we add more and more steps to our workflow. in short, the more skilled we get at 'pushing pixels' the longer it takes us to finish the post production of a photograph because there is always something else that can be done to improve the image, it is up to us to restrain ourselves and finally say enough is enough.

The time lapse video shown here demonstrates my retouch process of a single image from a shoot where five images were chosen to be retouched. The image illustrated involved what I would call a standard retouch, nothing to drastic needed to be done, no awkward hair extracting, no removal of products and not even retouching the full body. That being said the image took over two hours to retouch not including editing and raw processing and with 4 other images in the set I spent well over ten hours in post production time. That may not seem a huge amount of time when you consider the time high end retoucher's spend on each image but it does sound like a huge amount of time when you consider I actually only spent 45 minutes shooting them.

One of the biggest problems we have now as professional photographers is justifying the post production time versus cost. In the past it used to be a flat day or half day rate, if we build an invoice based on those times and figures now we would quickly go hungry. We are falling into the trap of becoming so good at post production that the images look like we haven't touched them, they look exactly as the client expects to see them, the same as all the other thousands of images around them, amazing.

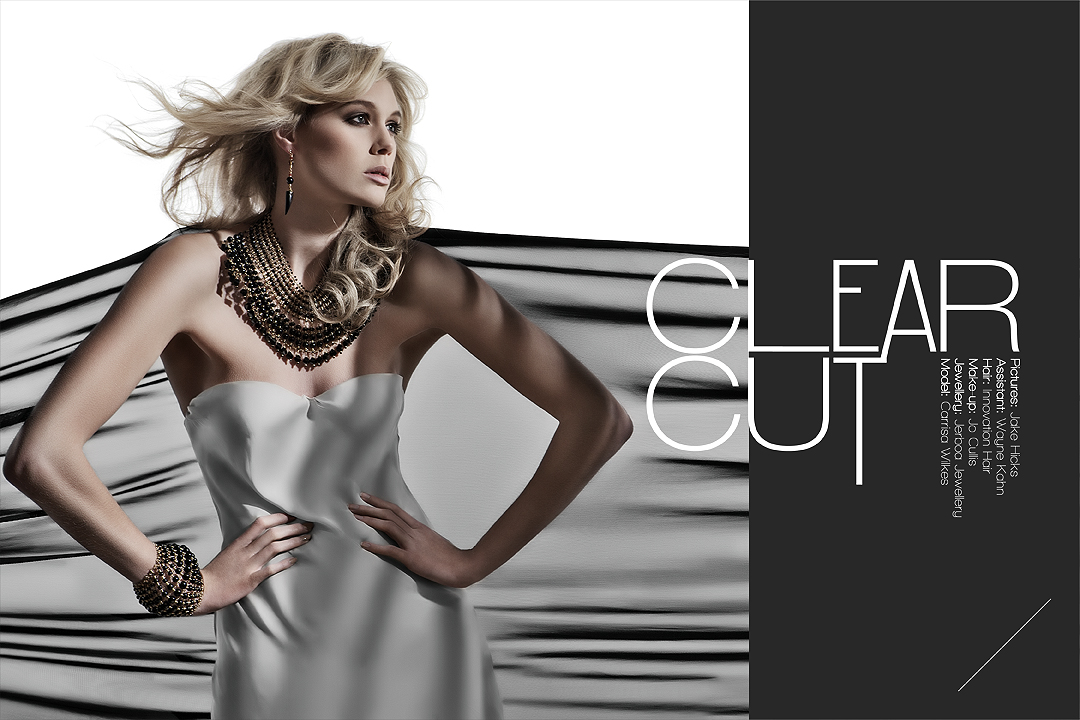
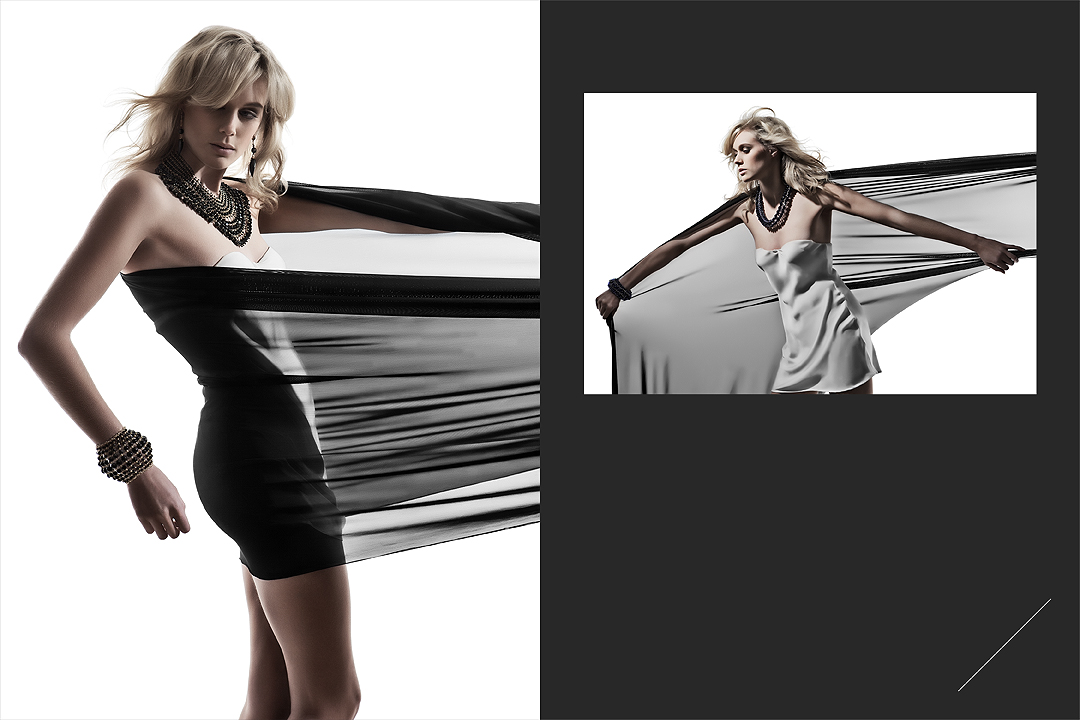
strechfabriclay1.jpg
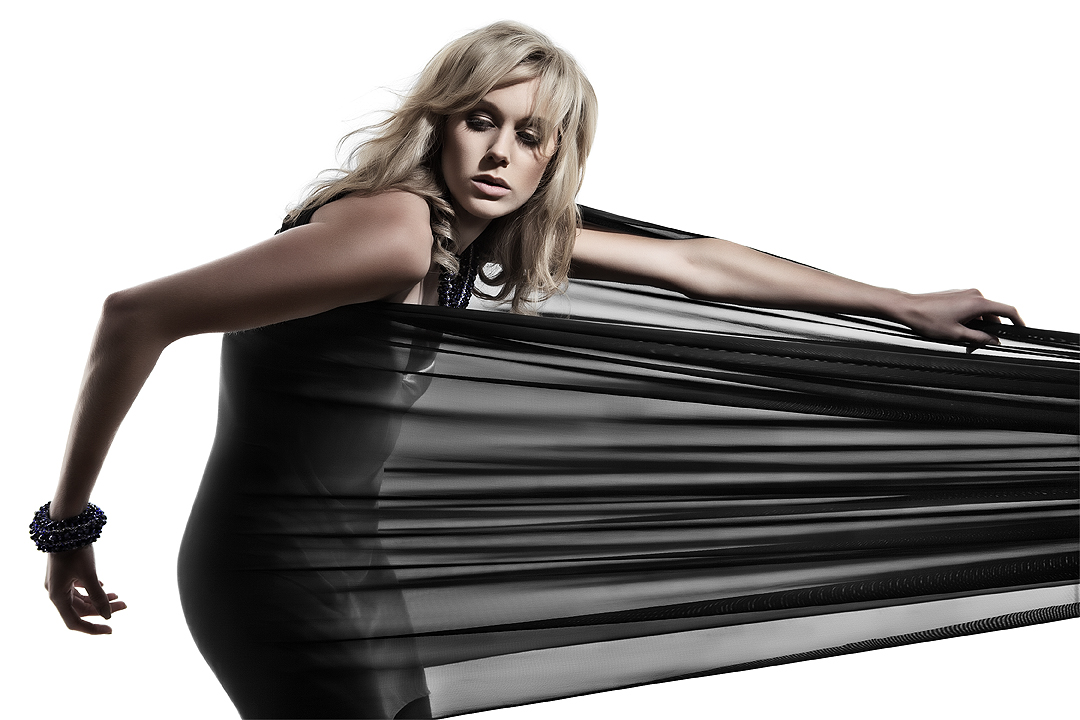
strechfabriclay2.jpg
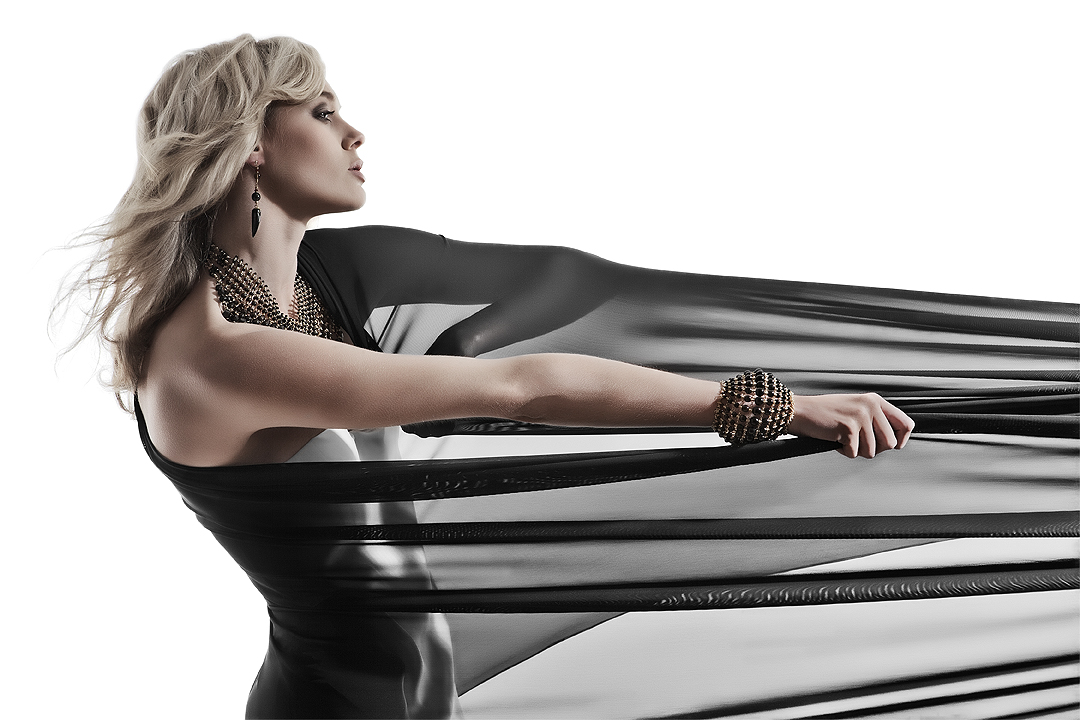
strechfabriclay3.jpg
strechfabriclay4.jpg
Friday 02.03.12
Posted by Jake Hicks
 

Behind the Scenes Video - Avant Garde Hair Shoot

Hair by Claire Higgs - Toni & Guy Essensuals

Canon EOS 5D Mark II - CAMERA

62 mm - LENS

F 8 - F-STOP

1/100 sec - SHUTTER SPEED

100 - FILM SPEED

Flash - LIGHT SOURCE


Normally when shooting full body shots I prefer to keep the lighting simple. Atmospheric, but clean and strong; usually relying on a softer more diffuse light if it's going to be directional. The benefits of this are obvious for minimising post production work, predominantly in reference to where 'the rubber meets the road'. Meaning that where two planes connect in a photo, the feet to the floor for example, your have to worry about clean but believable shadows. Here however I wanted strong dynamic lighting on the hair and didn't want to sacrifice that for a bit of extra time in post. Incorperating seven different lights will in theory produce a very confusing 'shadow pool' with the possibilty for every light to cast its own unique shadow. The introduction of the small softbox fill light down low not only throws some much needed light into the dress but also helps to kill all but the key lights strongest shadow.

essentualsavantgarde.jpg

Another technical difficulty with this shot came when I was trying to capture the huge amount detail and texture in the dress, hence the adding of a further two lights either side set low purely to catch any shape in the folds. As with lighting anything dark, we can only ever see the reflected light, and what with this dress having so many layers of a mesh like material (taffeta) lighting this dress from the front had no effect as the light went in but never came out. By using supplemental lighting from the sides I was able to create more shape with a little amount of highlighting resulting in the dress having the appearance of being lit.

Behind the scenes video shot and edited by David Lloyd photography

Monday 12.05.11
Posted by Jake Hicks
Comments: 1
 
Newer / Older