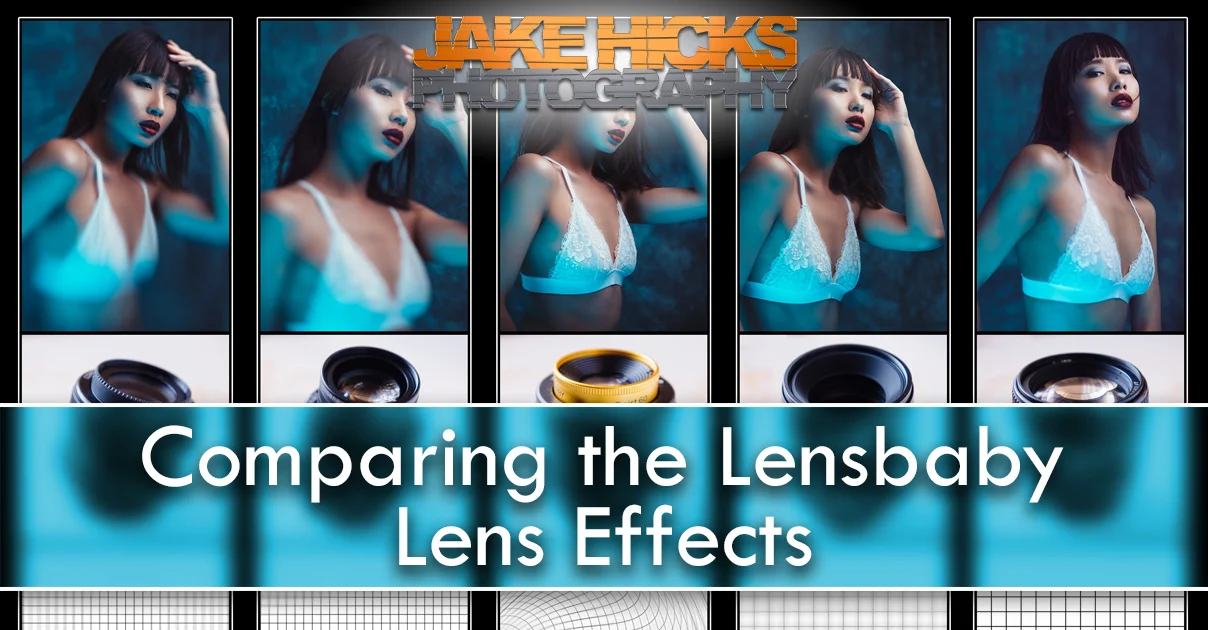
If you've ever wondered what effect a specific Lensbaby lens has or if you've ever wondered how that compares to other lensbaby lenses or even standard lenses then this article is for you.
I took the same image of a model using a wide variety of Lensbaby lenses as well as standard prime lenses and compared the results. All images were taken with flash with an ISO 100 at 1/125 second and all at f4. You should notice that the model stays a similar size in the frame when using a variety of focal length lenses, that was to create 'real-life' look to the test. I have taken the images as I would do normally regardless of focal length and they all appear here completely un-cropped.
Standard 50mm Lens
This is your standard 50mm lens and probably the most common prime lens you'll use. You should be very familiar with how this image will look but it's good to have this shot as a baseline to compare the subsequent Lensbaby lenses against.
Click to enlarge

Standard 85mm Lens
Again, you should be fairly familiar with how the images should look taken with this lens. The only significant point to make is how the background looks compared to the standard 50mm and other 50mm lenses. You can quite clearly see that the background is far softer as a result of the extended focal length at a similar aperture to the 50mm.
Click to enlarge


Sweet 50
This is probably the most well known Lensbaby and just to be clear, the Sweet 50 is an optic that is situated in the Composer Pro cradle. What that means is that the ball-joint and focusing part of the lens called the Composer Pro can hold other Lensbaby optics like the Edge 80 for example. The Sweet 50 creates a radial type blur that emanates from a user defined epicentre. The user can dictate where the in-focus area is and then the lens blurs the image the further you get from that. I use this technique a lot in portraits as I can get the subjects face in focus and then blur the surrounding shot to create a sense of depth and movement. It's also worth pointing out that the aperture also affects the blur. At f16 for example the blur is very subtle and at f2.8, the blur is very strong. For more examples of the image this lens takes, take a look at one of my previous photographic projects 'The Moving Portrait'
Click to enlarge


Edge 80
The Edge 80 optic, like the Sweet 50, sits in the Composer Pro cradle and that controls focus and tilt. The Edge 80 is an incredibly powerful lens that has the ability to creates very clean slices of focus at any angle in your image. This effect is often seen in those 'toy-town' photos where a drastic illusion of forced depth of field gives a false impression of scale. The slice of focus can be placed in any way the user wants, from vertically to horizontally and everything else in between. I have used this lens to create a sense of an incredibly narrow depth of field in portraits and you can see some more of those results here in the close head shots from this shoot 'Lucid Dreams'
Click to enlarge


Twist 60
This is one of the few Lensbaby lenses that creates an effect that can't be heavily influenced by the user. The Twist 60 creates a swirling pattern towards the edge of the frame leaving a cleaner, more untouched centre. This lens is a little trickier to use in a studio as composing your shot with a sharp subject requires you to place them in the centre of the frame. In the image you see here, you should notice that the subjects eyes are a little soft because the effect can't be kept off them. I took another image where the subjects face was in the centre of the frame and the eyes were pin sharp so a little care and thought is needed when composing your images with the Twist 60. The effect this lens creates can be increased with shallower f numbers like f2.8 and reduced with higher apertures like f16. A full review of this lens can be found here 'Twist 60 Review'
Click to enlarge


Velvet 56
Lensbaby have released two Velvet lenses, a 56mm and a 85mm. This version is one of the first lenses that Lensbaby released that produced a more subtle effect. Their previous lenses have been very popular for their very defining results whereas the Velvet lenses explore a more refined effect. They have been called art lenses that create an almost 'vintage' lens effect. Although this is a quick and easy way of explaining what they do, it falls a little short as there is a lot going on in the making of the resulting image. The best way that I can explain is that there's almost a sharp image nestled underneath a soft and creamy image. The effect is more dramatic towards the edge of the frame and can also be increased further by opening up the aperture to f2.8 and beyond. For a more comprehensive look at the lens, take a look at my review 'Velvet 56 Lens Review'
Click to enlarge


Velvet 85
Like the Velvet 56, this is another of the Lensbaby lenses that creates a more subtle effect. The 85mm is almost identical at the 56 apart from the obvious focal length difference. If you're a portrait shooter you may prefer this longer focal length over the 56 but it's also worth pointing out that the Velvet effect seems to be stronger on this lens compared to the 56. The reason of this is simple; like other 85mm lenses, the depth of field blur is more pronounced on longer focal length lenses and the same is true here. Like other Lensbaby lenses, the signature lens effect is often more pronounced with wider apertures so when shooting the same shot at 56mm at f4 and 85mm at f4 the lens appears to create a stronger effect. Take a look and compare the backgrounds in the two Velvet lens shots and make your own decisions. If you'd like to know more about the Velvet 85 then check out my complete review here 'Velvet 85 Lens Review'
Click to enlarge


Simple cheat-sheet to save for reference - Click to enlarge
I also have a discount code for anybody who is interested in picking up any of the Lensbaby lenses here in the U.K. via WEX Photographic
I have worked very closely with the fine people over at Lensbaby for many years and they have very kindly allowed me to share my discount code with you. If you decide to use my code to get some money off your purchases then I will also receive a few pennies for the beer fund so please feel free to use it if you'd like to :)
Use the code JAKEHICKS10 at checkout to get 10% off any Lensbaby lens at WEX Photographic.
As always, if you have any questions about any of these lenses then fire away in the comments below. But if you own any of these lenses already, I'd love to hear what you think of them. Do you have a favourite lens? Are you considering getting an additional one? Feel free to link me to your Lensbaby shots too as I'd love to see how you guys use them :)
:WARNING: Yet more tempting products lie in wait below!

If you're interested in any of my work and would like to know more about how I created some of my shots then why not check out my workshops. Here you can find out everything there is to know about Gelled Lighting, Long Exposure Flash Photography and my entire Post-Pro Workflow. Jake Hicks Photography - Workshops

I've also just released a brand new 22 hour complete Gelled Lighting Tutorial video. I go over everything from studio lighting setups with gels to being on location with gels plus I also go through my complete retouching and post pro workflow. For more details and complete breakdown of everything that's include check out my Coloured Gel Portraits Tutorial

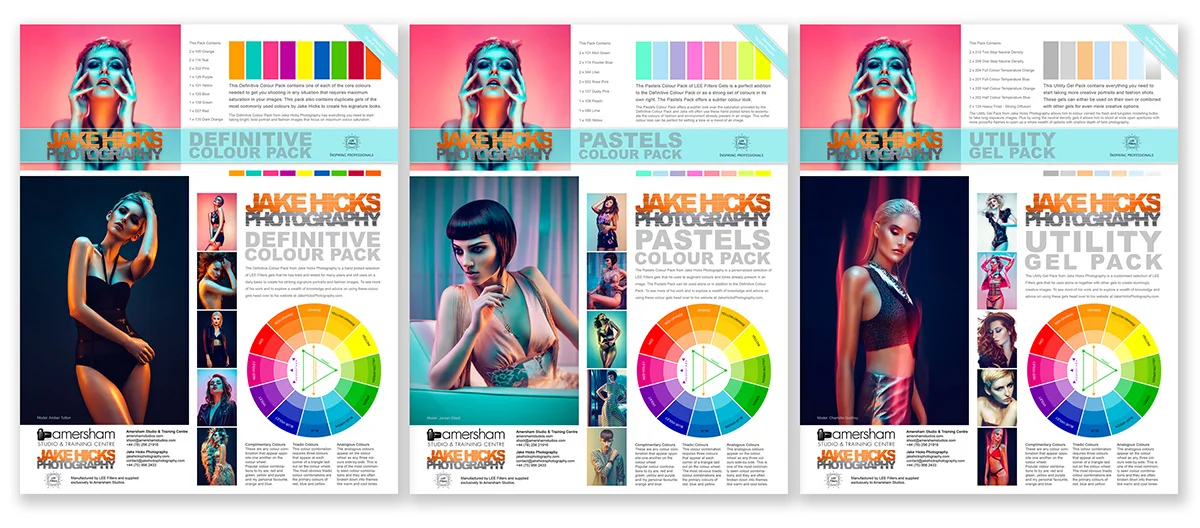
I also offer comprehensive coloured gel packs. These collections of gels are what I use day to day to create some of the most highly saturated colours around. If you're looking at getting into gelled lighting or need to get stronger and richer colours in your coloured gel work why not check out my Jake Hicks Photography Gel Packs