

I've always wanted my photography education on here to be free, so although there is no paywall to any of my -Technique Tuesdays-, any and all support is greatly appreciated. ❤️
PLUS: Donate any amount and I’ll send you a link to the hi-res print version of my studio lighting book.
||
PLUS: Donate any amount and I’ll send you a link to the hi-res print version of my studio lighting book. ||
Using coloured light can be tricky, and although it can be frustrating at times, the extra effort does offer up more than a few unique benefits when it comes to creative lighting. And one of those benefits is the ability to create basic optical illusions, such as ‘joined-up lighting’.
One aspect of white-light studio photography that makes it so comparatively easy when compared to coloured lighting is the ease with which we can add multiple lights to a scene and get away with not ruining the shot.
What I mean by this is that when the key-light, the fill-light, and edge-lights are all white-light, we can be very sloppy with their placement and still get a half-decent image. The reason for this is that all the lights are the same colour, so that when those lights overlap, we barely notice it. So, although we can be lax with our light placements for white light, we will be penalised if we do the same with coloured light. The reason for this is that multiple colours wash each other out. To avoid this, we need to keep our coloured lights separate.
For example, I like to break my subject’s headshots down into zones of light. The keylight would illuminate the face, the fill-light would illuminate the bottom, and the edge lights would, of course, light the edges of the face. This sounds super-simple and some would say fairly obvious, yet many still overlook it.
If we light our subjects’ portraits in this way, our lighting becomes far easier to control, and thus it’s far easier for us to keep those lights separated, and of course, this ultimately leads to stronger, richer colours.
Edit - I’m writing this out now and realising that the zonal lighting system I use would benefit from its own article. I’ll certainly try to make that happen soon, but for now, I hope this makes sense.
The Trick?
How can we utilise the zonal system to create the optical illusion I mentioned? Essentially, all I'm referring to is combining certain zones by making them the same colour. For example, in this setup, I use a red light on the top light as well as an edge light. By doing this, it tricks the viewer’s eye into thinking that it’s actually the same light and keeps the image looking clean and easy to digest.
Without Joined Up Lighting
Let’s first look at what the image looks like without the joined-up lighitng. In the two example images below, I’m only using 2 lights. One blue fill light and, of course, one red top light.
There’s absolutely nothing wrong with this lighting of course and I’ll often just have a single, strong top-light like this. But if we want to give ourselves a few options in terms of posing i.e. not looking straight up in every single shot! Then another well placed light can give us some variation.
Adding Another Light
Now, let’s bring in another light and place it in such a way that it gives us some more scope for posing.
As we can see in the image above, I’ve now added a third light, and this is the same red colour as the top light. This additional light is positioned as an edge light, but if we get the model to look to the side, it does a great job of acting as our key-light.
Joining Up Those Lights
In the image below, you’ll see that this image its actually only a slight variation of the one I previously showed. The lights are actually all still in the same place, the model is still facing the same way i.e. off to the side, and the only thing that’s changed, is her looking up slightly.
Can you now see how these two very bold and colourful red lights trick you into thinking it’s only one, single light? The top-light is arguably doing most of the heavy lifting here, as it’s lighting most of the model's face and chest, but the edge light from behind is doing more than you think, too.
Cut out & Keep!

I’ve included it in the diagram above, but I’ll enlarge it here too. Can you see what each of the two red lights are covering? This is the basic premise for joined-up lighting and it has a lot of scope for adaptability to numerous setups once you get your head around the idea of separation lights by colour and not just luminance.
Camera Settings
Camera - Nikon D850
Lens - 85mm 1.4
Shutter Speed - 1/125th
Aperture - f1.4
ISO - 25
Kelvin - 5500K
Focal Length - 85mm
TL;DR/ADHD/Artist Setup Explanation
Set up a panel light above for an even spread of light
Position a large softbox behind you to illuminate the entire scene
Direct a hard light from behind the model and onto the side - ensure it’s the same colour as the top-light
Kit Used
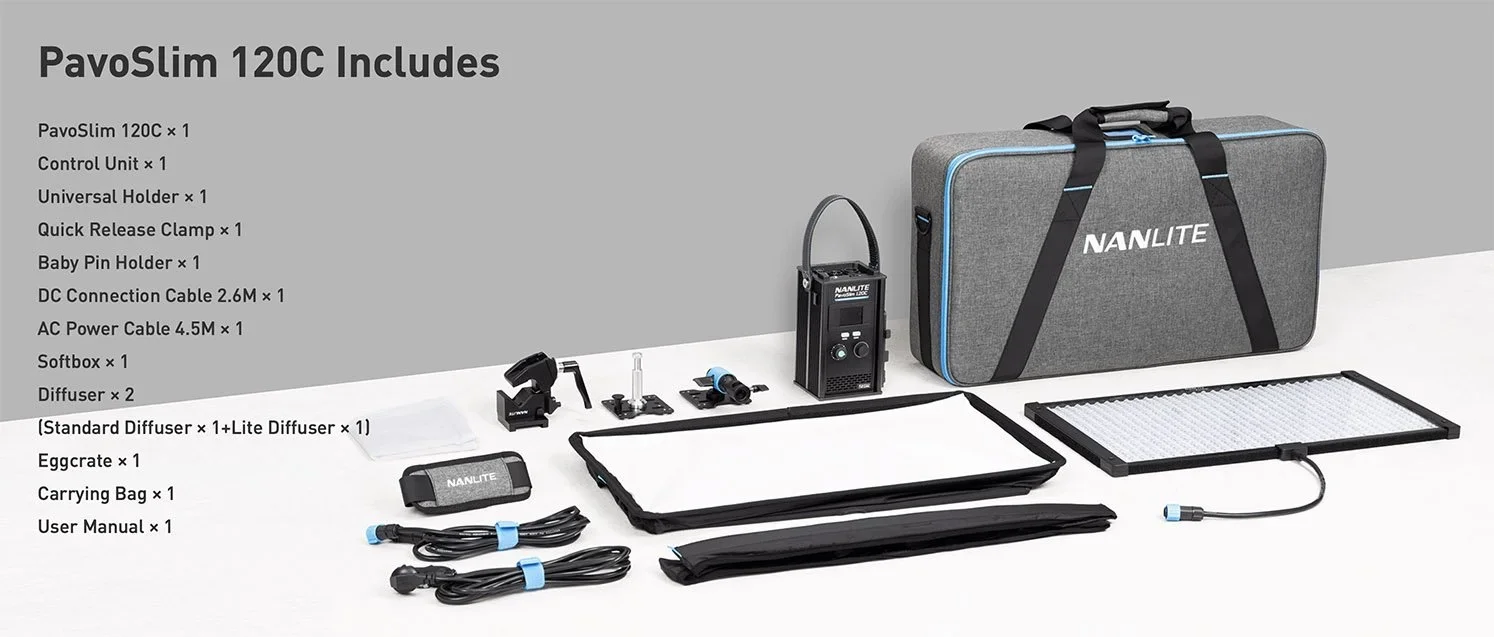
Nanlite PavoSlim 120C
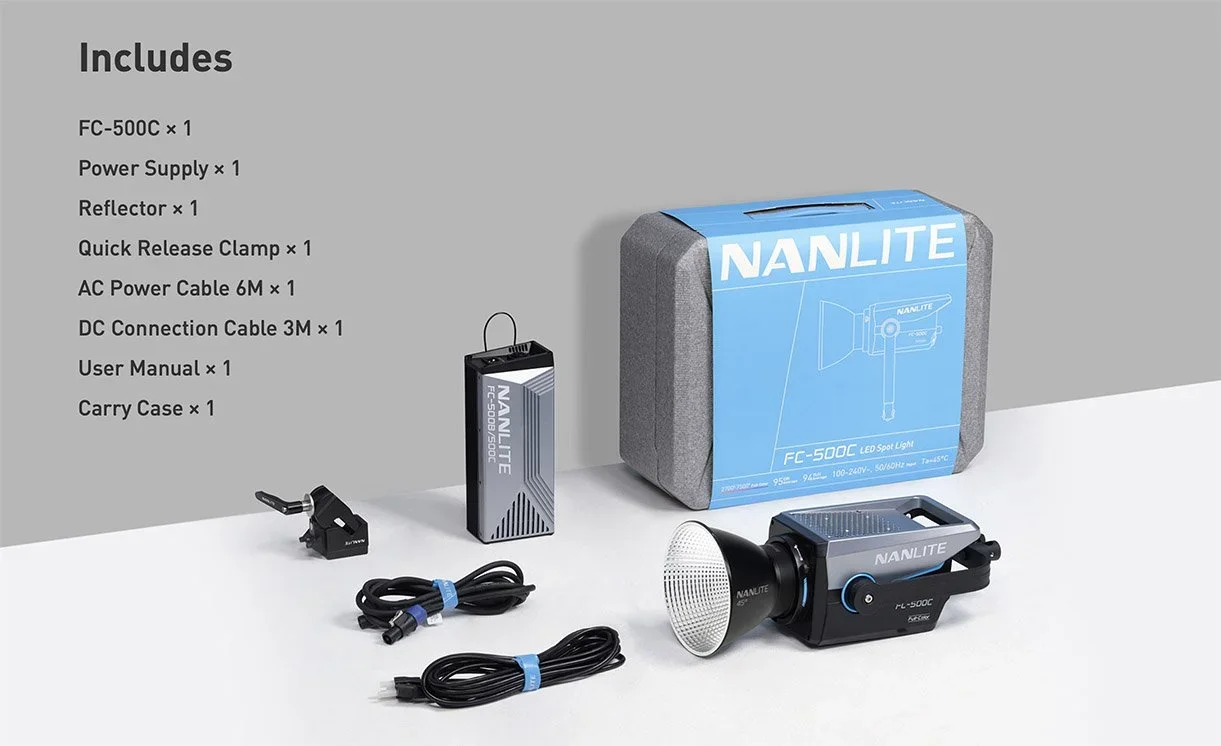
Nanlite FC-500C
Nanlite FC-120C
Nanlite FM-Mount Projection Unit
Large Softbox
Breaking the Rules
Of course, what I showed above is typically how you’d light and pose this setup. Have someone face towards that edge-light. But the visual trick of joined-up lighting is so strong that you can even break the rules with lighting a little, and it still works.
In this image, I have the model facing away from the edge-light. That light is positioned to the camera-right, yet she’s looking to camera-left. Now, that edge-light is no longer lighting her face, but instead it’s almost entirely lighting her hair from behind, and it looks awesome. If you look closely, you can also see on her jawline and neck, where that red edge-light ends and the top-light begins. See the shadow cast on her neck from the collar? Plus, see how her ear is lit, even though it’s underneath her hair? It’s these elements that can make joined-up lighting so strong.
Adding Luminance Variance
Nerd-Alert! I’m about to get into the weeds of exposure variance below. You certainly don’t need to know this to take cool shots with joined-up lighting, but it will explain another layer of creative control if you’re curious about it. You have been warned.
Up until now, I’ve spoken in terms of the joined-up lighting being a visual illusion to make 2 lights appear as 1. The illusion works as the lights are the same colour and typically the same exposure. But we can push that illusion a little before it breaks.
There’s actually a fair amount going on technically in the above image. Yes, I’m using joined-up lighitng to keep the shot looking clean and simple by making 2 lights look like 1 light. But, if manipulated correctly, you can push the exposure values of one of those lights to create even more depth, but without making it look like a separate light.
I’d like you to take a moment and visualise what each of those 2 lights is actually lighitng in the shot. Now try imagining what the shot would look like with only one of those lights on, and do that for both of them. With what you’ve learned so far, especially given that you know exactly where those lights are placed, you should be able to recreate a pretty clear picture of what each light is illuminating.

Glanced light will typically create specular highlights on the right surface
I now want you to look again at the luminance values in the above image and see how that affects the final shot. I’m sure you’ve noticed by now, but the model's skin has those beautifully clean highlights running down her face on the right-hand side of the shot. What’s important to note here is that both lights are the same brightness, which is typically what you need to create the joined-up lighting effect. The eye won't be fooled into believing it's a single light if one of those two lights is far brighter than the other one.
But here we have another layer to consider. Specular highlights.
If you’re not familiar with specular highlights, then it's simply a brighter area of the shot that is a direct reflection of the light source itself. Most people know these as cathclights in the eyes, but you can create specular highlights with almost anything, given the right placement. This is a truly powerful tool that so many photographers underutilise, but if used correctly, you can leverage varying exposures on the same surface, purely by adjusting the angle at which the light strikes that surface.
In this instance, the light behind the model is pushed so far back that when she turns in a certain way, that light from behind will glance off the skin and create specular highlights. It’s these beautiful highlights you see here on the forehead and nose that add so much depth to the shot, which is especially useful in an image that is so dominated by colour.
Ironically, it's this technique that I use in nearly all of my gelled lighting shots and have done so for close to a decade. Simply exposing the skin only gets you so far; it’s the use of the right modifier and angle that does most of the heavy lifting in gelled lighting, which is why you see so many flat gelled lighting shots out there.
Closing Comments
The example I’m showing you here is, of course, a very simple one, and the results are very easy and clear to see. But this same lighting principle can be applied to many situations, and even to more basic ‘white-light’ shots that utilise various Kelvin tones in a single shot, for example.
Joined-up lighting is a seemingly simple principle to understand, but a little trickier to actually pull off. Remember, this isn't just simply adding an edge-light to your key-light and calling that joined-up lighting. It’s clear to everyone that the image was taken with 2 very distinct lights. The trick is making 2 lights look like 1 light to create very clean, instantly digestible imagery and of course, this is an exceptionally useful tool to know when working with very bold colours like you’ve seen me do here.
Good luck if you try this one out, and if you think you're up for the challenge, see if you can shoot an image with joined-up lighting and then see if I’ll notice it’s 2 lights and not 1. Be sure to submit your results to the weekly -Share-a-Shoot- and I’ll gladly take a look.
Featured Model/Actress: Annav_roberts
Products Used
Note: These are not affiliate links; I do not earn anything from you using these links. These links take you directly to Nanlite’s website for further info.
Nanlite PavoSlim 120C
Nanlite FC-500C
Nanlite FC-120C

FM-Mount Projection Attachment

I've always wanted my photography education on here to be free, so although there is no paywall to any of my -Technique Tuesdays-, any and all support is greatly appreciated. ❤️
PLUS: Donate any amount and I’ll send you a link to the hi-res print version of my studio lighting book.
||
PLUS: Donate any amount and I’ll send you a link to the hi-res print version of my studio lighting book. ||

JHP Livestreams…
I livestream every other Tuesday night via YouTube and there I answer your questions, critique your shots, take community images into Photoshop to work on them and discuss all manner of lighting tips and techniques. I look forward to seeing you and your work there real soon. Jake Hicks Photography - YouTube
