

I've always wanted my photography education on here to be free, so although there is no paywall to any of my -Technique Tuesdays-, any and all support is greatly appreciated. ❤️
PLUS: Donate any amount and I’ll send you a link to the hi-res print version of my studio lighting book.
||
PLUS: Donate any amount and I’ll send you a link to the hi-res print version of my studio lighting book. ||
Strobes served us very well for many years, but they were the jack-of-all-trades when it came to lighting. Their thousands of modifiers that could be swapped in and out were certainly very convenient, but they were far from the optimum solution to most lighting problems. We’re now in a fortunate position where LEDs can be shaped into almost any light we want, from tubes to panels and even powerful spots, and although these many shapes of lights are far from the jack-of-all-trades, they are certainly the masters of their one specific job.
Click to enlarge - The MS60Rs thrive in small spaces, and here I use two to light the subject in a small room for dramatic effect.
I mention this here as I find it funny how many multi-million-dollar film sets will still use 50-year-old hot-light Fresnel heads. Why? Because for their specific job, they're the best at what they do, and many cinematographers swear by them and insist on them. When commercial fashion photography took hold in the 50s, photographers used those same beautiful lights for their Hollywood-style portraits we know today. They produce a truly stunning light, and in a time before post-production, they were the absolute best tool for the job. But convenience, speed, and cost took hold as it always does, and that is where the strobes we know today gained popularity.
Convenience is King
I get it. Nobody wants third-degree burns, the models fainting on set from heat exhaustion, and a cumbersome light that is only good at one look. But if you need that specific look, that old light is still the best solution to this day.
This is where we see LEDs gaining a foothold in today’s market. Yes, many lights, like the aforementioned panels and tubes, can only produce one look, but they truly excel at it. With the cost of LEDs coming down all the time, many photographers and cinematographers can now afford multiple tools to do specific jobs rather than one head doing a half-decent job at everything.
The LED Coup
I’ve shot with strobes for over 20 years, don’t get me wrong, I love them, but I simply cannot ignore how good some of these new LEDs are. I’ve used the popular LED tubes, and that’s lighting on easy mode! If you cant take a decent shot using some LED tubes, I've got some bad news for you. It’s the same story with some of the big LED panels. I’ve shot with some beautiful ones, and their light is so buttery smooth, I barely need to retouch the shots. So, LEDs are simply no longer the video light your videographer friend uses at weddings. These are very impressive pieces of kit, and with their brightness increasing all the time, they’re now extremely viable tools for us photographers as well as videographers.
KNOWLED
I was recently contacted by Godox, and we discussed what Godox’s new direction is for lighting. After all, most of you reading this are likely photographers, and we mainly know Godox as a flash manufacturer. So what is KNOWLED? Here is what they said…
Godox Flash Series: Our long-standing and widely recognised line, which you’re likely already very familiar with.
Godox Litemons Series: A lightweight, highly portable LED series aimed at vloggers, creators, and photographers who need a “throw-in-the-bag” lighting solution that's easy to use and always ready.
Godox KNOWLED Series: Our high-end cinematic lighting line, designed for commercial video production, film sets, and broadcast environments—offering more precise control, higher output, and full RGB capabilities.
So yes, Godox is aiming their KNOWLED lineup towards cinematographers, but why should they get all the cool new gear? In reality, this likely means a higher-quality product with tighter quality control. Sure, KNOWLED products will likely have a few additional features that are more dedicated to video shooters, but ultimately, we’ll have access to some very cool and unique products too. And they don’t come any more unique and cool than the MS60R.
Disclaimer: Godox sent me this product for review. They are not paying me for this review and all my opinions are my own.

The MS60R from KNOWLED
This review contains a ton of pictures from me testing this little light, and I’m sure they say everything you need to know about its form factor. Of course, the core of what I want you to understand about this light, is its size and what it’s capable of doing with that tiny size.
The light itself is around the size of a Coke can and doesn't weigh much more, either. But its tiny size is only half the story. The other very impressive aspect of this little light is just how versatile it is. The MS60R is just about the most modular light I've ever used, and when you combine this tiny package with its versatility, you have a very impressive lighting system indeed.
Before we get into the weeds about this light, let me first explain that there are, in fact, four versions of this light. So let’s first establish what they are.
Which S60 is right for you?
The light comes in two core variants: full-colour RGB ones and then the Bi-colour ones that only have access to the Kelvin range. This is pretty easy to understand, and you either need full colour lights or you don’t. Personally, I think if you're not using full RGB LED lights, you’re missing out on 90% of what LEDs can do, but the option for just basic white-light is still there for the normies. From here, we have two more variants, and this is where it gets a little more complicated.
The two colour heads have the ‘R’ at the end of their names and an orange line under that, and the Kelvin lights have the ‘Bi’ at the end of their names with a yellow line underneath.
We then have the two separate groups from which these come. One group has the prefix of ‘MS’ and they have the all black body, and the others have the prefix ‘RS’ with the grey body.

The MS60R is full RGB (R) and the more comprehensive (MS) model.

The RS60R is full RGB (R) and the more stripped back (RS) model.

The MS60Bi is Kelvin (Bi) and the more comprehensive (MS) model.

The RS60Bi is Kelvin (Bi) and the more stripped back (RS) model.
What’s the difference?
We know the difference between colour and Bi, but what about the two MS and RS models? What’s the difference? Thankfully, the clever guys over at Essential Photo have compiled a chart detailing the differences, so I’ll include that here.
Link to the full article can be found here
As we can see, there’s actually very little difference between the two models. They both have all the core functionality and features, and the same brightness and light qualities. The main differences are some missing colour modes in the RS, like the Gel Mode and XY Mode. Gel mode is just the ability to select a specific gel number from the LEE and Rosco range, and the XY mode is a specific colour mode. TL;DR You don't need it if you don't know what it is.
To be clear, the RS does not offer fewer colours; there is just some missing functionality when it comes to selecting those colours.
The other core difference is the missing CRMX control from the RS. This is useful if you have 40 lights on set that you're trying to control from a single desk in a lighting booth, but for most photographers, this often isn't needed, and the Godox lighting app offers more than enough control for most.
The Lighting Kits
The little lights are cool on their own, but their true power really shines when we dig into some of their lighting kits. After all, one of the most impressive aspects of these lights is just how modular they are.
I got my hands on the 2-light kit and here’s what was included…
Yup, that’s a lot of stuff!!! And what’s even more impressive is that all this comes in that little hard case that’s not much bigger than a shoebox!
What’s In The Box
2x MS600R Light Bodies
2x Lens Reflectors
2x Mains Power Adapters
4x Rechargeable Batteries
2x Magnetic Kits
2x SZ-L2 Zoom Lenses
1x SP1 Parabolic Softbox
1x SS11 1'x1' Softbox
2x AD-E2 Stand Brackets
2x 20cm USB-C Charging Cables
2x Mains Power Cables
2x E27 Mount Adapters
1x 1 to 40 Power Cable
1x Carry Case
Here’s what’s included in the 2-light kit. Note: these items are not to scale with one another.
Click to enlarge - This is just one of everything! The two light kit unsurprisingly contains double of all this!


The MS60R with both a battery attached as well as the lens modifier.
As you can see, the MS60R really is very compact!
Testing the MS60Rs
Specs, charts, and numbers are fine, but what does all that really translate to? Are the lights actually any good? My 2-light kit arrived mere hours before I was set to shoot, but I wanted to test them out ASAP, so here is a look at my first play with the MS60Rs in a minuscule bathroom set.
Featured Model: izunia.motyl
The Setup
Cut out and Keep! - Click to enlarge
TL;DR/ADHD/Artist Setup Explanation
Block out any available light, like daylight
Place the TL30 tube above the mirror
Place one MS60R underneath that and point back to the camera
Place another MS60R behind you and point up at the white ceiling
Consider using a low contrast filter to generate flare from the MS60R pointing at you
Kit Used
Godox MS60R x2
MS60R Lens reflector attachment
MS60R diffusion dome attachment
TL30-K2 LED tube kit
C-stand + boom
1x regular lightstand
Lens filters
Camera Settings
Camera - Nikon D850
Lens - 24-70mm f2.8
Shutter Speed - 1/125th
Aperture - f2.8
ISO - 125
Kelvin - 5500K
Focal Length - ~50mm
Breaking it Down
With all the BTS and even videos on my YouTube ( I covered this setup on-stream last week), there isn't too much that needs to be explained with this setup, but there are a couple of finer details that the diagrams alone may miss.
I discussed the importance of saturation in LEDs during a recent livestream
The power of Saturation
LED lights, specifically the RGB ones, have a unique selling point that is extremely important to me: they have instant access to millions of colours. As many of you know, I love shooting with a lot of coloured light, and I've built my career on that very premise. But even I, someone who is known for specialising in coloured light, only had around 30 different coloured gels in my possession. Don’t get me wrong, I loved those colours, but they were undiably fairly limited. Full colour RGB LEDS have instant access to millions of colours, and no, I’m not just simply referring to the basic 360 hues that all RGB lights have, I’m also referring to the saturation value of each of those colours too. The saturation value is a hugely slept-on tool by many photographers, and look, I get it, we all want big, beautiful colours, so why not just peg the saturation to 100% the whole time and reap the rewards? Sure, that is totally fine to do, but I think LEDs open up a lot of nuance that we are so easily able to access now, thanks to customisable variables like saturation. With these easily accessible and customisable tools, playing with some truly unique looks has never been easier.
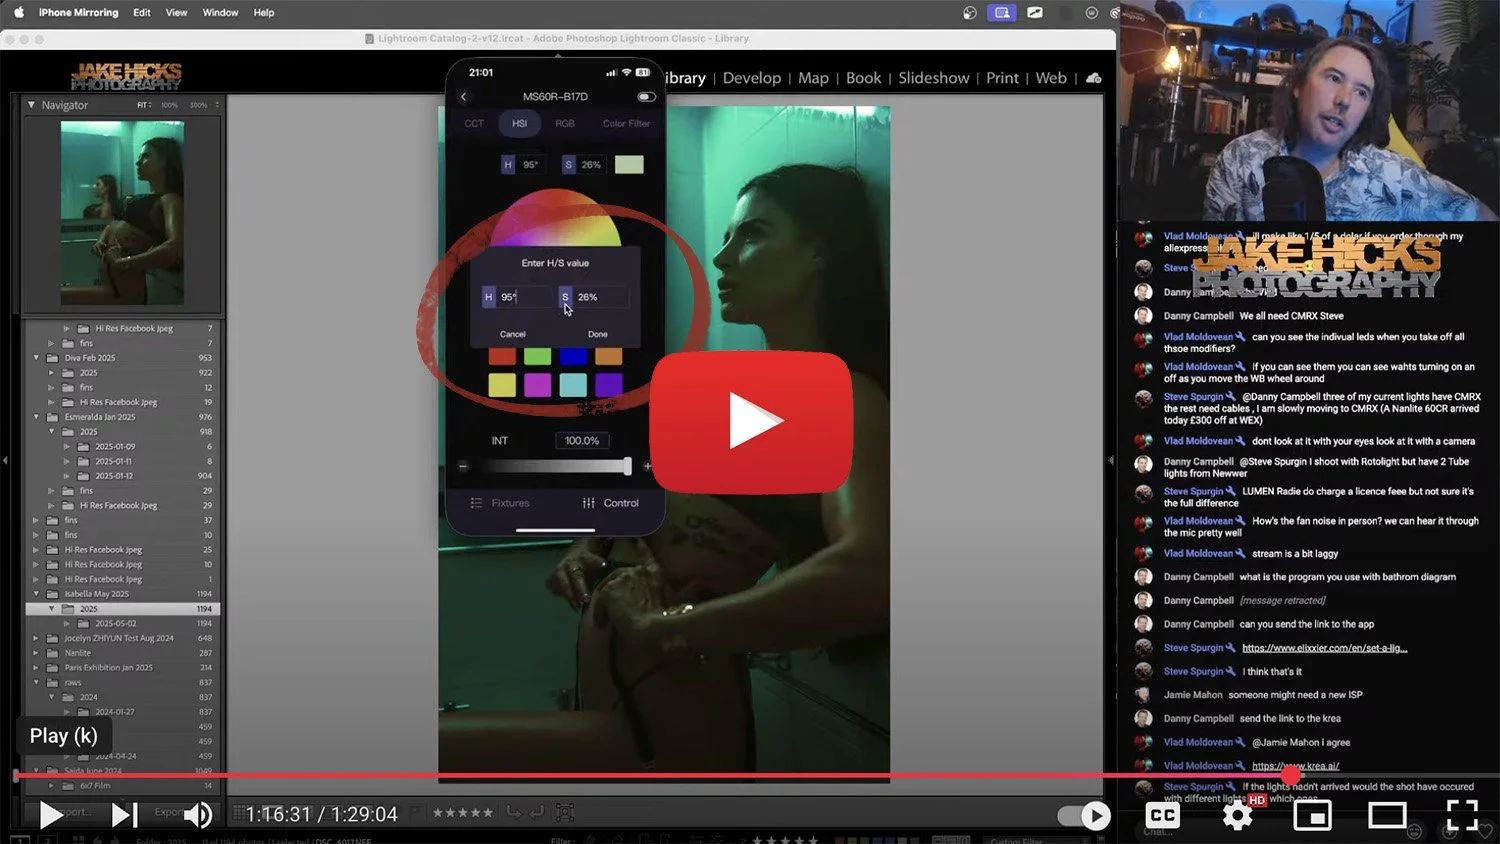
If you take another glance at the BTS shots above, you should notice a couple of shots of my phone on the floor displaying the Godox Lighting app. Here you can see that all of these lights are using custom saturation values, and it’s with this that I’m able to create a more unique and (dare I use the C-word) ‘cinematic’ look.
Flare-Lights
The LED tube is lighting my model here, and one of the MS60Rs is taking care of the fill light, but the other MS60R isn't even pointed at the model. In fact, the second MS60R is pointed directly at the camera, as its job is purely to create that glow or lens flare you see in the shots. With that light pointed at the camera and a low-contrast filter on the lens, I’m able to achieve that more visually engaging light in-camera that simply wouldn't be possible without that second light being pointed at me.
Using the two MS60Rs in a small space…
The Cinematic Portrait
In the images above, I’m using the two MS60Rs to take a cinematic-style portrait. Both lights are behind the model. The one to camera left is set to 10,000K and has the lens reflector and barndoors attached. To camera right, I have another MS60R with the zoom lens on and that is set to 1800K. With both MS60Rs behind the model, she is actually being lit via reflected light, and that comes from a Godox LiteFlow reflector in front of her that is bouncing back the light.
The Sci-Fi Portrait
This setup is almost identical to the setup above. I have both MS60Rs behind the model, but this time, rather than using the Kelvin range, I’m using the RGB mode of the lights—specifically, the HSI mode. I have a cool blue colour on the light behind the camera left, and again, that has the lens reflector modifier attached, along with the barn doors.
The second light behind the model has now moved to almost straight above and behind her, and this is easily done, given just how lightweight these lights are. I don't need a big, heavy boom, and I didn't even need to weigh the stand down. This light is set to a rich red colour and again, has the zoom lens attached. Like before, with no light on the front of the model, I am bouncing back the light from behind her via a LiteFlow reflector in front.
Featured Model: jaye.hicks

The fact that you can have two lights, plus tons of modifiers and power attachments all in a case not much bigger than a shoebox, is crazy!
My thoughts on the MS60R
This review has gone on long enough, and it’s getting very image-heavy, so I’ll start to consolidate some of my thoughts..
Size
This light is very compact, and the only downside is a small and tight onboard control system, but this is to be expected given the light's size. I used the Godox Light app to control the lights whenever I was adjusting them, and it always worked flawlessly and I wouldn't hesitate to use these lights via the app again in the future.
Features
This will most likely depend on your personal needs, but essentially, unless you really need the CMRX control, the cheaper RS60R version will serve you very well. Both the MS and RS have tons of colour control, and most importantly, you get access to millions of colours no matter what model you choose. Yes, there are all the flickering candles and police light effects if you need them, but for the most part, you’ll likely only be using the Kelvin and RGB ranges.
Modifiers
I think you’ve gotten the idea by now: This light comes with a lot of modifiers, from softboxes to grids to spot attachments… and I’m only talking about the ones that come in the kit. And even though this kit comes with scores of lighting options, there's still plenty of modifiers available for this light that I’ve not even played with yet. Are they all God-tier modifiers? No. This light is tiny, and as such, it produces light from a very tiny space. This little unit's light will never be super-soft, just because you put a softbox on it. In the livestream cut, you can see me testing the softbox, and although it spreads the light around a little more, and the shadow transitions are a little smoother, this little light is not going to produce big, beautiful soft light…. and that’s okay.
I took the above images on stream, but the point is to look at the shadow-transitions of the modifiers. The top images are taken with no modifier attached to the MS60R, and it is just the bare COB. Look at the shadows on the wall it casts in the magnified image. Now, compare that to the bottom images that were taken with the softbox attached. As you can see, the light isn’t super-soft, but the edges of the shadows are a little fuzzier. This is to be expected from a light of this size though. Note: The softbox takes away a stop of light, plus the colours are all over the place here, due to the light bouncing around my office in different ways.
So, although the softbox won’t dramatically change the density of light, I do think this light can produce soft light with the help of its environment. For example, you could plug the E27 adapter into a room's table lamp, and it could become a beautiful soft light off the ceiling. With that in mind, the collapsible diffusion dome (which I didn't get to test) could do a fantastic job of doing this indirectly.
Before we move on, I will just wrap up some of my personal thoughts on the other modifiers in this kit. The little core Lens Reflector attachment is awesome. I’m not sure what black-magic they’ve cooked up with the magnifiers and lenses in that thing, but it’s most likely what I’ll use most of the time. The other incredible modifier is the Zoom Lens. That’s the one that has a big, beautiful piece of glass on the front that you can focus from a wide spread of light to a tight spot. The light that thing produces (remember, it's coming from that tiny COB) is gorgeous. With a buttery smooth shadow transition from light to dark and a very large area in the middle of the clean, non-hot-spotted light, this modifier is an absolute must-have if you own this light.
The Zoom Lens attachment produces a beautiful light and it’s a must-own modifier in my mind, if you own this little light.
The other modifiers do what they are supposed to, and the little diffusion dome does a good job of taking the edge off, but the stack of grids didn’t blow me away. One of those grids throws a square on the wall, not a spot. That’s kinda cool and I could see uses for that…. but the barn doors would also work. There’s also this odd tilt-shift grid that puts the spot off to one side. I may be missing something here, but I think I would move the light to where I want it to shine, rather than using a grid to do it. But again, you may as well have it. The other grids are all varying sizes of spots. Again, nice to have, but I could never see myself using those grids over the Zoom Lens. TL;DR: If you have the Zoom Lens and Lens Reflector attachments along with barn doors, that’ll cover most things. But again, they take up no space and weigh next to nothing, so no harm in having them.
One final, important point about the MS60 and RS60 modifiers is that they use a unique mount. Godox themselves state that “The mount is unique to the series and differs from the AD mount, the S30/S60Bi’s mount, or standard Godox mount.”
I don’t have a ton of non-S-fit modifiers myself, but if you're already heavily invested in another line of Godox lights and modifiers, this may well be important to you.
Brightness
This is the big one that all photographers run into at full speed and then come to a dead stop: power. LEDs are nowhere near as bright as flash. If you’re going into these LED reviews looking for comparable powers, you need to spend tens of thousands to get there. As much as I despise the Godox nomenclature of their products, they aren’t hiding anything and as the MS60R suggests, this indeed is a 60w LED light.
Many photographers won't have made it past the title of this review, as that paltry 60w output is seemingly laughable to us photographers. I get it, I was there once myself, and I ignored LEDS for many years for that very reason. But what I was failing to understand was that these watt values are simply not comparable to the watts on our strobes. One core reason for this is how LEDS distribute light. Take large panels, for example. They can be insanely bright up close, but due to their distribution of brightness across a large surface area, that power drops off dramatically as you move only slightly away from them. Little LED lights like this COB light have a skewed power distribution too, as this little LED throws light way down-range, far more than it has any business doing for its 60-watt power.
In the previous section, I spoke about modifiers, and you may have noticed how some modifiers, like the softbox, understandably took a stop of light away from the unit with it attached. This is pretty normal, but with the Lens Reflector attachment, it does the opposite, as this does a remarkable job of channelling the power of this light so that you gain three stops of brightness on whatever you’re aiming it at. To be clear, you may hear others stating that this “increases the power”, but that is defying the laws of physics; all this modifier is doing is focusing that power into a specific point, which is what most photographers want anyway.
So, incase you missed it, this little 60w LED, set back at around 2.5m away, is getting an exposure value of 1/60th, ISO 100 at f8! …F8!
I don’t know about you, but most of my studio portraits aren’t lit from as far back as 2.5m away, either. This is not to be underestimated just because it has the number 60 in the name.
Kelvin… concerns?
It’s worth noting here that the RGB lights, the lights with the ‘R’ at the end of their names, have a broader Kelvin range than the specific Kelvin ‘Bi’ lights. The ‘Bi’ light range is 2800K to 6500K, and the ‘R’ light Kelvin range covers a staggering 1800K all the way up to 10,000K.
One of two things is happening here. Firstly, the full-colour RGB light has additional Kelvin bulbs compared to the ‘Bi’ light, or, and this is the more likely answer, the RGB light is dipping into the RGB LEDS to access the extremes of the Kelvin range. I doubt this is the first time a manufacturer has done this, and I’m frankly surprised I’ve not seen it before. Do I think the extreme ends of the 1800K and 10,000K colour values are bang-on in terms of colour control? No, I doubt it. But for my work, that’s totally fine. Plus, you’re not losing anything by them including this in the RGB version. If you were concerned about it, you should just stick to the 2800K - 6500K range on the RGB light, and you’ll be totally fine.
I actually think this is a pretty cool feature, and I wish more RGB lights did this, but Godox should probably state somewhere that it's dipping into the RGB LEDS to achieve it. That said, I could be way out of line on this and be totally wrong. Maybe the colour heads do have a wider Kelvin range, or maybe the colour control on them is so high that the lower and higher Kelvin values are bang-on. The colours certainly seemed fairly clean to me when I shot with both 1800K and 10,000 K in one of those shoots you saw above.
Power
For my work, I really can’t justify using a purely battery-powered light. I can't be on-set worrying about when a light will die because the makeup artist is taking too long. If I’m getting a new light, it has to be able to run off mains power, and thankfully, the little MS60Rs have tons of power options. Supposedly, their little batteries will run at full power for an hour (remember, you get four batteries in the two-light kit) and that battery power gets significantly longer if you bring those lights down to 80% power in my experience. Just be sure not to do what I did and charge them via a USB adapter…. as it took over 12 hours to fully charge one battery that way. For everybody else with more than 2 brain cells to rub together, you're supposed to plug the battery into the power unit at the back of the light via the included USB-C cable, and that should fully charge in around 2 hours.
Fan Noise
During the livestream, when I was testing these, I was asked about the fan noise of the lights. I’m not a videographer, so this isn't a huge concern for me, but it’s a valid question. Oddly, these lights seem to work differently from any other LED light I’ve used. From the moment you turn these on, the fan starts up. It’s not loud, but it would be noticeable if it were close to a mic. What’s odd is that the fan noise doesn't increase from there. I was running these lights at 100% for a while, and the fan never got any louder. It seems like a decent compromise. The fan is always on, but it never gets loud.
Closing Comments on the MS60R
Look, I don’t even think my own mum has made it all the way through this article! I’m never reviewing a ‘kit’ ever again. There’s just too much to cover all at once!!! But if you’re still here and you remember your younger self reading at the start of this review about how strobes are the jack-of-all-trades when it comes to lighting and how many LEDS are now very good at just one look, well, the MS60Rs somehow position themselves somewhere in the middle.
All four of the different MS/RS/R/Bi lights are part of an incredibly modular system. They can utilise very hard light modifiers like spotlights and more diffused softboxes, but they can also use any number of grids, snoots, barndoors, zoom lenses, and many more modifiers in between. This is not to mention how modular the back of the light is, too. With batteries, screw-fit bulb attachments, and, of course, direct power cable attachments, the light is extremely versatile.
So yes, the MS60R and its family of lights can use all of these tools, but this little light’s true power really comes to life when you need to use all of that light in tight spaces, just like that tiny bathroom you saw me shoot in above.
If you’re a photographer who travels a lot and or shoots on location a lot, these small and very versatile lights would serve you unbelievably well. If you’re a photographer who photographs models and shoots portraits in smaller spaces like hotels and Airbnbs, these would be perfect. If you’re a photographer who shoots corporate headshots in tiny offices, you guessed it, these lights would be ideal. And of course, the major selling point to all of this is that all this versatility and power comes in a package not much bigger than a shoebox!
Yes, these little lights are very versatile in the type of lighting they can produce, but there is no question that they are the masters at achieving it all in very tiny spaces.
Bottom line: If you’re a photographer who needs many creative lighting options, travels frequently, shoots in smaller locations, or doesn’t enjoy carrying around a lot of heavy kit, I strongly recommend you check out these little powerhouses.
As always, thank you for reading. Hopefully, you learnt something new today. If you did, be sure to check out the rest of my articles, as with over a decade’s worth of -Technique Tuesdays- to work through, I’m sure you’ll find something else of interest. Plus, sign up to my mailing list to be sure not to miss next weeks article.
Products Used
Note: These are not affiliate links; I do not earn anything from you using these links. Essential Photo sent me the lights, so I’m including links to them here. Sadly, I don’t have a code to offer you, but these prices are correct as of May 2025.


Additional Products Used


I've always wanted my photography education on here to be free, so although there is no paywall to any of my -Technique Tuesdays-, any and all support is greatly appreciated. ❤️
PLUS: Donate any amount and I’ll send you a link to the hi-res print version of my studio lighting book.
||
PLUS: Donate any amount and I’ll send you a link to the hi-res print version of my studio lighting book. ||

JHP Livestreams…
I livestream every other Tuesday night via YouTube and there I answer your questions, critique your shots, take community images into Photoshop to work on them and discuss all manner of lighting tips and techniques. I look forward to seeing you and your work there real soon. Jake Hicks Photography - YouTube
