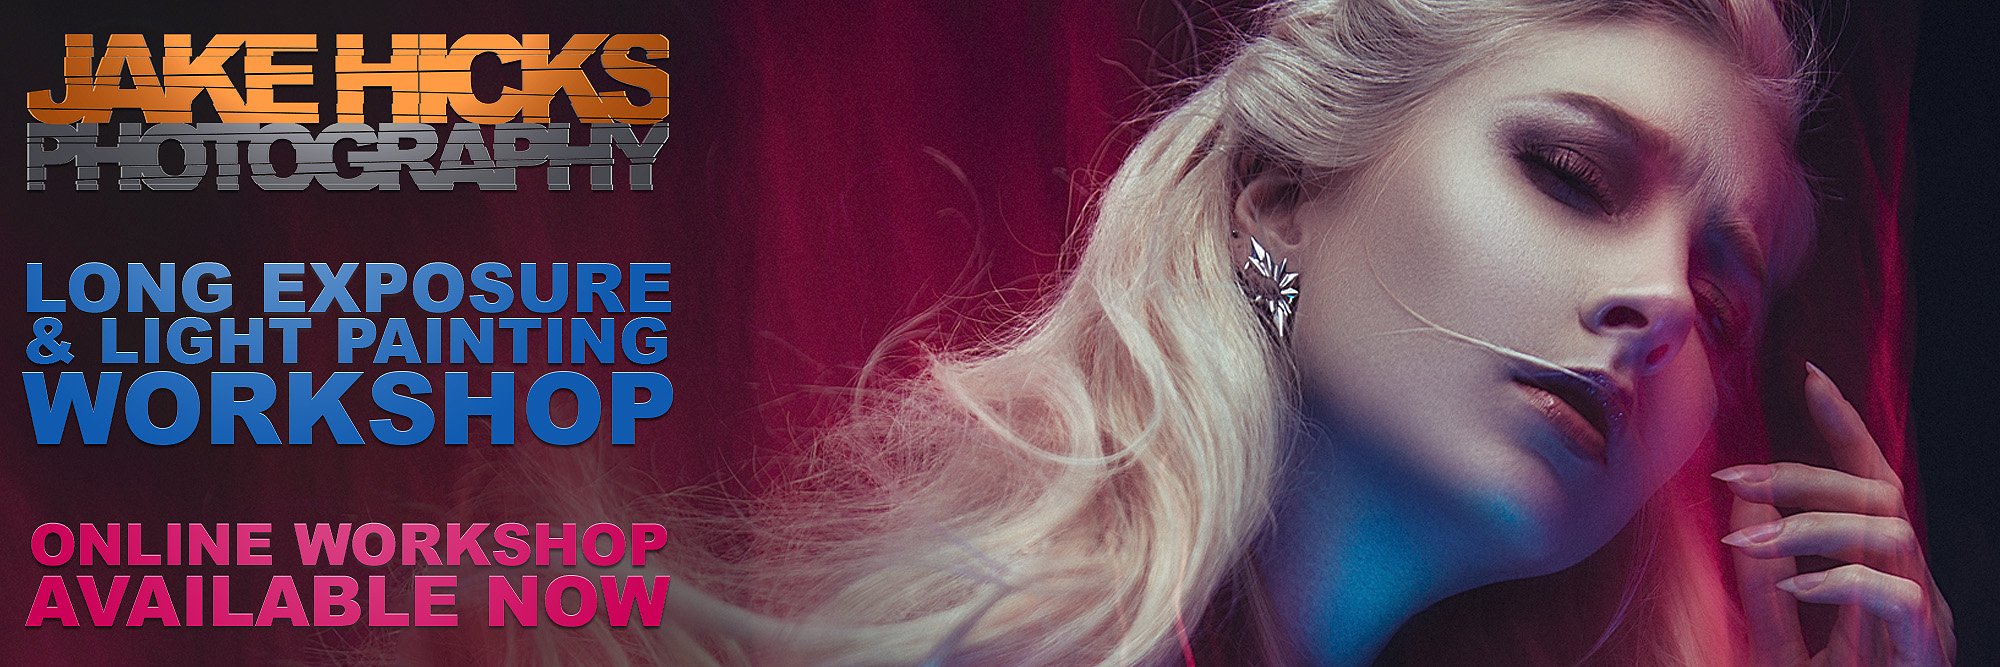
Long Exposure & Light Painting Workshop - Online
The workshop has been designed to cover all aspects of long exposure photography in the studio. For example we will begin with light painting and discuss the importance of having an exceptionally well lit portrait before we even attempt to add light painting on top. So many long exposure shots fail because they rely too heavily on the long exposure effect rather than using long exposure to enhance an already excellent photograph.
Light painting is an incredibly fun and satisfying technique to use as it implements so many skills to get the perfect shot. I will discuss and show you a multitude of light painting tools including how to incorporate items you already own as well as more professional light painting tools.
After that we’ll move onto using long exposure lighting on our backgrounds to create pin-sharp model shots but with a sense of movement around our subject before lastly looking at how to setup and shoot long expsorue light trails on our subject. This final setup shows us how we can very cleverly have both a pin-sharp subject and long exposure light trails on the subject in a single frame with some very clever lighting techniques.
What We’ll be Learning in this Lighting Workshop
Long exposure studio photography has always had a special place in my heart as its one of the very few visual mediums that is only possible with photography. Long exposure simply isn’t possible with video and we also can’t even see long exposure with our eyes. Long exposure shots are only possible with stills photography and its this unique quality that always gets so much attention when I share long exposure shots online.
I’ve been shooting long exposure portraits for over 20 years and and I’ve played with a great number of techniques during that time. That said, nearly all long exposure shots can be broken down into 3 categories. 1. Moving objects 2. Moving backgrounds. 3. Moving subject and I’ll be covering all of these core techniques with this course.
I also aim to demystify some misconceptions surrounding long exposure photography as many think its mostly done in post-production or even with multiple-exposures, but this course will show you that all of these unique visual looks can indeed be captured in-camera and in a single frame. In fact these looks are so striking straight-out-of-camera, that when I do this workshop in-person, everybody ‘oohs and ahhhs’ as they take the shots themselves because like I mentioned, you can’t see long exposure with your eyes, so when the camera reveals the unique long exposure image you’ve created, you can’t help but be impressed.
-As with all of my online workshops, all the information and notes taught during this course are provided via an extensive PDF.
Lighting Setups Taught
One of the core principles of Long Exposure work in the studio, is understanding Kelvin and White Balance. Yes these are far easier to manage in todays modern era of LED lighting as we can easily adjust the Kelvin on many of our LED lights, but we still need to know the basics of Kelvin for a variety of reasons. Plus this knowledge will become extremely useful if we’re ever in a situation where we need to use tungsten and flash. With this foundational knowledge out of the way, we can dive into the details of the setups we’ll be learning.
Setup 1: Light Painting
As I mentioned at the start, long exposure techniques typically fall into 3 buckets and this one is all about us learning to move objects around our shot AKA light painting. Typically this is also the easiest technique to understand and although we can use anything from our phone to fairy lights to flashlights to create light-trails, I’ll go over how to use some purpose built light painting blades.
Setup 2: Moving Backgrounds
You’ll be pleased to hear that although this is probably the most distinctive looking long exposure technique, it’s actually far easier to achieve than it may first appear. I mention this as being the most distinctive and that’s in part mainly to do with how creative it is. Yes, every shot looks cool, but also every shot is very different from that last and this can make this a very fun technique to play with. Couple that with even more creative elements like various colour lights on the background and/or model and the possibilities are endless.
Setup 3: Light Trails
If you’ve ever looked for an eye-catching lighting technique to get peoples attention, this is it. In fact this look is so striking that many believe it to be achieved in post-production, but I can assure you that it’s most definitely very possible to achieve in-camera. As always, I talk you through the steps to achieve this with ease and as with most of my work, I’ll be showing you how to add a ton of colour to this look too.
Included with this lighting workshop…
Comprehensive PDF of workshop notes
Studio lighting kit list including bracket and clamp recommendations
All 3D lighting diagrams for lighting setups
15 Lightroom Presets specifically for the lighting setups taught in this workshop


